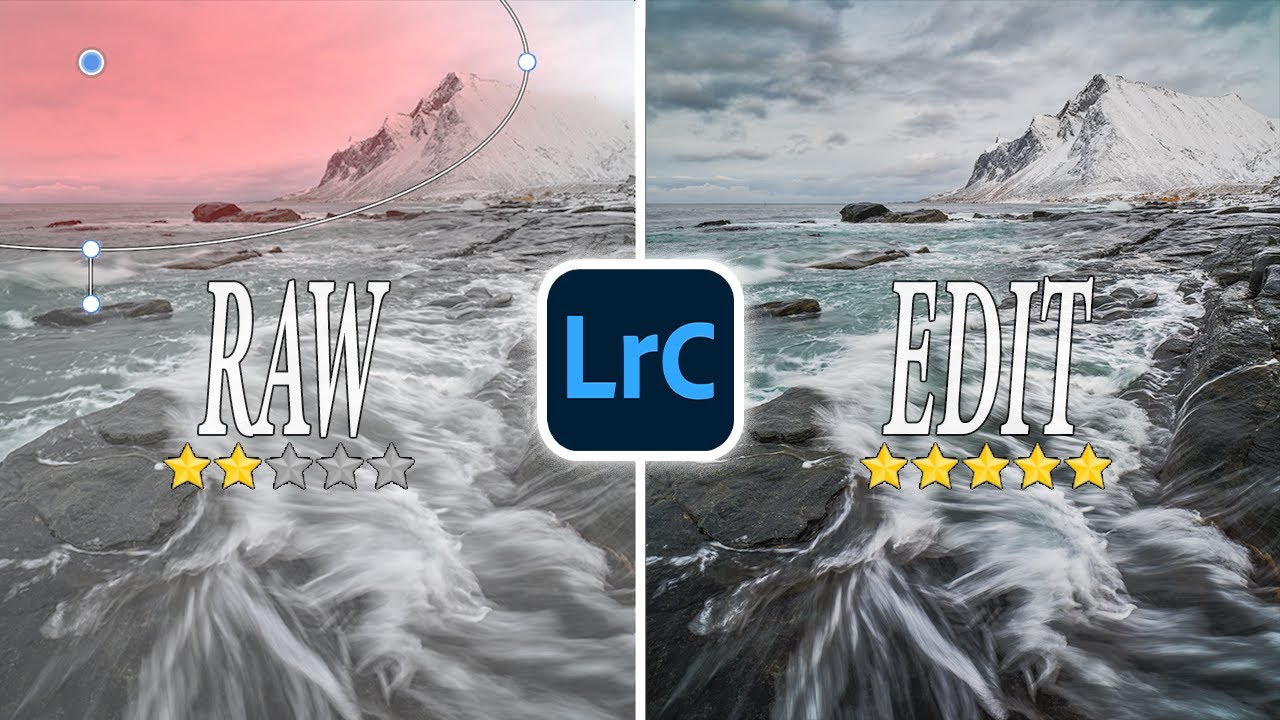
There’s a specific kind of frustration that landscape photographers know well. You’re standing somewhere incredible, the sky is doing something wild, the light is golden and dramatic, and you think “this is the shot.” Then you get home, open Lightroom, and the image looks like a weather forecast graphic. Flat. Lifeless. The drama you felt in person just didn’t make it through the lens, and no amount of crushing the highlights slider seems to fix it without wrecking everything else in the frame.
I’ve been there more times than I want to admit. When I first started editing seriously, I’d reach for global adjustments by default, drag highlights to -100, drop exposure, and hope for the best. The sky would get slightly better, the foreground would get noticeably worse, and I’d end up splitting the difference into mediocrity. That workflow needed to change, and this Mark Denney tutorial on sky editing is the clearest explanation I’ve seen of exactly why global edits fail here and what to do instead. Watch the full tutorial on YouTube
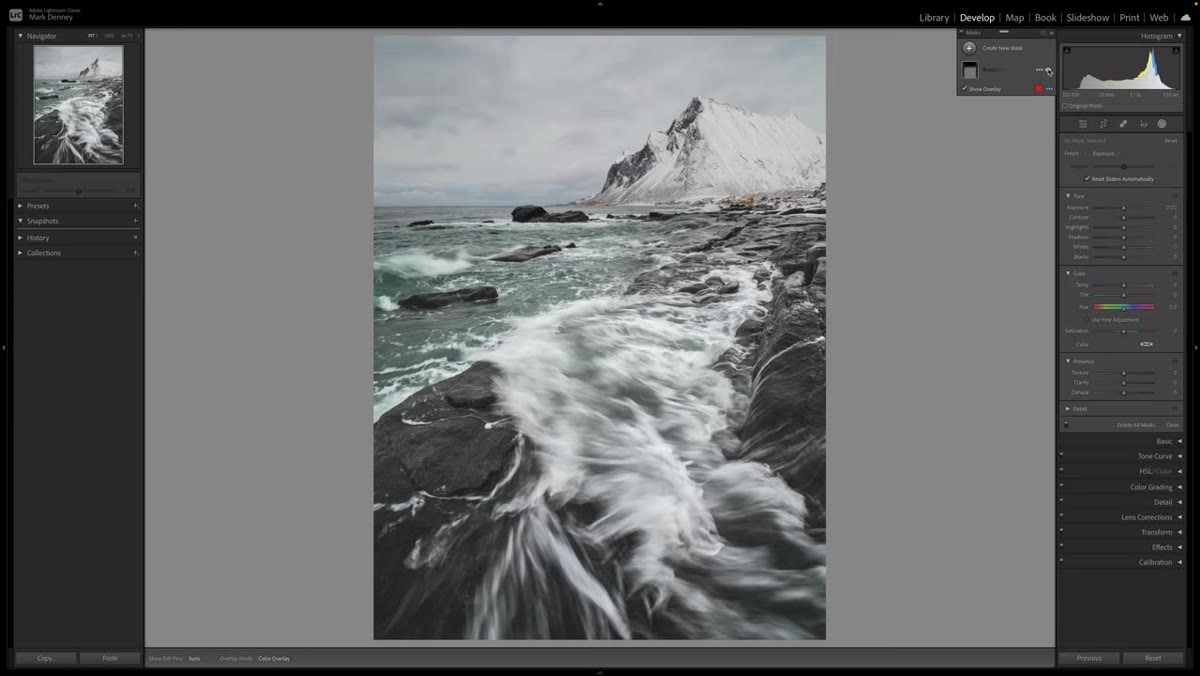
The image Mark works with is a Norway coastal landscape from one of his workshops, full of moving water, rocky foreground, and a sky that has real detail baked into the raw file but refuses to show up on a basic edit. The before-and-after he demonstrates is convincing precisely because it looks real, not like a sky replacement or a heavy-handed HDR merge. Let me walk you through how he gets there.
Step 1: Understand Why Global Adjustments Fall Short
 Highlights slider at minus 100 affecting entire image
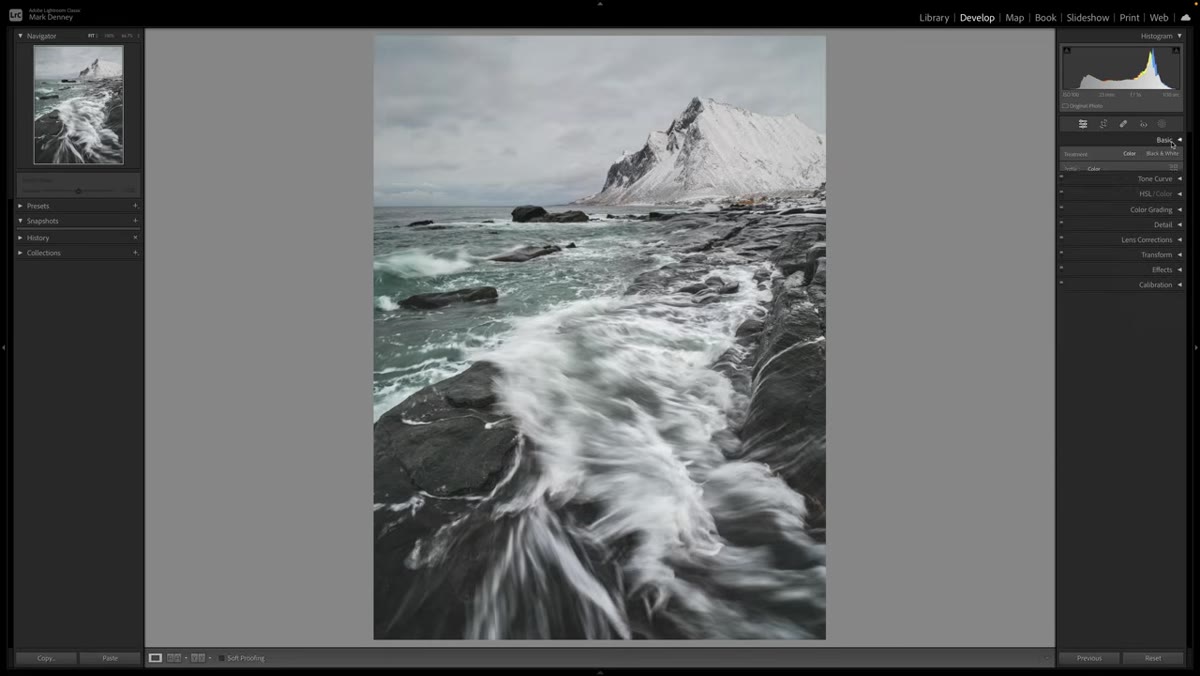
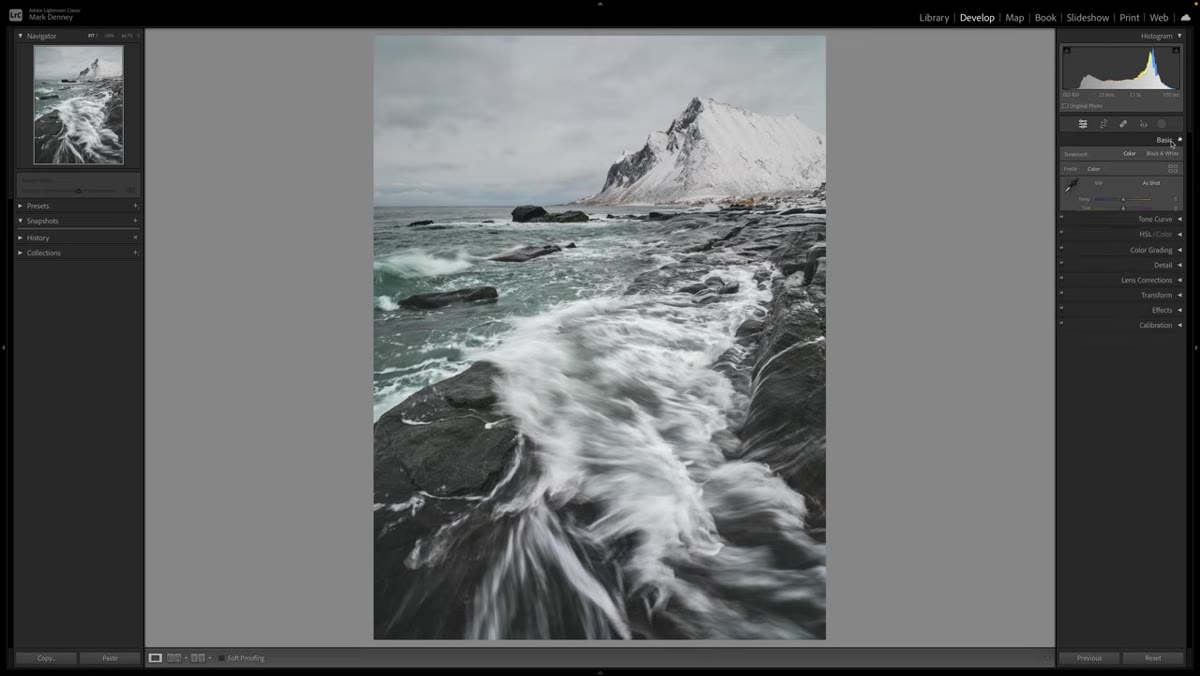
Before touching any masks, Mark makes a point of showing what most photographers try first: dragging highlights all the way to -100 in the Basic panel. The result is technically “more detail” in the sky, but the change is marginal and it simultaneously flattens highlights across the water and foreground rocks. Then he drops exposure to compound the effect, and while the sky improves a little more, the whole image goes dark and muddy. The lesson here isn’t that those sliders are useless. It’s that applying them globally asks one setting to solve two different problems at once, and it can’t.
Highlights slider at minus 100 affecting entire image
Before touching any masks, Mark makes a point of showing what most photographers try first: dragging highlights all the way to -100 in the Basic panel. The result is technically “more detail” in the sky, but the change is marginal and it simultaneously flattens highlights across the water and foreground rocks. Then he drops exposure to compound the effect, and while the sky improves a little more, the whole image goes dark and muddy. The lesson here isn’t that those sliders are useless. It’s that applying them globally asks one setting to solve two different problems at once, and it can’t.
Reset everything before moving on. You want a clean slate with no global adjustments applied to the Basic panel. If you’ve already made global edits, note them and zero them out temporarily so you can build the mask-based approach from scratch.
Step 2: Open the Masking Panel and Start with Select Sky
 Masking panel open with Select Sky option visible
Navigate to the Masking panel in Lightroom, the icon that looks like a dotted circle, typically sitting just above your editing panels. Click “Create New Mask” and choose “Select Sky.” Lightroom’s AI will do a first pass at isolating the sky from your foreground, and for most images it works surprisingly fast. You’ll see the overlay appear showing what’s been selected.
Masking panel open with Select Sky option visible
Navigate to the Masking panel in Lightroom, the icon that looks like a dotted circle, typically sitting just above your editing panels. Click “Create New Mask” and choose “Select Sky.” Lightroom’s AI will do a first pass at isolating the sky from your foreground, and for most images it works surprisingly fast. You’ll see the overlay appear showing what’s been selected.
Here’s where Mark makes a point that I think gets overlooked in most sky editing tutorials: Select Sky is a starting point, not a finished selection. The AI tends to be almost too precise, cutting right along the horizon line in a way that looks surgical rather than photographic. Real skies have atmospheric haze, soft transitions, and blown-out edges near the horizon. A pixel-perfect mask selection can actually make your final edit look fake because nature doesn’t have hard edges.
Step 3: Refine the Mask Edges for a Natural Transition
 Mask overlay showing sky selection with edge detail
After the initial Select Sky mask generates, spend a moment examining the edges, especially where the sky meets any landmass, tree line, or water. If the selection looks razor-sharp along a complex edge like a mountain ridge or distant shoreline, that’s a sign the edit will look composited rather than developed. Use the Subtract from Mask tools, particularly a soft brush set to a low Flow around 20-30%, to gently feather back any edges that look too clean.
Mask overlay showing sky selection with edge detail
After the initial Select Sky mask generates, spend a moment examining the edges, especially where the sky meets any landmass, tree line, or water. If the selection looks razor-sharp along a complex edge like a mountain ridge or distant shoreline, that’s a sign the edit will look composited rather than developed. Use the Subtract from Mask tools, particularly a soft brush set to a low Flow around 20-30%, to gently feather back any edges that look too clean.
The goal is a selection that holds the bulk of the sky solidly but softens as it approaches the transition zone. Think of it less like cutting out the sky and more like making the sky the dominant recipient of your adjustments, with the influence gradually fading as you get closer to the ground.
Step 4: Apply Your Sky Adjustments Inside the Mask
 Local mask adjustment sliders being applied to sky area only
With a clean mask active, now you can do what global adjustments couldn’t: crush the highlights and drop the exposure specifically in the sky without touching the foreground at all. Drag Highlights down, somewhere between -60 and -100 depending on your image. Add a slight drop in Whites as well if the brightest parts of the sky still look clipped. Then bring in some texture and clarity, modest amounts, maybe 15-25 on each, to coax out cloud detail that the raw file already contains but hasn’t been asked to show yet.
Local mask adjustment sliders being applied to sky area only
With a clean mask active, now you can do what global adjustments couldn’t: crush the highlights and drop the exposure specifically in the sky without touching the foreground at all. Drag Highlights down, somewhere between -60 and -100 depending on your image. Add a slight drop in Whites as well if the brightest parts of the sky still look clipped. Then bring in some texture and clarity, modest amounts, maybe 15-25 on each, to coax out cloud detail that the raw file already contains but hasn’t been asked to show yet.
Because these changes are confined entirely to the masked sky region, your foreground stays exactly where you left it. The water, rocks, or land can have their own separate mask with completely independent settings. You’re not negotiating anymore. Each zone gets exactly what it needs.
Step 5: Add a Separate Ground Mask for Balance
 Ground mask toggled on and off showing before and after
Mark’s image already had a ground mask in place before he started the sky work, and toggling it on and off shows why it matters. Without it, the foreground reads a bit flat and the shadows around the rocks lose separation. With it, there’s just enough lift in the shadows and a touch more detail in the water to make the whole scene feel cohesive.
Ground mask toggled on and off showing before and after
Mark’s image already had a ground mask in place before he started the sky work, and toggling it on and off shows why it matters. Without it, the foreground reads a bit flat and the shadows around the rocks lose separation. With it, there’s just enough lift in the shadows and a touch more detail in the water to make the whole scene feel cohesive.
You don’t need anything complex here. A Select Subject or luminosity-based mask targeting your midtones and shadows, with a modest Shadows boost and maybe a slight Exposure nudge, is usually enough. The goal is to make sure the foreground can hold its own now that the sky is more dramatic. If the sky gets more interesting and the ground stays flat, the viewer’s eye won’t know where to land.
One Thing I’d Add From My Own Workflow
Once the sky mask is in place and the adjustments are dialed in, I always do a quick HSL check on the Blues and Purples inside the mask. Recovering sky detail often shifts the color of the clouds in ways that feel slightly off, particularly if you’re working with golden hour shots where the sky has a mix of warm and cool tones. Dropping the Saturation on Blues by 10-15% inside the local mask, not globally, keeps the recovered clouds from looking oversaturated in a way that screams “this was edited.”
I learned this the hard way after spending an entire weekend refining a preset pack that got 50,000 downloads. Half the feedback I got was “the skies look a little too blue.” That was fixable. Now it’s the first thing I check.
The single most important takeaway from this technique is that the moment you stop fighting the sky with global adjustments and start treating it as its own isolated zone, the results become both easier and more realistic. One well-built local mask gives you more control than a dozen global slider moves ever could.
If you edit any kind of outdoor photography, landscape, travel, or even architecture with visible sky, this method is worth adding to your standard workflow. Watch the full tutorial on YouTube to see Mark walk through the full edit from start to finish, including some of the finer refinements that are easier to absorb by watching than reading.
Comments (2)
Wow, I had no idea you could do this. Mind blown.
Would love to see a follow-up going deeper into this topic.
Leave a Comment