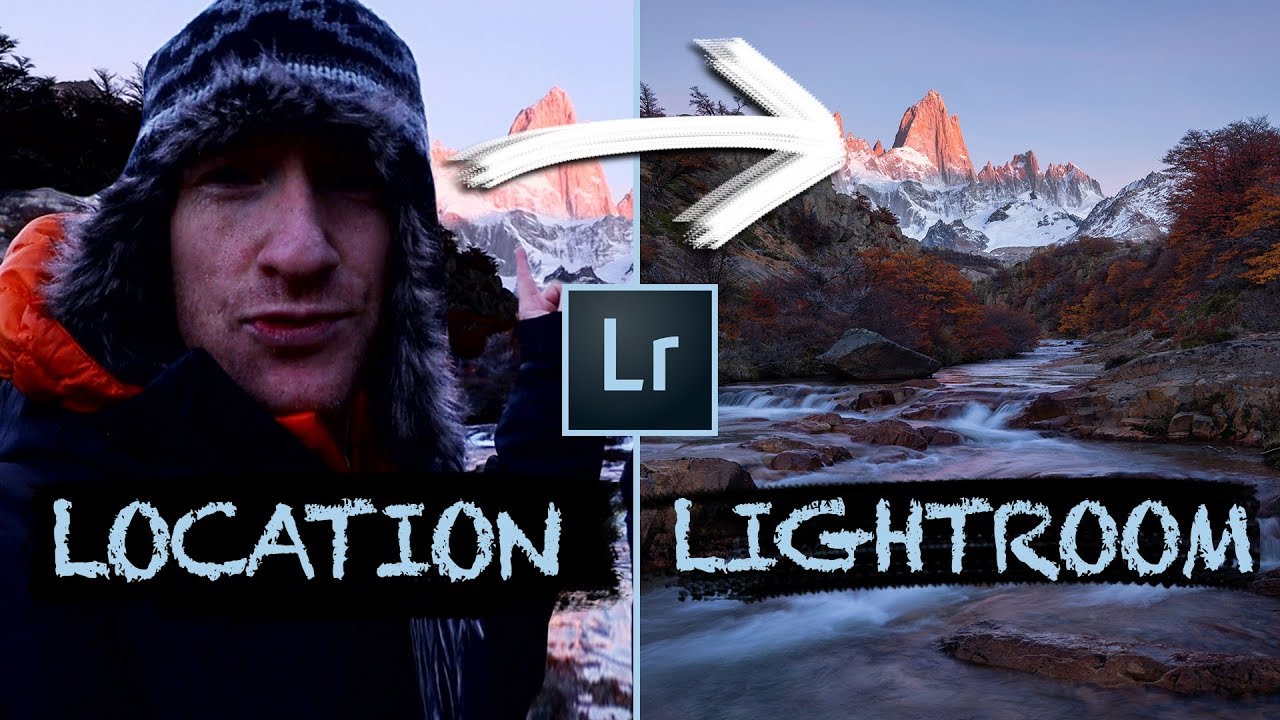
There’s a specific kind of chaos that happens when you’re standing in front of an extraordinary scene and you have maybe four minutes of good light left. I’ve been there in a different context, trying to get usable press shots for my band with a borrowed camera and zero budget, learning Lightroom out of necessity because nobody else was going to do it. That scramble taught me more about efficient, intentional editing than any formal course. So when I came across Watch the full tutorial on YouTube from Thomas Heaton, shot on location in Patagonia during peak autumn with alpenglow hitting Mount Fitzroy, I recognized the same mindset. Make smart decisions fast, then let the edit finish the story.
What makes this tutorial genuinely useful isn’t the exotic location. It’s that Heaton treats a single photograph with the same rigor most people reserve for a full portfolio shoot. He’s shooting for a commercial client, working with a polarizer, bracketing exposures strategically, and then sitting down at Lightroom without a pre-planned edit. That transparency is rare and it’s worth studying closely.
The workflow he walks through breaks into a clean sequence: composition first, then exposure decisions in the field, then a Lightroom edit that responds to what the file actually needs rather than a formula. Here’s how each piece works.
Step 1: Lock In Composition Before Touching Any Settings
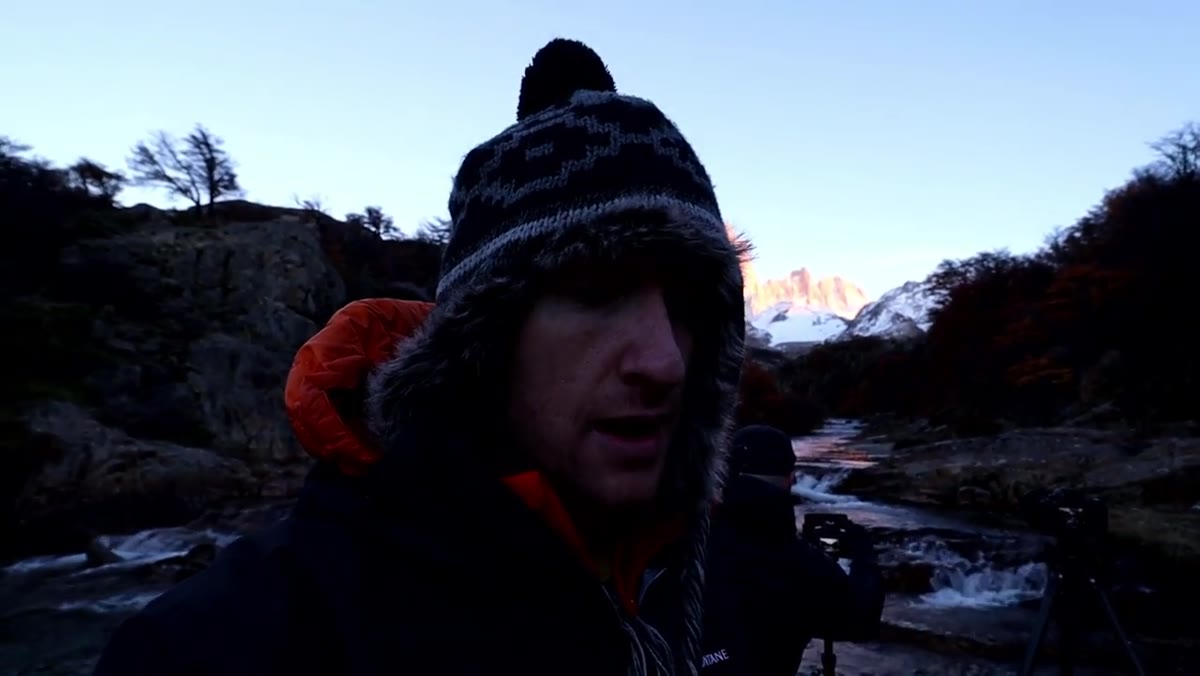
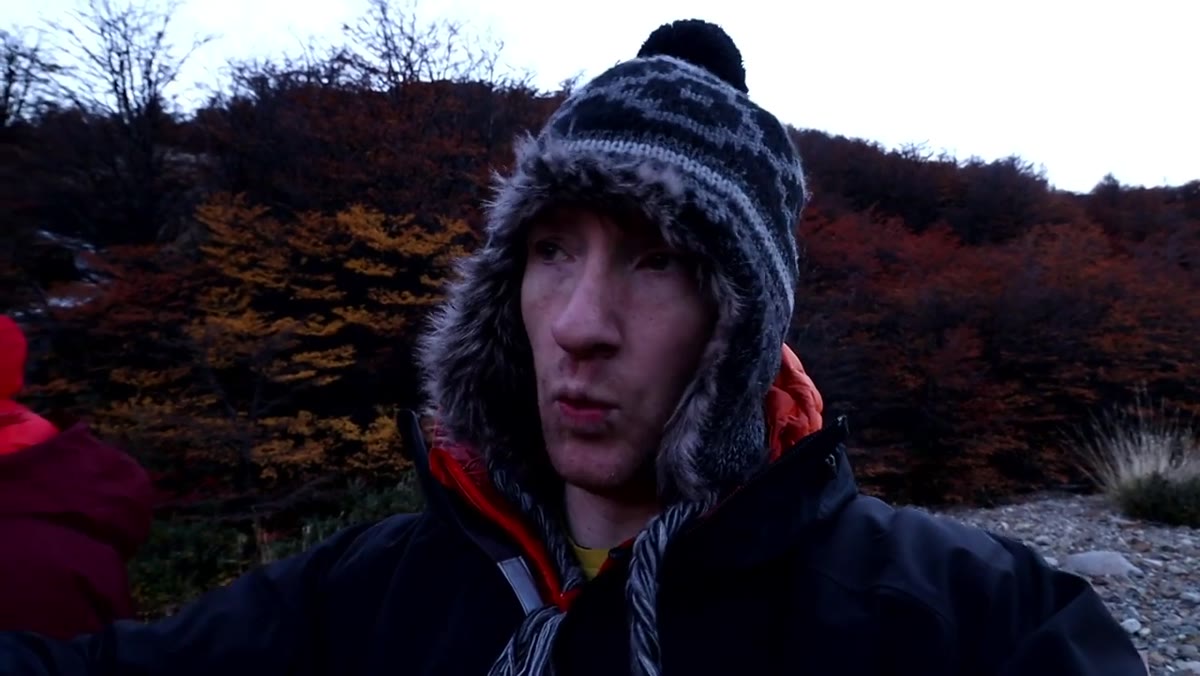 Thomas framing the shot beside a cascading waterfall
Before Heaton adjusts a single dial, he spends real time on composition. His specific challenge at this river location is creating a visual relationship between the waterfall in the foreground and Mount Fitzroy in the background. He describes it this way: if you shift too far left, the river flows to nowhere. The water needs to lead the eye toward the mountain, not disappear off the frame edge.
Thomas framing the shot beside a cascading waterfall
Before Heaton adjusts a single dial, he spends real time on composition. His specific challenge at this river location is creating a visual relationship between the waterfall in the foreground and Mount Fitzroy in the background. He describes it this way: if you shift too far left, the river flows to nowhere. The water needs to lead the eye toward the mountain, not disappear off the frame edge.
This is a leading lines problem, and it’s one of the most common composition mistakes in landscape work. The fix is simple but requires patience. Walk the scene. Move your body, not just your zoom ring. Look for the position where foreground elements point naturally at your hero subject. In Heaton’s case, the autumn reds and yellows framing the river add supporting color, but the structure of the composition is what does the real work.
Step 2: Use a Polarizer at About 80%, Not Full Rotation
 Close view of polarizer on lens beside the waterfall
Heaton uses a circular polarizer to cut glare off the moving water in the foreground, but he makes an important distinction: he does not rotate it to full polarization. He estimates around 80%. Full polarization on water in a landscape shot can drain the color and make it look flat. At 80%, you still get the glare reduction that lets the rocks and flow underneath show through, while keeping the color saturation on the water surface alive.
Close view of polarizer on lens beside the waterfall
Heaton uses a circular polarizer to cut glare off the moving water in the foreground, but he makes an important distinction: he does not rotate it to full polarization. He estimates around 80%. Full polarization on water in a landscape shot can drain the color and make it look flat. At 80%, you still get the glare reduction that lets the rocks and flow underneath show through, while keeping the color saturation on the water surface alive.
If you’re using a polarizer and wondering why your shots look a little dead even after editing, this is often why. Dial it back slightly. The sweet spot is usually where you can still see a hint of specular highlight on the water, not where everything looks completely matte.
Step 3: Bracket Two Exposures for High Dynamic Range Scenes
 Camera display showing two different exposure settings for bracketing
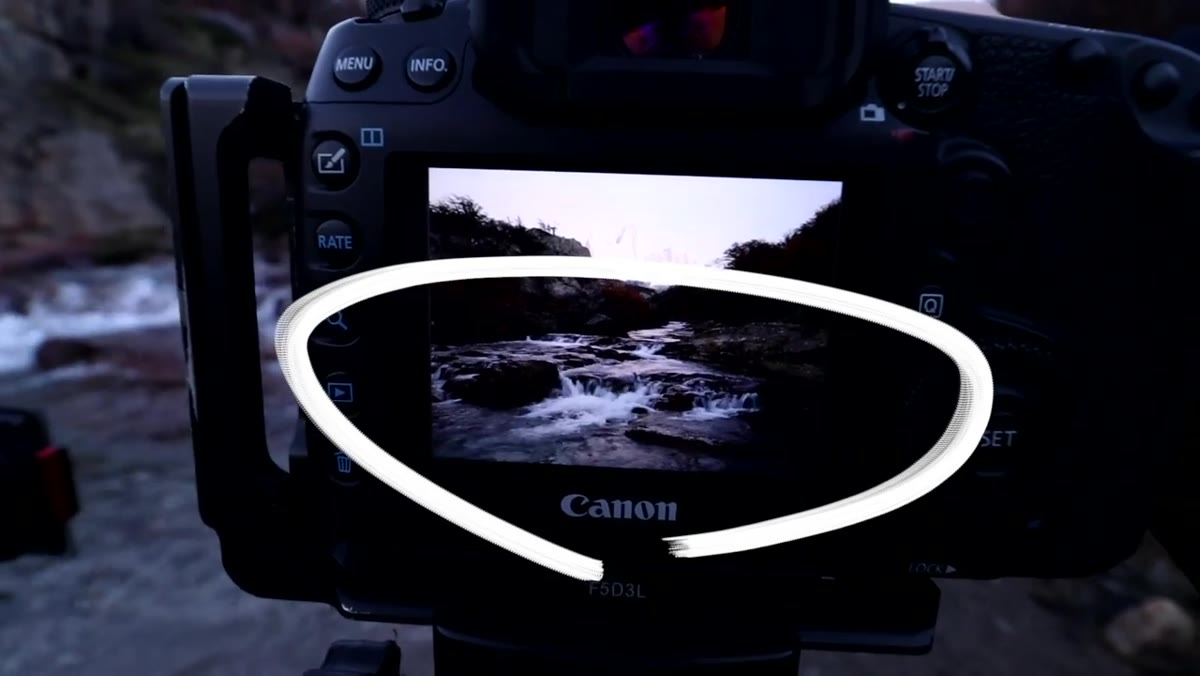
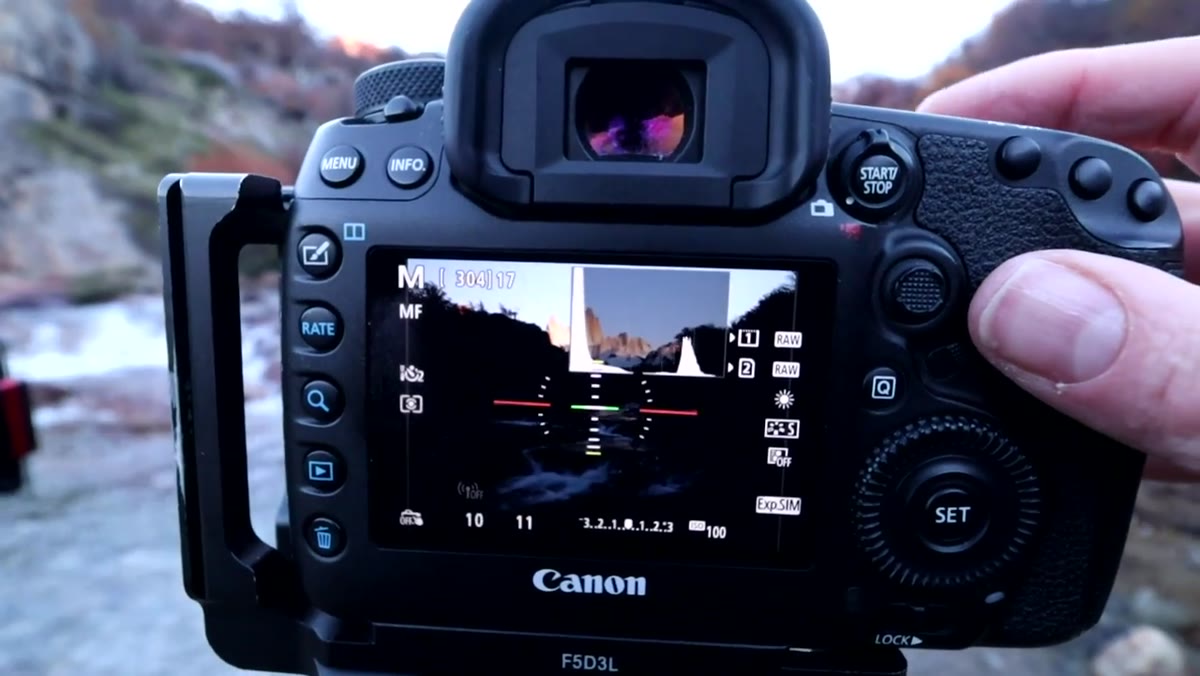
This is the most technically dense decision Heaton makes in the field, and he explains it clearly. The scene has extreme dynamic range: a brightly lit mountain catching alpenglow against a valley that’s still in deep shadow. A graduated ND filter won’t help here because the horizon line is jagged and uneven, so he brackets instead.
Camera display showing two different exposure settings for bracketing
This is the most technically dense decision Heaton makes in the field, and he explains it clearly. The scene has extreme dynamic range: a brightly lit mountain catching alpenglow against a valley that’s still in deep shadow. A graduated ND filter won’t help here because the horizon line is jagged and uneven, so he brackets instead.
He shoots one exposure around a third of a second to protect the highlights on Fitzroy, then a second at approximately one second at f11 to open up the shadows in the valley. He’s clear that he only expects to use both files about 20% of the time. Usually one file is workable. But having the shadow exposure means he can blend them in Lightroom if the single file can’t handle the lift without introducing noise. This is bracket-as-insurance, not bracket-as-default. That framing matters, because a lot of photographers over-bracket and then drown in files during editing.
Step 4: Approach the Lightroom Edit Without a Predetermined Look
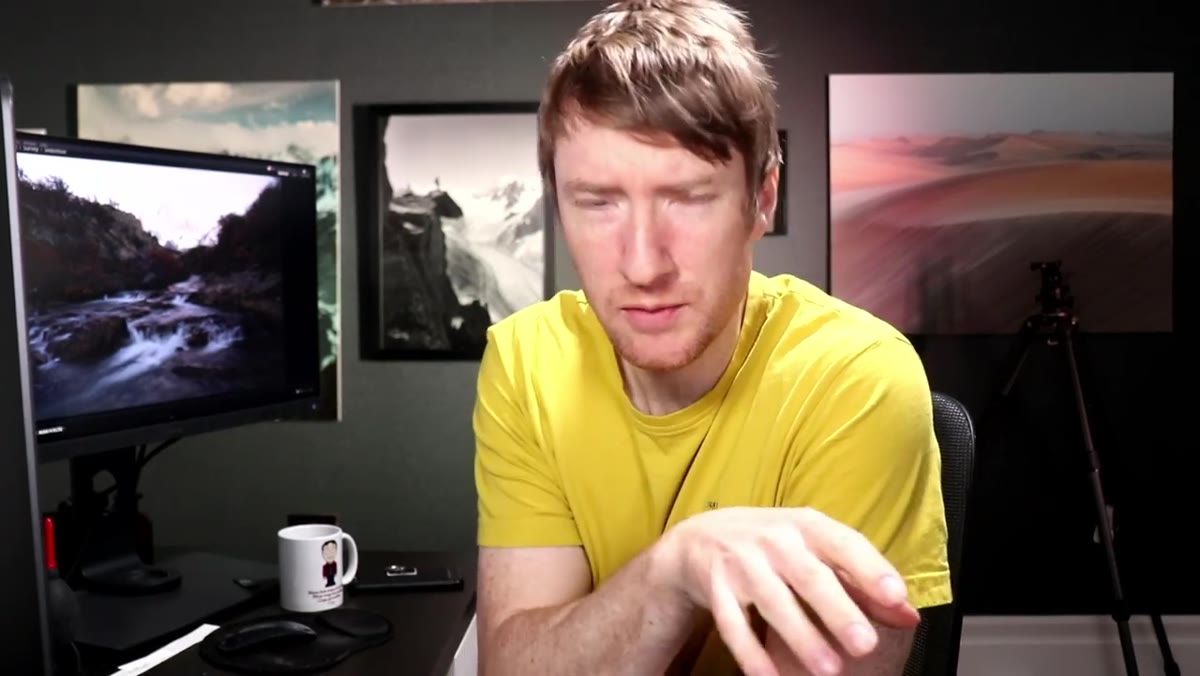 Lightroom library showing the raw files from the Patagonia shoot
One of the most honest things Heaton admits in this video is that he’s editing live, on camera, without having pre-edited the image first. Most tutorial creators pre-edit and then perform the edit as if it’s happening in real time. Heaton skips that safety net here, which means you’re watching actual decision-making, not a rehearsed demo.
Lightroom library showing the raw files from the Patagonia shoot
One of the most honest things Heaton admits in this video is that he’s editing live, on camera, without having pre-edited the image first. Most tutorial creators pre-edit and then perform the edit as if it’s happening in real time. Heaton skips that safety net here, which means you’re watching actual decision-making, not a rehearsed demo.
The practical takeaway for your own Lightroom workflow is to resist the urge to apply a preset and then try to fix whatever it breaks. Start from the raw file and ask what the image actually needs. In a scene like this, with warm alpenglow, deep cool shadows, and rich autumn color, the temperature and tint settings are doing meaningful work. Let the file tell you where it wants to go before you push your own aesthetic on top of it.
Step 5: Evaluate Whether to Blend Files or Work With One
 Two bracketed raw files side by side in Lightroom grid view
After importing, the first editorial decision is whether the single file handles shadow recovery cleanly or whether the bracket is needed. Heaton’s process is to try lifting the shadows on the better-exposed file first. If the noise floor is acceptable and the color holds up, one file is enough. If the shadows fall apart, he stacks both files, brings the highlights down on the brighter exposure, and lifts the shadows from the darker one.
Two bracketed raw files side by side in Lightroom grid view
After importing, the first editorial decision is whether the single file handles shadow recovery cleanly or whether the bracket is needed. Heaton’s process is to try lifting the shadows on the better-exposed file first. If the noise floor is acceptable and the color holds up, one file is enough. If the shadows fall apart, he stacks both files, brings the highlights down on the brighter exposure, and lifts the shadows from the darker one.
In Lightroom, you can do a version of this with the Shadows and Highlights sliders, but for more precise control, bringing both files into Photoshop as layers and using a luminosity mask gives you cleaner results, especially in areas like dark foreground water where color noise shows up quickly on aggressive lifts.
What I’d Add From My Own Experience
Heaton’s bracket-as-insurance philosophy is something I’ve started applying more deliberately, and I’d extend it to one more area: color temperature. When you’re shooting golden hour or alpenglow, the warmth shifts fast. I sometimes shoot one frame at auto white balance and one with a fixed Kelvin value, then decide in Lightroom which gives me a cleaner starting point. It’s the same insurance logic, different variable.
Also, if you’re editing a scene with the kind of saturated autumn foliage Heaton is working with, the HSL panel in Lightroom is where the edit gets specific. Pulling the orange and red hue sliders independently lets you keep the warmth of the leaves without letting them bleed into the skin tones if there’s a person in the frame, or into the rock texture if there isn’t. That panel does more for landscape color grading than any single preset ever will.
The biggest thing this tutorial reinforced for me is that good landscape editing starts before the shutter fires. Composition, polarizer technique, and exposure decisions made on location give you a file that Lightroom can actually work with. Software fixes bad light sometimes. It rarely fixes bad structure. Get the composition right at the river’s edge, and the edit becomes a finishing conversation rather than a rescue operation.
Watch the full tutorial on YouTube to follow Heaton’s live Lightroom edit and see exactly how he handles the files from this Patagonia session.
Comments
Leave a Comment