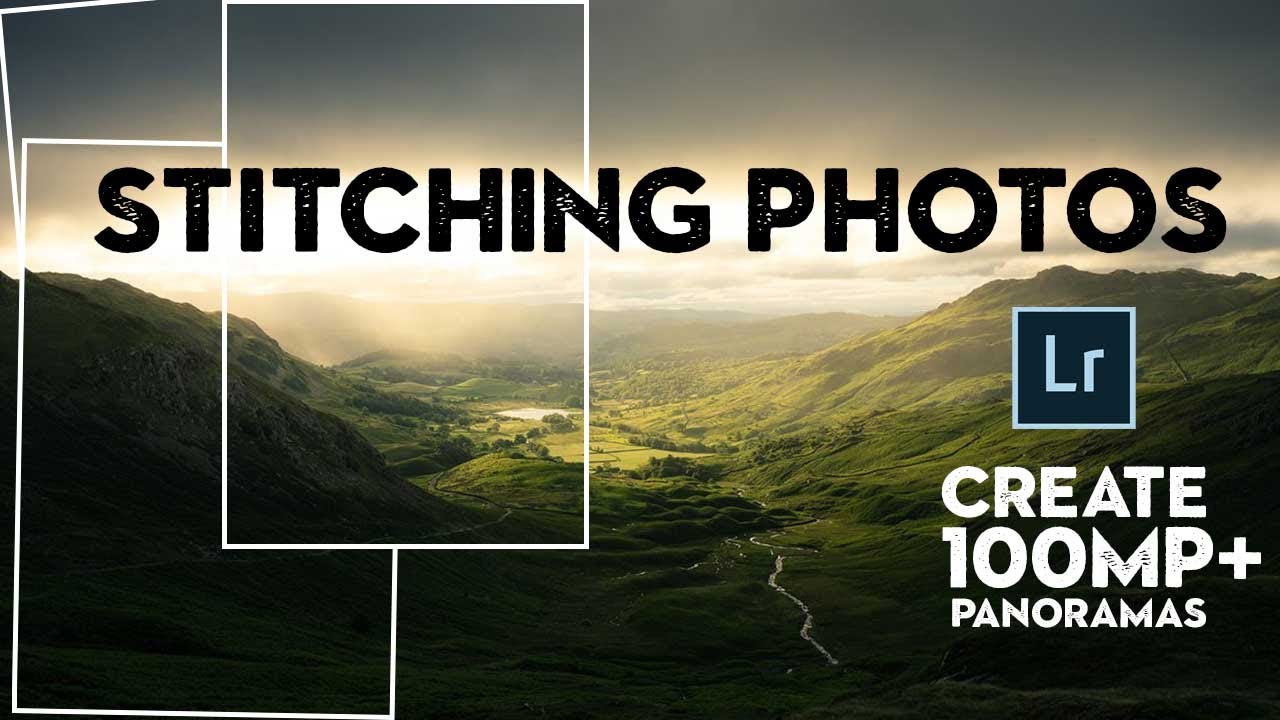
There’s a specific kind of frustration that comes from standing in front of a breathtaking landscape, knowing your 24-megapixel sensor is about to give you a file that looks great on Instagram and embarrassing at print size. I’ve been there more times than I want to admit. The fix I keep coming back to isn’t a gear upgrade. It’s stitching. Shooting multiple frames and merging them into a single high-resolution image is one of the most underused techniques in landscape photography, mostly because people assume it’s complicated or requires specialized equipment. It isn’t, and it doesn’t.
Watch the full tutorial on YouTube
In this Nigel Danson tutorial, he breaks down exactly how he captured and stitched a Lake District image made up of 14 to 15 individual frames, producing a file well over 100 megapixels. What I appreciate about his approach is that he doesn’t treat stitching as a special-occasion trick. He uses it constantly, for all kinds of shots, not just the obvious widescreen letterbox panoramas. Once you see how he thinks about it, you’ll start finding excuses to use it on nearly every shoot.
Step 1: Understand Why You’re Stitching (It’s Not Always About Wide Angles)
 Danson explaining different use cases for stitching on screen
Most people hear “panorama” and picture a sweeping horizontal landscape that wraps halfway around the horizon. That’s one use case. But Danson makes a point early on that reframes the whole technique. Stitching is also useful when you just need a little more breathing room on the edges of a frame without going to a wider focal length, which would force you to crop the top and bottom and throw away megapixels you can’t afford to lose. It’s useful when you want to print large. It’s useful when you want to build one master file you can crop into multiple compositions later. One of his Lake District shots ended up at 300 megapixels by stacking three rows of frames. That’s not a panorama. That’s a medium format camera you built yourself.
Danson explaining different use cases for stitching on screen
Most people hear “panorama” and picture a sweeping horizontal landscape that wraps halfway around the horizon. That’s one use case. But Danson makes a point early on that reframes the whole technique. Stitching is also useful when you just need a little more breathing room on the edges of a frame without going to a wider focal length, which would force you to crop the top and bottom and throw away megapixels you can’t afford to lose. It’s useful when you want to print large. It’s useful when you want to build one master file you can crop into multiple compositions later. One of his Lake District shots ended up at 300 megapixels by stacking three rows of frames. That’s not a panorama. That’s a medium format camera you built yourself.
Step 2: Decide Whether You’re Shooting Handheld or on a Tripod
 Handheld panorama examples shown side by side
This is where a lot of tutorials overcomplicate things. Danson’s honest answer is: handheld works more often than you’d expect. If you have decent light and your camera has in-body image stabilization, you can shoot down to a 10th or 15th of a second and still produce sharp, stitchable frames. He’s done it dozens of times. The stitching software is good enough now to handle minor handheld drift between frames.
Handheld panorama examples shown side by side
This is where a lot of tutorials overcomplicate things. Danson’s honest answer is: handheld works more often than you’d expect. If you have decent light and your camera has in-body image stabilization, you can shoot down to a 10th or 15th of a second and still produce sharp, stitchable frames. He’s done it dozens of times. The stitching software is good enough now to handle minor handheld drift between frames.
That said, when you do go to a tripod, you need it to be level before you start panning. Leveling with the tripod legs alone is tedious. Danson’s solution is a leveling base that sits between the tripod head and the legs. It’s a small, inexpensive addition that makes the whole process faster and more consistent. Once that base is level, your ball head can pan horizontally without introducing a tilt that would make your horizon curve across the final stitch.
Step 3: Set Your Camera for Consistent Exposures Across All Frames
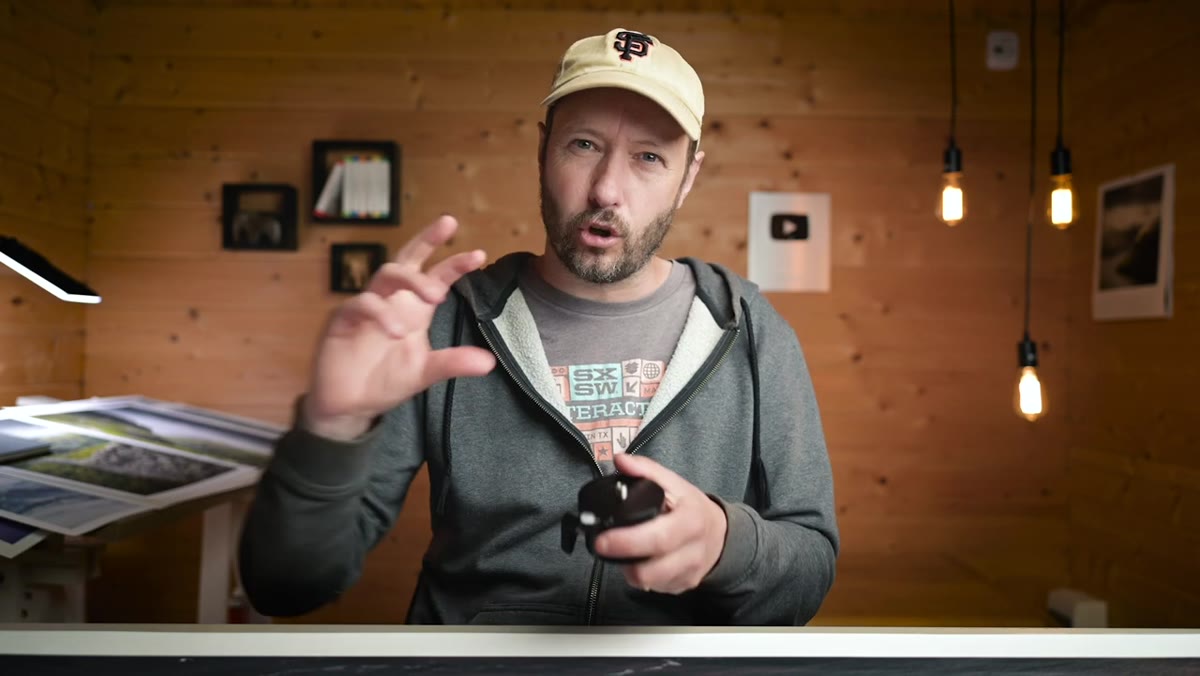 Camera settings overview, tripod with leveling head visible
This step is where people quietly sabotage their stitches without realizing it. If you’re shooting in any automatic mode, your camera is going to adjust exposure between frames as it meters different parts of the scene. When those frames are merged, you end up with banding. The fix is to shoot in full manual mode with a fixed ISO, aperture, and shutter speed. Lock in your exposure on the most critical part of the frame, usually the sky, and hold it across every shot in the sequence. Same rule applies to white balance. Set it manually so the color temperature stays identical from frame to frame.
Camera settings overview, tripod with leveling head visible
This step is where people quietly sabotage their stitches without realizing it. If you’re shooting in any automatic mode, your camera is going to adjust exposure between frames as it meters different parts of the scene. When those frames are merged, you end up with banding. The fix is to shoot in full manual mode with a fixed ISO, aperture, and shutter speed. Lock in your exposure on the most critical part of the frame, usually the sky, and hold it across every shot in the sequence. Same rule applies to white balance. Set it manually so the color temperature stays identical from frame to frame.
Step 4: Capture Your Frames with Enough Overlap
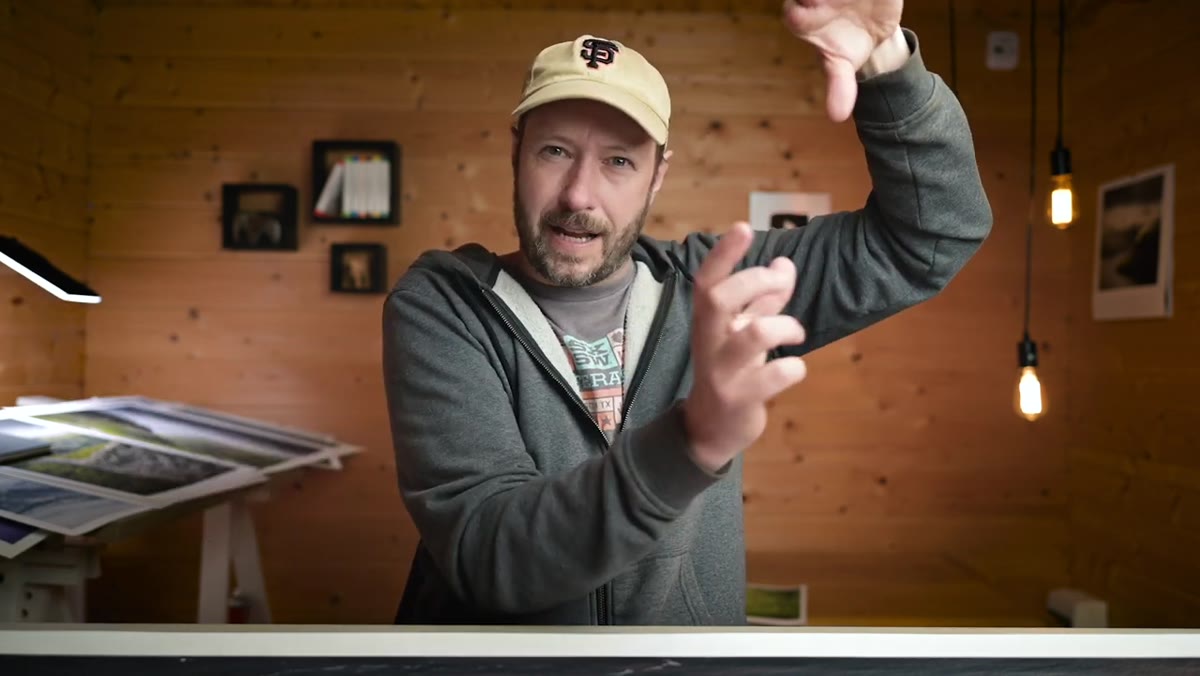
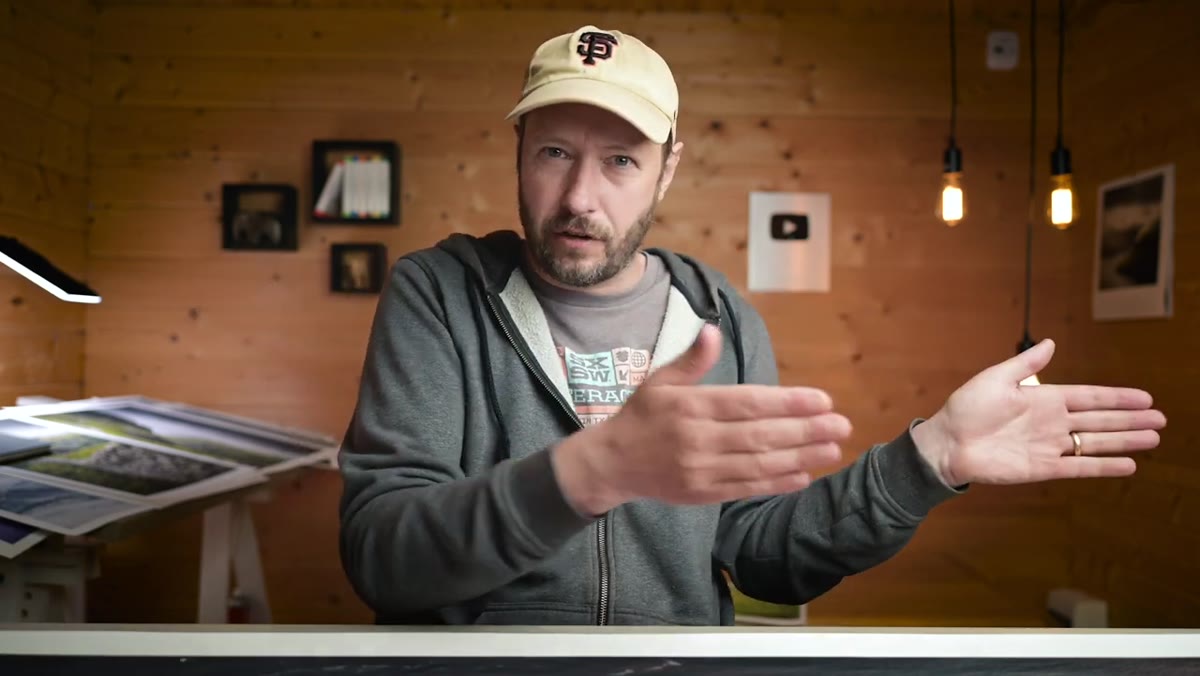 Demonstration of camera rotation with overlap between frames
Stitching software needs shared content between adjacent frames to figure out how they fit together. The standard recommendation is about 30 percent overlap between each shot. In practice, this means moving the camera more slowly between frames than feels natural. If you’re shooting a five-shot horizontal sequence, you shouldn’t be pivoting a full frame width between each click. Think of it as moving the camera so that roughly a third of your previous frame is still visible in the new one. More overlap is generally safer than less, especially if there are moving elements like water or clouds that might not align perfectly.
Demonstration of camera rotation with overlap between frames
Stitching software needs shared content between adjacent frames to figure out how they fit together. The standard recommendation is about 30 percent overlap between each shot. In practice, this means moving the camera more slowly between frames than feels natural. If you’re shooting a five-shot horizontal sequence, you shouldn’t be pivoting a full frame width between each click. Think of it as moving the camera so that roughly a third of your previous frame is still visible in the new one. More overlap is generally safer than less, especially if there are moving elements like water or clouds that might not align perfectly.
Step 5: Import and Merge in Lightroom
 Lightroom catalog with pano sequence selected for merge
Once your frames are imported into Lightroom, select the full sequence in the grid, right-click, and go to Photo Merge, then Panorama. Lightroom will open a merge dialog with a preview and a few projection options: Spherical, Cylindrical, and Perspective. For most landscape panoramas, Spherical or Cylindrical will give you the cleanest result. Spherical handles wide sequences well. Cylindrical tends to keep horizontal lines straighter on moderately wide panos.
Lightroom catalog with pano sequence selected for merge
Once your frames are imported into Lightroom, select the full sequence in the grid, right-click, and go to Photo Merge, then Panorama. Lightroom will open a merge dialog with a preview and a few projection options: Spherical, Cylindrical, and Perspective. For most landscape panoramas, Spherical or Cylindrical will give you the cleanest result. Spherical handles wide sequences well. Cylindrical tends to keep horizontal lines straighter on moderately wide panos.
There’s also a boundary warp slider in the merge dialog, which is worth knowing about. Pulling it up lets Lightroom stretch the edges of the merged image to fill a rectangular frame instead of leaving the uneven scalloped borders that stitches often produce. Use it conservatively. At high values, it distorts the edges noticeably. For most shots, a little boundary warp plus a manual crop gives a cleaner final result than maxing the slider out.
Step 6: Use the Lightroom HDR Panorama Merge for Tricky Light
 HDR Panorama merge option shown in Lightroom menu
Here’s the Lightroom secret Danson flags in the video, and it’s genuinely useful. If you’ve shot multiple exposures at each position across your pano sequence, specifically because the dynamic range of the scene was too wide for a single exposure, you don’t have to merge the HDR brackets first and then stitch the results. You can do both at once. Select all of your bracketed frames across the entire sequence, right-click, and choose Photo Merge, then HDR Panorama. Lightroom handles the exposure blending and the stitching in a single pass. It’s faster than the two-step workaround and produces a 16-bit DNG that you can edit non-destructively with the full dynamic range intact.
HDR Panorama merge option shown in Lightroom menu
Here’s the Lightroom secret Danson flags in the video, and it’s genuinely useful. If you’ve shot multiple exposures at each position across your pano sequence, specifically because the dynamic range of the scene was too wide for a single exposure, you don’t have to merge the HDR brackets first and then stitch the results. You can do both at once. Select all of your bracketed frames across the entire sequence, right-click, and choose Photo Merge, then HDR Panorama. Lightroom handles the exposure blending and the stitching in a single pass. It’s faster than the two-step workaround and produces a 16-bit DNG that you can edit non-destructively with the full dynamic range intact.
What I’d Add From My Own Workflow
One thing the video doesn’t dig into is focal length choice for stitching. I’ve found that slightly longer lenses, somewhere in the 50 to 85mm range, produce stitches that feel more natural than ultra-wide shots. Wide angle lenses introduce distortion at the edges of each individual frame, and even though Lightroom corrects most of it, you can sometimes see artifacts where the corrected frames meet. A slightly longer focal length means less distortion per frame, cleaner edges, and a stitch that looks like it could have come from a single exposure. It also forces you to shoot more frames to cover the same scene, which is actually a good thing. More frames means more megapixels.
The whole point of this technique is that it removes the ceiling on what your existing gear can do. Your camera doesn’t need a hardware upgrade to produce a 150-megapixel file. It just needs a methodical shooter behind it and a few minutes in Lightroom afterward.
Watch the full tutorial on YouTube to see Nigel walk through his actual Lake District shoot from field to final edit. It’s one of those videos that changes how you think about every scene you’re standing in front of.
Comments
Leave a Comment