
There’s a specific kind of frustration that comes from sharing a photo online and watching it float away from you with no indication it was yours. I’ve been there more times than I can count. Before I ever wrote a single tutorial, I was editing press shots for my band in a tiny apartment in Nashville, learning Lightroom out of necessity because we couldn’t afford to hire anyone. Credit rarely traveled with those images. Somewhere along the way I made peace with the idea that a well-placed, tasteful watermark isn’t vanity. It’s just basic ownership.
The problem is that most photographers either skip watermarking entirely or do it in a way that screams “I right-clicked a Canva template.” There’s a middle ground, and it starts with using your actual signature. In this Matt Kloskowski tutorial, he walks through exactly how to build a clean signature graphic from scratch and drop it into Lightroom as a professional identity plate. It’s genuinely one of the more practical workflows I’ve seen for this, and it holds up even if you’ve never touched the identity plate settings before. Watch the full tutorial on YouTube if you want to follow along with the video, or use the steps below to work through it at your own pace.
Step 1: Create a New Blank Document in Photoshop
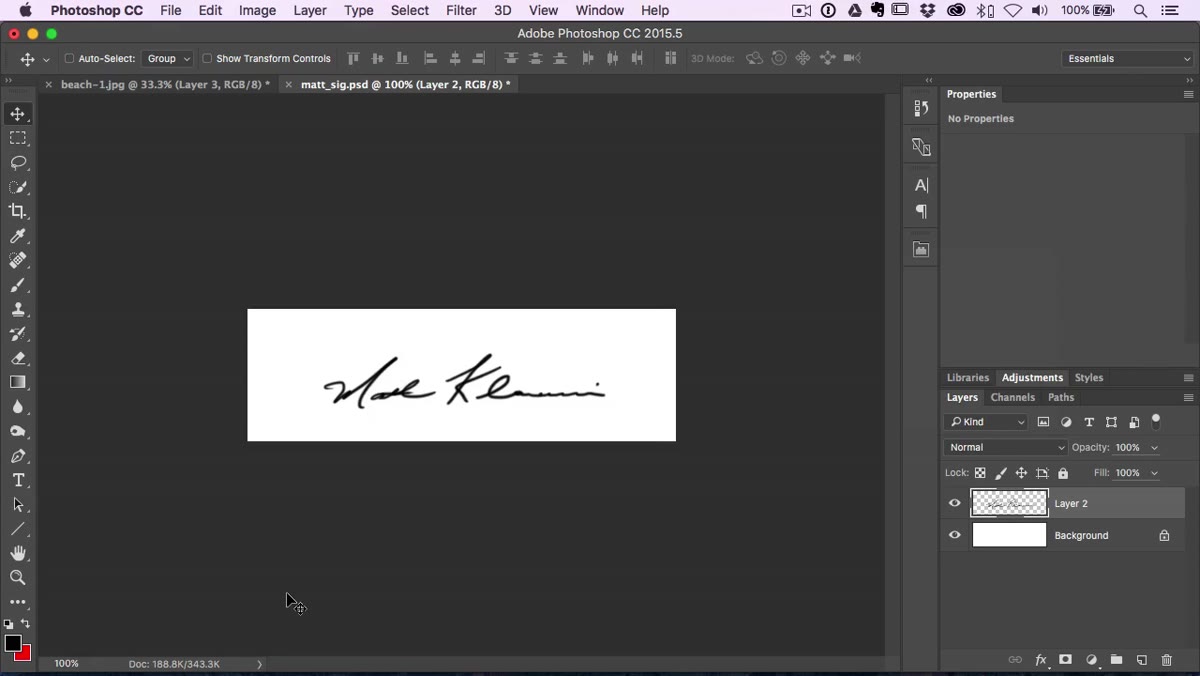 Photoshop canvas open with blank document and layer panel
Open Photoshop and create a new blank document. The dimensions don’t need to be massive. What matters here is that you immediately add a new blank layer on top of the default background layer before you do anything else. Do not draw your signature directly on the background layer. If you do, you’ll lose the transparency you need later, and the whole thing falls apart at the export stage.
Photoshop canvas open with blank document and layer panel
Open Photoshop and create a new blank document. The dimensions don’t need to be massive. What matters here is that you immediately add a new blank layer on top of the default background layer before you do anything else. Do not draw your signature directly on the background layer. If you do, you’ll lose the transparency you need later, and the whole thing falls apart at the export stage.
Step 2: Set Up Your Brush Tool Correctly
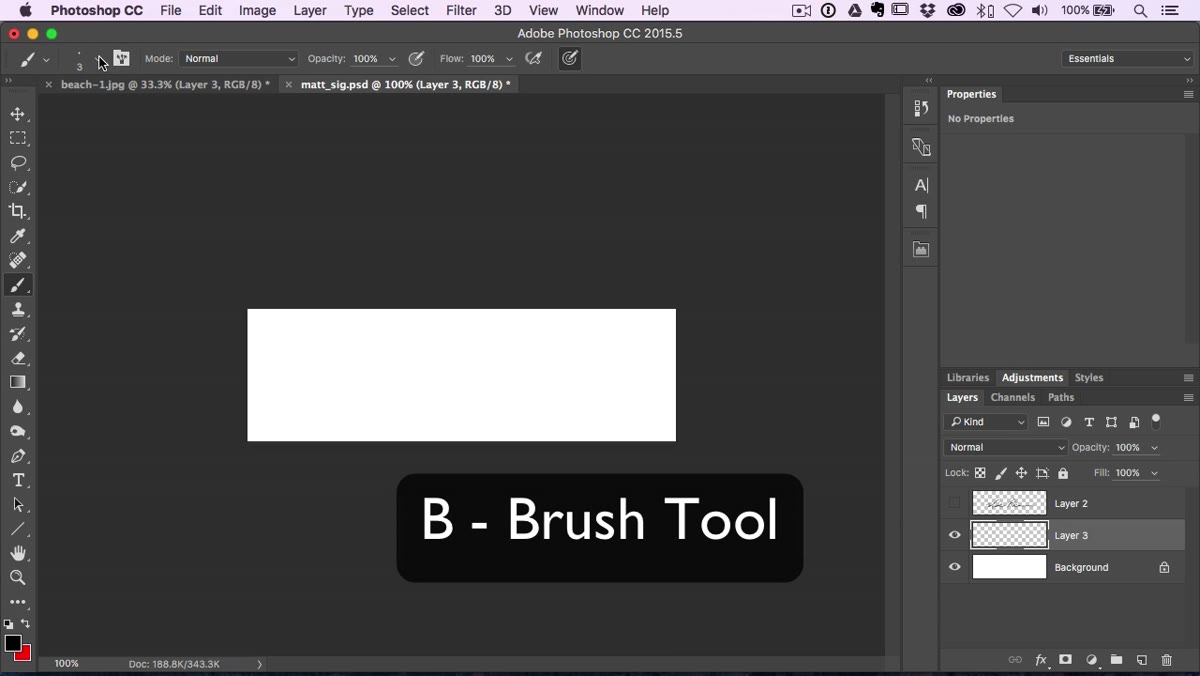 Brush settings panel showing hardness at 100 percent
Press B to activate the Brush tool. Go up to the brush settings in the options bar and make two adjustments. First, keep your brush size small, somewhere between 3 and 5 pixels works well for a signature. Second, and this is the part most people skip, set your hardness to 100%. You want a completely hard-edged brush. A soft or feathered brush edge will make your signature look blurry when it’s placed over a photo, especially against light backgrounds. Hard edge only.
Brush settings panel showing hardness at 100 percent
Press B to activate the Brush tool. Go up to the brush settings in the options bar and make two adjustments. First, keep your brush size small, somewhere between 3 and 5 pixels works well for a signature. Second, and this is the part most people skip, set your hardness to 100%. You want a completely hard-edged brush. A soft or feathered brush edge will make your signature look blurry when it’s placed over a photo, especially against light backgrounds. Hard edge only.
Step 3: Write Your Signature on the Blank Layer
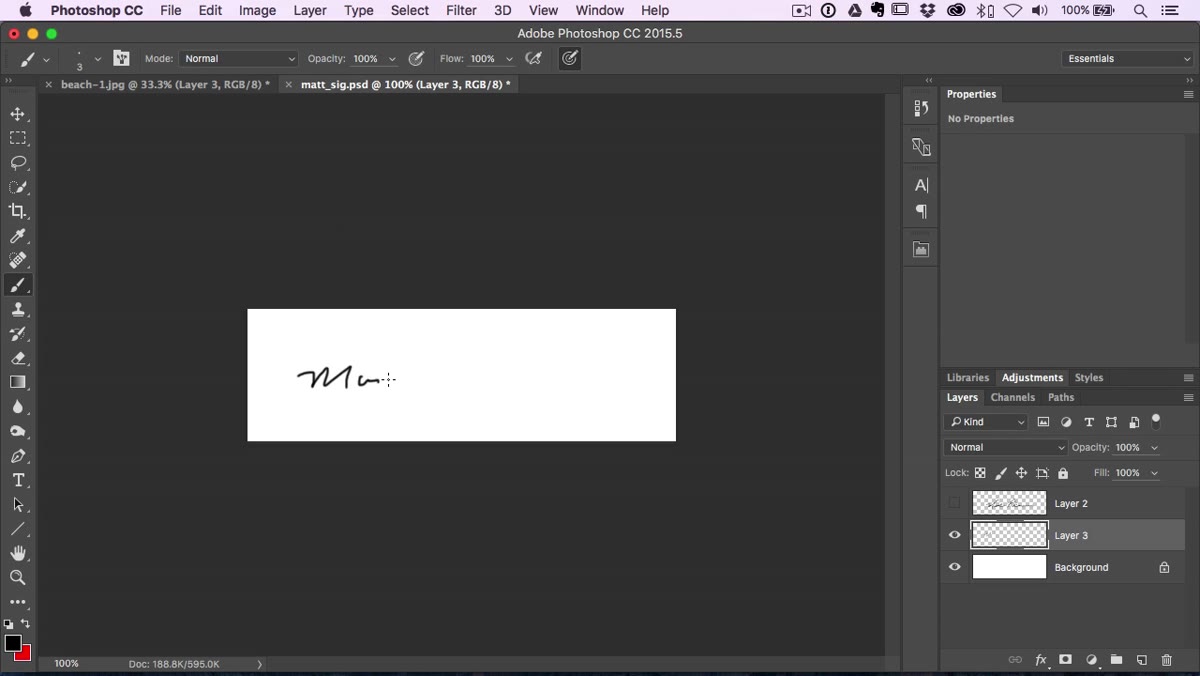 Signature being drawn on Photoshop canvas with brush tool
With your brush configured, write your signature on that blank layer you created. If you’re working with a mouse, this takes patience and probably a few attempts before it looks natural. A Wacom tablet or any stylus-based input device makes this significantly easier and more fluid, since you’re drawing with actual pen pressure rather than dragging a cursor around. Kloskowski used a tablet for his, and the difference in quality between mouse and stylus signatures is noticeable. Either way, take your time. You only need to do this once.
Signature being drawn on Photoshop canvas with brush tool
With your brush configured, write your signature on that blank layer you created. If you’re working with a mouse, this takes patience and probably a few attempts before it looks natural. A Wacom tablet or any stylus-based input device makes this significantly easier and more fluid, since you’re drawing with actual pen pressure rather than dragging a cursor around. Kloskowski used a tablet for his, and the difference in quality between mouse and stylus signatures is noticeable. Either way, take your time. You only need to do this once.
Step 4: Turn Off the Background Layer
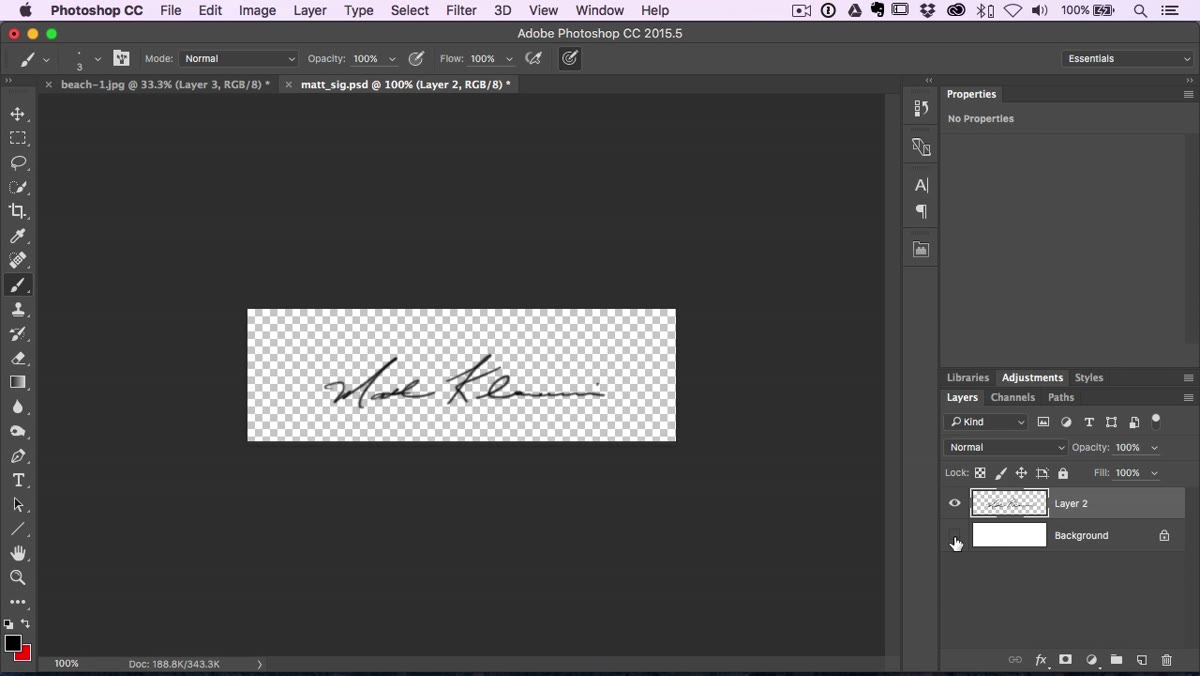 Photoshop canvas showing transparent checkered background with signature only
Once your signature looks the way you want it, hide the background layer by clicking the eye icon next to it in the Layers panel. What you should see now is your signature sitting on a gray and white checkerboard pattern. That checkerboard is Photoshop’s visual indicator for transparency. If you’re seeing it, you’re in good shape. If the background is still white or any solid color, go back and make sure you’re hiding the right layer.
Photoshop canvas showing transparent checkered background with signature only
Once your signature looks the way you want it, hide the background layer by clicking the eye icon next to it in the Layers panel. What you should see now is your signature sitting on a gray and white checkerboard pattern. That checkerboard is Photoshop’s visual indicator for transparency. If you’re seeing it, you’re in good shape. If the background is still white or any solid color, go back and make sure you’re hiding the right layer.
Step 5: Export as a PNG File
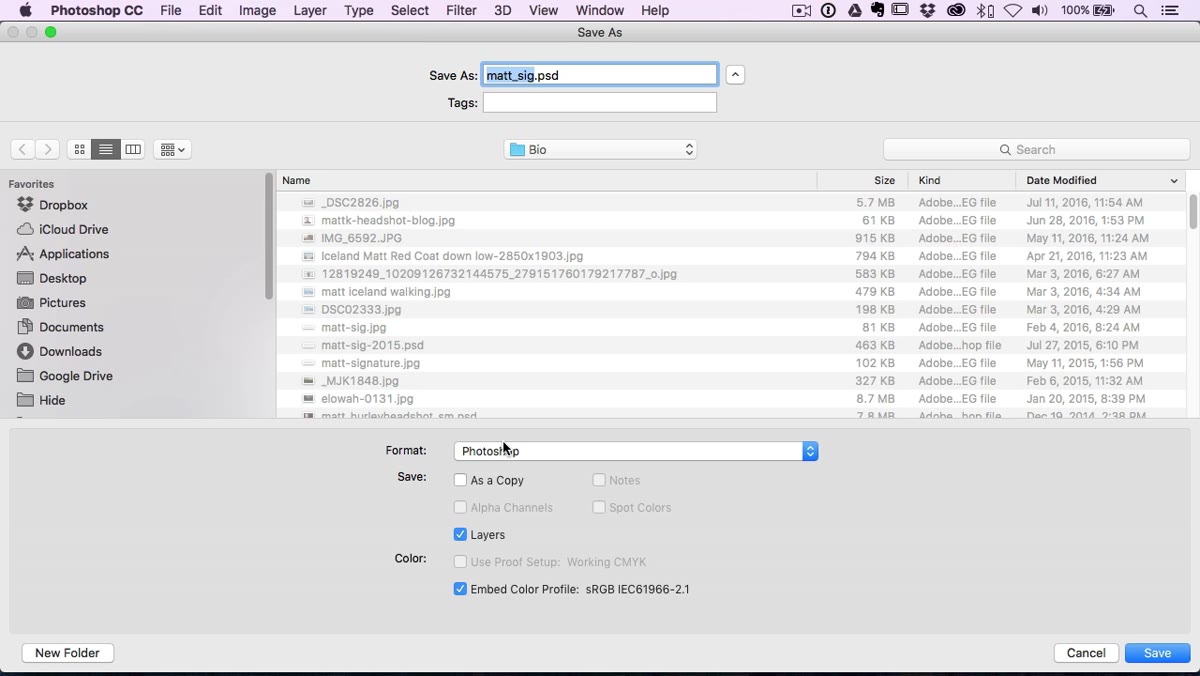 Save As dialog with PNG format selected in dropdown menu
Go to File, then Save As. This is the step where the file format choice actually matters. Scroll through the format options and select PNG. JPEG does not support transparency, so your signature will arrive on a white or black rectangle when you import it into Lightroom. PNG preserves the transparent background, which means only your actual signature pixels will show up when placed over a photo. Save it somewhere you’ll remember, because you’re about to go get it from Lightroom.
Save As dialog with PNG format selected in dropdown menu
Go to File, then Save As. This is the step where the file format choice actually matters. Scroll through the format options and select PNG. JPEG does not support transparency, so your signature will arrive on a white or black rectangle when you import it into Lightroom. PNG preserves the transparent background, which means only your actual signature pixels will show up when placed over a photo. Save it somewhere you’ll remember, because you’re about to go get it from Lightroom.
Step 6: Add Your Signature as an Identity Plate in Lightroom
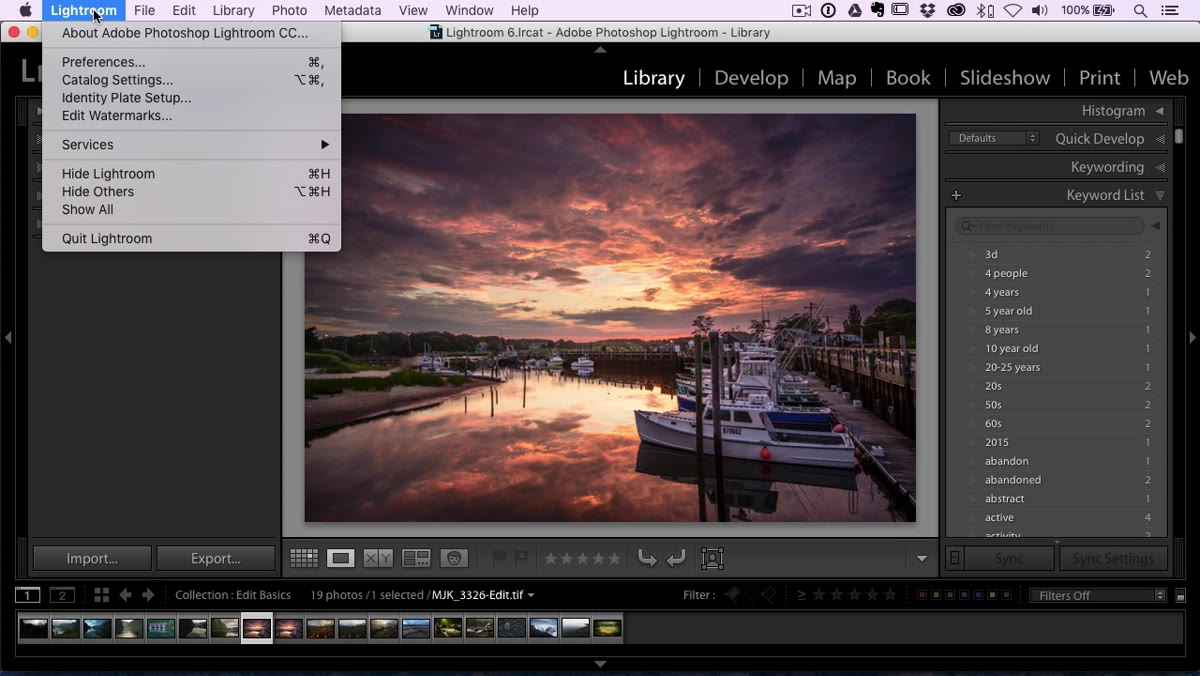 Lightroom Identity Plate Setup dialog with graphic option selected
Switch over to Lightroom. On a Mac, go to the Lightroom menu and select Identity Plate Setup. On a PC, this lives under the Edit menu. Inside that dialog, change the setting from styled text to use a graphic identity plate. You’ll see an option to locate a file. Navigate to the PNG you just saved from Photoshop, select it, and Lightroom will load it in. You should see a preview of your signature in the identity plate preview area. If it still shows a solid background instead of transparency, double-check that you exported a PNG and not a JPEG.
Lightroom Identity Plate Setup dialog with graphic option selected
Switch over to Lightroom. On a Mac, go to the Lightroom menu and select Identity Plate Setup. On a PC, this lives under the Edit menu. Inside that dialog, change the setting from styled text to use a graphic identity plate. You’ll see an option to locate a file. Navigate to the PNG you just saved from Photoshop, select it, and Lightroom will load it in. You should see a preview of your signature in the identity plate preview area. If it still shows a solid background instead of transparency, double-check that you exported a PNG and not a JPEG.
Step 7: Use the Identity Plate in Print or Export
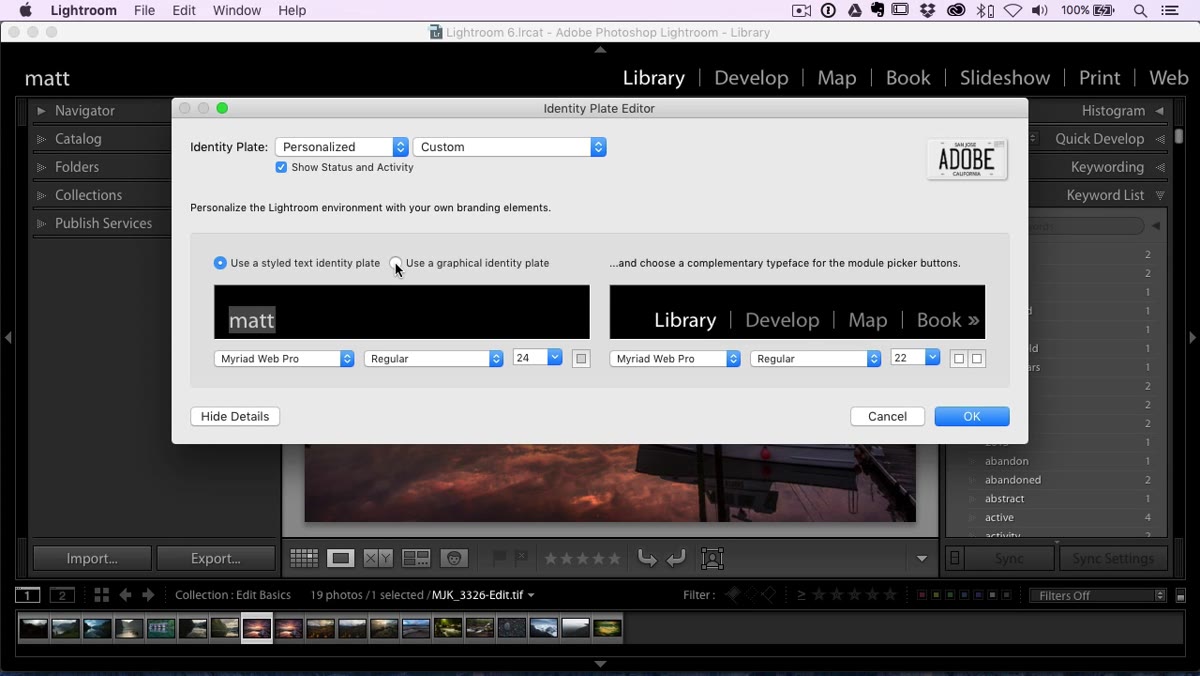 Identity plate preview showing signature graphic loaded in Lightroom
Once the identity plate is set up, Lightroom makes it available across multiple modules. You can use it in the Print module to overlay it on printed layouts, or add it as a watermark through the Export dialog by selecting it under the Watermarking options. In the Export watermark settings, you can scale, reposition, and adjust the opacity of your signature graphic so it sits where you want it on the final image without dominating the composition. Keep opacity somewhere in the 60 to 80 percent range for most photos. Full opacity tends to look heavy-handed unless you’re using a very small placement.
Identity plate preview showing signature graphic loaded in Lightroom
Once the identity plate is set up, Lightroom makes it available across multiple modules. You can use it in the Print module to overlay it on printed layouts, or add it as a watermark through the Export dialog by selecting it under the Watermarking options. In the Export watermark settings, you can scale, reposition, and adjust the opacity of your signature graphic so it sits where you want it on the final image without dominating the composition. Keep opacity somewhere in the 60 to 80 percent range for most photos. Full opacity tends to look heavy-handed unless you’re using a very small placement.
One Thing I’d Add From My Own Workflow
Before you even open Photoshop, spend a few minutes thinking about where on your photos your signature will typically live. My personal preference is lower right, small, and slightly transparent. Knowing your intended placement helps you size the original Photoshop canvas appropriately and keeps the signature from being so large that it becomes the focal point of every export.
I’d also recommend keeping both a black version and a white version of your signature PNG. Light photos need dark text. Dark photos need light text. Swapping between the two in Lightroom’s identity plate setup takes about ten seconds, and it makes a real difference in readability. I keep both saved in the same folder as a “signatures” kit that lives in my Lightroom catalog alongside my export presets, most of which are named after records I’ve been listening to while editing. The system works.
The single most useful thing about this workflow is the PNG transparency step. Everything else in the process is flexible. You can sign with a mouse or a stylus, you can go big or small, you can place the identity plate in different spots depending on the project. But if you save your signature without a transparent background, none of the rest of it works cleanly. Get the export format right, and the rest of the setup in Lightroom is genuinely quick.
Watch the full tutorial on YouTube to see Matt Kloskowski walk through the whole thing in real time.
Comments (2)
Shared this with my photography group. Everyone loved it.
Love this. I referenced a similar technique in one of my recent posts. Always good to see other perspectives.
Leave a Comment