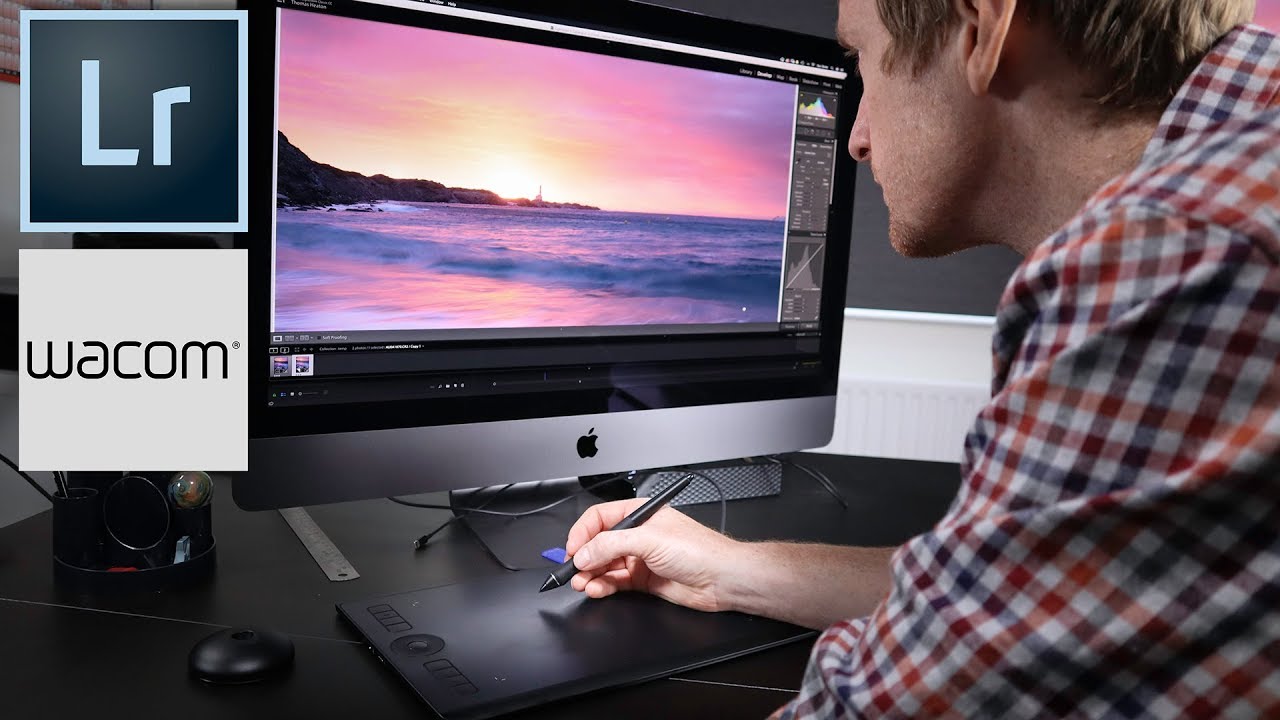
I’ve been editing photos in Lightroom long enough to have strong opinions about things most people don’t notice, like the exact amount of friction a scroll wheel should have, or why the brush tool with a mouse feels like trying to paint with a bar of soap. For years I told myself the mouse was fine. It’s fine. Everyone uses a mouse. Then I watched Thomas Heaton pick up a Wacom Intuos Pro tablet for the first time and start editing like he’d been born with a stylus in his hand, and I felt that specific kind of creative jealousy that means you need to change something.
Watch the full tutorial on YouTube
In this Thomas Heaton tutorial, he documents his first 24 hours with the Wacom Intuos Pro Medium, a tablet he bought with his own money after watching professional photographers use them at a conference. That context matters. This isn’t a sponsored unboxing. It’s a working landscape photographer realizing mid-career that one peripheral was quietly limiting everything he did in post. The video is short and energetic, but the technique underneath it is worth slowing down and unpacking, because the setup decisions he makes are the difference between a tablet that collects dust and one that actually transforms your editing sessions.
Step 1: Choose the Right Tablet Size and Model
 Heaton explaining his tablet model and price point
Heaton goes with the Wacom Intuos Pro Medium, landing around 350 pounds at the time of recording. He considered cheaper options, some well under 100 pounds, but took the advice of a photographer friend and went mid-to-upper tier. The reasoning is practical: the Pro line gives you programmable buttons on the tablet body and a touch wheel, which is where the real workflow magic happens. The medium size is the sweet spot for desk editing. Large feels unwieldy next to a keyboard; small limits your wrist movement and makes precise masking harder. If you’re editing landscapes or portraits where local adjustments matter, don’t cheap out on the size.
Heaton explaining his tablet model and price point
Heaton goes with the Wacom Intuos Pro Medium, landing around 350 pounds at the time of recording. He considered cheaper options, some well under 100 pounds, but took the advice of a photographer friend and went mid-to-upper tier. The reasoning is practical: the Pro line gives you programmable buttons on the tablet body and a touch wheel, which is where the real workflow magic happens. The medium size is the sweet spot for desk editing. Large feels unwieldy next to a keyboard; small limits your wrist movement and makes precise masking harder. If you’re editing landscapes or portraits where local adjustments matter, don’t cheap out on the size.
Step 2: Configure the Side Buttons for Lightroom Specifically
 Close-up of tablet side buttons being explained
This is the step most people skip, and it’s the reason their tablet ends up in a drawer. The Wacom software lets you assign different button functions per application, meaning your Lightroom profile doesn’t interfere with Photoshop or anything else. Heaton sets his four side buttons to the four tools he reaches for constantly: crop, graduated filter, radial filter, and the brush tool. Think about your own editing patterns before you mirror his setup exactly. If you rarely use graduated filters but live inside the HSL panel, program accordingly. The point is to get your most-used tools one physical button press away from your hand, which is already resting on the tablet.
Close-up of tablet side buttons being explained
This is the step most people skip, and it’s the reason their tablet ends up in a drawer. The Wacom software lets you assign different button functions per application, meaning your Lightroom profile doesn’t interfere with Photoshop or anything else. Heaton sets his four side buttons to the four tools he reaches for constantly: crop, graduated filter, radial filter, and the brush tool. Think about your own editing patterns before you mirror his setup exactly. If you rarely use graduated filters but live inside the HSL panel, program accordingly. The point is to get your most-used tools one physical button press away from your hand, which is already resting on the tablet.
Step 3: Set the Wheel to Control Brush Size
 Finger spinning the touch wheel to resize brush
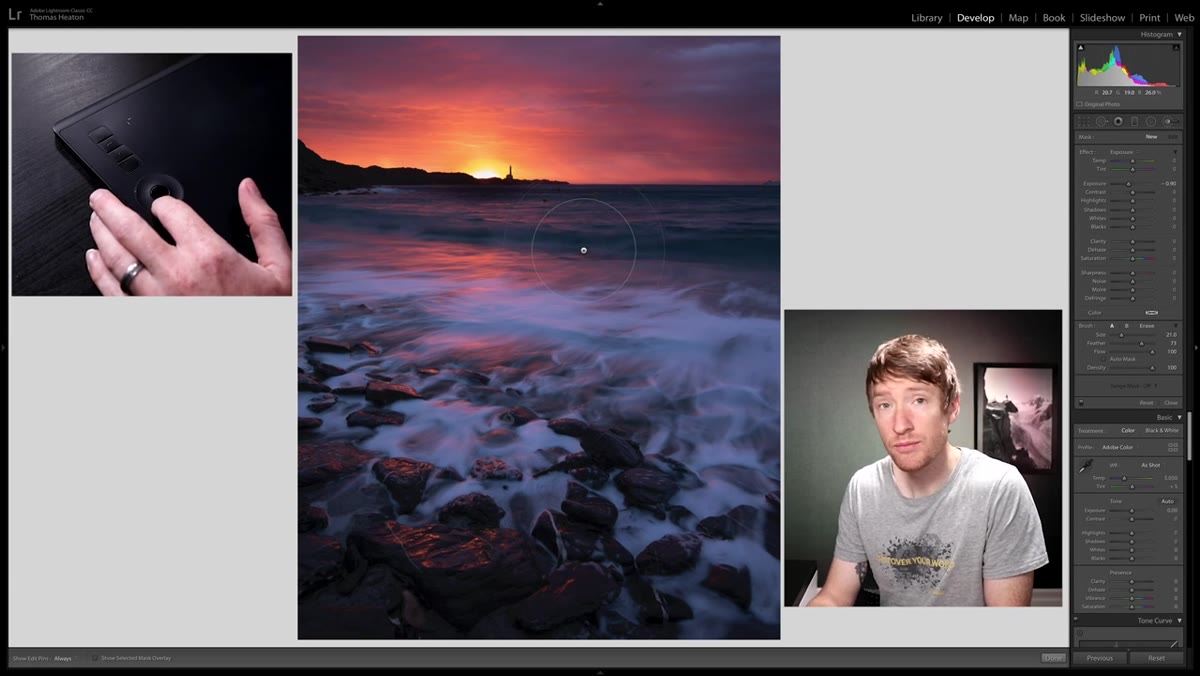
The touch wheel on the Intuos Pro is the feature that made me immediately want one. Heaton maps it to brush size control, so as he spins his finger around the wheel, the brush grows or shrinks in real time. Anyone who has ever tried to hit the bracket keys on a keyboard while mid-stroke on a mask knows exactly why this matters. You lose flow every single time. With the wheel, you stay in the image. You adjust and paint without breaking your visual focus. It’s a small thing that compounds across an entire editing session into something that genuinely feels different.
Finger spinning the touch wheel to resize brush
The touch wheel on the Intuos Pro is the feature that made me immediately want one. Heaton maps it to brush size control, so as he spins his finger around the wheel, the brush grows or shrinks in real time. Anyone who has ever tried to hit the bracket keys on a keyboard while mid-stroke on a mask knows exactly why this matters. You lose flow every single time. With the wheel, you stay in the image. You adjust and paint without breaking your visual focus. It’s a small thing that compounds across an entire editing session into something that genuinely feels different.
Step 4: Program the Pen Buttons for Undo and Right-Click
 Heaton pointing to the two buttons on the pen itself
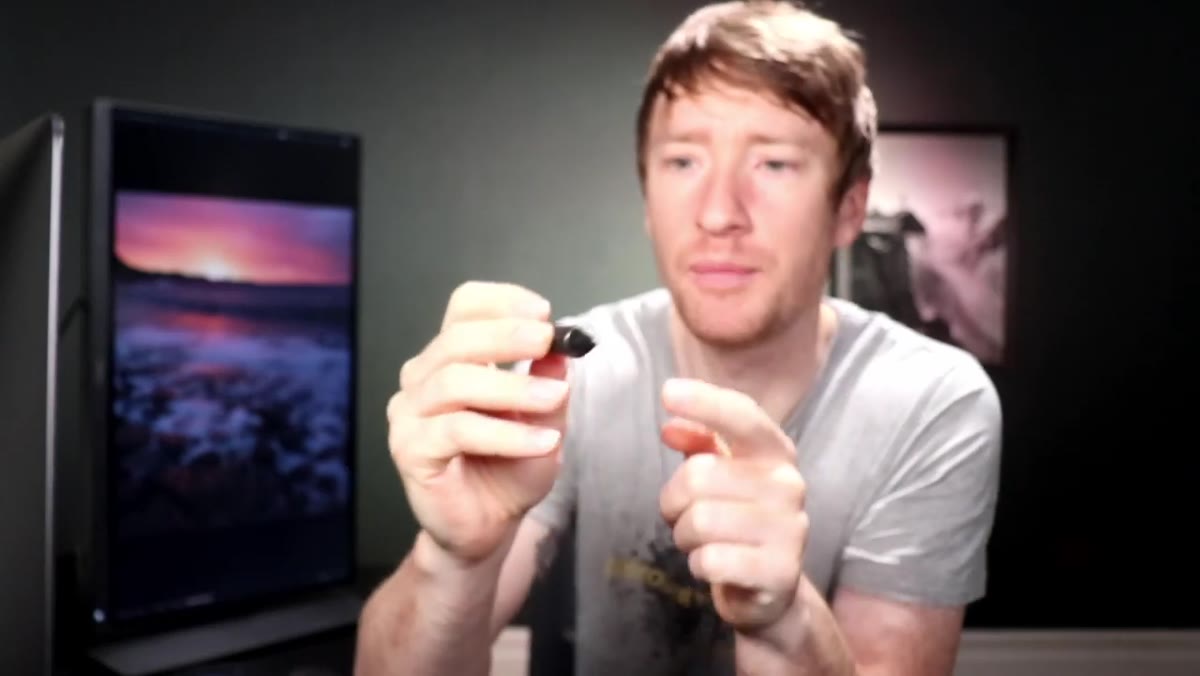
The stylus itself has two buttons sitting right where your thumb naturally rests. Heaton programs the top button as undo, which is, honestly, the most-used command in any editing session. Mistakes are part of the process, and having undo on your pen means you never have to reach for the keyboard or break your grip. The second button gets mapped to right-click functionality, giving you context menus without lifting your hand off the tablet. Together, these two buttons mean your left hand barely needs to touch the keyboard during a standard Lightroom session. That’s the goal: keep both hands in the edit, not hunting across a desk.
Heaton pointing to the two buttons on the pen itself
The stylus itself has two buttons sitting right where your thumb naturally rests. Heaton programs the top button as undo, which is, honestly, the most-used command in any editing session. Mistakes are part of the process, and having undo on your pen means you never have to reach for the keyboard or break your grip. The second button gets mapped to right-click functionality, giving you context menus without lifting your hand off the tablet. Together, these two buttons mean your left hand barely needs to touch the keyboard during a standard Lightroom session. That’s the goal: keep both hands in the edit, not hunting across a desk.
Step 5: Replace Your Mouse Entirely
 Heaton setting the mouse aside in favor of the tablet
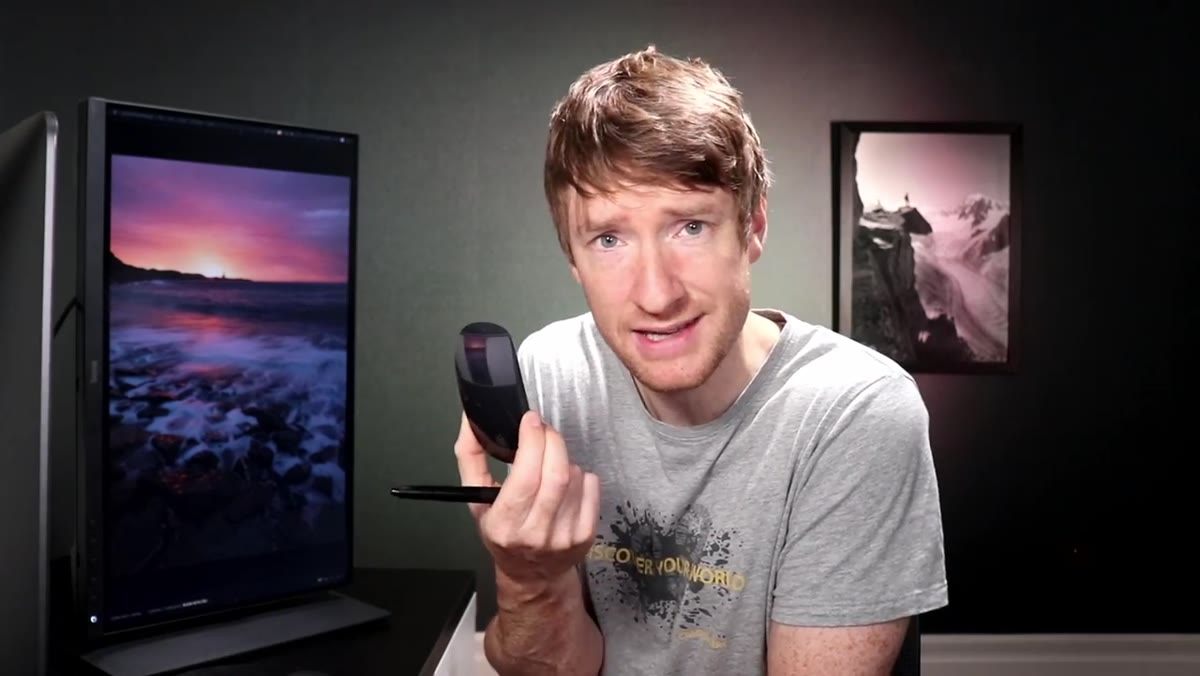
Heaton makes the commitment explicit: the tablet becomes the mouse. Not a supplement to it, a replacement. The pen controls the cursor with absolute positioning, meaning wherever you tap on the tablet surface corresponds directly to a point on your screen. This feels strange for about an hour and then clicks into place in a way that regular mouse use never quite does. The physical act of drawing a gradient or painting a mask with a pen is closer to the actual intention of the edit. You’re not dragging a plastic brick across a pad. You’re painting light.
Heaton setting the mouse aside in favor of the tablet
Heaton makes the commitment explicit: the tablet becomes the mouse. Not a supplement to it, a replacement. The pen controls the cursor with absolute positioning, meaning wherever you tap on the tablet surface corresponds directly to a point on your screen. This feels strange for about an hour and then clicks into place in a way that regular mouse use never quite does. The physical act of drawing a gradient or painting a mask with a pen is closer to the actual intention of the edit. You’re not dragging a plastic brick across a pad. You’re painting light.
What I’d Add: Sensitivity Pressure Curves for Local Adjustments
Heaton’s video focuses on the button setup, and that’s the right place to start. But once you’ve had the tablet for a few weeks, go into the Wacom driver settings and experiment with the pen pressure sensitivity curve. Lightroom’s brush tool responds to pen pressure if you enable it, which means pressing harder builds up more of an adjustment, and a light touch feathers the edge. I run a slightly soft curve so the lower pressure range is more responsive, which helps when I’m doing gentle luminosity masking or dodging highlights without blowing them out. It’s the kind of fine-tuning that doesn’t show up in a 24-hour first-impressions video, but it’s what separates using a tablet from actually painting with one.
The single biggest takeaway from Heaton’s video is that intuitive tools lower the barrier between your creative intention and the actual edit. A mouse is a translation layer. A pen is closer to a direct line. The button programming isn’t the point on its own, it’s the fact that when your tools fit your hand and your workflow, you stop thinking about the software and start thinking about the image. That’s the whole game.
Watch the full tutorial on YouTube and pay attention to how natural his editing motion looks once the tablet is running. That’s not years of practice with the tablet. That’s 24 hours. It’s worth considering what that means for your own workflow.
Comments
Leave a Comment