
Every so often Adobe drops a major Lightroom release and the photography internet loses its mind. Speed boosts. AI features. Workflow revolution. I’ve been through enough of these cycles to know that the gap between the press release and the actual editing desk can be enormous. When Lightroom 6 and Lightroom CC landed, I was deep in the middle of editing a portrait session and genuinely needed to know whether upgrading mid-project was going to help me or blow up my afternoon. I don’t make that call based on marketing copy.
That’s exactly why I went straight to Watch the full tutorial on YouTube from Tony and Chelsea Northrup, who did something most reviewers don’t bother with: they actually timed things. They ran the same tasks on the same hardware in both Lightroom 5 and Lightroom 6, recorded the GPU load, and reported what they saw rather than what Adobe told them to expect. What follows is my breakdown of what they found, expanded with the context that matters for anyone who edits photos for real rather than for clicks.
One note worth flagging before we get into it: Lightroom 6 launched without a public beta. That’s unusual, and Tony and Chelsea point it out clearly. It doesn’t mean the software is broken, but it does mean the first wave of users are effectively stress-testing it. If you’re a working professional with client files you can’t afford to lose, that context matters.
Step 1: Understand What GPU Acceleration Actually Means in Practice
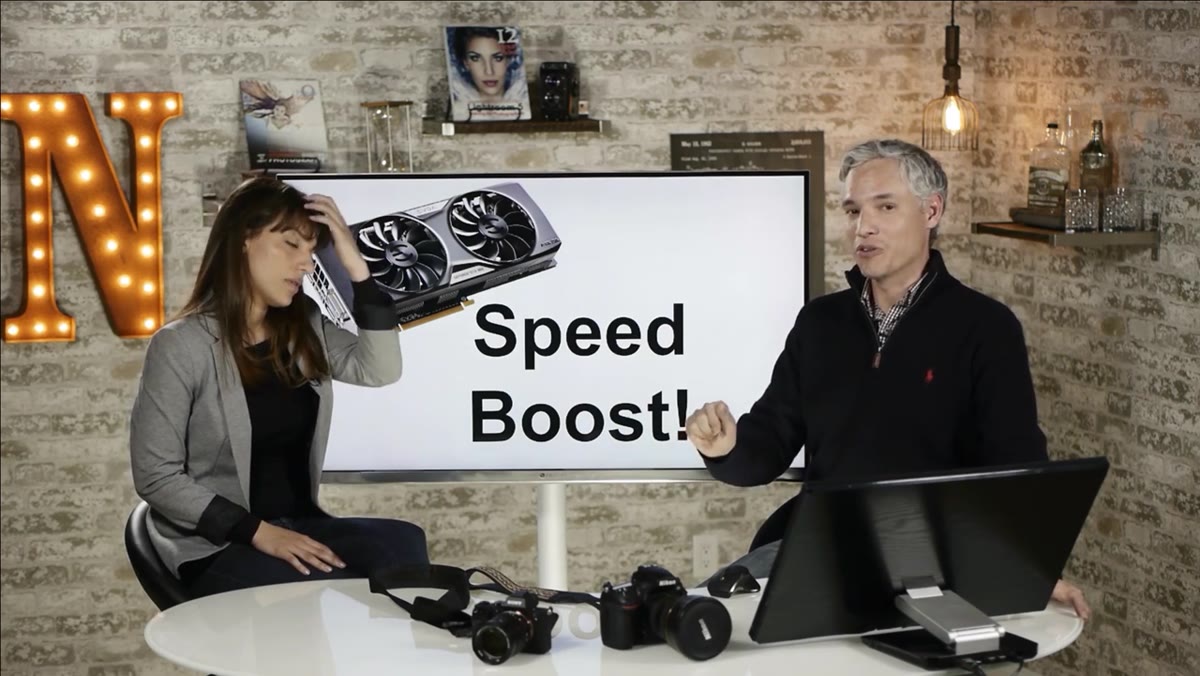 GPU utilization spike shown alongside Lightroom 6 slider adjustment
The headline feature for Lightroom 6 was performance. Adobe claimed they had moved processing work off the CPU and onto the GPU, which handles simple mathematical operations much faster. In theory, this should make slider adjustments and image rendering feel snappier. Tony demonstrates this live by pulling up GPU monitoring software alongside both versions of Lightroom. When he drags the exposure slider in Lightroom 6, the GPU utilization spikes to nearly 100 percent. In Lightroom 5, it barely moves.
GPU utilization spike shown alongside Lightroom 6 slider adjustment
The headline feature for Lightroom 6 was performance. Adobe claimed they had moved processing work off the CPU and onto the GPU, which handles simple mathematical operations much faster. In theory, this should make slider adjustments and image rendering feel snappier. Tony demonstrates this live by pulling up GPU monitoring software alongside both versions of Lightroom. When he drags the exposure slider in Lightroom 6, the GPU utilization spikes to nearly 100 percent. In Lightroom 5, it barely moves.
So the GPU integration is real and measurable. The problem is that “measurable in a monitoring tool” and “noticeable while editing” are two very different things. On both mid-range desktop hardware and an older ultrabook laptop, there was no perceptible difference in how the sliders felt. The responsiveness was identical. If you were hoping this update would make dragging the tone curve feel silky smooth on your aging MacBook, that’s not what’s happening here.
Step 2: Test the Workflows That Actually Feel Slow Day to Day
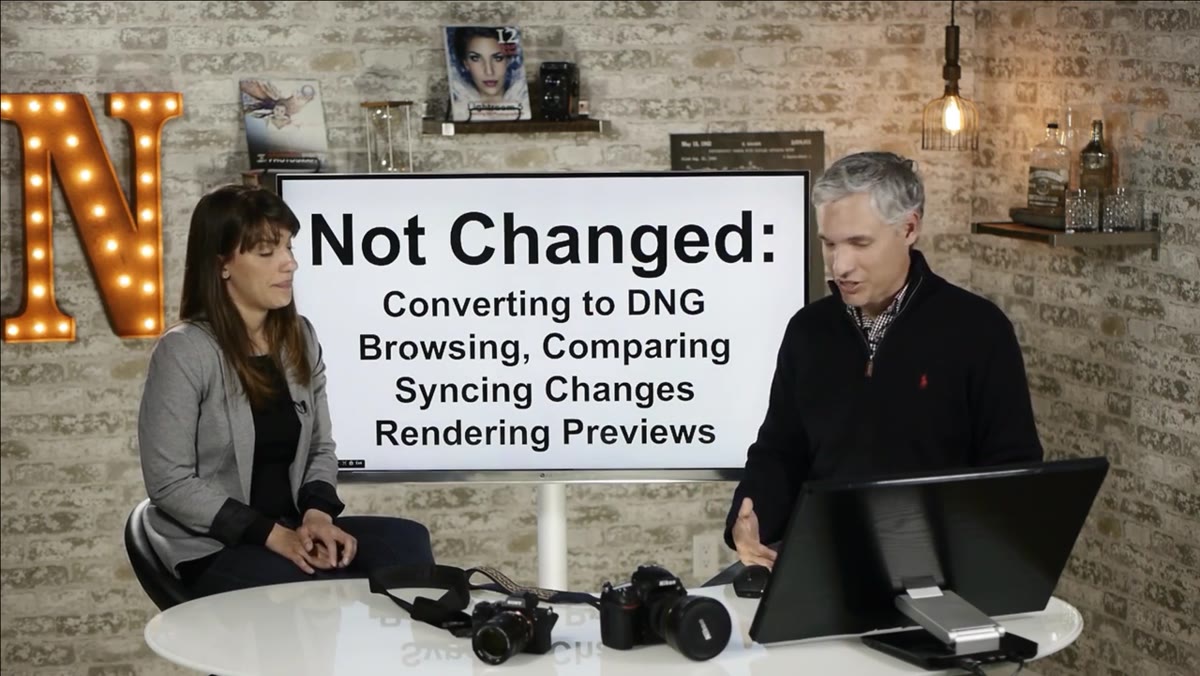 Lightroom catalog browsing with visible lag between image changes
The performance conversation becomes more useful when you stop asking “are the sliders faster?” and start asking “where does Lightroom actually waste my time?” Tony and Chelsea identify two specific pain points that remain completely unchanged in Lightroom 6: converting files to DNG and browsing through a large shoot to find the sharpest frames.
Lightroom catalog browsing with visible lag between image changes
The performance conversation becomes more useful when you stop asking “are the sliders faster?” and start asking “where does Lightroom actually waste my time?” Tony and Chelsea identify two specific pain points that remain completely unchanged in Lightroom 6: converting files to DNG and browsing through a large shoot to find the sharpest frames.
That half-second lag when flipping between images in a 100-shot set, the one where you’re trying to pick keepers and Lightroom just makes you wait. It’s still there. DNG conversion is still painfully slow. These are the moments where photographers lose time in bulk, and the GPU acceleration doesn’t touch either of them. If your frustration with Lightroom has always been about those bottlenecks, this update won’t change your experience.
Step 3: Access the Facial Recognition Feature
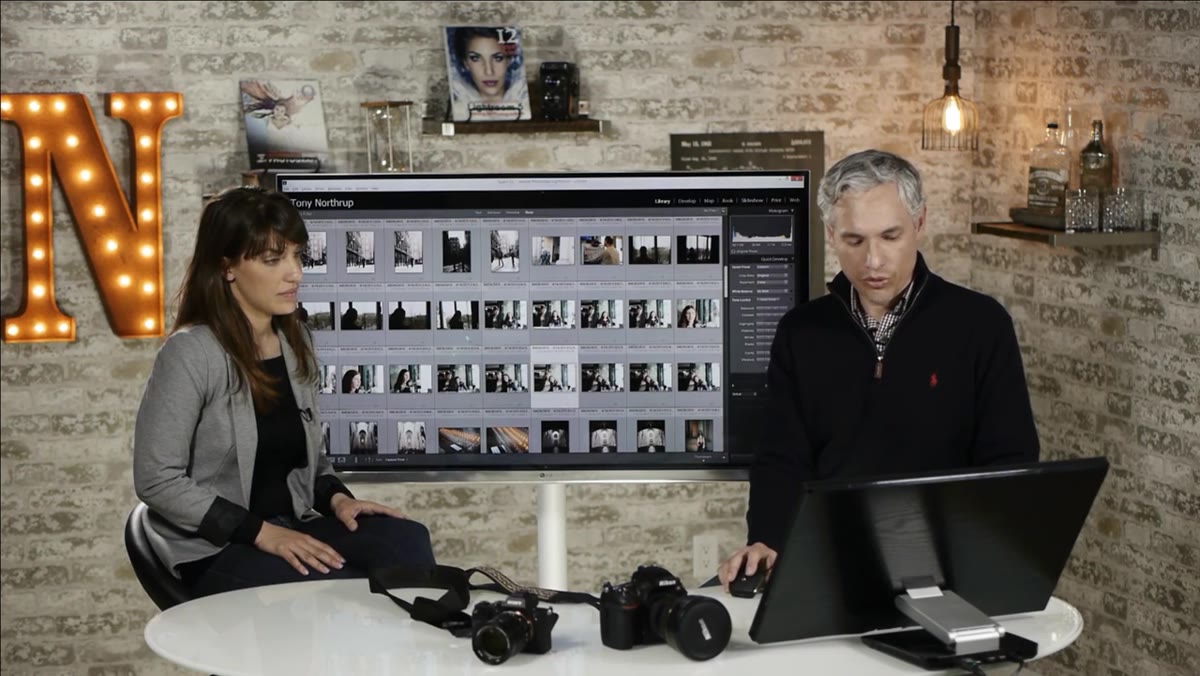
 Face view mode activated in Lightroom library grid
Facial recognition is the other major headline feature, and this one is worth engaging with more carefully because it actually does something useful. To access it, switch to the Library module and either click the face icon at the bottom of the screen or press the letter O. Lightroom will scan the images in your catalog and begin grouping detected faces for you to tag and confirm.
Face view mode activated in Lightroom library grid
Facial recognition is the other major headline feature, and this one is worth engaging with more carefully because it actually does something useful. To access it, switch to the Library module and either click the face icon at the bottom of the screen or press the letter O. Lightroom will scan the images in your catalog and begin grouping detected faces for you to tag and confirm.
The initial scan takes some time depending on catalog size, but once it runs, you get a dedicated face view that shows detected faces as small crops sorted into named and unnamed piles. The workflow from there is straightforward: you confirm or reassign the suggestions, and Lightroom builds out a face-based keywording system that makes searching for specific people much faster later.
Step 4: Evaluate the Recognition Accuracy Honestly
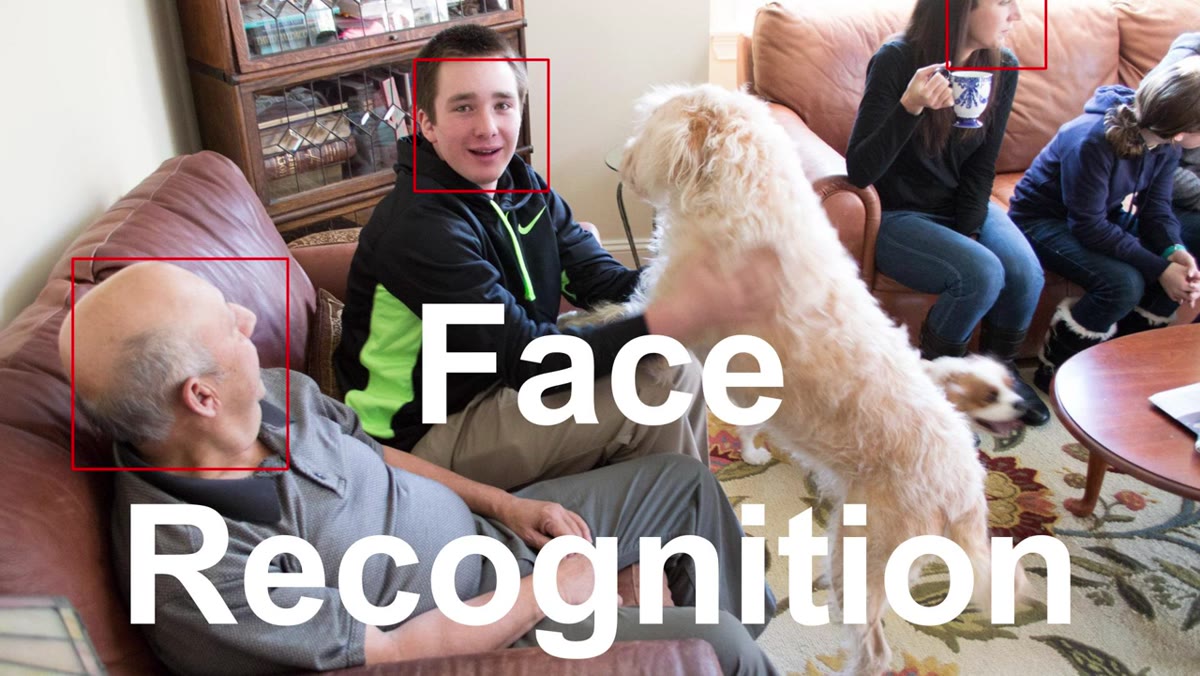
 Tagged vacation photos shown with face detection results
This is where Tony and Chelsea’s honest approach pays off. They tested facial recognition across real-world vacation photos with multiple people, varied lighting, and the kind of messy conditions that actual photo libraries contain. The results were mixed in ways that are useful to understand before you commit to a tagging workflow.
Tagged vacation photos shown with face detection results
This is where Tony and Chelsea’s honest approach pays off. They tested facial recognition across real-world vacation photos with multiple people, varied lighting, and the kind of messy conditions that actual photo libraries contain. The results were mixed in ways that are useful to understand before you commit to a tagging workflow.
On clear, well-lit frontal faces, the recognition works and makes reasonable grouping suggestions. On profiles, partially obscured faces, children, or images with challenging light, it misses regularly and sometimes in genuinely strange ways. Their description of the failures as “comically unimpressive” is fair. It’s not that the feature is broken, it’s that the accuracy isn’t consistent enough to trust without manual review. Plan to spend real time confirming and correcting suggestions, especially in a large catalog. If you go in expecting a fully automated tagging solution, you’ll be frustrated. If you treat it as a first pass that narrows down the manual work, it saves time.
Step 5: Decide Whether to Upgrade Now or Wait
 Side-by-side Lightroom 5 and Lightroom 6 windows open simultaneously
Tony and Chelsea give straightforward guidance here. They had stable experiences during their testing day, no crashes, no lost files. But one day of stability on one system doesn’t equal a production-ready release across thousands of different hardware configurations. For professionals with active client work, waiting for a point-one update is reasonable caution, not paranoia.
Side-by-side Lightroom 5 and Lightroom 6 windows open simultaneously
Tony and Chelsea give straightforward guidance here. They had stable experiences during their testing day, no crashes, no lost files. But one day of stability on one system doesn’t equal a production-ready release across thousands of different hardware configurations. For professionals with active client work, waiting for a point-one update is reasonable caution, not paranoia.
For enthusiasts and hobbyists, the risk profile is lower. If facial recognition is genuinely useful for your library, the feature alone might justify moving. Just back up your catalog before you install anything, which you should be doing regardless.
What I’d Add From My Own Workflow
I’ve been using Lightroom long enough to have feelings about it, including feelings I won’t share in polite company. The GPU story here reminded me of something I run into constantly when people ask whether they should upgrade their software versus their hardware. The answer with Lightroom almost always points toward RAM and storage speed before anything else. A fast SSD and 16 to 32GB of RAM will do more for your catalog browsing speed than any software update Adobe has shipped in years. The GPU integration in Lightroom 6 is a real architectural change, and it may pay dividends in future releases. Right now, it’s a foundation, not a performance win you’ll feel tomorrow.
The facial recognition feature is more immediately practical, but only if your catalog is already reasonably organized. Dropping it on a chaotic, 80,000-image archive and expecting it to bring order is going to be a frustrating experience. Use it as a refinement tool on a catalog that already has some structure, and it earns its place.
The single most important takeaway from Tony and Chelsea’s testing is this: real-world performance testing on real hardware tells a completely different story than a features list. Before any major update changes your editing environment, someone has to run the actual tests. Their work here saved me from upgrading mid-session based on hype, and that’s worth a lot.
Watch the full tutorial on YouTube to see the GPU monitoring, face recognition results, and full side-by-side comparisons in action.
Comments
Leave a Comment