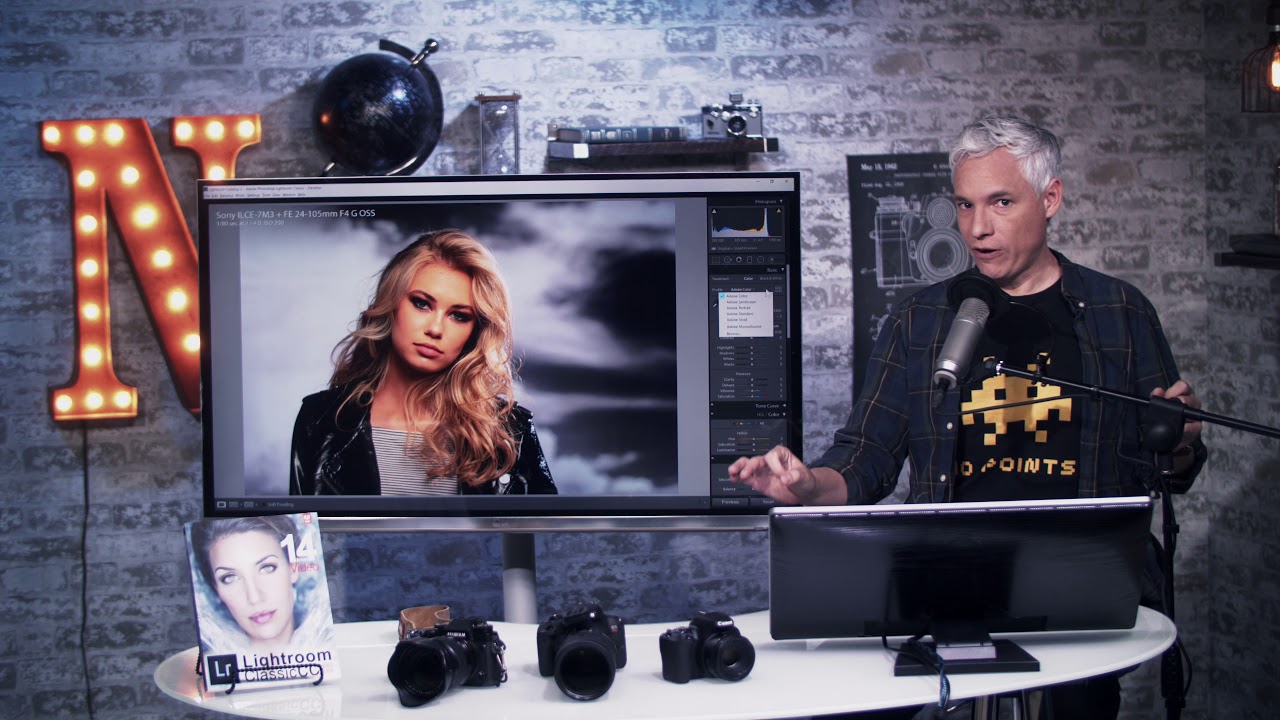
Every few months, Adobe drops an update and I spend twenty minutes clicking around the interface like I’ve never used the software before. The April 2018 release of Lightroom Classic CC 7.3 was one of those updates that actually deserved the confusion, because they moved things I use every single session. More importantly, they surfaced a feature that had been buried so deep in the UI that most photographers didn’t even know it existed, and that feature quietly affects the color of every RAW file you’ve ever opened.
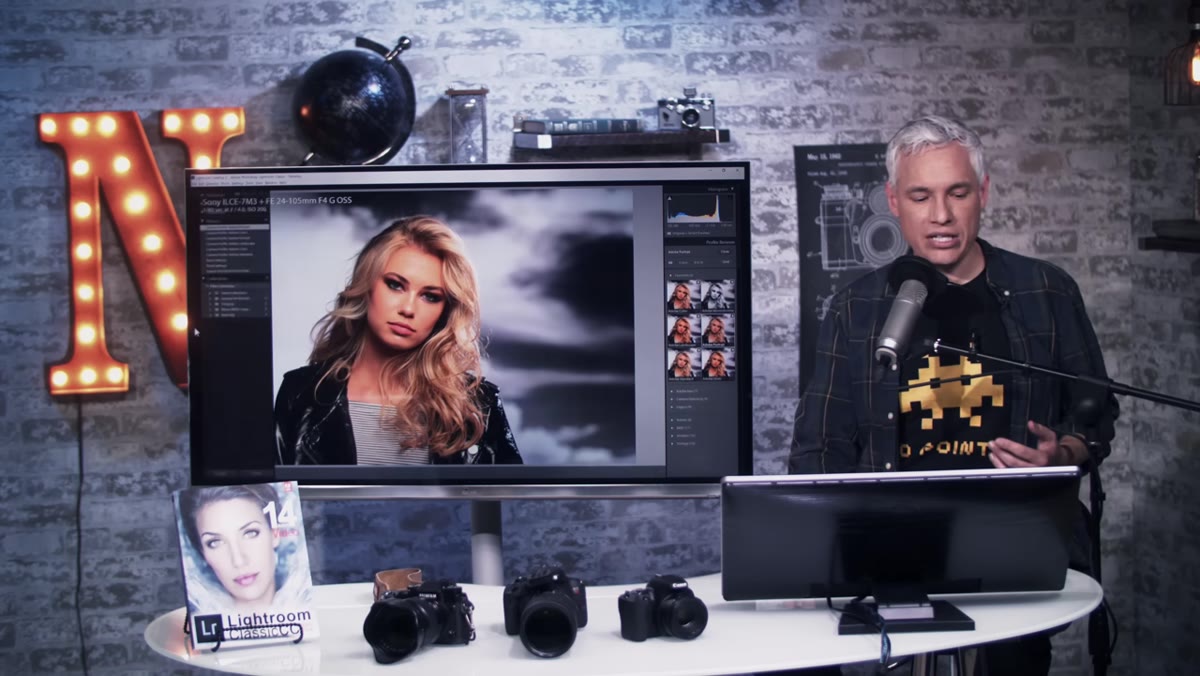
I’ve been recommending this specific walkthrough from Tony and Chelsea Northrup ever since it dropped, because they cut straight to what changed and why it matters practically. Watch the full tutorial on YouTube if you want to follow along with their footage, but everything below is written so you can apply it directly from your own catalog without pausing and rewinding.
The three changes in this update connect to each other more than they first appear. Faster imports mean you’re in the Develop module sooner. The Dehaze slider being repositioned means you’re reaching for it in the right part of your workflow. And the profiles overhaul means the foundation you’re building your edit on top of is finally visible before you’ve already done a bunch of other work. Here’s how to actually use all of it.
Step 1: Feel the Speed Difference in Your Import Workflow
 Import and preview rendering performance gains shown on screen
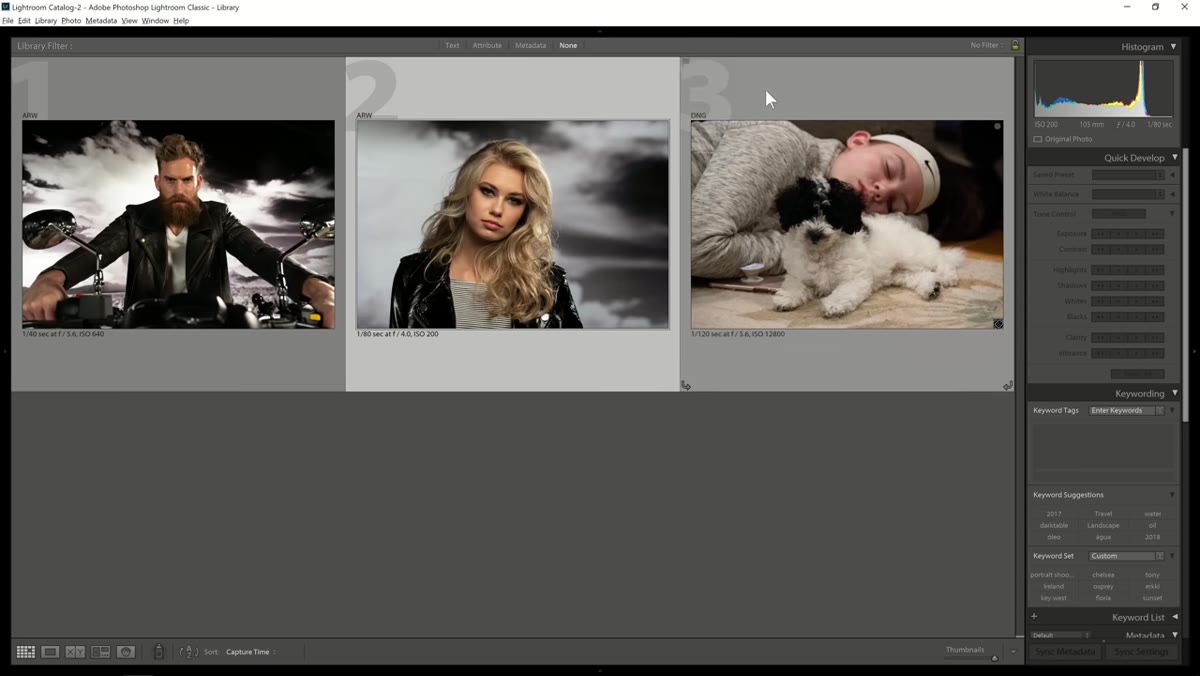
Before touching a single slider, start an import and pay attention. In 7.3, previews render noticeably faster during import, and culling through images in both the Library and Develop modules feels more responsive. Adobe’s internal testing showed large performance gains. Real-world testers reported more modest improvements, but the consensus from the beta period is that it is genuinely faster, especially on large batches.
The practical move here is to rebuild your standard previews at import if you’ve been skipping that step. Go to Import, click the Build Smart Previews checkbox, and let it run. With the speed improvements in 7.3, this is finally fast enough that the time cost is worth the payoff when you’re editing offline or on a slower drive.
Step 2: Find the Dehaze Slider in Its New Home
 Dehaze slider relocated to Basic panel below Clarity
Open any image in the Develop module and scroll to the Basic panel. Dehaze used to live in the Effects panel, which meant most people either forgot it existed or only reached for it deliberately when they remembered to scroll all the way down. Now it sits directly below Clarity and above Vibrance, right in the middle of your tonal and presence adjustments where it actually belongs.
Drag Dehaze to the left and the image gets softer and more atmospheric. Drag it to the right and you’re adding contrast and a subtle saturation boost simultaneously. It’s a more aggressive tool than it looks, so start around +15 to +25 on hazy landscape shots rather than pushing it to the extremes. Because it now lives next to Clarity and Vibrance, you’ll naturally start balancing all three together, which tends to produce more controlled results than treating Dehaze as an afterthought in the Effects panel.
Step 3: Locate the New Profiles Section at the Top of the Basic Panel
 Profile browser appearing at top of Basic panel in Develop module
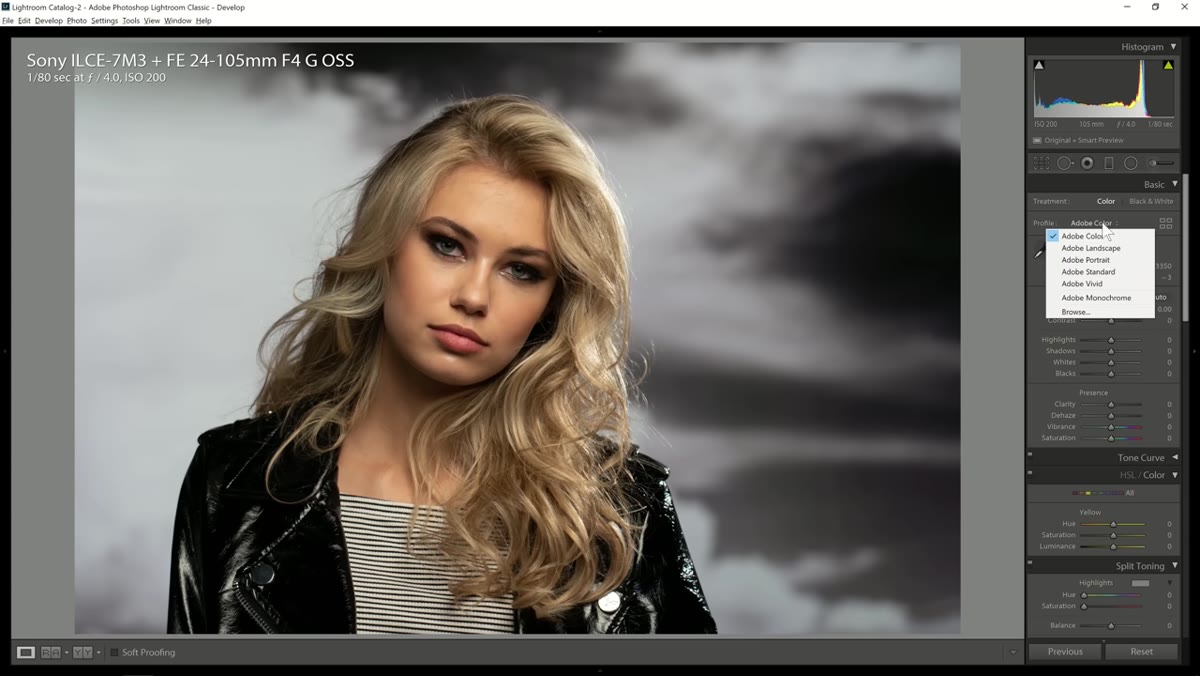
This is the update that changes how I start every RAW edit. In 7.3, the Profile selector moved from the bottom of the Camera Calibration panel, where practically nobody looked for it, to the very top of the Basic panel. You’ll see it above your white balance controls, with a small grid icon next to a dropdown menu.
If you’ve ever imported photos, loved how they looked in the preview thumbnail, and then watched the colors shift the moment you clicked into the Develop module, profiles are the reason. Lightroom initially shows you a JPEG preview baked by your camera’s own processing. When it switches to developing the RAW file, it applies Adobe’s color profile instead. These are two different interpretations of the same data, and they can look meaningfully different, especially in skin tones and saturated colors.
Step 4: Browse Profiles Using the Visual Grid Browser
 Profile browser grid showing multiple profile previews on hover
Click the grid icon next to the profile dropdown. This opens the full Profile Browser, which is the feature you didn’t know you needed. Instead of selecting a profile name blind from a list, you can hover your cursor over any profile and see a live preview of how it changes your image before committing to it.
The browser organizes profiles into groups including Adobe Raw profiles, Camera Matching profiles, and any creative profiles you’ve installed. For most portrait and landscape work, stay in the Adobe Raw group and compare Adobe Color (the new default in 7.3, slightly different from the older Adobe Standard) against options like Adobe Portrait or Adobe Vivid. Hover, compare, click. It takes about thirty seconds and gives your edit a stronger foundation than defaulting to whatever was last selected.
Step 5: Understand the Difference Between Profiles and Presets
 Comparison of profile browser versus preset panel in Develop module
This distinction trips up a lot of photographers who are just discovering profiles for the first time. Presets apply adjustments to specific sliders, including exposure, tone curve, HSL, vignetting, and grain. They build on top of whatever your current settings are. Profiles work differently. They change the fundamental way Lightroom interprets the color and tonal data in your RAW file, before any of your slider adjustments are calculated.
Think of a profile as the color science layer underneath your edit, and a preset as a set of instructions applied on top of it. This means you can stack a profile with a preset and get different results than either would produce alone. It also means that if you change your profile after you’ve already done significant editing, your sliders will stay where they are but the underlying image response will shift, so your edit may need recalibration. Set your profile first, before you touch anything else.
What I Do Differently After Learning This
Before this update, I was starting every RAW edit on Adobe Standard simply because that was the default I’d inherited from older versions of Lightroom. I didn’t think of it as a creative choice. I thought of it as the neutral starting point before the “real” editing began.
What I actually do now is open the Profile Browser before I touch white balance or exposure. For portraits, I almost always land on Adobe Portrait, which pulls back some of the harshness in mixed lighting and handles skin tones with a bit more latitude. For landscapes and travel shots, Adobe Vivid gives me a starting point that needs less HSL work downstream. Changing that one starting decision saved me real time in post, because I’m fighting the color science less and working with it more. It’s the kind of thing that sounds minor until you’ve edited a hundred portraits and noticed you’re not reaching for the orange HSL slider every single time.
The single most important thing to take from this update is that profiles are not a “camera matching” technicality buried for advanced users. They are a creative tool that now lives exactly where it should have always been, right at the top of your editing workflow. Set it first, set it intentionally, and everything else gets easier.
Watch the full tutorial on YouTube to see Tony and Chelsea walk through each of these changes on actual images.
Comments
Leave a Comment