Every few months Adobe drops a Lightroom update and I do the same thing: I skim the release notes, nod vaguely, and go back to whatever edit I was in the middle of. Then a week later someone in a workshop asks me why their HDR merging takes forever and I have to admit I skipped the part of the update that would have fixed it. That’s exactly what happened with Lightroom 8.4, the August 2019 release. I glossed over it until I watched Matt Kloskowski walk through it feature by feature, and suddenly I was looking at three or four changes I genuinely wish I had used from day one.
Watch the full tutorial on YouTube
If you’re running the Creative Cloud subscription version of Lightroom Classic, this update is already sitting there waiting for you. Before you dive into the steps below, confirm you have version 8.4 by going to the Help menu inside Lightroom and selecting Updates. Everything here is free, no third-party plugins required. Let’s get into it.
Step 1: Check Your GPU Settings in Preferences
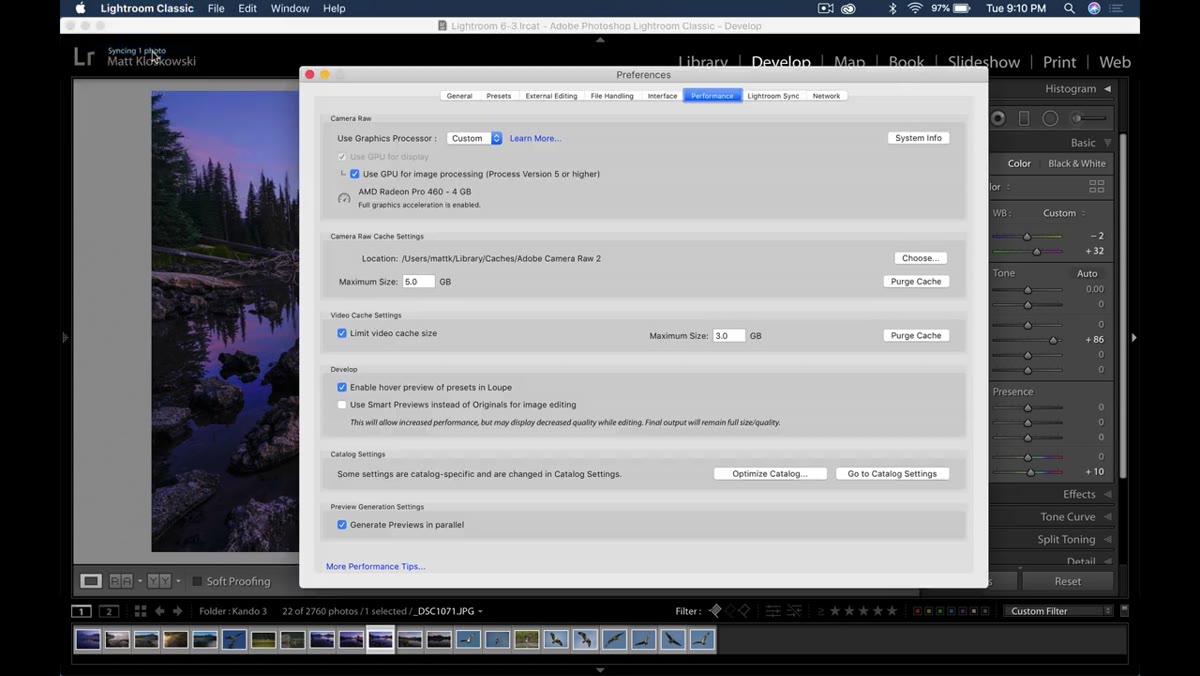 Lightroom Preferences window open to the Performance tab
Open Lightroom’s Preferences. On a Mac that’s the Lightroom menu, on a PC it’s the Edit menu. Head to the Performance tab. You’ll see a section dedicated to the graphics processor, and this is where 8.4 made a real difference. By default most people are sitting on Auto, which lets Lightroom decide how to use your GPU. The new option to explore is Custom, which tells Lightroom to lean harder on your graphics card not just for displaying your photos but for the actual editing computations happening under the hood.
Lightroom Preferences window open to the Performance tab
Open Lightroom’s Preferences. On a Mac that’s the Lightroom menu, on a PC it’s the Edit menu. Head to the Performance tab. You’ll see a section dedicated to the graphics processor, and this is where 8.4 made a real difference. By default most people are sitting on Auto, which lets Lightroom decide how to use your GPU. The new option to explore is Custom, which tells Lightroom to lean harder on your graphics card not just for displaying your photos but for the actual editing computations happening under the hood.
The catch is that this isn’t a universal win. Adobe tuned this specifically for certain editing controls and for 4K and larger monitors. If you’re on a big display and your screen redraws feel sluggish when you drag a slider, switching to Custom is worth a test. Try it on, work through a normal edit, then turn it off and do the same thing. The difference on a high-res monitor with a solid GPU is noticeable enough that it’s worth the five minutes to find out.
Step 2: Add Color Labels to Collections
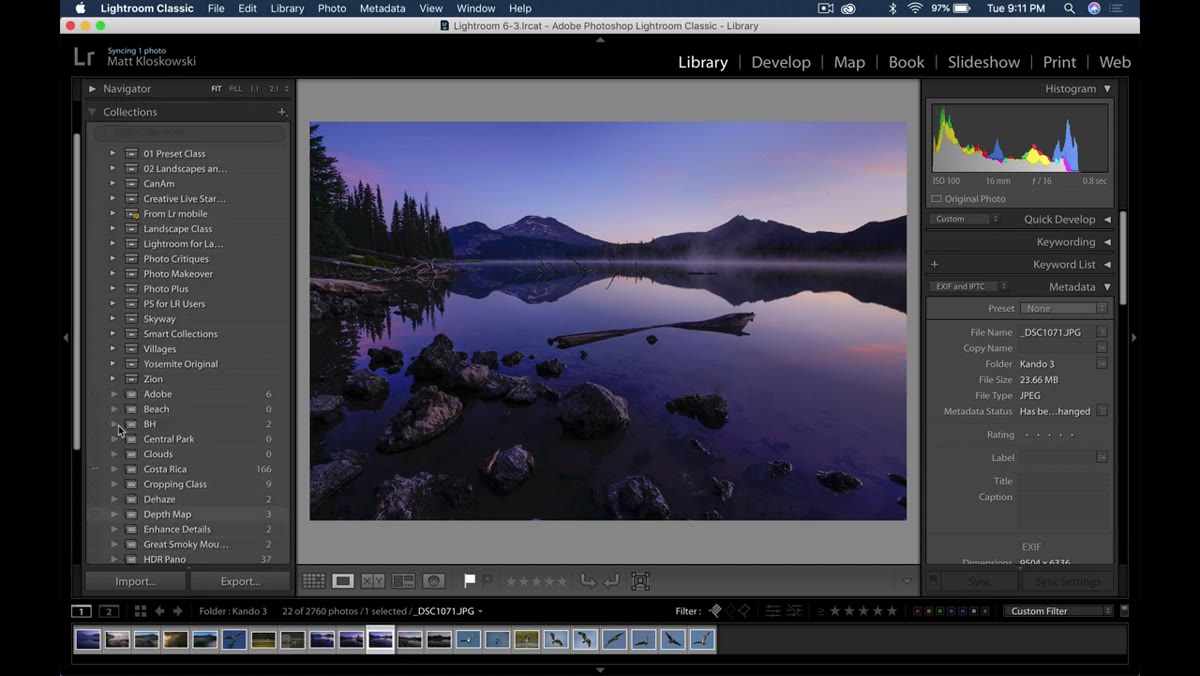 Right-click context menu open on a collection showing color label options
Head to the Library module and find your Collections panel on the left side. Right-click on any collection or collection set and you’ll see a new option to assign a color label. This sounds minor but it solves a workflow friction I dealt with constantly: knowing at a glance which collections are finished, which are mid-cull, and which I haven’t touched yet.
Right-click context menu open on a collection showing color label options
Head to the Library module and find your Collections panel on the left side. Right-click on any collection or collection set and you’ll see a new option to assign a color label. This sounds minor but it solves a workflow friction I dealt with constantly: knowing at a glance which collections are finished, which are mid-cull, and which I haven’t touched yet.
The smartest way to use this is to build a color system around your stages. I use red for anything still in the picking phase, yellow for selects that need editing, and green for galleries that are ready to deliver. Color labels work on both individual collections and collection sets, so you can nest an entire client project under one color and still break down the sub-collections with their own indicators. It’s visual organization that actually sticks.
Step 3: Export Photos as PNG Files
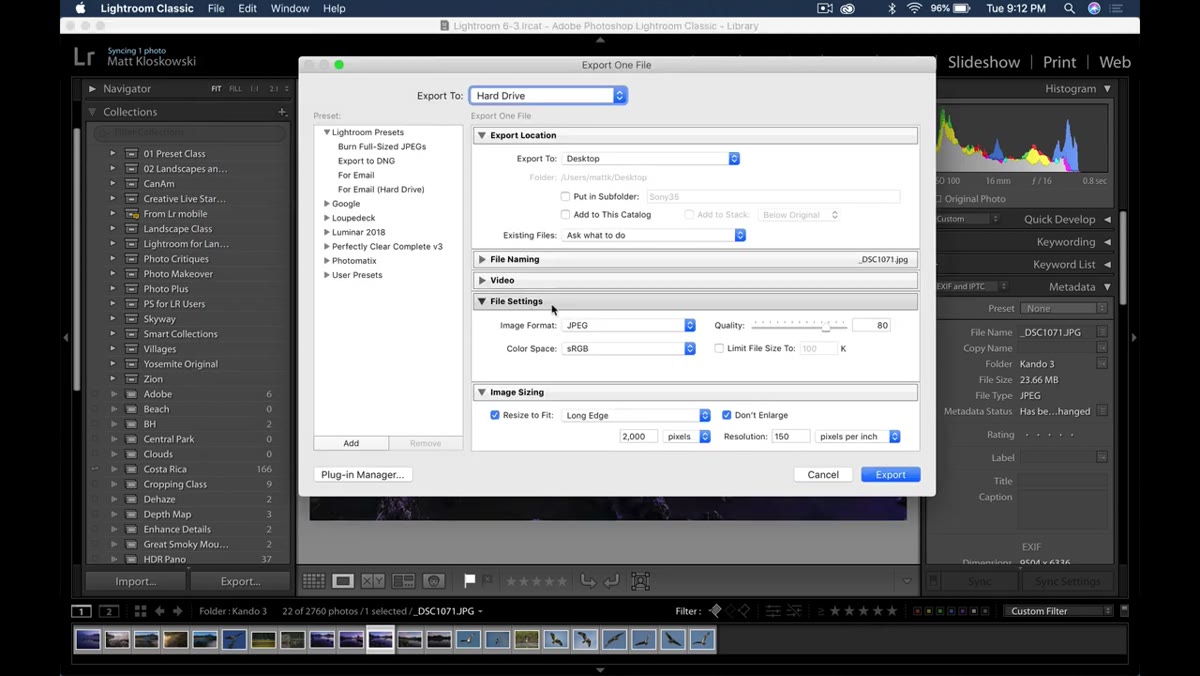 Export dialog open with PNG selected in the File Settings format dropdown
Go to File, then Export. In the File Settings section, open the format dropdown. PNG is now listed as a full export option. Lightroom has accepted PNG imports for a long time, but the ability to export in that format is new here. This matters most when you’re handing files off to designers or web developers who need a lossless format with transparency support, or when you’re exporting graphics overlays and don’t want any JPEG compression artifacts creeping in.
Export dialog open with PNG selected in the File Settings format dropdown
Go to File, then Export. In the File Settings section, open the format dropdown. PNG is now listed as a full export option. Lightroom has accepted PNG imports for a long time, but the ability to export in that format is new here. This matters most when you’re handing files off to designers or web developers who need a lossless format with transparency support, or when you’re exporting graphics overlays and don’t want any JPEG compression artifacts creeping in.
For straight photography delivery I still default to JPEG, but for anything that’s going into a composite, a web mockup, or a print template, PNG export removes a step that used to mean a round-trip through Photoshop. It’s a small addition with a specific but real use case.
Step 4: Use the Library Performance Improvements for Faster Culling
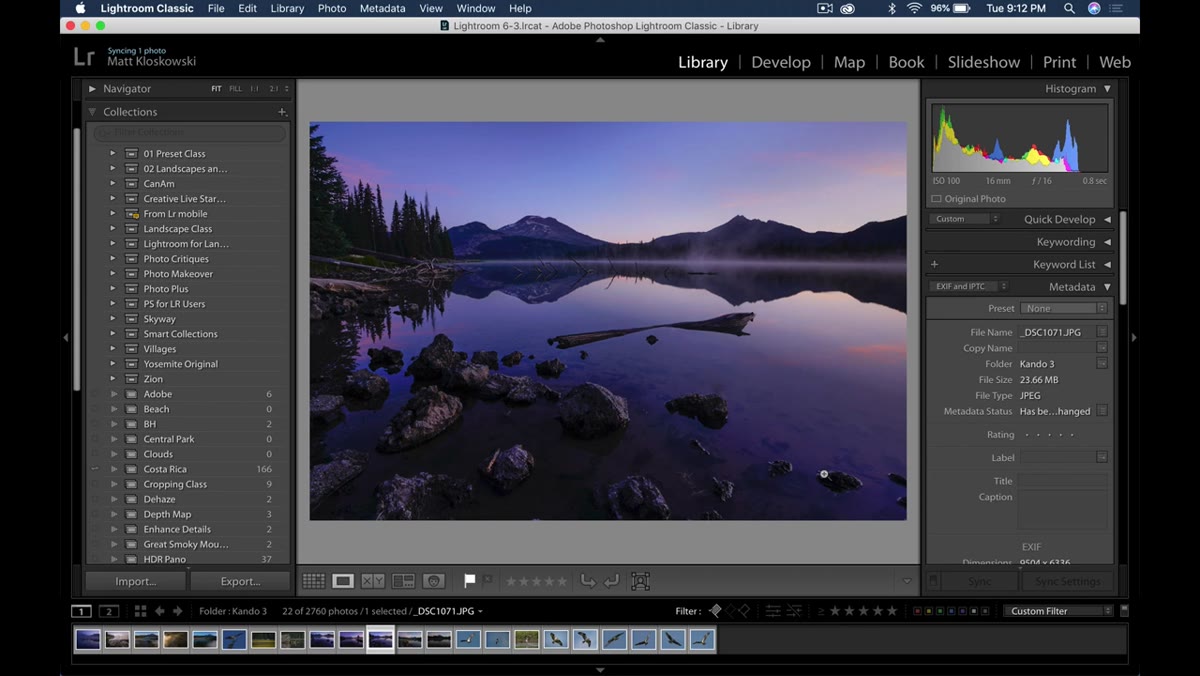 Grid view showing photos scrolling quickly through a large catalog
Adobe included general library scrolling and display improvements in 8.4, and they’re mostly felt rather than seen. Flipping through a large shoot in the Grid or Loupe view is snappier, especially when Lightroom is rendering standard previews on the fly. There’s no setting to toggle here, it’s just a backend improvement that compounds with the GPU changes from Step 1.
Grid view showing photos scrolling quickly through a large catalog
Adobe included general library scrolling and display improvements in 8.4, and they’re mostly felt rather than seen. Flipping through a large shoot in the Grid or Loupe view is snappier, especially when Lightroom is rendering standard previews on the fly. There’s no setting to toggle here, it’s just a backend improvement that compounds with the GPU changes from Step 1.
If you’re regularly culling shoots of 500 or more images, the tip that pairs best with this is building smart previews ahead of time. Render them before you sit down to cull and the whole experience changes. The 8.4 improvements make the native rendering faster, but pre-built previews are still the biggest single speed-up you can give yourself.
Step 5: Batch Process HDR Merges Using Stacks
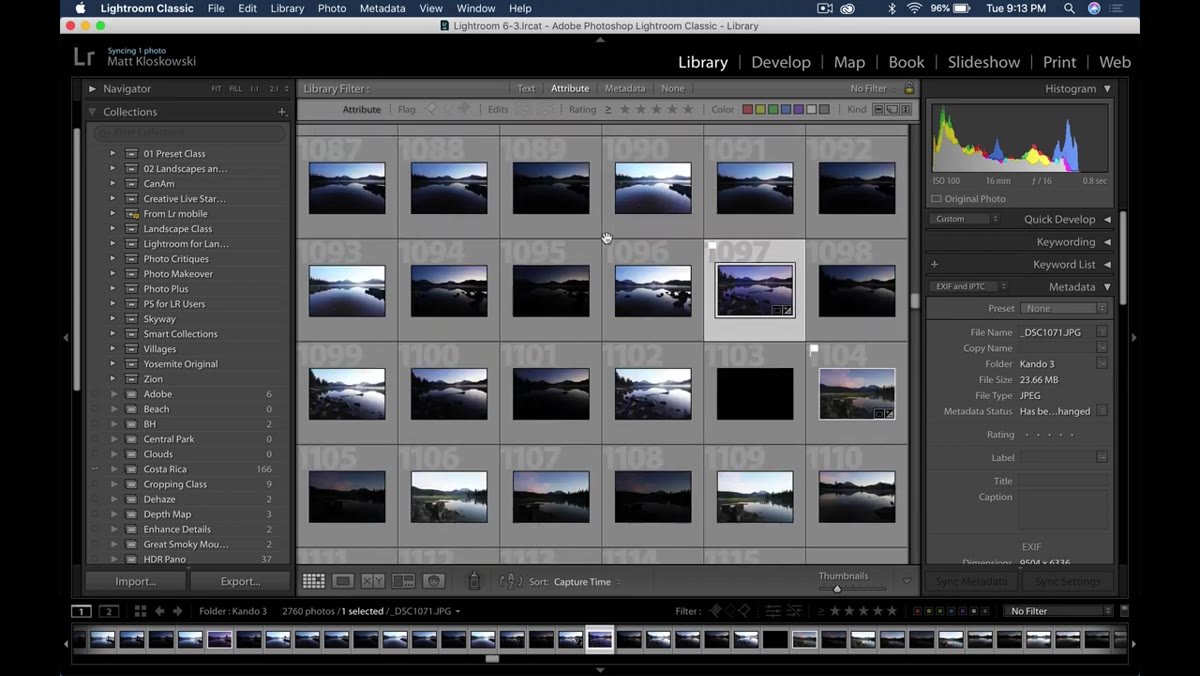 Multiple HDR bracket sets selected in the filmstrip before initiating merge
This is the feature I stayed up too late figuring out after watching Matt demonstrate it. If you shoot HDR brackets, you know the pain: selecting three frames, merging, waiting, repeating for every single bracket set in a shoot. Lightroom 8.4 lets you batch the whole thing.
Multiple HDR bracket sets selected in the filmstrip before initiating merge
This is the feature I stayed up too late figuring out after watching Matt demonstrate it. If you shoot HDR brackets, you know the pain: selecting three frames, merging, waiting, repeating for every single bracket set in a shoot. Lightroom 8.4 lets you batch the whole thing.
Start by selecting your first bracket set, then Shift-click to include the last frame in that set. Stack them using Photo, then Stacking, then Stack with Selected Photo (or the keyboard shortcut Ctrl+G on PC, Cmd+G on Mac). Do this for every bracket group in your shoot. Once all your sets are stacked, select all the stacks, right-click, and send them to HDR Merge. Lightroom will queue them up and process every single set without you babysitting each one. The time savings on a landscape shoot with 20-plus bracket sets is significant. I ran this on a Smoky Mountains trip I shot last fall and it saved me close to 45 minutes.
What I’d Add From My Own Experience
The GPU performance update is the one most people will walk away from without actually testing, because “experiment and see” feels like unsatisfying advice. Here’s how I’d approach it more systematically: make a note of how long it takes to move through three or four sliders in the Tone Curve panel on your current settings, then switch modes and do the same. The Tone Curve and Color Grading panels tend to be where GPU acceleration shows the clearest difference. If you edit on a laptop that’s plugged in at a desk, also check whether your GPU settings change based on power mode. Some machines throttle the graphics processor on battery and your performance results will be skewed if you test in both states without accounting for that.
The batch HDR feature is the headliner of this update for anyone who shoots landscape or architectural work. But even if you shoot portraits or events and never touch HDR, the color label system for collections is the kind of organizational tool that quietly makes your whole catalog feel more manageable. Small visual cues reduce the cognitive load of moving between projects, and anything that keeps me from opening the wrong collection at the wrong time is worth two minutes of setup.
The single biggest takeaway from this update: Lightroom is getting faster, but only if you actively configure it. Default settings are a starting point, not an endpoint.
Watch the full tutorial on YouTube to see Matt walk through each of these features in a live catalog - watching the batch HDR queue actually run in real time is genuinely satisfying.
Comments (3)
Solid advice. Especially the part about taking your time with it.
Solid advice. Especially the part about taking your time with it.
Great article! I actually covered something related on my site — the workflows angle is really complementary to this.
Leave a Comment