
Every few months Adobe drops a Lightroom Classic update and I do the same thing: skim the release notes, feel mildly confused, and then go looking for someone who actually tested the new features in a real workflow. For the June 2021 update, version 10.3, that someone was Matt Kloskowski. His breakdown cuts straight to what changed and why it matters, which is exactly the kind of tutorial I can actually use between sessions.
Watch the full tutorial on YouTube
What stood out to me about this update is that it isn’t flashy. There’s no headline AI feature with a dramatic demo. Instead, 10.3 is the kind of update that makes your existing habits faster and more flexible. Better performance, improved sharing options, and refinements to tools you’re probably already using. Those are the updates that actually stick in a working catalog.
Step 1: Install the Update Before You Do Anything Else
 Lightroom Classic update prompt shown on screen
This sounds obvious, but it’s worth saying: in Matt Kloskowski’s walkthrough of the 10.3 update, the first thing he emphasizes is making sure you’re actually running the latest version before expecting any of these features to appear. Go to the Creative Cloud desktop app, check for updates, and let it run. If you skip this and then wonder why the new tools aren’t showing up, that’s why.
Lightroom Classic update prompt shown on screen
This sounds obvious, but it’s worth saying: in Matt Kloskowski’s walkthrough of the 10.3 update, the first thing he emphasizes is making sure you’re actually running the latest version before expecting any of these features to appear. Go to the Creative Cloud desktop app, check for updates, and let it run. If you skip this and then wonder why the new tools aren’t showing up, that’s why.
Once you’ve confirmed you’re on 10.3, restart Lightroom Classic fully. Some of the performance improvements in this update, particularly around rendering and module switching, don’t register cleanly until you’ve had a fresh launch after the install.
Step 2: Check the Performance Improvements in the Develop Module
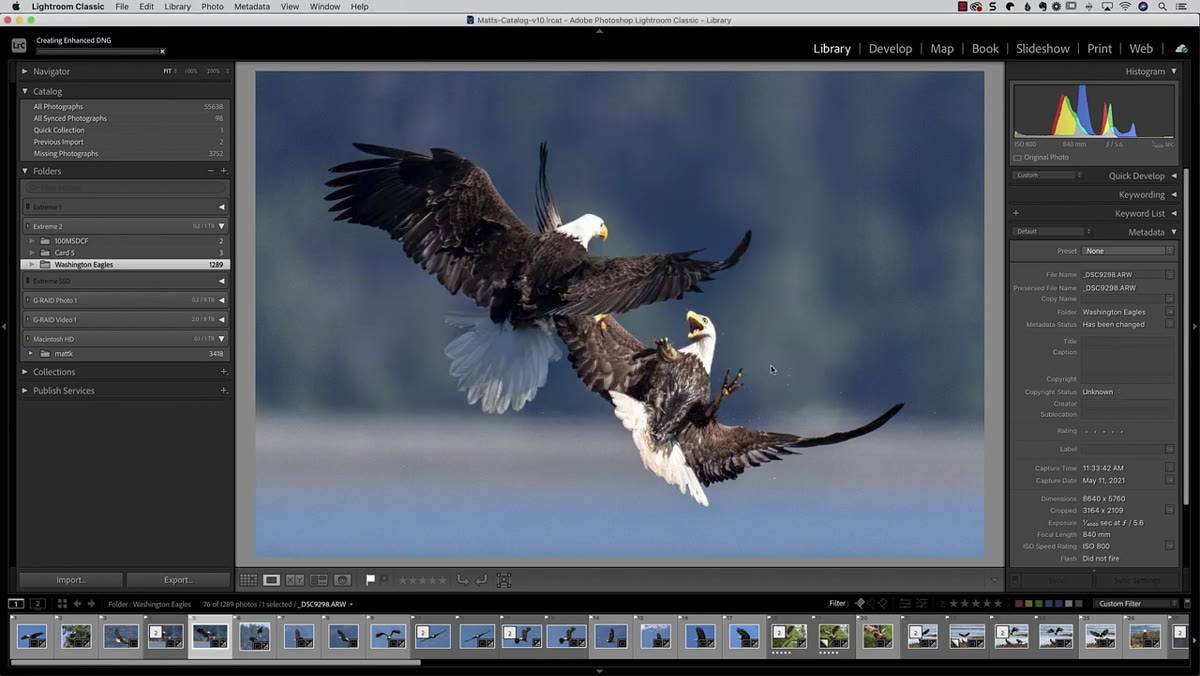
 Develop module open with image loading
One of the quieter wins in 10.3 is improved performance, especially when moving between images in the Develop module. If you’ve ever felt that slight lag when switching from one raw file to the next in a large catalog, this update addresses some of that. Matt points out that Adobe made adjustments to how Lightroom handles rendering in the background, which translates to smoother navigation during culling and editing sessions.
Develop module open with image loading
One of the quieter wins in 10.3 is improved performance, especially when moving between images in the Develop module. If you’ve ever felt that slight lag when switching from one raw file to the next in a large catalog, this update addresses some of that. Matt points out that Adobe made adjustments to how Lightroom handles rendering in the background, which translates to smoother navigation during culling and editing sessions.
To feel this in practice, open a folder with 50 or more raw files and use your arrow keys to move through them in the Develop module. You’re looking for faster preview loads and less of that “building preview” pause. It won’t feel like a completely different app, but over a long editing session the difference adds up.
Step 3: Explore the Updated Sharing and Collaboration Options
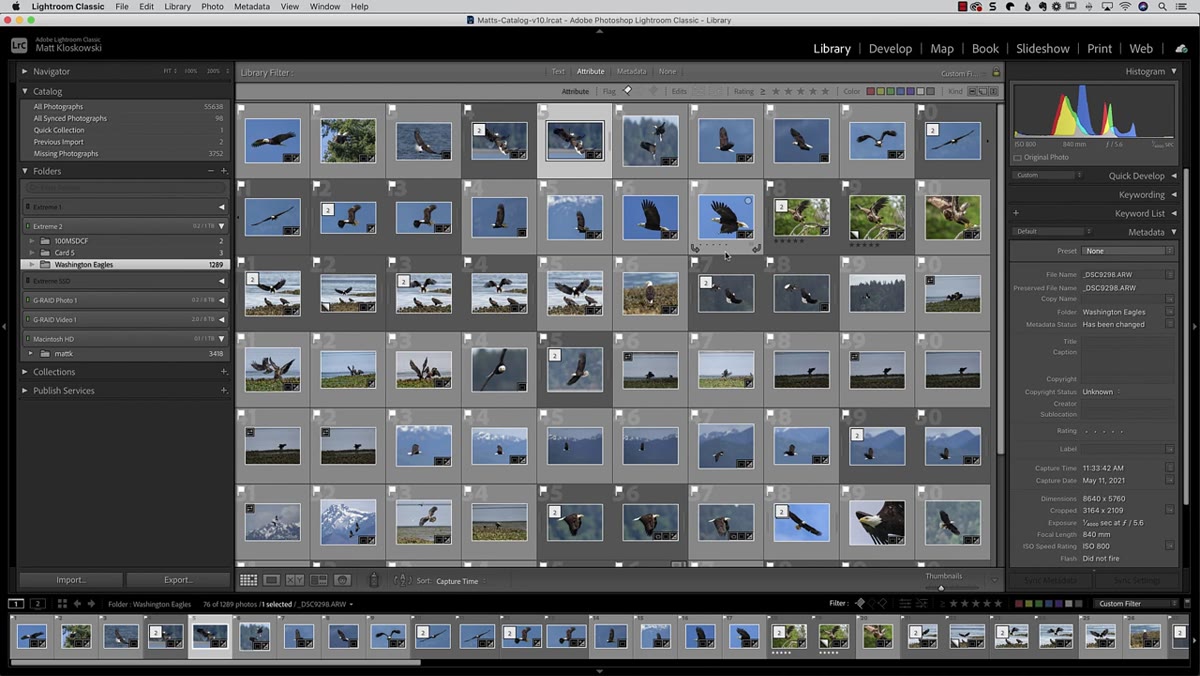 Sharing panel or export dialog open in Lightroom
The 10.3 update brought meaningful changes to how you share work directly from Lightroom Classic. Matt walks through the updated sharing features, which are designed to close the gap between Classic and the cloud-based Lightroom ecosystem. You can now push images more smoothly to shared albums and collaborate with clients or collaborators without jumping through as many hoops.
Sharing panel or export dialog open in Lightroom
The 10.3 update brought meaningful changes to how you share work directly from Lightroom Classic. Matt walks through the updated sharing features, which are designed to close the gap between Classic and the cloud-based Lightroom ecosystem. You can now push images more smoothly to shared albums and collaborate with clients or collaborators without jumping through as many hoops.
Inside the Library module, look at your sharing options when right-clicking a collection or selecting images for export. The updated interface gives you cleaner access to shared album settings. If you work with clients who want to review selects, this is worth spending ten minutes learning. It’s not a revolution, but it’s a genuine improvement over the friction that existed before.
Step 4: Use the Updated Masking and Selection Tools
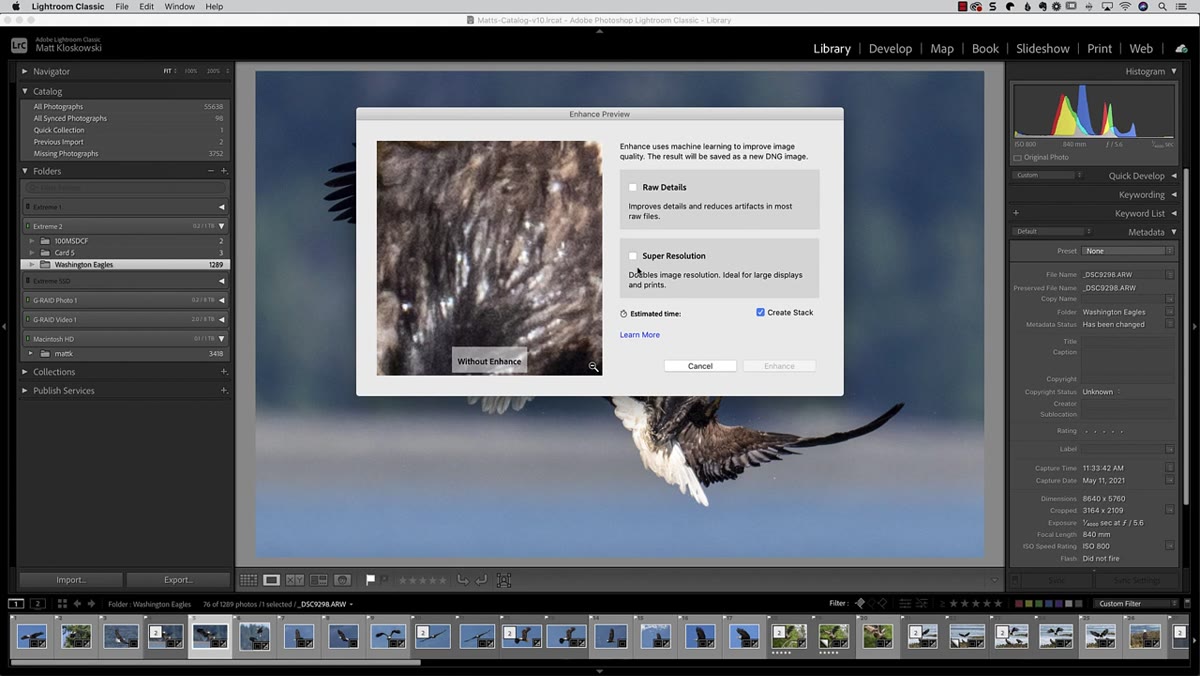 Masking panel open with subject selection active
The selection and masking improvements in 10.3 build on the AI-powered tools Adobe has been refining for a couple of years. Matt demonstrates how the subject selection in this version handles edge detection better than previous releases, particularly around hair and complex backgrounds. If you’ve been frustrated by selections that looked clean at 50% zoom and fell apart when you zoomed in, this version is noticeably better.
Masking panel open with subject selection active
The selection and masking improvements in 10.3 build on the AI-powered tools Adobe has been refining for a couple of years. Matt demonstrates how the subject selection in this version handles edge detection better than previous releases, particularly around hair and complex backgrounds. If you’ve been frustrated by selections that looked clean at 50% zoom and fell apart when you zoomed in, this version is noticeably better.
Open an image with a clear subject, go to the Masking panel (Shift+W), and choose Select Subject. Let it process, then zoom into the edge areas at 100%. Compare that to what you’d have gotten in earlier versions. The mask overlay in red gives you a clear visual of what’s been selected. From there, use the Subtract brush to clean up any areas where the selection bled into the background.
Step 5: Review the Bug Fixes That Affect Your Daily Workflow
 Before and after comparison panel showing corrected rendering
Matt doesn’t skip over the bug fixes in 10.3, and neither should you. A few of them are legitimately important for day-to-day work. One fix addresses an issue with certain raw files rendering incorrectly in the Develop module, which had been frustrating users working with specific camera profiles. Another fix improves how Lightroom handles catalog syncing when you’re working across multiple machines.
Before and after comparison panel showing corrected rendering
Matt doesn’t skip over the bug fixes in 10.3, and neither should you. A few of them are legitimately important for day-to-day work. One fix addresses an issue with certain raw files rendering incorrectly in the Develop module, which had been frustrating users working with specific camera profiles. Another fix improves how Lightroom handles catalog syncing when you’re working across multiple machines.
The practical takeaway here is to open a few images that had previously looked slightly off or inconsistent and check them again after updating. If you had images where the color rendering felt wrong compared to what you remembered shooting, this update may have corrected the underlying issue. It’s worth doing a quick audit of recent work rather than assuming everything looked right before.
Step 6: Test the Before/After View with New Comparison Options
 Split screen before and after view active in Develop module
The comparison view in Lightroom Classic gets a small but useful refinement in 10.3. Matt demonstrates how the before/after toggle now responds more fluidly, making it easier to do quick visual checks during a grade without the view snapping around in a way that throws off your perception of the edit.
Split screen before and after view active in Develop module
The comparison view in Lightroom Classic gets a small but useful refinement in 10.3. Matt demonstrates how the before/after toggle now responds more fluidly, making it easier to do quick visual checks during a grade without the view snapping around in a way that throws off your perception of the edit.
Press the backslash key to toggle between before and after in the Develop module, or use Y to get the split-screen comparison. In 10.3, the transition between states feels tighter. For color grading work especially, where you’re making subtle decisions about hue and luminance, a smoother comparison view matters. It’s the kind of thing you don’t notice until it’s working well, and then you notice it every session.
What I’d Add From My Own Experience
The performance improvements in 10.3 are real, but they reward people who’ve already done the housework of keeping a clean catalog. If you’re running a catalog with years of unorganized imports, missing previews, and redundant backups sitting in the wrong folders, no update is going to save you. Before you lean into any new version of Lightroom Classic, spend an hour running Catalog Optimization under File and rebuilding your standard previews. The 10.3 performance gains stack on top of that foundation. Skip the foundation and you’re leaving most of the improvement on the table.
The single most important thing to take from this update is that Lightroom Classic is being actively developed, not abandoned. Every incremental release like 10.3 makes the case that Adobe is still investing in the desktop catalog workflow, not just the cloud version. That matters if you’ve been wondering whether to switch platforms. These small improvements compound. Watch the full tutorial on YouTube to see Matt walk through each feature hands-on with real images.
Comments
Leave a Comment