
There’s a specific kind of frustration that hits when you’re sitting at your desk on a Sunday afternoon, memory card full of weekend shoot files, watching Lightroom crawl through preview generation like it’s running on a potato. I’ve been there more times than I’d like to admit. My whole editing setup is dialed in, my vinyl is spinning, my presets are loaded, and Lightroom is the bottleneck. So when Adobe dropped Lightroom Classic CC as an update to Lightroom 6 and the previous Lightroom CC, I wanted to know immediately: does it actually fix that, or is this another changelog full of promises?
In this Tony & Chelsea Northrup tutorial, Watch the full tutorial on YouTube, Tony runs the new version through real performance tests and pulls out the one genuinely new feature that changes how you cull images. The results surprised me enough that I rebuilt my import workflow around them. Here’s what he found, and how to use it.
Step 1: Understand the New Subscription Model Before You Open the App
 Lightroom Classic CC subscription pricing screen on Adobe site
The first thing Tony flags is a structural change you need to know before anything else: Lightroom Classic CC is subscription only. There is no persistent license option anymore. That means you pay monthly or annually, full stop. If you were holding onto Lightroom 6 hoping to avoid that, this is the moment that chapter closes.
Lightroom Classic CC subscription pricing screen on Adobe site
The first thing Tony flags is a structural change you need to know before anything else: Lightroom Classic CC is subscription only. There is no persistent license option anymore. That means you pay monthly or annually, full stop. If you were holding onto Lightroom 6 hoping to avoid that, this is the moment that chapter closes.
The upside is that the subscription includes Photoshop, so you are getting two professional-grade tools for the price. If you are already recommending clients or students get into Lightroom, this is the version to point them toward. The math actually works out reasonably well when Photoshop is part of the package.
Step 2: Let Lightroom Migrate Your Existing Catalog
 Lightroom Classic CC catalog migration dialog on first launch
The first time you open Lightroom Classic CC after previously using Lightroom 6 or the older Lightroom CC, it will prompt you to import your existing catalog. This is automatic. You do not need to manually transfer anything. The new format compresses your accumulated edits and metadata to reduce the overall catalog size, which is one of the foundations of the speed improvements.
Lightroom Classic CC catalog migration dialog on first launch
The first time you open Lightroom Classic CC after previously using Lightroom 6 or the older Lightroom CC, it will prompt you to import your existing catalog. This is automatic. You do not need to manually transfer anything. The new format compresses your accumulated edits and metadata to reduce the overall catalog size, which is one of the foundations of the speed improvements.
Critically, your old catalog is untouched. The migration creates a new version and leaves the original exactly where it was. This means you can still open the older version of Lightroom alongside the new one if you need to verify anything. Once you have confirmed the migrated catalog looks right, you can delete the old one. From that point forward, the workflow feels identical, just noticeably quicker.
Step 3: Import With Smart Previews and 1-to-1 Previews Running Simultaneously
 Lightroom import dialog with Smart Previews and 1:1 preview options selected
Tony’s standard import workflow, which matches mine closely, is to pull files from a memory card and render both smart previews and 1-to-1 previews at the same time. Smart previews let you edit without the original file attached. The 1-to-1 previews let you zoom in pixel-level to check critical sharpness during culling, which is how you find the sharpest frame out of a burst sequence.
Lightroom import dialog with Smart Previews and 1:1 preview options selected
Tony’s standard import workflow, which matches mine closely, is to pull files from a memory card and render both smart previews and 1-to-1 previews at the same time. Smart previews let you edit without the original file attached. The 1-to-1 previews let you zoom in pixel-level to check critical sharpness during culling, which is how you find the sharpest frame out of a burst sequence.
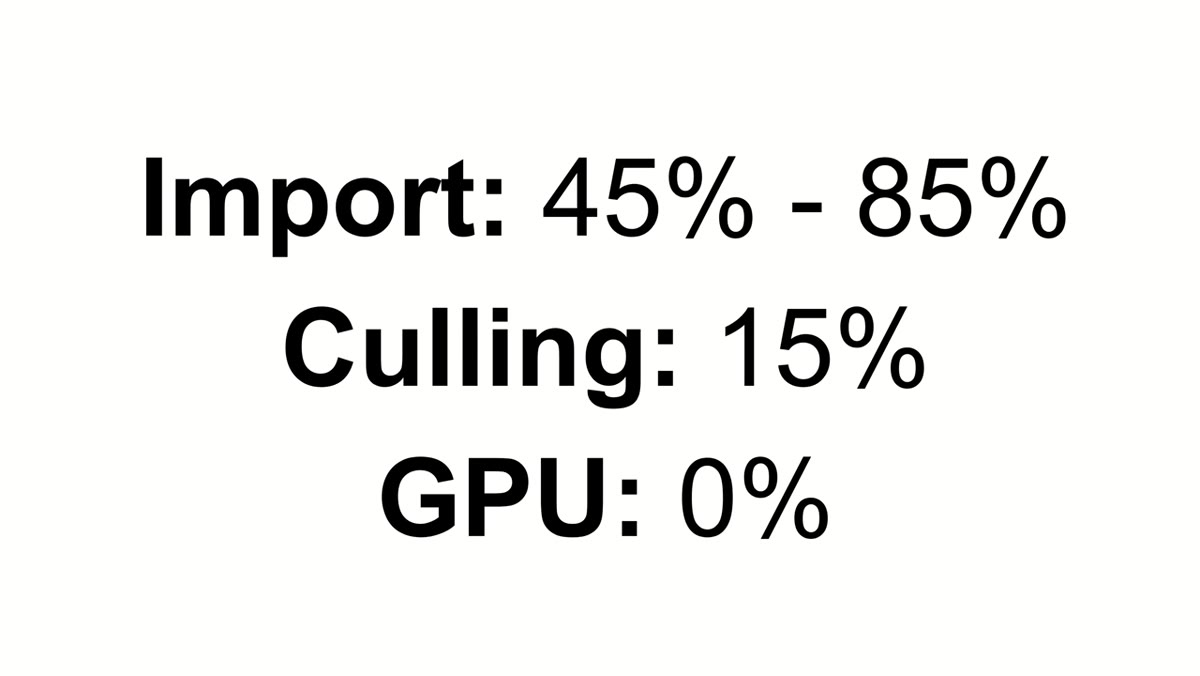
Running both simultaneously used to turn my machine into a space heater while Lightroom barely moved. The new version changes this significantly, and Tony’s testing puts numbers on it: roughly 45 percent faster on a four-core machine and up to 85 percent faster on an eight-core machine. The improvement comes from Lightroom finally using all available CPU cores instead of letting most of them sit idle. If you have a newer machine with eight or more cores, this update is going to feel transformative on import.
Step 4: Don’t Rush Out to Buy a New GPU
 Lightroom Performance settings panel with GPU acceleration toggle
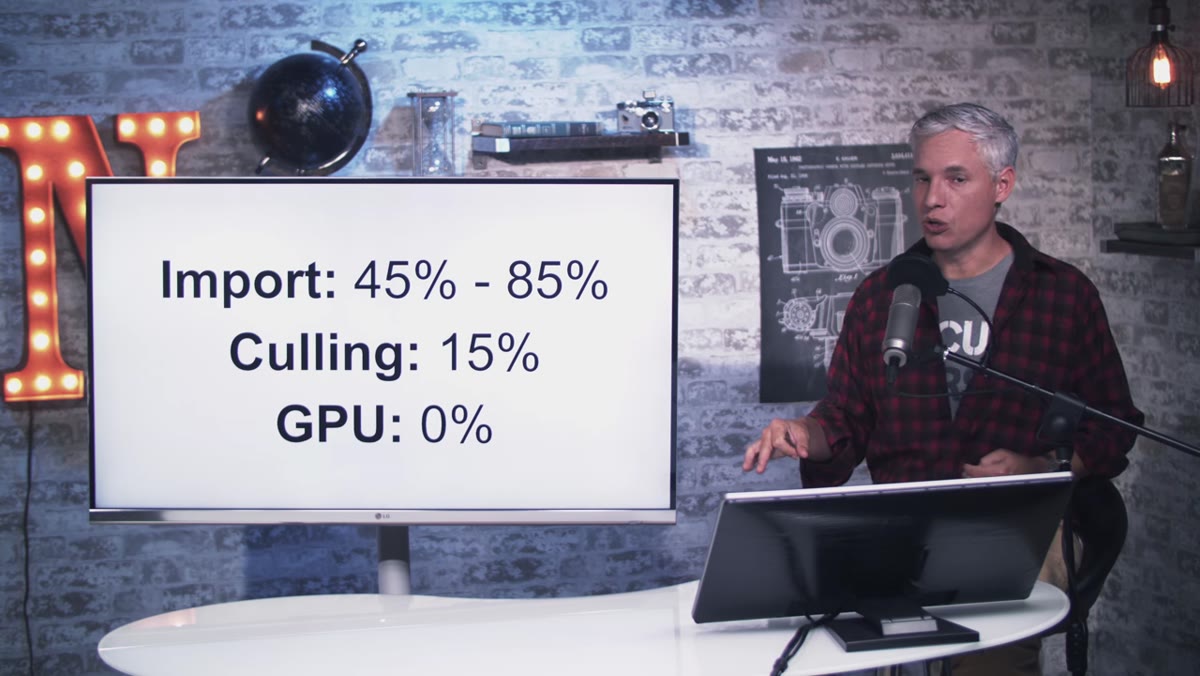
Adobe’s marketing for this update leans on GPU acceleration as a headline feature. Tony tested this directly, running imports and culling sessions with the GPU both enabled and disabled. His finding: for those specific tasks, there was no measurable difference.
Lightroom Performance settings panel with GPU acceleration toggle
Adobe’s marketing for this update leans on GPU acceleration as a headline feature. Tony tested this directly, running imports and culling sessions with the GPU both enabled and disabled. His finding: for those specific tasks, there was no measurable difference.
GPU acceleration does help in certain scenarios, particularly when you are working with heavy local adjustment brush layers and flipping back and forth between the before and after view. But if your main slowdown has always been import speed and culling, the GPU is not the variable you need to optimize. Save that hardware budget. The multi-core CPU work Adobe did is where the real speed gains live for most working photographers.
Step 5: Use Embedded Previews for Faster Culling
 Lightroom Library module showing embedded JPEG preview option during import
This is the one genuinely new feature in this update, and it directly competes with a tool some photographers have been paying for separately. Photo Mechanic built its reputation on one specific capability: letting you cull RAW files using the small JPEG previews that are baked into every RAW file by your camera. Because the camera writes these JPEGs at capture time, they load nearly instantly. No waiting for Lightroom to decode the full RAW.
Lightroom Library module showing embedded JPEG preview option during import
This is the one genuinely new feature in this update, and it directly competes with a tool some photographers have been paying for separately. Photo Mechanic built its reputation on one specific capability: letting you cull RAW files using the small JPEG previews that are baked into every RAW file by your camera. Because the camera writes these JPEGs at capture time, they load nearly instantly. No waiting for Lightroom to decode the full RAW.
Lightroom Classic CC now has this built in. When you go to import, you can choose to use embedded previews for your initial cull. You flip through images at nearly the same speed you’d see in Photo Mechanic, flag your selects, and then let Lightroom render the full previews only for the keepers. For high-volume shooters, weddings, events, sports, this single feature could save an hour per session. It is also one less app to maintain in your workflow.
A Note on Catalog Management Going Forward
One thing I would add from my own experience that Tony’s video doesn’t dig into: the new compressed catalog format makes regular backups even more important. The catalog is smaller and faster, but it is also the single point of failure for your entire editing history. I back mine up to two separate external drives plus a cloud folder automatically. If you have been casual about backups on older versions, tighten that up now. The migration process is a good forcing function to audit where your catalog lives and set up a real backup schedule.
The jump from older Lightroom versions to Classic CC is one of the better Adobe updates in recent memory because the improvements are measurable, not just theoretical. Faster imports, smarter core usage, and built-in embedded preview culling are all things you will feel in your first session. The single most important thing to take away is this: if you are running an eight-core or better machine and you have not upgraded yet, you are leaving real speed on the table every single time you import a card.
Watch the full tutorial on YouTube to see Tony’s live performance comparisons and the full import workflow in action.
Comments (4)
Been doing this wrong for years apparently. Thanks for the wake-up call.
Well explained. I think my audience would really benefit from this — mind if I link to it?
Never thought of approaching it this way. Really creative.
The before and after really sells it. Incredible difference.
Leave a Comment