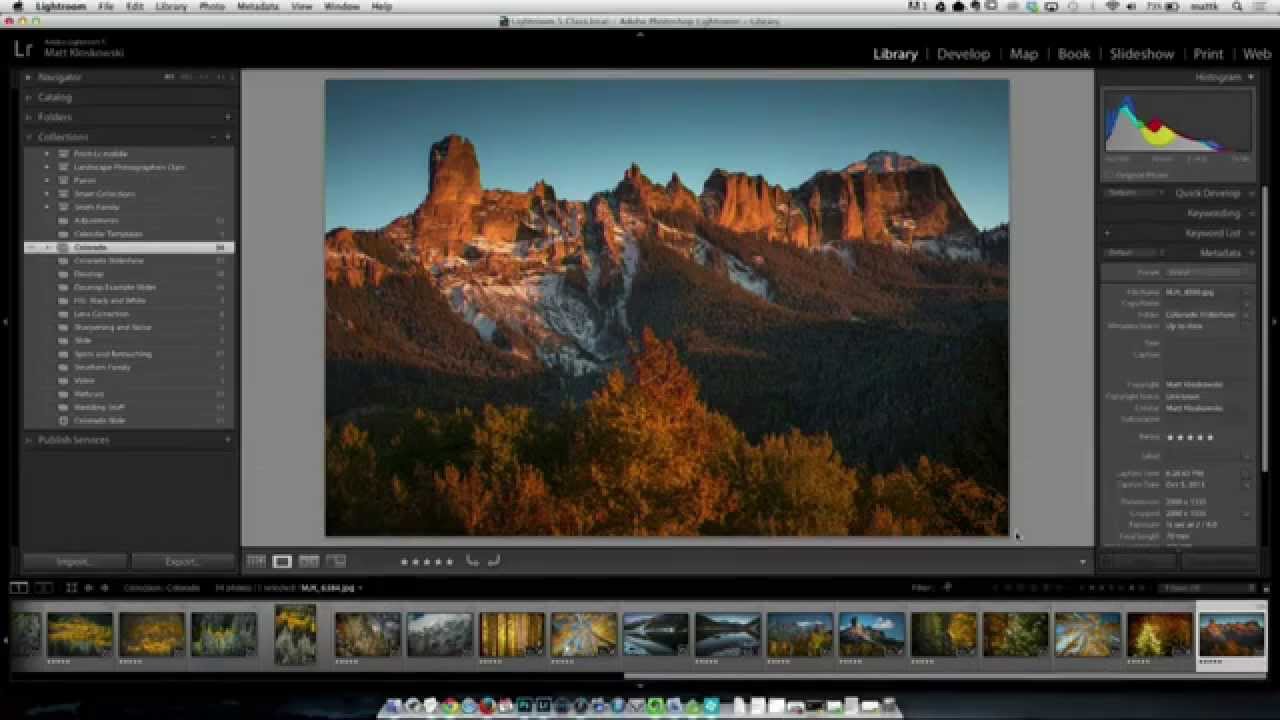
I remember the exact moment I realized my culling workflow was broken. I was on location, had about 400 frames on my iPad, and zero way to mark the keepers with anything more meaningful than a flag. Flags are fine, but they’re binary. A photo either has one or it doesn’t. The whole star rating system I’d built my desktop workflow around was completely absent on mobile, so I’d come home, re-import everything to Lightroom, and start the sorting process from scratch like I hadn’t already spent an hour on the train doing exactly that. It was redundant in the worst way.
The June 2014 Adobe Creative Cloud update changed that, and in this Matt Kloskowski tutorial from KelbyOne, Matt walks through every meaningful update packed into that release. Watch the full tutorial on YouTube if you want to see it in action first. Otherwise, here’s the full breakdown of what landed and how to actually use it.
Step 1: Download Lightroom Mobile on Your iPhone
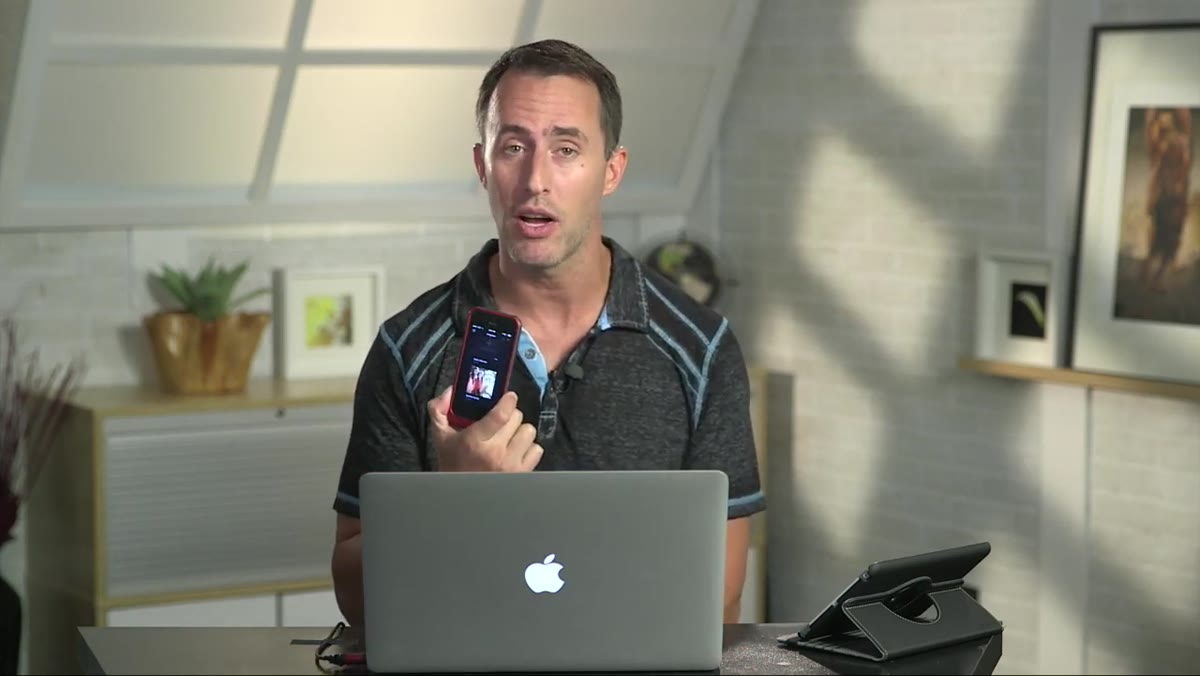 Lightroom Mobile app shown running on iPhone screen
Up until this update, Lightroom Mobile was iPad-only. That changed with version 1.1, which brought the same app to iPhone. The interface is identical, just scaled down to fit a smaller screen. If you already had it on your iPad, you know exactly what you’re getting.
Lightroom Mobile app shown running on iPhone screen
Up until this update, Lightroom Mobile was iPad-only. That changed with version 1.1, which brought the same app to iPhone. The interface is identical, just scaled down to fit a smaller screen. If you already had it on your iPad, you know exactly what you’re getting.
Head to the App Store, search Lightroom, and download. Once you’re logged into your Adobe Creative Cloud account, your collections will appear on the home screen automatically. Tap into any collection and your synced photos are there waiting. Everything that worked on iPad, editing, cropping, applying presets, works here too.
Step 2: Navigate Your Collections and Photos on iPhone
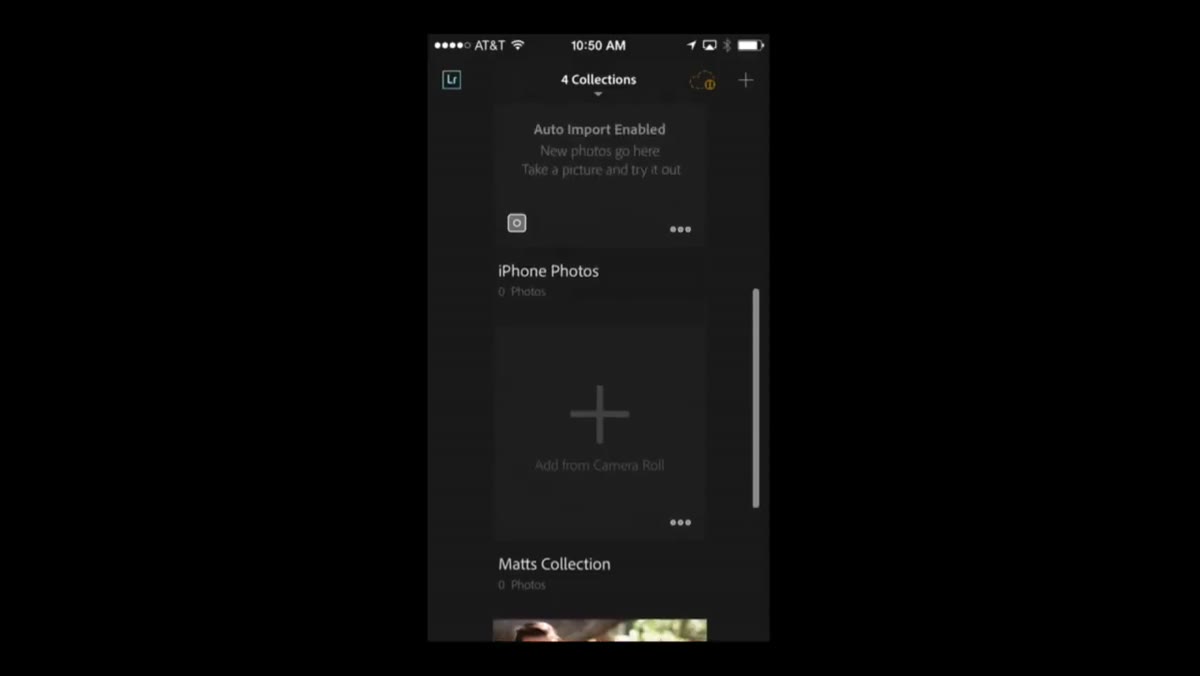 Home screen showing photo collections in Lightroom Mobile
The home screen in Lightroom Mobile lists all your synced collections. Tap a collection and you’re looking at a photo grid. Tap any individual photo and you’re in the editor. That’s the whole navigation structure, and it’s genuinely fast to move through once you’ve got your collections organized on the desktop side.
Home screen showing photo collections in Lightroom Mobile
The home screen in Lightroom Mobile lists all your synced collections. Tap a collection and you’re looking at a photo grid. Tap any individual photo and you’re in the editor. That’s the whole navigation structure, and it’s genuinely fast to move through once you’ve got your collections organized on the desktop side.
The mobile app doesn’t replace desktop Lightroom for heavy editing. What it does is let you make real decisions about your photos while you’re away from your desk, and those decisions sync back automatically. That’s the actual value here.
Step 3: Use the New Star Rating System on iPad and iPhone
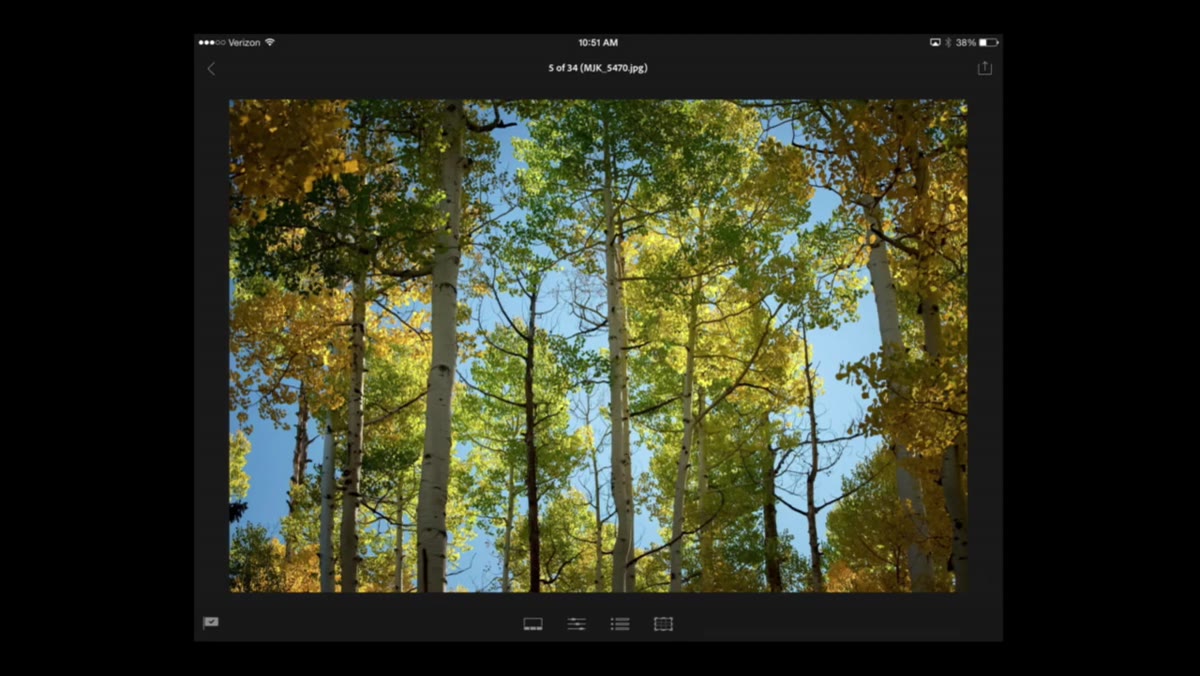 Star rating interface visible in bottom left corner of Lightroom Mobile
This is the big one. In the bottom left corner of the editing view, you used to see a flag icon. That icon is still there, but now it toggles. Tap it once and it switches from flag mode to star mode. From there, swipe up to add stars and swipe down to remove them, exactly the same gesture you were already using for flags.
Star rating interface visible in bottom left corner of Lightroom Mobile
This is the big one. In the bottom left corner of the editing view, you used to see a flag icon. That icon is still there, but now it toggles. Tap it once and it switches from flag mode to star mode. From there, swipe up to add stars and swipe down to remove them, exactly the same gesture you were already using for flags.
The muscle memory transfers almost perfectly. The swipe direction still means “better” or “worse,” just now it maps to a 1-5 star scale instead of flagged or unflagged. If you live inside star ratings on desktop Lightroom the way I do, this is the update that makes mobile culling actually worth your time.
Step 4: Filter Your Photos by Star Rating
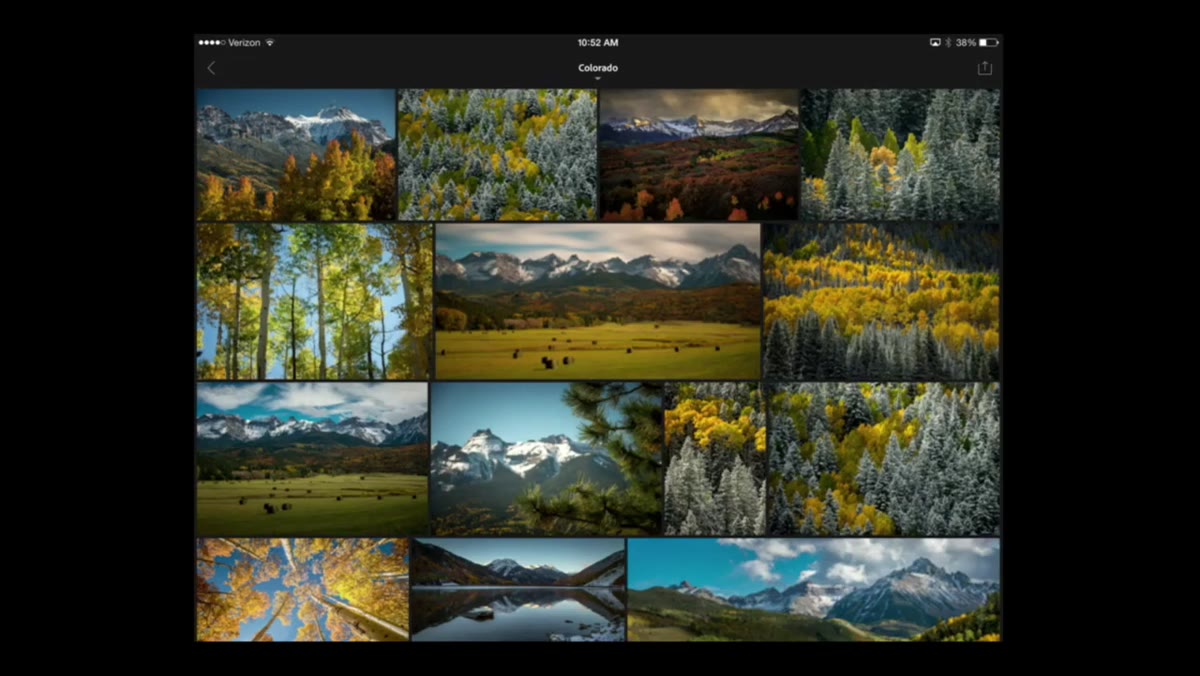 Filter options showing star rating filter above photo grid
Once you’ve rated your photos, you need to be able to surface them. Tap the area just above the photo grid and you’ll see filter options including the new star rating filter. Set it to show only 3-star images or above, and suddenly your collection of 200 frames collapses down to the 40 worth editing. That’s the culling workflow working the way it should.
Filter options showing star rating filter above photo grid
Once you’ve rated your photos, you need to be able to surface them. Tap the area just above the photo grid and you’ll see filter options including the new star rating filter. Set it to show only 3-star images or above, and suddenly your collection of 200 frames collapses down to the 40 worth editing. That’s the culling workflow working the way it should.
This filter syncs with your desktop catalog too, so when you sit down at your main machine, your ratings are already there. No double work.
Step 5: Try the New Custom Sort Order
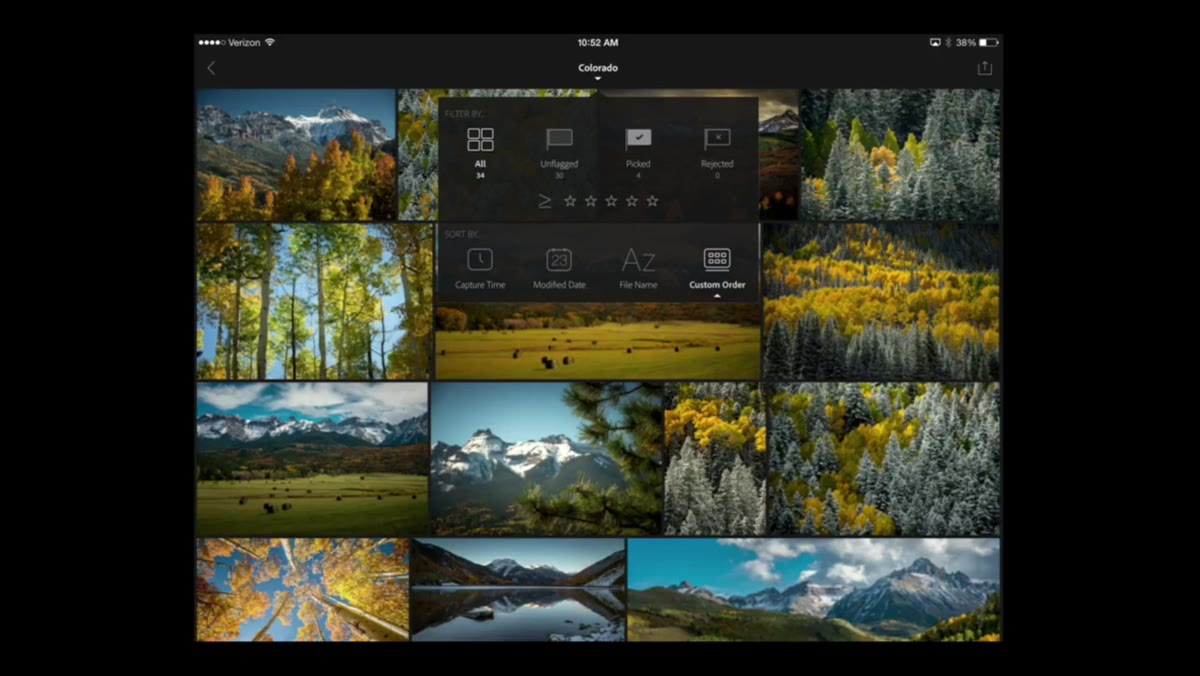 Custom sort order option visible in collection view menu
Custom sort order also landed in version 1.1. It’s a smaller feature but a useful one. Before this update, you were stuck with whatever default sort Lightroom Mobile decided on. Now you can manually arrange photos within a collection on mobile, which matters if you’re building a sequence for a client presentation or just want to review your shots in a specific order.
Custom sort order option visible in collection view menu
Custom sort order also landed in version 1.1. It’s a smaller feature but a useful one. Before this update, you were stuck with whatever default sort Lightroom Mobile decided on. Now you can manually arrange photos within a collection on mobile, which matters if you’re building a sequence for a client presentation or just want to review your shots in a specific order.
Combined with star ratings, you now have a genuinely flexible culling environment in your pocket.
Step 6: Update Desktop Lightroom to Version 5.5
 Lightroom Help menu open with Check for Updates highlighted
The mobile updates only sync correctly with Lightroom 5.5 on desktop. If you’re running an older version, the star ratings won’t carry over properly between devices. The fix is simple: open Lightroom on your desktop, go to Help in the top menu, and select Check for Updates. Lightroom will pull the latest version down and install it.
Lightroom Help menu open with Check for Updates highlighted
The mobile updates only sync correctly with Lightroom 5.5 on desktop. If you’re running an older version, the star ratings won’t carry over properly between devices. The fix is simple: open Lightroom on your desktop, go to Help in the top menu, and select Check for Updates. Lightroom will pull the latest version down and install it.
Version 5.5 also added support for new camera models, so if you’ve recently upgraded your body and your RAW files weren’t being read correctly, this update likely solves that too.
Step 7: Lock In the $9.99 Creative Cloud Photography Plan
 Creative Cloud photography plan pricing mentioned on screen
Adobe used this update cycle to make the Creative Cloud Photography Plan permanent. Before this announcement, the $9.99 per month tier, which covers Lightroom, Photoshop, and all the Lightroom Mobile apps, had been treated like a limited-time offer with a deadline attached to it. That deadline is gone. The plan is now a standing option, not a promotional window.
Creative Cloud photography plan pricing mentioned on screen
Adobe used this update cycle to make the Creative Cloud Photography Plan permanent. Before this announcement, the $9.99 per month tier, which covers Lightroom, Photoshop, and all the Lightroom Mobile apps, had been treated like a limited-time offer with a deadline attached to it. That deadline is gone. The plan is now a standing option, not a promotional window.
If you’ve been sitting on the fence about subscribing because you were waiting to see whether the price would hold, this is your answer. It holds.
What I’d Add After Using These Features for a While
The star rating sync is the update I wish had existed years earlier, but there’s a workflow adjustment worth knowing about. If you’re mid-cull on mobile and you close the app before everything finishes syncing, ratings occasionally don’t carry over to desktop on the first try. My fix is to leave the app open for a minute after rating a batch, long enough for the sync indicator to clear. It’s a small habit that saves you from the frustration of re-rating photos you already sorted.
Also, treat the iPhone version as a culling and quick-adjustment tool rather than a color grading environment. The screen size makes fine HSL adjustments and curve work genuinely difficult. Do the heavy editing decisions on iPad or desktop. Use the iPhone for marking keepers while you’re away from both.
The single most important thing this update did was close the gap between mobile culling and desktop culling. Star ratings were the missing piece, and now that they sync bidirectionally, you can actually trust the work you do on your phone to show up correctly in your catalog. That’s the kind of feature that changes how you use a tool every day, not just when you remember it’s there.
Watch the full tutorial on YouTube to see Matt walk through all of this live.
Comments
Leave a Comment