I’ve been a Lightroom guy for a long time. Long enough that I have an embarrassingly large catalog, presets named after Wilco songs, and genuine opinions about tone curve shapes. But I’ll be honest with you: I had basically written off Lightroom web. I poked at it a couple of years ago, thought “that’s cute,” and went back to the desktop app. Big mistake.
Katrin Eismann’s recent session for KelbyOne, filmed around Adobe Max, changed that. In this KelbyOne tutorial, Eismann walks through the updated Lightroom web interface and a handful of genuinely useful AI-assisted features that don’t exist anywhere else in the Lightroom ecosystem right now. Not in Classic. Not in the desktop app. Web only. Watch the full tutorial on YouTube and then come back, because I want to dig into each step with some extra context from my own experience.
The core problem this solves is one I hit constantly: I shoot a lot, I cull badly, and my catalog is full of near-duplicate frames, accidental screenshots, and out-of-focus experiments I told myself had “artistic potential.” Lightroom web’s new AI tools are built specifically to help you deal with that sprawl, and they work in ways the desktop version just doesn’t yet.
Step 1: Access Lightroom Web and Log In
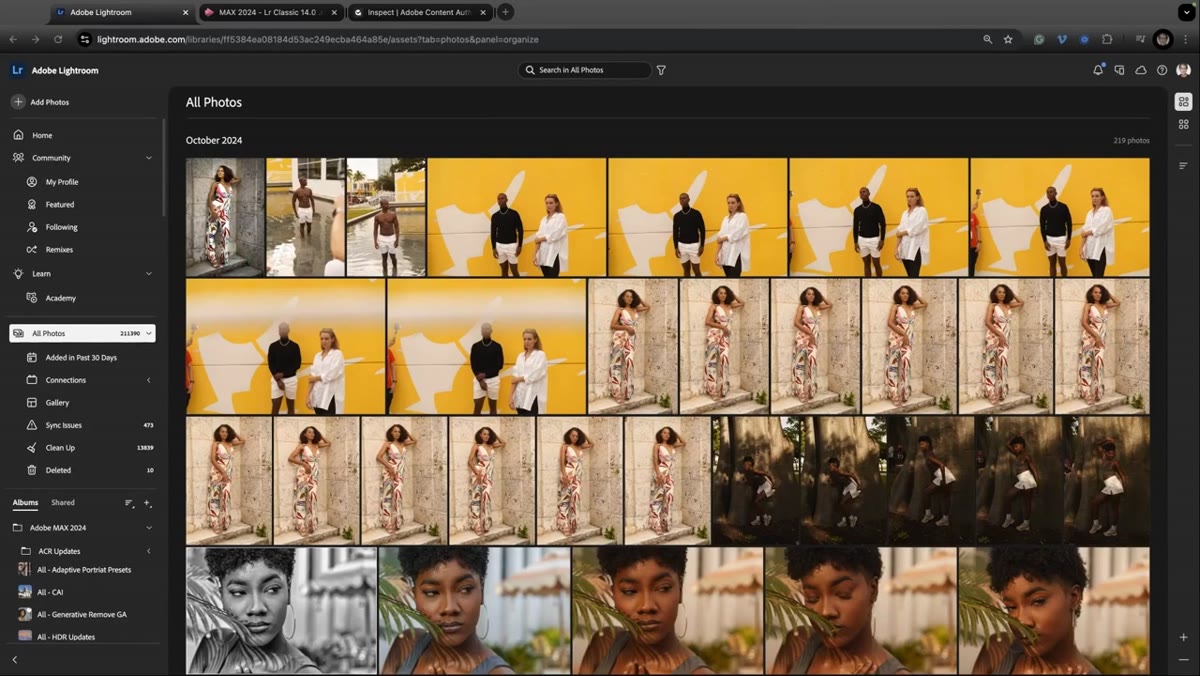 Lightroom web interface loading at lightroom.adobe.com
Navigate to lightroom.adobe.com and sign in with your Adobe credentials. That’s the whole barrier to entry. If you’re on a Creative Cloud photography plan or have Lightroom mobile premium, you already have access. Eismann points out that this is genuinely useful when you’re traveling without your main machine. Library computer, friend’s laptop, even a hotel business center with a decent monitor. Your full catalog is right there, synced from the cloud.
Lightroom web interface loading at lightroom.adobe.com
Navigate to lightroom.adobe.com and sign in with your Adobe credentials. That’s the whole barrier to entry. If you’re on a Creative Cloud photography plan or have Lightroom mobile premium, you already have access. Eismann points out that this is genuinely useful when you’re traveling without your main machine. Library computer, friend’s laptop, even a hotel business center with a decent monitor. Your full catalog is right there, synced from the cloud.
The interface has received a meaningful visual refresh. It’s cleaner and more spacious than earlier versions, and it’s worth spending five minutes just orienting yourself before you dig into the AI features. Your albums, all photos, and shared galleries are organized in the left panel, and the main grid view is sharp enough to actually evaluate images properly on a larger external monitor.
Step 2: Use the Cleanup Tool on Your Full Catalog
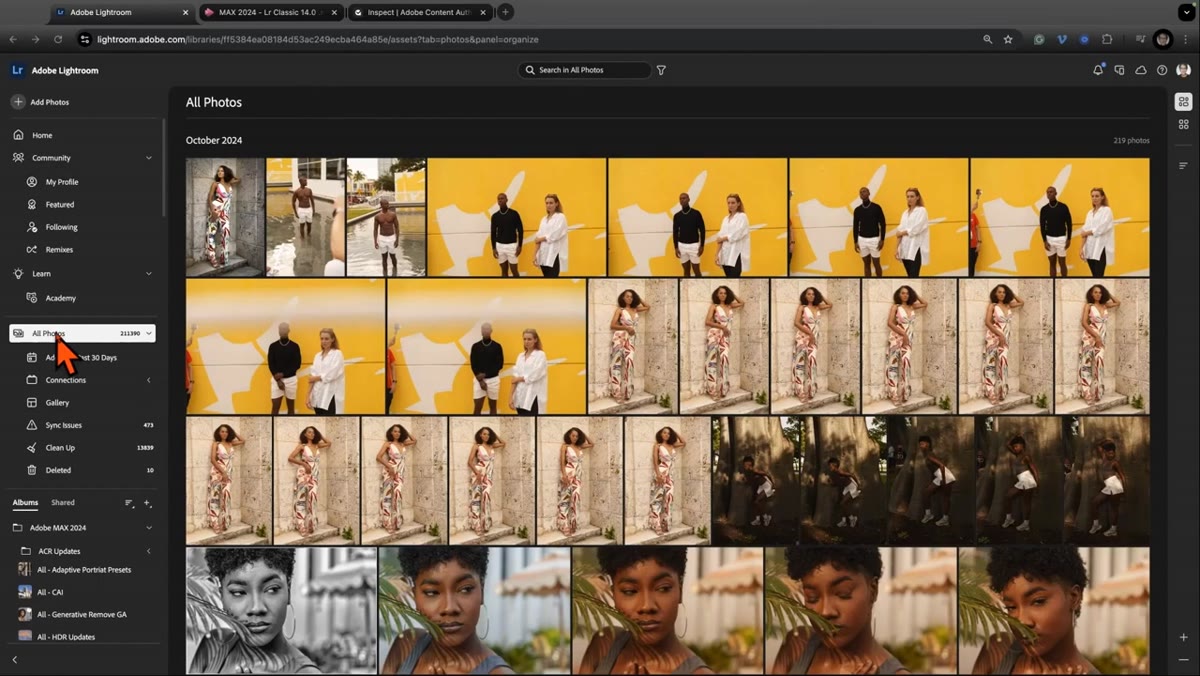 “Clean Up” option selected inside the All Photos view
From the All Photos view, look for the Cleanup option. When you select it, Lightroom’s AI analyzes your entire synced catalog and flags images it considers low quality. We’re talking blurry frames, very dark or overexposed shots, duplicate screenshots, and similar clutter. Eismann ran this on her catalog of over 211,000 images and the tool surfaced nearly 14,000 candidates for removal.
“Clean Up” option selected inside the All Photos view
From the All Photos view, look for the Cleanup option. When you select it, Lightroom’s AI analyzes your entire synced catalog and flags images it considers low quality. We’re talking blurry frames, very dark or overexposed shots, duplicate screenshots, and similar clutter. Eismann ran this on her catalog of over 211,000 images and the tool surfaced nearly 14,000 candidates for removal.
Here’s my take: don’t treat this as a deletion queue. Treat it as a conversation starter. The AI’s definition of “good” leans heavily on technical sharpness, exposure, and composition basics. It doesn’t know that a slightly blurry shot of your subject laughing is worth ten tack-sharp frames of them standing stiffly. Scroll through what it flags before you do anything irreversible. Eismann makes this exact point when she notes that the tool has actually helped her catch real errors in her camera settings, which is a genuinely smart way to use it. Let it surface patterns, not make decisions.
Step 3: Open a Specific Album Before Running Best Photo Selection
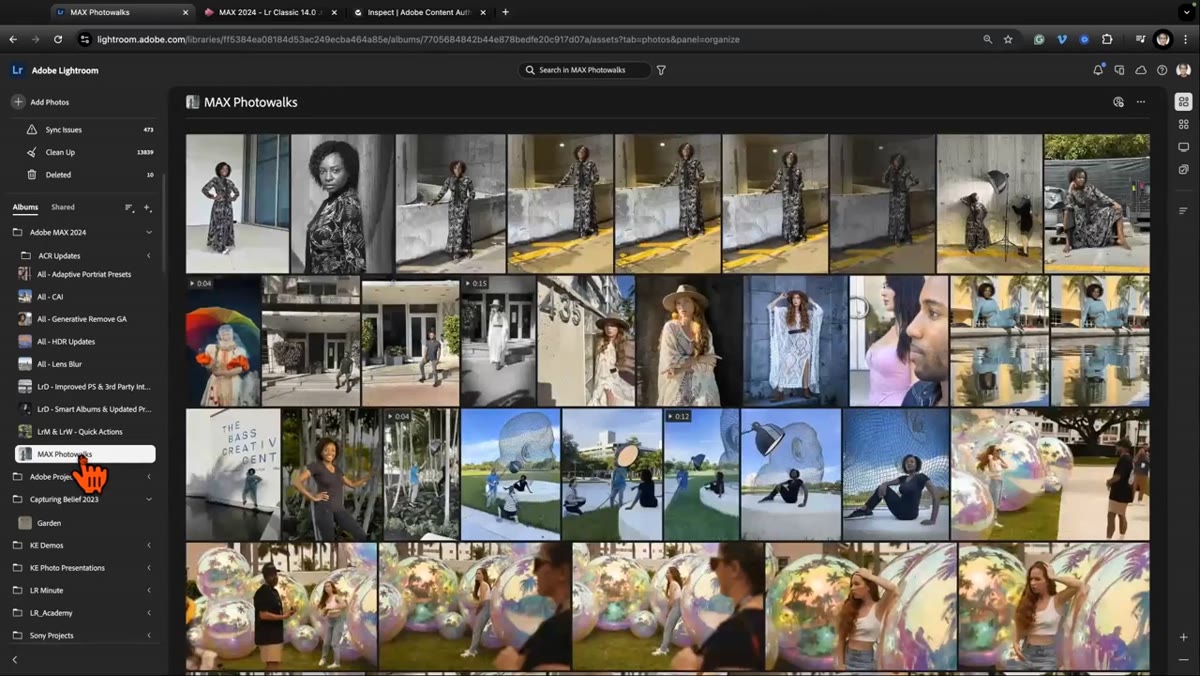 Album of Adobe Max photo walk images open in grid view
The more precise version of this AI workflow happens inside individual albums rather than your full catalog. Open an album that represents a specific shoot or event. This scopes the AI’s job considerably, which means the suggestions are more relevant and easier to review. Eismann demonstrates this with an album from the Adobe Max photo walks she led in Miami.
Album of Adobe Max photo walk images open in grid view
The more precise version of this AI workflow happens inside individual albums rather than your full catalog. Open an album that represents a specific shoot or event. This scopes the AI’s job considerably, which means the suggestions are more relevant and easier to review. Eismann demonstrates this with an album from the Adobe Max photo walks she led in Miami.
Working album by album also matches how most of us actually think about our work. You’re not trying to find the best photo you’ve ever taken. You’re trying to find the best frames from last Saturday’s portrait session. Keeping the selection contained makes the AI output actionable.
Step 4: Configure the Best Photos Settings
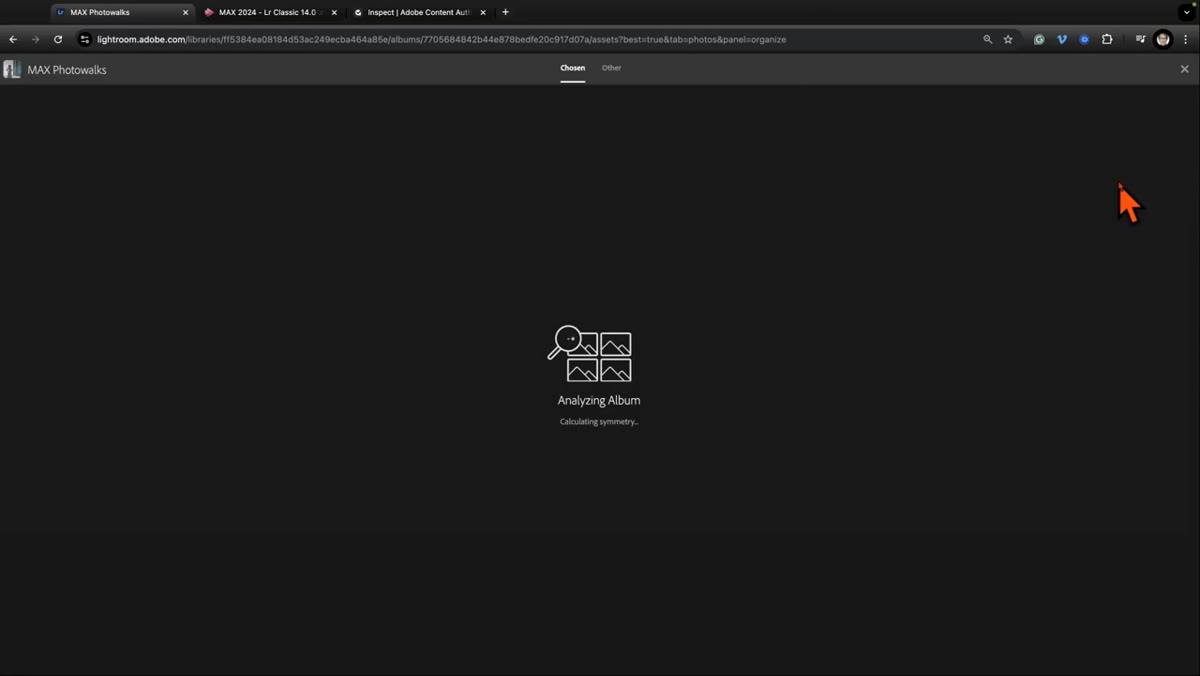 Best Photos panel open with rating and subject emphasis options
Once you’re inside an album, look for the option to have Lightroom select the best photos. Before it runs, you’ll see a couple of configuration choices. You can tell it to ignore any star ratings you’ve already assigned, which is useful if you want a fresh AI-only assessment without your previous picks influencing the result. You can also dial in how critical it should be, essentially telling it how aggressively to narrow the selection.
Best Photos panel open with rating and subject emphasis options
Once you’re inside an album, look for the option to have Lightroom select the best photos. Before it runs, you’ll see a couple of configuration choices. You can tell it to ignore any star ratings you’ve already assigned, which is useful if you want a fresh AI-only assessment without your previous picks influencing the result. You can also dial in how critical it should be, essentially telling it how aggressively to narrow the selection.
The subject emphasis setting is where this gets interesting. Eismann enables the “emphasize pictures of people” option, and for portrait and street photographers this is a meaningful toggle. The AI will prioritize frames where human subjects are well-composed, sharp, and prominent. If you’re a landscape shooter you might leave this off, but for anyone doing event or portrait work it’s worth testing both ways and comparing what comes back.
Step 5: Review the AI Selection and Override Where Needed
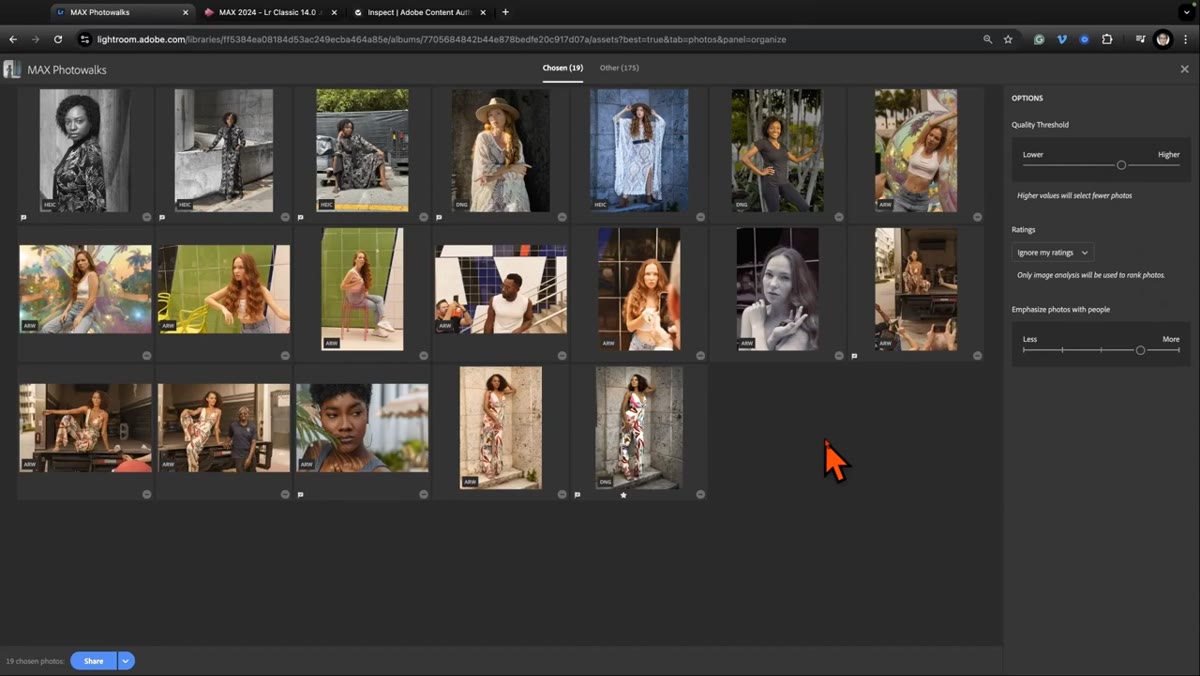 Grid of AI-selected best photos from the photo walk album
After the tool runs, you get a curated grid of what Lightroom considers your strongest frames from that album. Eismann went through her Max photo walk results and found the selection was largely solid. She identified one image she disagreed with and pulled it out manually.
Grid of AI-selected best photos from the photo walk album
After the tool runs, you get a curated grid of what Lightroom considers your strongest frames from that album. Eismann went through her Max photo walk results and found the selection was largely solid. She identified one image she disagreed with and pulled it out manually.
This is the right workflow mentally. The AI is doing the heavy first pass, not the final edit. Think of it like a second shooter who’s already done a rough cull before you sit down. You still make the call. In my experience editing down sessions for musicians and bands, this kind of pre-cull saves a real chunk of time, especially when you’ve come home with 800 frames from a two-hour show and need to get 30 selects to the client by morning.
What I’d Add From My Own Workflow
Both of these features require your images to be synced to the cloud, which Eismann mentions and which is a real constraint worth planning around. If you’re shooting raw files and working on a limited storage plan, you may not have everything up there. My suggestion: create dedicated albums for active projects and make sure those specifically are synced, even if your full archive isn’t. That way you can use the Best Photos tool on your current work without needing to push every file you’ve ever taken to Adobe’s servers.
I’d also encourage you to run the Cleanup tool once, screenshot what it flags, and then actually sit with those images for a few minutes before doing anything. The first time I did this I was ready to batch-delete the whole list. Then I noticed it had flagged three intentionally motion-blurred concert shots that I’d used in a client’s album. The AI was wrong. Not catastrophically wrong, but wrong. Use it as a filter, not a verdict.
The single most useful thing I took from Eismann’s tutorial is this: Lightroom web isn’t a lightweight fallback anymore. It’s where Adobe is actively experimenting with features that may eventually come to the desktop apps, but right now exist only here. If you haven’t logged in recently, spend twenty minutes with it this week. The cleanup and best photo tools alone are worth the trip.
Watch the full tutorial on YouTube to see Eismann walk through all of this live, including her real reactions to what the AI surfaces from her own catalog. That candor is what makes it worth watching.
Comments (4)
The before and after really sells it. Incredible difference.
Would love to see a follow-up going deeper into this topic.
Never thought of approaching it this way. Really creative.
This is fantastic. I've been recommending this approach to my readers too.
Leave a Comment