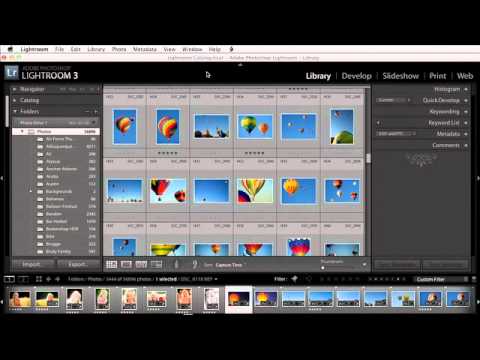
Every few months I get a version of the same question: “Can Lightroom automatically put the year a photo was taken into the watermark when I export?” It sounds like such a reasonable ask. You’ve got thousands of images from multiple years, you want that copyright line to be accurate, and surely Lightroom – the software with all that beautiful metadata baked in – can just… connect those dots automatically.
It can’t. And the first time I ran into this personally, exporting a big batch of archival shots for a client who wanted clean, dated watermarks on everything, I spent way too long looking for a setting that doesn’t exist. In this KelbyOne tutorial by Matt Kloskowski, he not only explains why Lightroom hits a wall here, but also lays out a practical workaround that turns what feels like a dead end into a manageable workflow. Watch the full tutorial on YouTube – it’s short, and the technique is immediately usable.
The core issue is that Lightroom’s watermark editor is static. Whatever text you type into it gets stamped onto every single exported photo, identically. There’s no variable field, no metadata token, no way to say “use the EXIF year here.” What Matt shows instead is a system: build year-specific watermark presets, use Lightroom’s filter bar to isolate photos by year, and export each group with its matching preset. Not magic, but genuinely fast once the presets are built.
Step 1: Confirm the Limitation Yourself
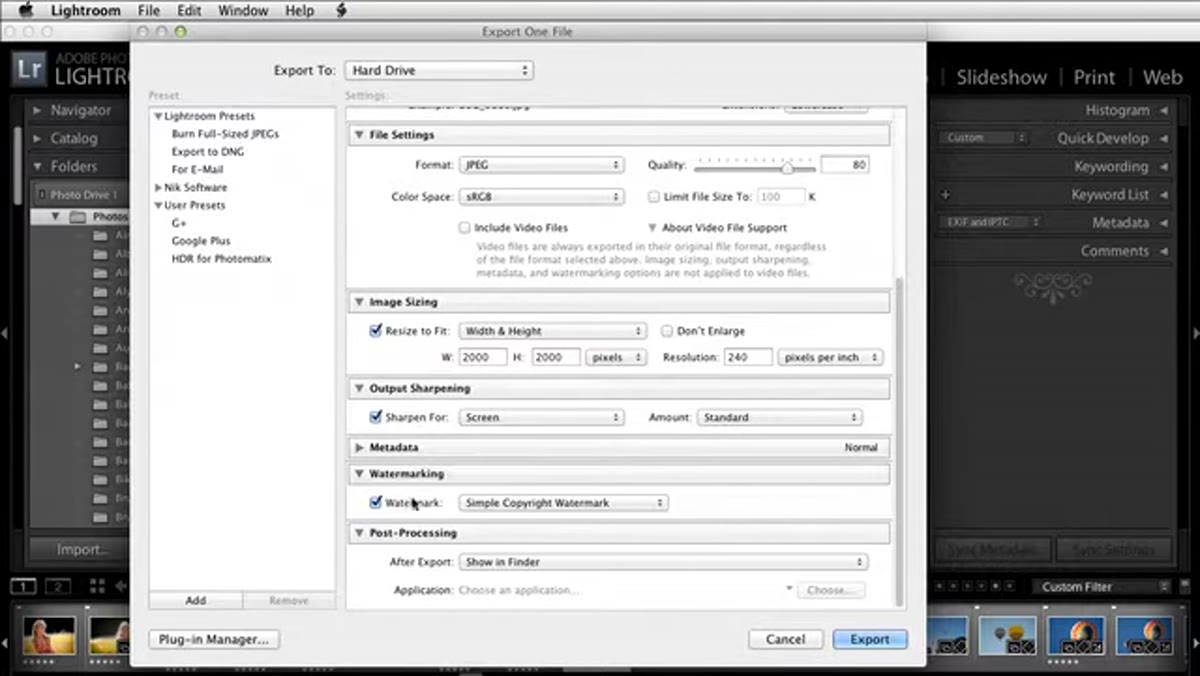 Watermark editor panel open during export dialog
Open Lightroom’s Export dialog via File > Export. Scroll down to the Watermarking section and click “Edit Watermarks.” Type something into the text field. What you’ll immediately notice is that the field is just a plain text box – there are no dynamic fields, no dropdown for metadata, no placeholder syntax. Whatever you write is exactly what every exported file will carry. This isn’t a hidden setting you’re missing. It’s a genuine gap in the feature. Knowing that frees you from troubleshooting and lets you move straight to the workaround.
Watermark editor panel open during export dialog
Open Lightroom’s Export dialog via File > Export. Scroll down to the Watermarking section and click “Edit Watermarks.” Type something into the text field. What you’ll immediately notice is that the field is just a plain text box – there are no dynamic fields, no dropdown for metadata, no placeholder syntax. Whatever you write is exactly what every exported file will carry. This isn’t a hidden setting you’re missing. It’s a genuine gap in the feature. Knowing that frees you from troubleshooting and lets you move straight to the workaround.
Step 2: Build Your First Year-Specific Watermark Preset
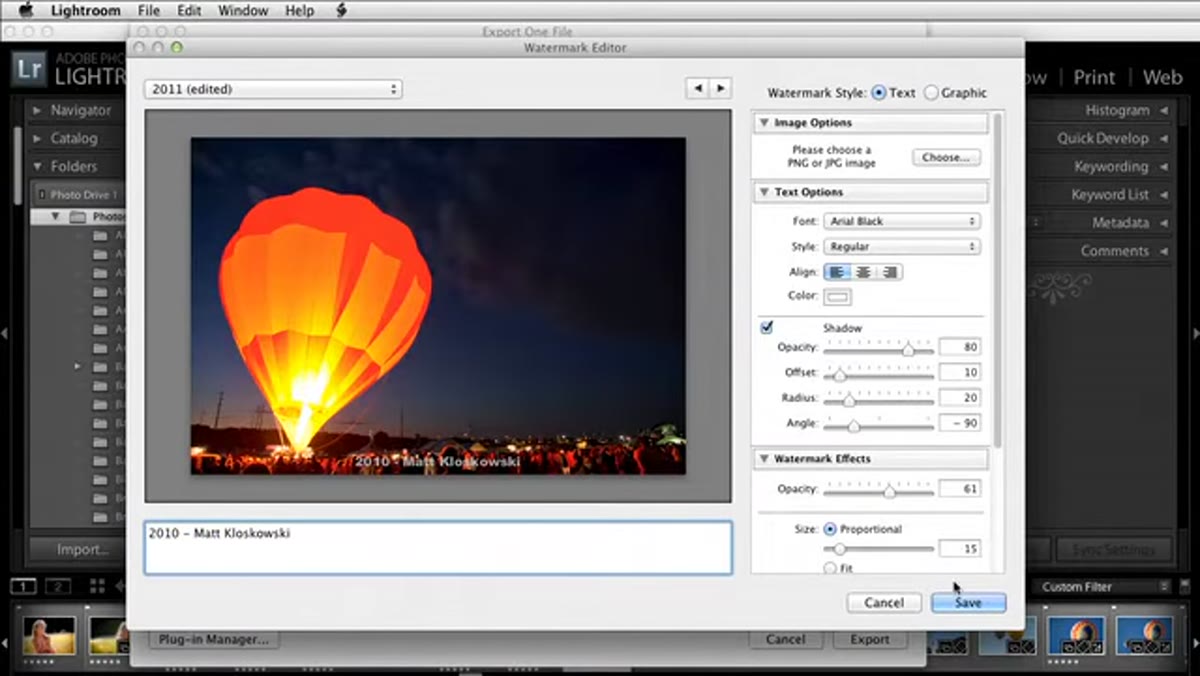
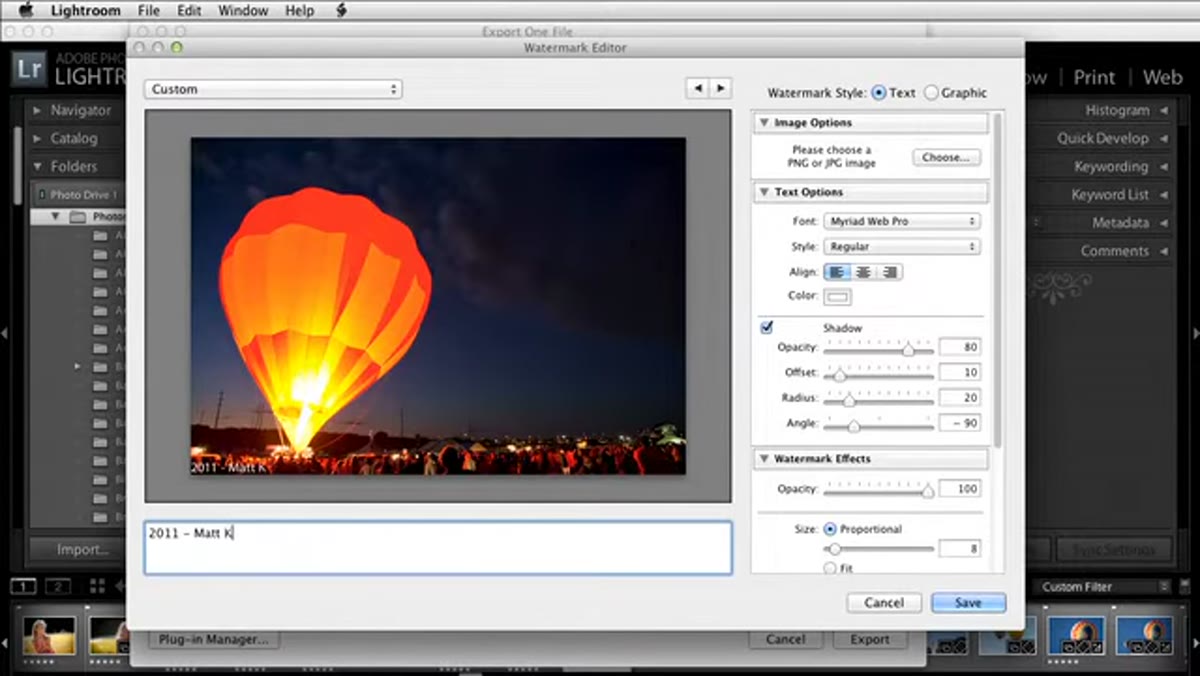 Watermark text field showing “2011 Matt Kloskowski” with font settings
Still inside the watermark editor, type your first watermark string – something like “© 2023 Your Name.” From here, dial in the appearance: Matt recommends Arial Black for its weight and legibility at smaller sizes. Bump the font size up until it reads clearly at thumbnail scale without dominating the image, then pull the opacity back to somewhere between 60 and 80 percent so it sits on the image rather than fighting it. Use the anchor grid at the bottom of the panel to position it – bottom-center or bottom-left are the most common choices for copyright marks. When it looks right, click “Save Current Settings as New Preset” and name it after the year. I name my presets after songs, but “2023” works fine here.
Watermark text field showing “2011 Matt Kloskowski” with font settings
Still inside the watermark editor, type your first watermark string – something like “© 2023 Your Name.” From here, dial in the appearance: Matt recommends Arial Black for its weight and legibility at smaller sizes. Bump the font size up until it reads clearly at thumbnail scale without dominating the image, then pull the opacity back to somewhere between 60 and 80 percent so it sits on the image rather than fighting it. Use the anchor grid at the bottom of the panel to position it – bottom-center or bottom-left are the most common choices for copyright marks. When it looks right, click “Save Current Settings as New Preset” and name it after the year. I name my presets after songs, but “2023” works fine here.
Step 3: Repeat for Each Year in Your Library
 Preset dropdown showing multiple year-named watermark presets
Go back into the watermark editor and change only the year in the text string. Everything else – font, size, opacity, position – stays exactly the same. Save that as a new preset named for the new year. Do this for every year represented in the photo library you’re working with. If your archive goes back ten years, yes, you’re making ten presets. It takes maybe fifteen minutes total, and you only ever do it once. Think of it as building the infrastructure for every batch export you’ll run from this point forward.
Preset dropdown showing multiple year-named watermark presets
Go back into the watermark editor and change only the year in the text string. Everything else – font, size, opacity, position – stays exactly the same. Save that as a new preset named for the new year. Do this for every year represented in the photo library you’re working with. If your archive goes back ten years, yes, you’re making ten presets. It takes maybe fifteen minutes total, and you only ever do it once. Think of it as building the infrastructure for every batch export you’ll run from this point forward.
Step 4: Open the Filter Bar to Sort by Year
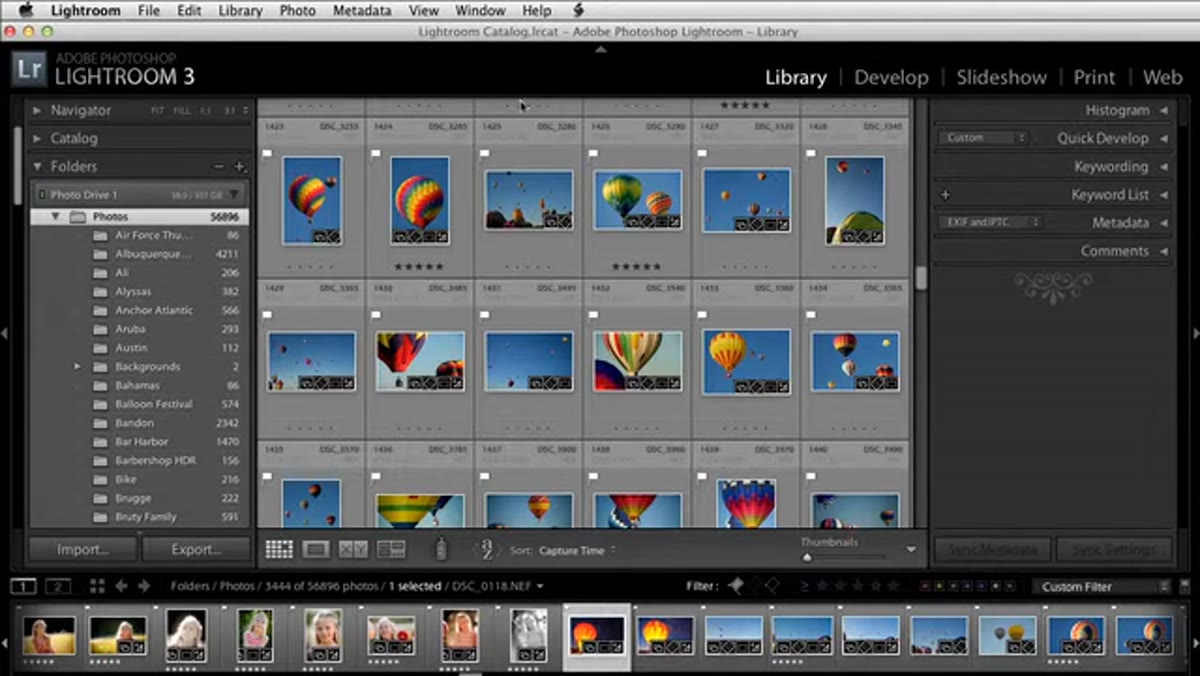 Lightroom Filter Bar visible above the grid with Metadata tab selected
Back in the Library module, make the Filter Bar visible by going to View > Filter Bar (or pressing the backslash key). This is one of those Lightroom features that a lot of people leave turned off and never revisit, which is a shame – it’s genuinely powerful for batch work. Click “Metadata” in the filter bar. You’ll see columns appear above your grid that let you filter by different metadata fields.
Lightroom Filter Bar visible above the grid with Metadata tab selected
Back in the Library module, make the Filter Bar visible by going to View > Filter Bar (or pressing the backslash key). This is one of those Lightroom features that a lot of people leave turned off and never revisit, which is a shame – it’s genuinely powerful for batch work. Click “Metadata” in the filter bar. You’ll see columns appear above your grid that let you filter by different metadata fields.
Step 5: Filter Your Library Down to a Single Year
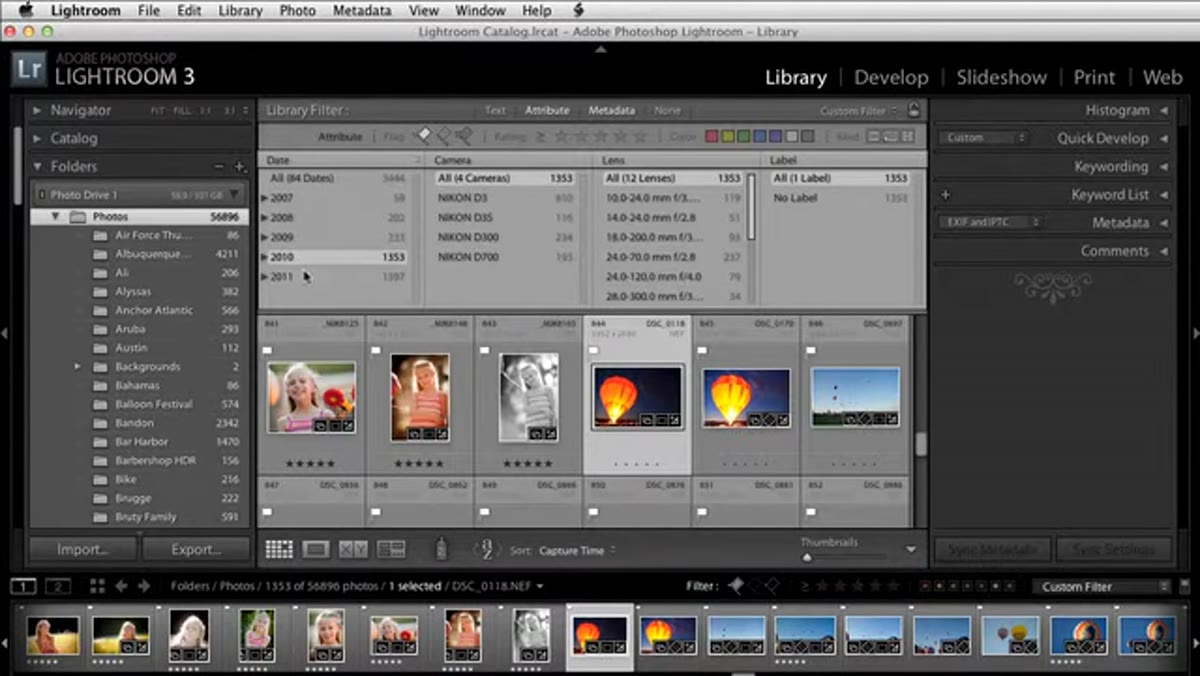 Metadata filter showing “Date” column with a specific year selected
In the metadata filter columns, locate the Date column. Click on the year you want to work with first – say, 2021. Lightroom will immediately reduce the grid view to show only photos taken in that calendar year. This is the connection that makes the whole system work: Lightroom can’t attach year metadata to a watermark dynamically, but it absolutely can show you all your 2021 photos in seconds. You’re doing manually what an automatic system would do behind the scenes.
Metadata filter showing “Date” column with a specific year selected
In the metadata filter columns, locate the Date column. Click on the year you want to work with first – say, 2021. Lightroom will immediately reduce the grid view to show only photos taken in that calendar year. This is the connection that makes the whole system work: Lightroom can’t attach year metadata to a watermark dynamically, but it absolutely can show you all your 2021 photos in seconds. You’re doing manually what an automatic system would do behind the scenes.
Step 6: Select All and Export with the Matching Preset
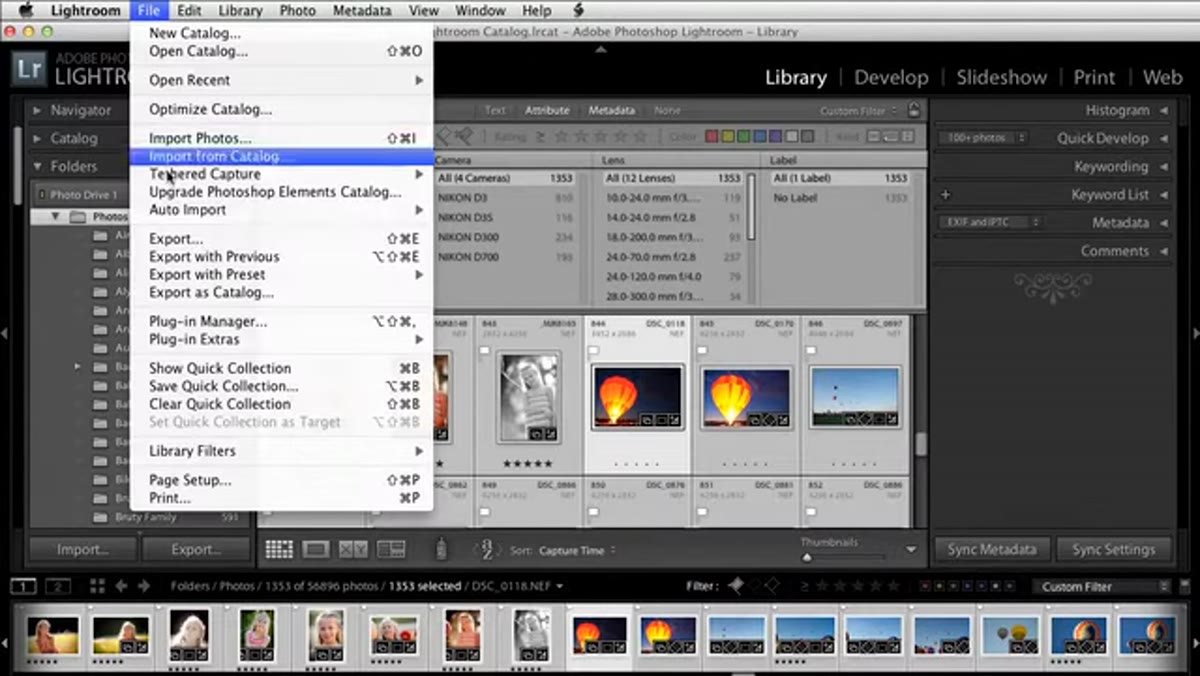 Edit menu showing “Select All” with filtered year photos in grid
With your filtered results showing, go to Edit > Select All. Every photo from that year is now selected. Open the Export dialog via File > Export, scroll to the Watermarking section, and from the preset dropdown choose the watermark preset you built for that year. Set the rest of your export settings – file format, destination folder, resolution – and hit Export. When that batch is done, go back to the filter bar, click the next year, select all again, and export with the matching preset. Repeat until all years are covered.
Edit menu showing “Select All” with filtered year photos in grid
With your filtered results showing, go to Edit > Select All. Every photo from that year is now selected. Open the Export dialog via File > Export, scroll to the Watermarking section, and from the preset dropdown choose the watermark preset you built for that year. Set the rest of your export settings – file format, destination folder, resolution – and hit Export. When that batch is done, go back to the filter bar, click the next year, select all again, and export with the matching preset. Repeat until all years are covered.
Where I’d Take This Further
The year-by-year approach Matt shows is the obvious use case, but the same logic applies to any variable you’d want in a watermark. I’ve used this exact system to handle location-based watermarks for travel work – filtering by GPS-tagged city in the metadata panel and exporting with a preset that names the location. The filter bar can sort by camera body, lens, GPS data, keywords, and more. If there’s a metadata field that varies across your library in a way that matters for your watermarks, there’s likely a filter for it. The preset system is the engine; the filter bar is the steering wheel.
One honest caveat: if you’re running exports like this regularly, it’s worth auditing your presets once a year (I do it in January). Font choices that felt right in 2020 might look dated now, and consistency across your whole archive matters if clients are ever comparing files from different shoots.
The single biggest thing this tutorial reframes is your expectations. Lightroom isn’t broken because it can’t dynamically watermark – it’s just built with static text in mind. Once you stop looking for a feature that doesn’t exist and start building a preset library that does the work for you, the whole process becomes fast and repeatable. The filter bar is what turns a tedious workaround into something that actually scales.
Watch the full tutorial on YouTube to see Matt walk through the whole thing in real time – it clicks faster when you watch the filter bar in action.
Comments
Leave a Comment