I shoot a lot of musicians. Nashville is full of them, and a good chunk of my editing time is spent rescuing dark venue shots where the shadows look like someone shook a snow globe over the image. For years I treated Lightroom’s built-in HDR merge as a gimmick — something for real estate photographers and sunset chasers. Then I watched a KelbyOne tutorial that reframed the whole feature, and I felt that particular flavor of embarrassed that comes from ignoring a tool that was sitting right there.
Watch the full tutorial on YouTube
In this KelbyOne tutorial, the instructor makes a point that stopped me mid-listen: an HDR merge in Lightroom doesn’t look dramatic when it’s done. It actually looks almost identical to your normal exposure, maybe a half stop brighter. That underwhelming first impression is exactly why most people dismiss it. But the real value is buried in the shadows, and once you see the before-and-after comparison the video demonstrates, you cannot unsee it. The merged HDR file holds dramatically more shadow data, which means you can push the Shadows slider hard without your image turning to television static.
Here’s how to actually do it, and what to pay attention to at each stage.
Step 1: Select Your Three Bracketed Exposures in Lightroom
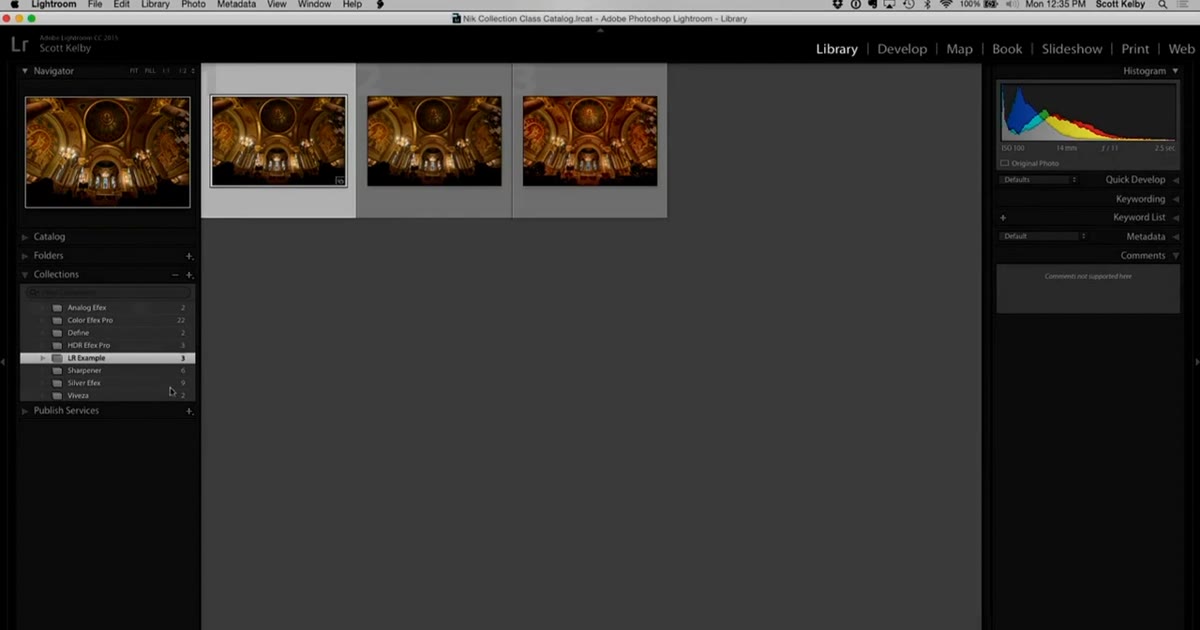 Three bracketed exposures shown side by side in Lightroom grid
Start in the Library module with a set of bracketed exposures. A standard bracket gives you three frames: one normal exposure, one underexposed, one overexposed. Select all three by clicking the first image, then Shift-clicking the last. You don’t need to do any editing on these files beforehand. The point of the HDR merge is to let Lightroom combine the tonal information from all three before you make any adjustments.
Three bracketed exposures shown side by side in Lightroom grid
Start in the Library module with a set of bracketed exposures. A standard bracket gives you three frames: one normal exposure, one underexposed, one overexposed. Select all three by clicking the first image, then Shift-clicking the last. You don’t need to do any editing on these files beforehand. The point of the HDR merge is to let Lightroom combine the tonal information from all three before you make any adjustments.
If you don’t shoot bracketed regularly, this is a good reason to start. Most cameras have an auto-bracketing setting that fires three frames in sequence at the push of one button. Set your bracket spread to one or two stops in either direction.
Step 2: Open the Merge to HDR Dialog
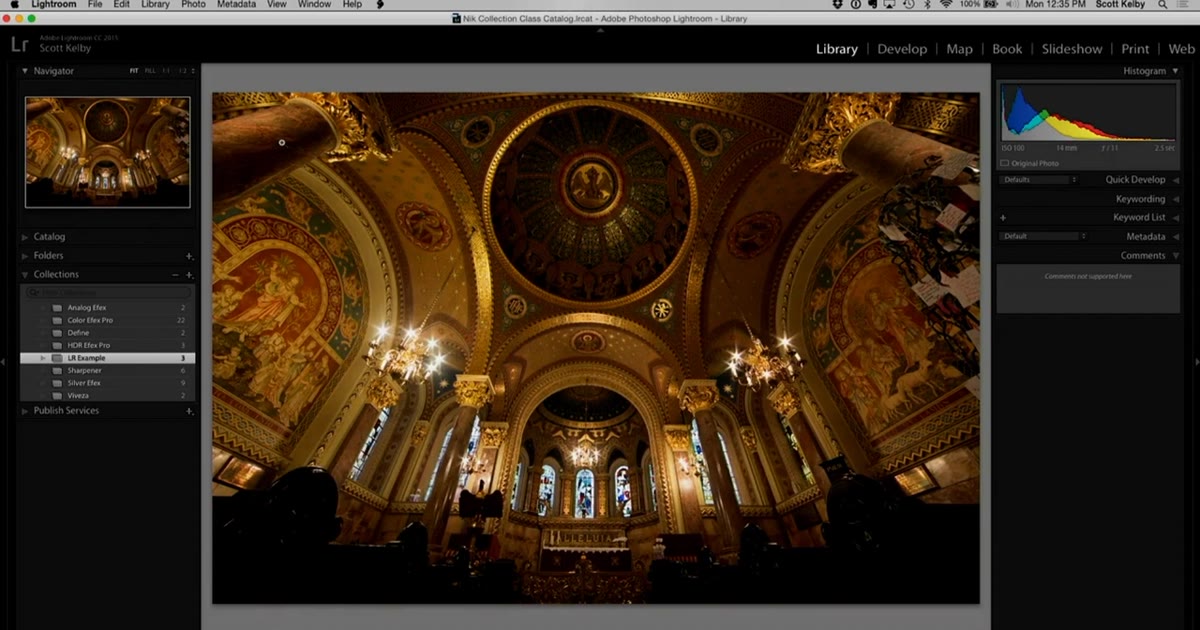 Lightroom Library module with three images selected
With your three images selected, go to Photo in the top menu, then choose Photo Merge, then HDR. Lightroom will open the Merge to HDR dialog and start building a preview. This preview is what the instructor is referring to when he says the result looks surprisingly ordinary. Don’t panic when you see something that looks basically like your normal shot. That’s the point. The magic is not visible yet.
Lightroom Library module with three images selected
With your three images selected, go to Photo in the top menu, then choose Photo Merge, then HDR. Lightroom will open the Merge to HDR dialog and start building a preview. This preview is what the instructor is referring to when he says the result looks surprisingly ordinary. Don’t panic when you see something that looks basically like your normal shot. That’s the point. The magic is not visible yet.
The dialog gives you a few options before you commit. Deghost settings handle any movement between frames (useful if there were people or leaves in the scene). Leave that on Auto or Low for most situations.
Step 3: Check the Auto Tone Box Before You Merge
 Merge to HDR dialog with Auto Tone checkbox visible
Inside the Merge to HDR dialog, there is a small checkbox labeled Auto Tone. The tutorial makes a useful clarification here: checking this box is functionally the same as running the Auto button in the Develop module after the merge is complete. It applies a quick tonal balance that brings down blown highlights and lifts some of the midtones.
Merge to HDR dialog with Auto Tone checkbox visible
Inside the Merge to HDR dialog, there is a small checkbox labeled Auto Tone. The tutorial makes a useful clarification here: checking this box is functionally the same as running the Auto button in the Develop module after the merge is complete. It applies a quick tonal balance that brings down blown highlights and lifts some of the midtones.
The instructor recommends enabling it because the raw merged file can look flat or slightly overexposed at first glance. Auto Tone gives you a more accurate starting point for your edit. You can always adjust from there, but it makes the initial preview much more representative of what your final image could look like.
Step 4: Merge and Let Lightroom Build the DNG
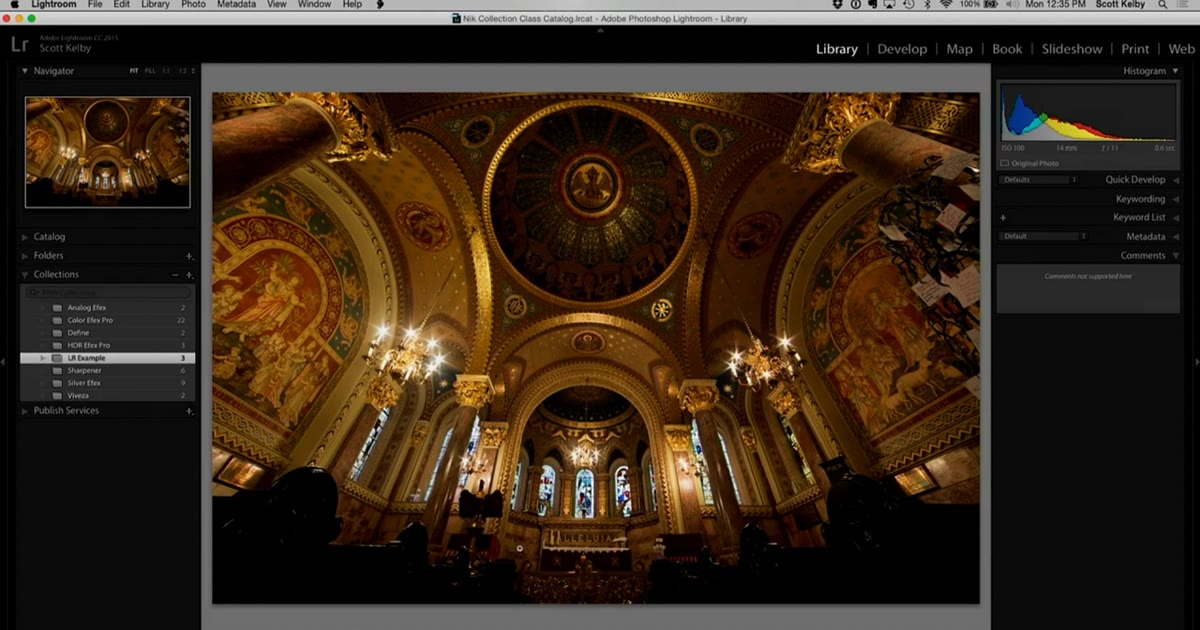 HDR image appearing in Lightroom filmstrip next to originals
Click Merge. Lightroom will generate a new DNG file and place it in your catalog next to the original bracketed frames. This file will have “HDR” in its name so you can identify it easily. The process takes a minute or two depending on file size and your machine.
HDR image appearing in Lightroom filmstrip next to originals
Click Merge. Lightroom will generate a new DNG file and place it in your catalog next to the original bracketed frames. This file will have “HDR” in its name so you can identify it easily. The process takes a minute or two depending on file size and your machine.
This DNG is where the hidden benefit lives. An HDR merge in Lightroom produces a higher bit-depth file than a standard raw. More bit depth means more data packed into every tonal range, especially the shadows. That extra data is what makes the next step possible.
Step 5: Push the Shadows Slider Hard and Compare
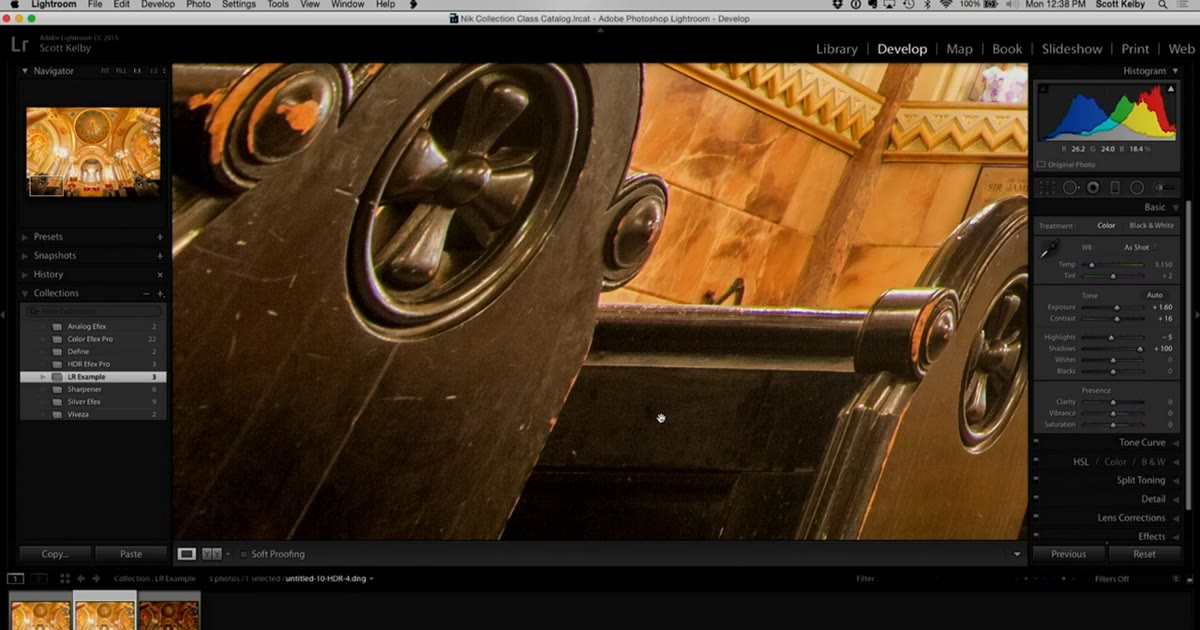
 Shadows slider cranked up on normal exposure, showing heavy noise
Open the HDR DNG in the Develop module. Now do something you would never normally do: drag the Shadows slider up significantly, maybe to +80 or even +100, and bump Exposure up a stop or so. Then zoom into a dark area of the image at 100%.
Shadows slider cranked up on normal exposure, showing heavy noise
Open the HDR DNG in the Develop module. Now do something you would never normally do: drag the Shadows slider up significantly, maybe to +80 or even +100, and bump Exposure up a stop or so. Then zoom into a dark area of the image at 100%.
Now go back and do the exact same moves on the original, unmerged normal exposure. The difference is stark. The original will show heavy luminance noise in the shadows, the kind of grainy, splotchy texture that makes an image look cheap. The HDR version will show clean, smooth tonal gradations in those same areas. The tutorial demonstrates this back-and-forth comparison in real time, and it’s genuinely one of those screen-at-your-monitor moments. This is not a subtle difference.
Step 6: Edit the HDR DNG Like Any Other File
 Final HDR image being edited in Lightroom Develop module
From here, treat the HDR DNG like any raw file. All the usual Develop module controls work exactly the same way. You can apply presets, run local adjustments with the Masking panel, and export normally. The only difference is that you now have a file with significantly more shadow latitude to work with.
Final HDR image being edited in Lightroom Develop module
From here, treat the HDR DNG like any raw file. All the usual Develop module controls work exactly the same way. You can apply presets, run local adjustments with the Masking panel, and export normally. The only difference is that you now have a file with significantly more shadow latitude to work with.
One thing worth noting: the HDR DNG will sometimes look a bit different when you apply presets you’ve built on standard raws. The higher bit depth can make tonal curves respond slightly differently. It’s minor, but worth a test run if you’re integrating this into an existing workflow.
A Note From My Own Editing Table
I started using this technique on portraits shot in low-key lighting, which are basically a stress test for shadow recovery. What I found is that the benefit scales with how aggressively you need to recover shadow detail. If you’re shooting in good light with plenty of exposure, the advantage is marginal. But if you’re regularly working in mixed or low light, the clean shadows from an HDR merge can save shots that would otherwise need heavy noise reduction and still look rough.
The bracket-and-merge step does add time to both the shooting and the culling process. For personal or artistic projects, I think it’s worth building into the habit. For fast-turnaround work, I keep it in reserve for the shots that really need it.
The single most important thing to take away here is this: Lightroom’s HDR merge is not primarily a look. It’s a data collection strategy. When you merge three exposures, you’re giving Lightroom more information to work with, and that information pays off specifically in the shadows. If you’ve been ignoring the feature because the output looks too subtle, that subtlety is the point. The payoff comes when you start editing.
Watch the full tutorial on YouTube to see the shadow noise comparison side by side. The visual makes the argument better than any slider value I can quote.
Comments (3)
This is the kind of content that keeps me coming back.
I've watched a dozen tutorials on this and yours is the clearest by far.
Bookmarked. Coming back to this one for sure.
Leave a Comment