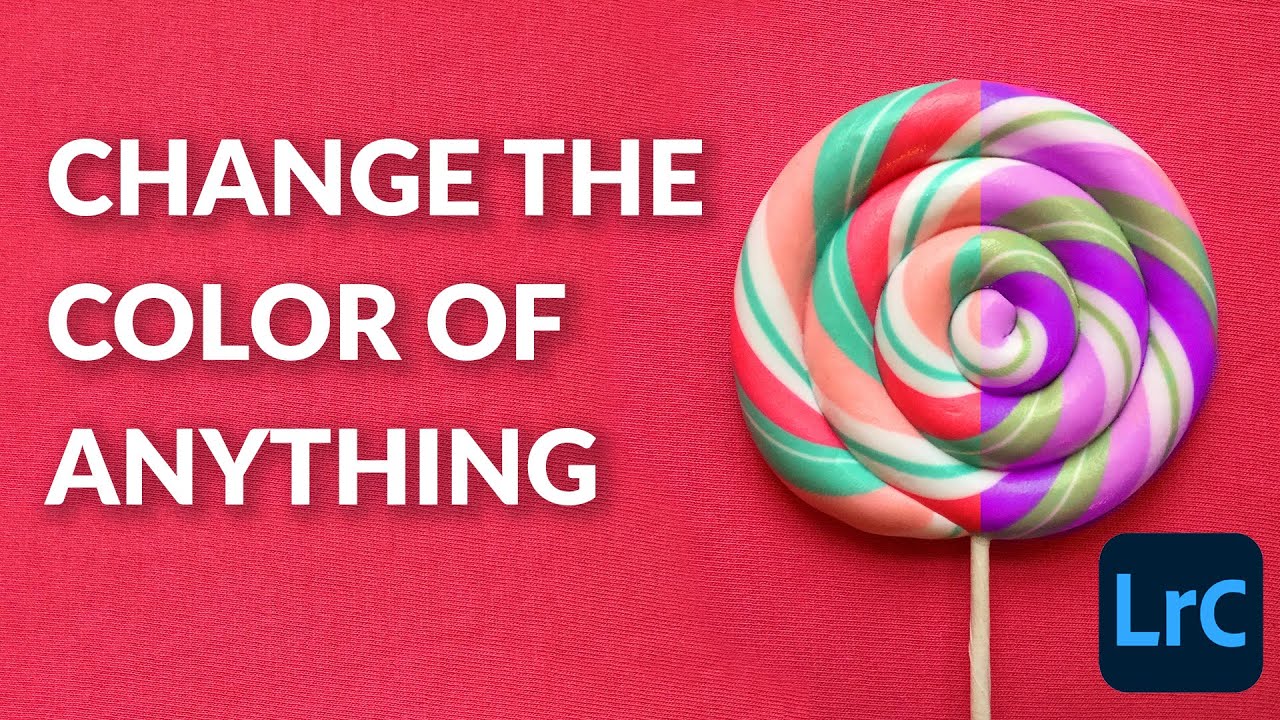
For years, my standard answer to “can you change the color of that in Lightroom?” was a polite but firm “not really.” I’d pull up the HSL panel, drag a slider, and watch the color bleed into everything adjacent to it like watercolor hitting wet paper. If a client wanted a red jacket turned burgundy, I was opening Photoshop. No question. That workaround cost me time, broke my Lightroom-first workflow, and honestly felt embarrassing given how much Lightroom handles so well everywhere else.
That changed when I watched this tutorial from Aaron Nace over at PHLEARN. Watch the full tutorial on YouTube – it covers a Lightroom update that adds a Hue slider to the local adjustment tools, meaning you can now paint, graduate, or radial-select a specific area and shift only that color. The global HSL panel still exists for broad strokes, but this is the precision tool I’ve been waiting for.
Here’s the full walkthrough, broken into repeatable steps you can follow on your own images right now.
Step 1: Open the Develop Module and Choose Your Local Adjustment Tool
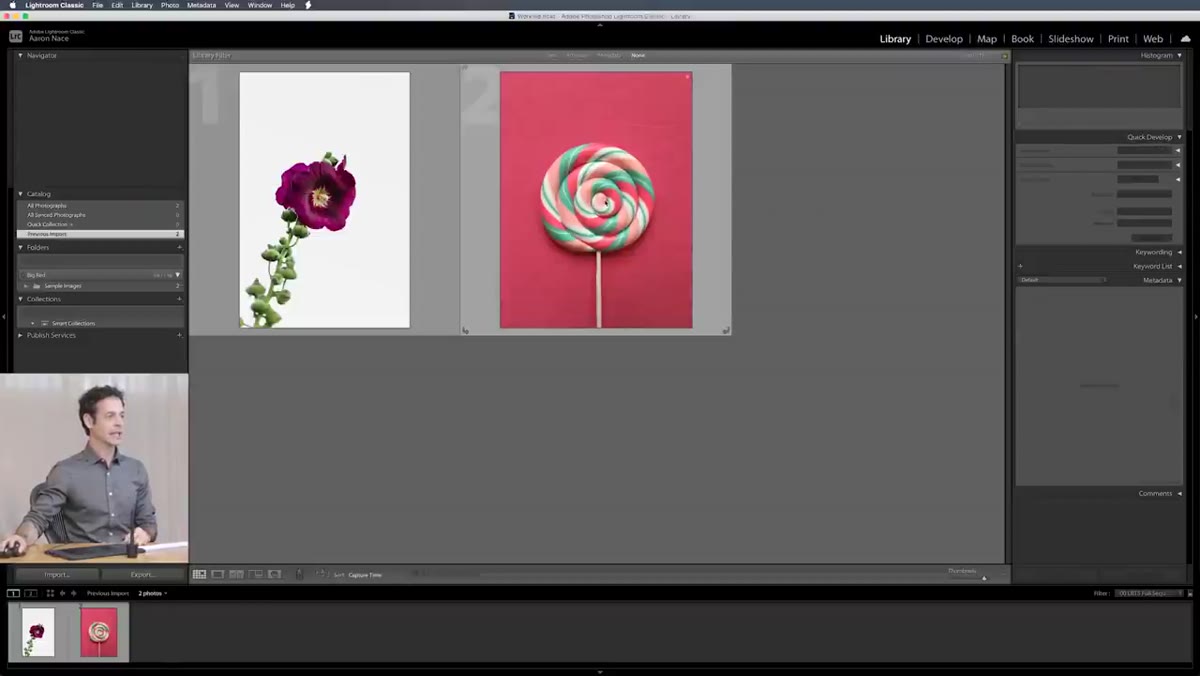 Develop module open with lollipop image loaded
Head into Lightroom’s Develop module. In the toolbar just below the histogram, you’ll see three local adjustment tools: the Graduated Filter, the Radial Filter, and the Adjustment Brush. All three now carry the new Hue slider, so your choice depends entirely on the shape of what you’re editing. For something circular or oval, the Radial Filter is your friend. For a person’s clothing or an irregularly shaped object, the Adjustment Brush gives you the most control. Nace starts with the Radial Filter on a lollipop image, which is a good learning case because the shape is clean and the results are immediately obvious.
Step 2: Draw Your Selection Over the Area You Want to Change
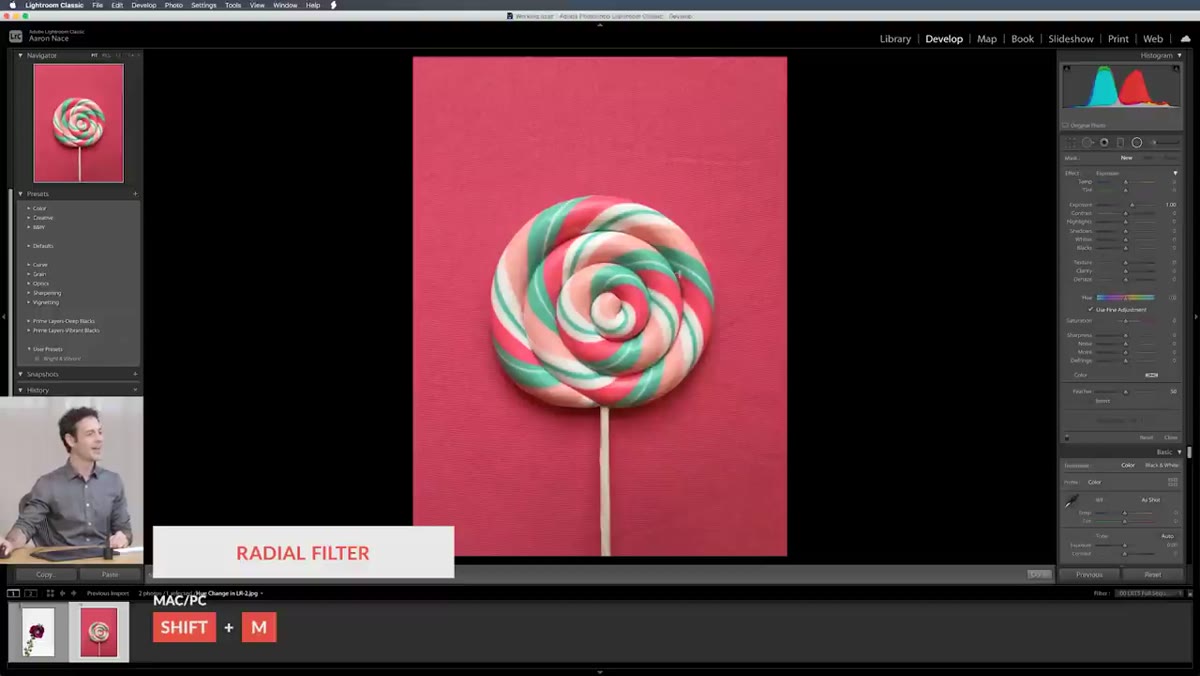 Radial filter being dragged over the lollipop
Click and drag the Radial Filter to cover your subject. Lightroom will drop a selection ellipse onto the canvas. By default, the adjustment applies to everything outside the circle, which is the opposite of what you usually want for an isolated subject. Scroll down in the panel to find the Invert checkbox and turn it on. Now the effect applies inside the circle only. Once inverted, reduce the Feathering value to tighten the edge of the selection – a high feather is great for dodging and burning, but when you’re trying to isolate a specific color, a soft edge means color bleed, which defeats the whole point.
Step 3: Check Your Mask with the Overlay Toggle
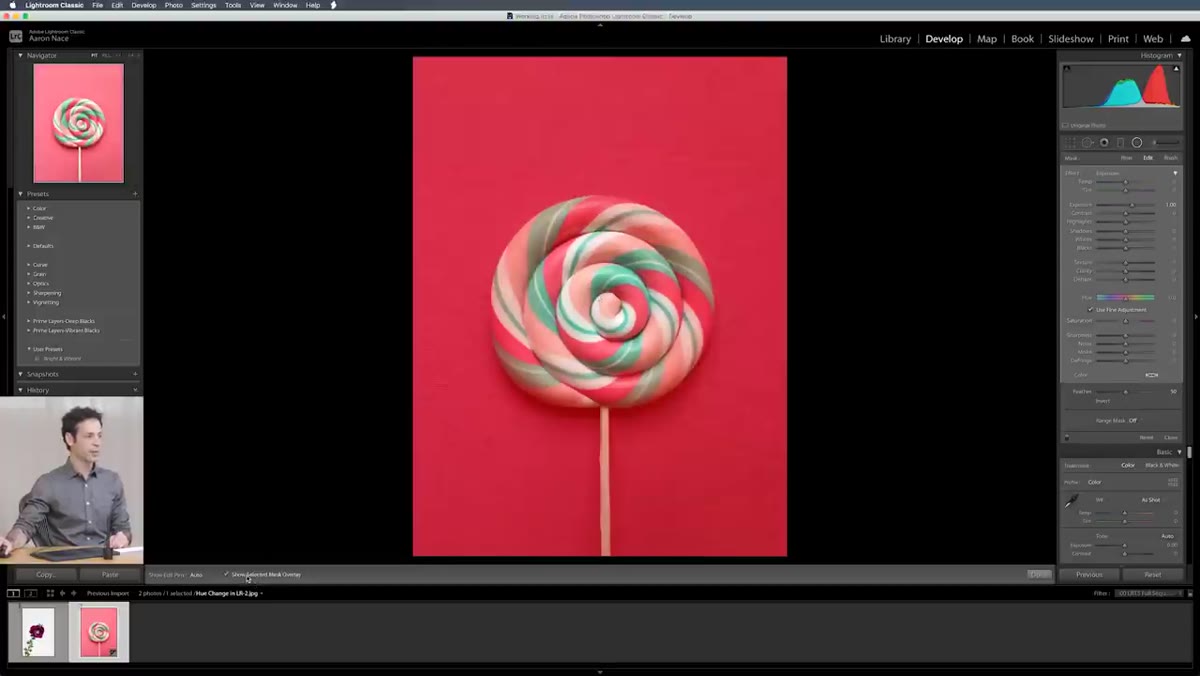 Red mask overlay showing selected area on lollipop
Before touching any color controls, verify your selection is actually covering what you think it is. Toggle on “Show Selected Mask Overlay” in the toolbar at the bottom of the image. The affected area turns red. Yes, it looks chaotic on a red subject, but you can still see where the mask edge falls. This step saves you from making adjustments and then discovering your selection was off by a few hundred pixels. Once you’ve confirmed the coverage looks right, turn the overlay back off so you can see your color changes accurately.
Step 4: Zero Out the Exposure and Find the Hue Slider
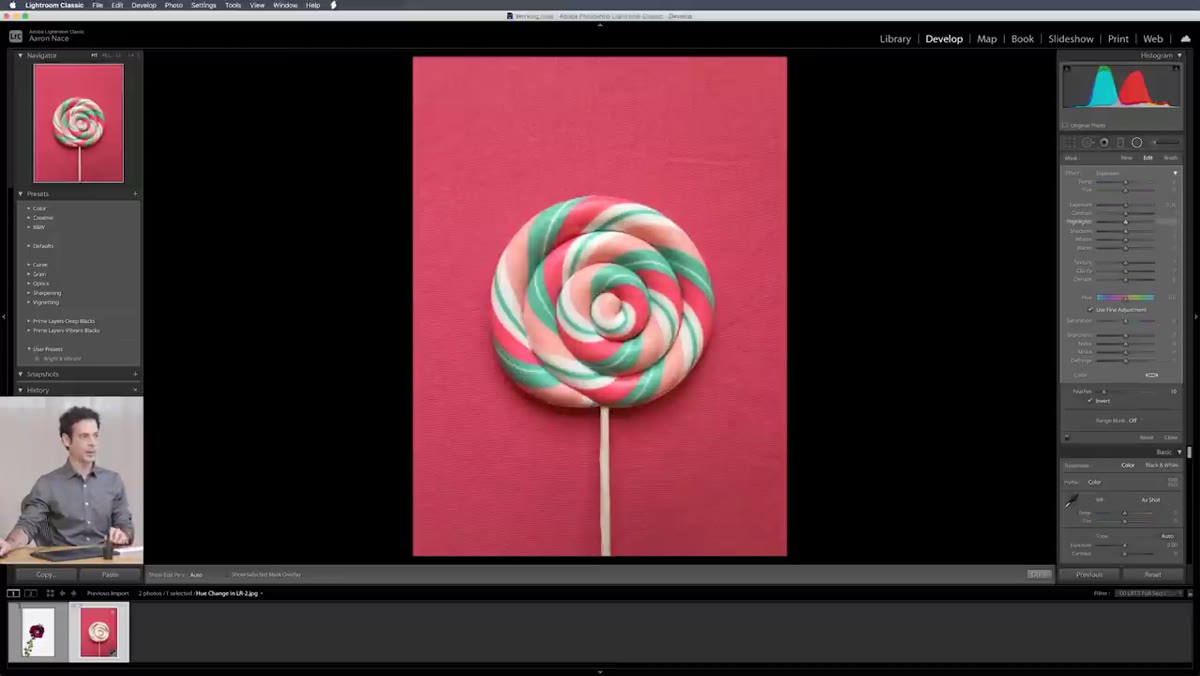 Hue slider visible in local adjustment panel at zero
When you first activate a local adjustment tool, Lightroom defaults to pushing Exposure up by one stop. That’s a holdover from the tool’s original dodging-and-burning purpose. Drag Exposure back to zero before you do anything else. Now scroll down through the local adjustment panel and you’ll find the new Hue slider sitting below the existing color controls. It’s labeled clearly. Drag it left or right and the hue inside your selected area shifts. The range is generous enough to get you from one side of the color wheel to the other, which means a blue can become a purple, a green, or even nudge toward red with enough travel.
Step 5: Use Fine Adjustments for Precision Tuning
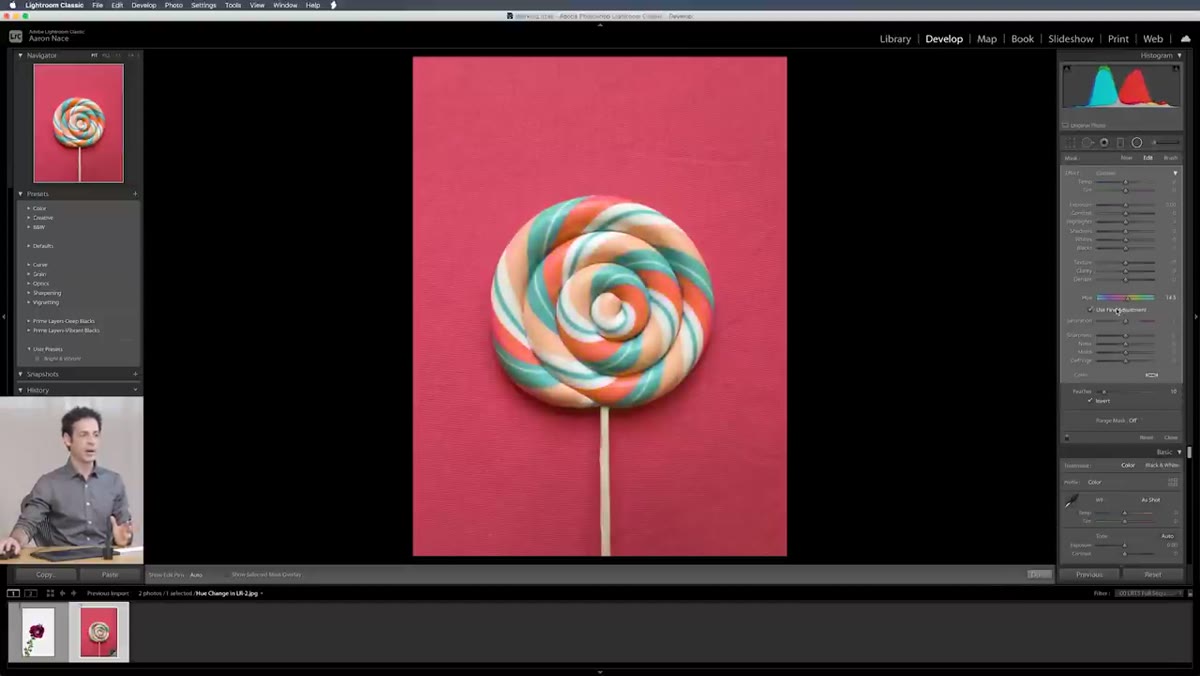 Fine adjustment checkbox active with subtle hue change
The standard Hue slider moves in fairly large increments, which is fine for dramatic color swaps but too aggressive when you need a subtle shift – think changing a cool-toned teal to a slightly warmer aqua without it reading as green. Lightroom added a “Use Fine Adjustments” checkbox specifically for this. Enable it and the slider sensitivity drops dramatically, giving you much more granular control over the exact hue landing point. This is the kind of thoughtful UI decision that makes a feature actually usable in professional work, not just in demo videos.
Step 6: Add the Adjustment Brush to Clean Up Edges
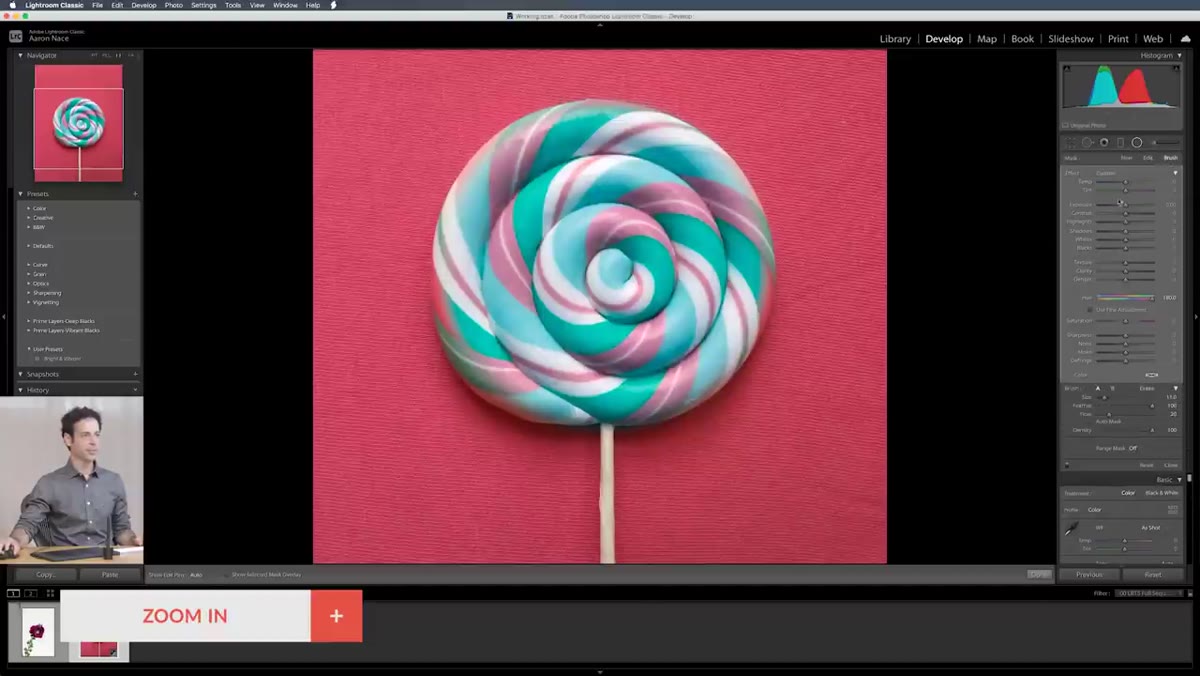 Adjustment brush adding to the radial filter selection
No radial filter is going to perfectly follow the contours of a real-world subject. After you’ve set your Hue value, zoom into the edges of your selection and switch to the Brush mode within the same adjustment (look for the small brush icon inside the radial filter controls – not a new adjustment layer, but an extension of the current one). You can paint additional coverage into areas the ellipse missed, or use the Erase mode to pull back from spots where the selection overlapped into the background. This combination approach – radial for the bulk, brush for the cleanup – is fast and surprisingly accurate.
One Thing I’d Add: Combine This with Range Masking for Cleaner Results
Nace mentions Range Masking in passing and it deserves more airtime. After you’ve drawn your local adjustment, scroll down past the adjustment sliders to find the Mask section, where you can enable Range Masking by Color or by Luminance. The Color option is especially powerful here: you can click-sample the specific hue you want to target, and Lightroom will restrict the adjustment to only pixels that match that color within your already-selected area. So if your radial filter overlaps a background that happens to share some tonal range with your subject, Range Masking by Color can exclude it automatically. I use this constantly on product shots where the subject and background share a similar lightness value. It’s not magic, but it cuts masking cleanup time in half.
The single biggest shift in my thinking from this tutorial is that Lightroom’s local adjustment tools are no longer just for exposure and contrast work. They’re a legitimate color correction environment now. I still reach for Photoshop when I need layer-based precision or complex compositing, but for the category of “client wants that color changed,” Lightroom can handle it – cleanly, non-destructively, and without breaking the flow of a catalog-based edit session.
Watch the full tutorial on YouTube to see Aaron Nace walk through both example images, including a portrait edit that shows how the adjustment brush handles clothing with more complex shapes than a lollipop.
Comments
Leave a Comment