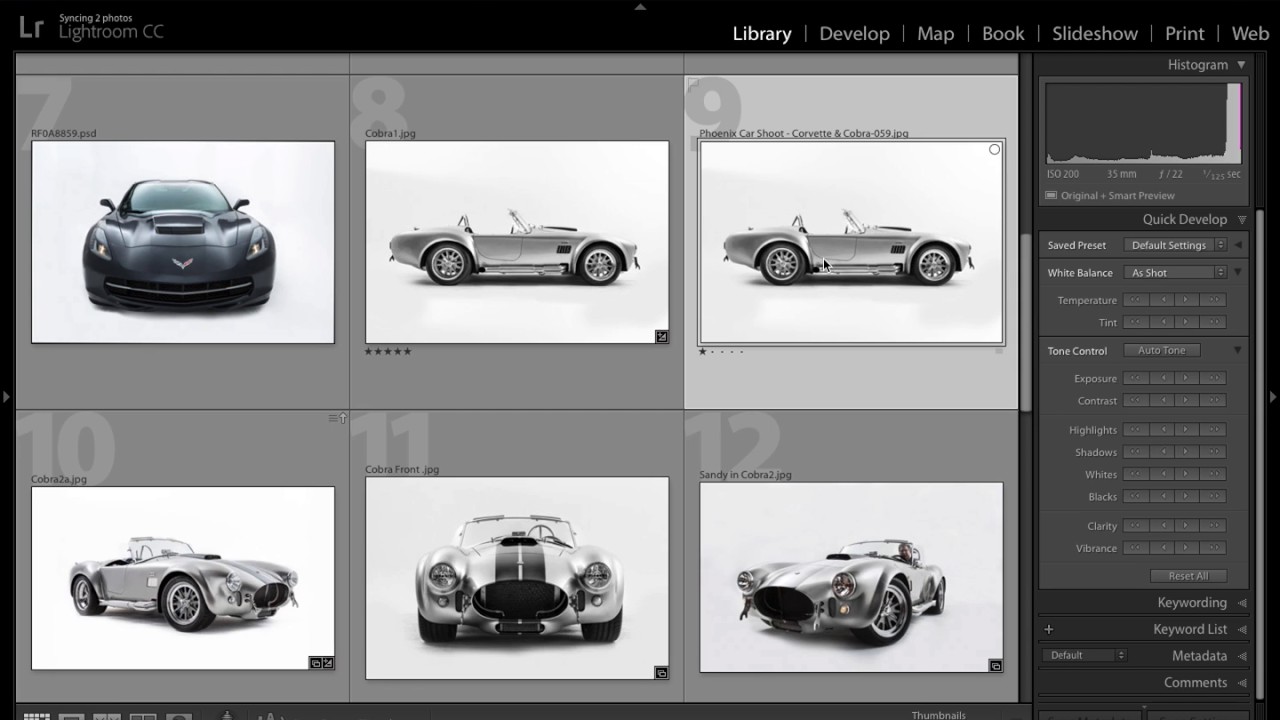
I have a bad habit of clicking things I don’t need to click. I’ll mouse all the way up to the module tabs to switch from Library to Develop, or hunt around for the star rating buttons in the toolbar, when the keyboard has been sitting there the whole time with faster answers built right in. Keyboard shortcuts in Lightroom aren’t exactly hidden, but the number-based ones specifically tend to get overlooked because they don’t show up in obvious places. Most people learn them by accident, years into using the software.
That’s why I appreciated this tutorial from Scott Kelby over at KelbyOne. In this KelbyOne tutorial on Lightroom number shortcuts, Scott runs through a tight set of keyboard tricks that all revolve around the number row and function keys. It’s one of those videos where you’re nodding along thinking “okay, I knew that one” and then suddenly you don’t know the next one at all. I hit that wall around the color labels section. What follows is my attempt to lay these out in a way you can actually use at your desk without rewinding.
Step 1: Jump Between Modules Without Touching the Mouse
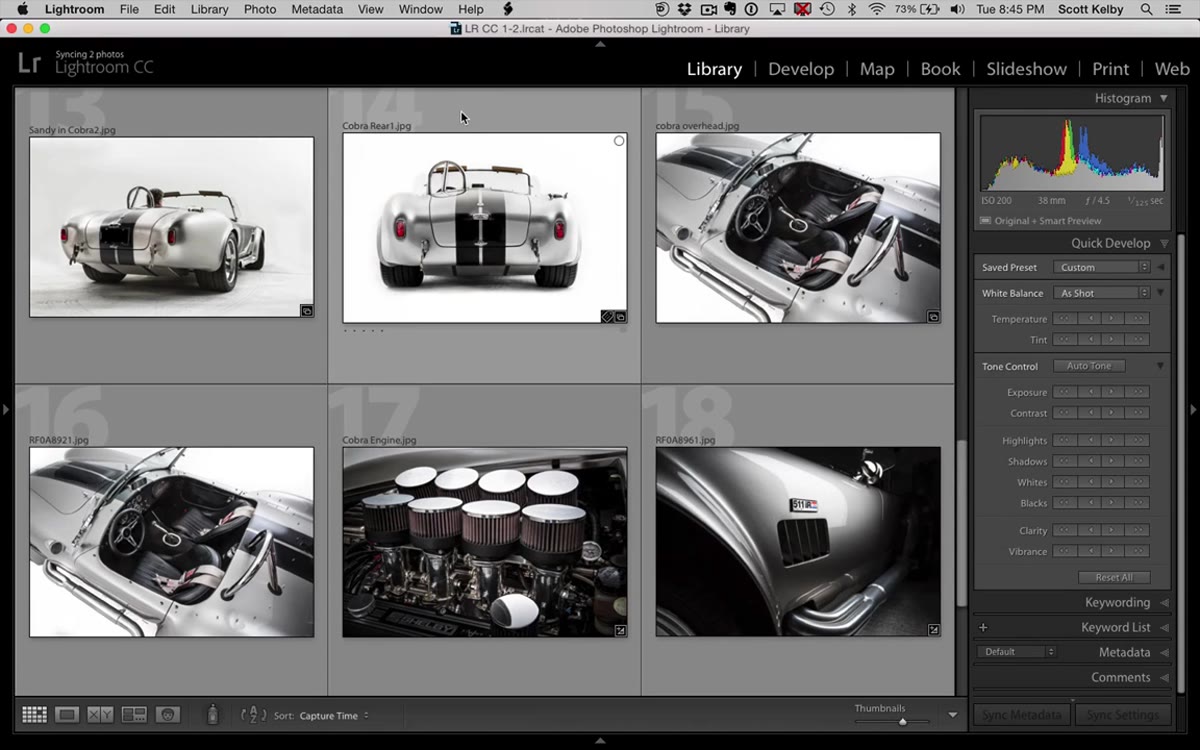 Lightroom module tabs highlighted at the top of the screen
Lightroom has seven modules: Library, Develop, Map, Book, Slideshow, Print, and Web. Most people click the tabs. The faster path on Mac is Option + Command + a number from 1 to 7, where 1 is Library, 2 is Develop, 3 is Map, and so on down the line. On Windows, swap Command for Ctrl and Option for Alt: so Alt + Ctrl + 2 drops you straight into the Develop module.
Lightroom module tabs highlighted at the top of the screen
Lightroom has seven modules: Library, Develop, Map, Book, Slideshow, Print, and Web. Most people click the tabs. The faster path on Mac is Option + Command + a number from 1 to 7, where 1 is Library, 2 is Develop, 3 is Map, and so on down the line. On Windows, swap Command for Ctrl and Option for Alt: so Alt + Ctrl + 2 drops you straight into the Develop module.
The one I use constantly is Option + Command + 1 to snap back to Library after editing. Once you wire this into muscle memory, going back to click the tabs feels like using a rotary phone.
Step 2: Toggle Back to Your Previous Module Instantly
 Keyboard shortcut with up arrow key illustrated in tutorial
Here’s the one that genuinely surprised me. If you’re bouncing between two specific modules, say Library and Develop during a culling-and-editing session, you don’t need to keep typing different number combinations. Use Option + Command + Up Arrow (Mac) or Alt + Ctrl + Up Arrow (Windows) and Lightroom jumps you straight back to wherever you just were.
Keyboard shortcut with up arrow key illustrated in tutorial
Here’s the one that genuinely surprised me. If you’re bouncing between two specific modules, say Library and Develop during a culling-and-editing session, you don’t need to keep typing different number combinations. Use Option + Command + Up Arrow (Mac) or Alt + Ctrl + Up Arrow (Windows) and Lightroom jumps you straight back to wherever you just were.
It functions like a “back” button for modules. If you spend your editing sessions toggling between the same two workspaces, this single shortcut could save you more time than any preset you’ve ever built.
Step 3: Rename a Photo Using F2
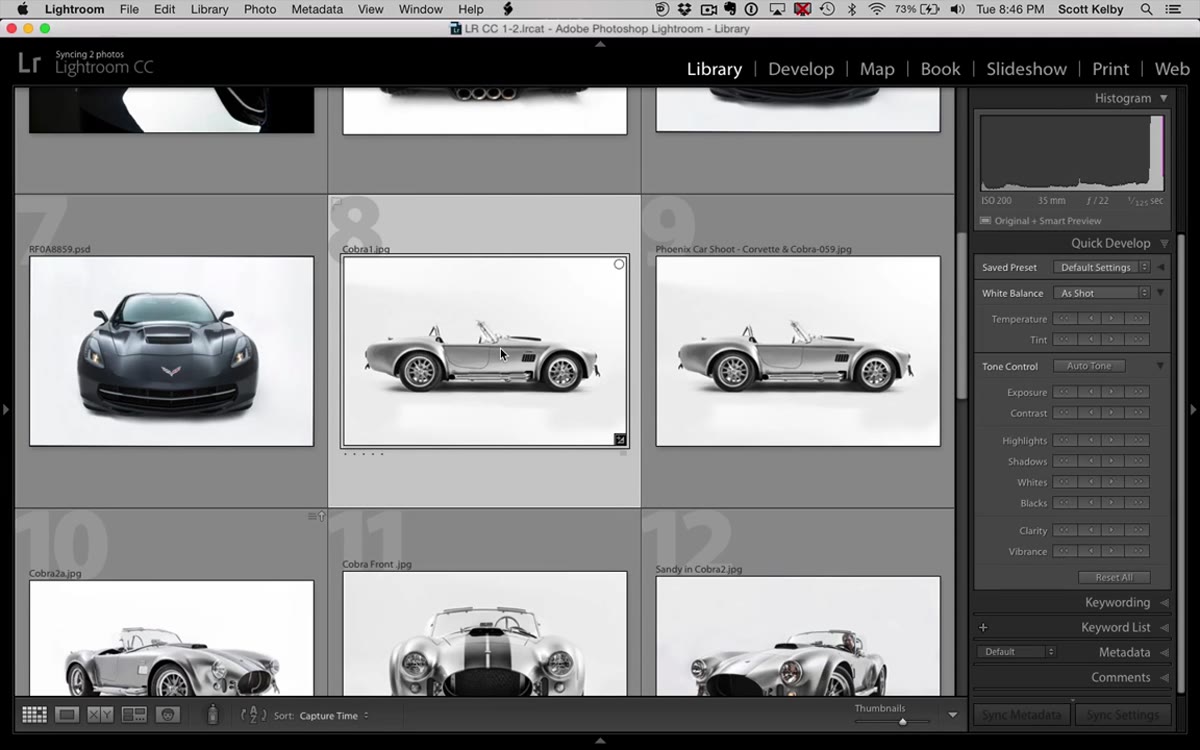 Rename photo dialog box open over a selected image
This one technically breaks from the number theme, but it’s tucked right into the same section of the tutorial and it’s worth including. Select any image and press F2. Lightroom immediately opens the Rename Photo dialog, where you can type in a custom filename on the spot. No right-clicking, no hunting through menus.
Rename photo dialog box open over a selected image
This one technically breaks from the number theme, but it’s tucked right into the same section of the tutorial and it’s worth including. Select any image and press F2. Lightroom immediately opens the Rename Photo dialog, where you can type in a custom filename on the spot. No right-clicking, no hunting through menus.
For anyone doing client work where files need specific naming conventions before delivery, this cuts the friction down significantly. F2 has been sitting above your number row this whole time.
Step 4: Show and Hide Panels with F5 Through F8
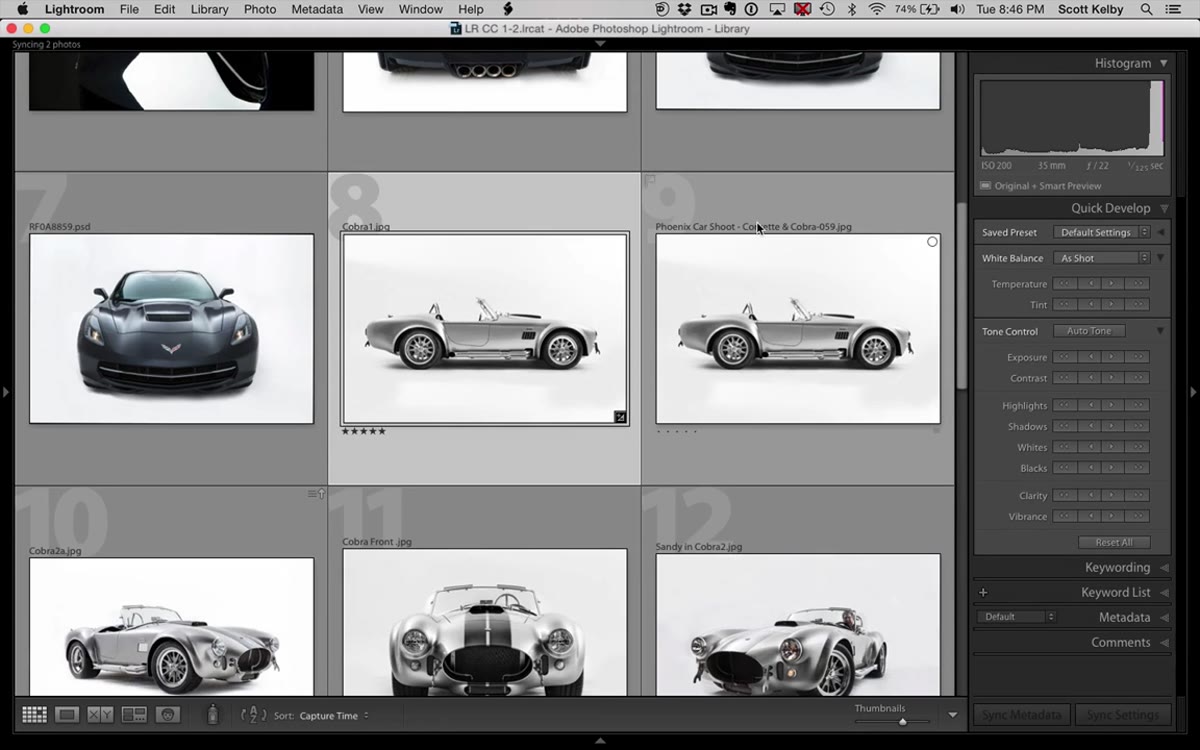 Lightroom panels opening and closing with function key presses
The function keys F5 through F8 each control a different panel in Lightroom’s interface. F5 toggles the top panel (the module picker bar), F6 handles the filmstrip at the bottom, F7 controls the left panel, and F8 controls the right panel. This matters most when you want a clean, distraction-free editing view without going full screen.
Lightroom panels opening and closing with function key presses
The function keys F5 through F8 each control a different panel in Lightroom’s interface. F5 toggles the top panel (the module picker bar), F6 handles the filmstrip at the bottom, F7 controls the left panel, and F8 controls the right panel. This matters most when you want a clean, distraction-free editing view without going full screen.
My personal setup: I close the left panel with F7 while editing because I rarely need the Navigator or Presets open during serious retouching sessions. Closing it gives me noticeably more breathing room on the histogram and adjustment sliders.
Step 5: Assign Star Ratings with Number Keys 1 Through 5
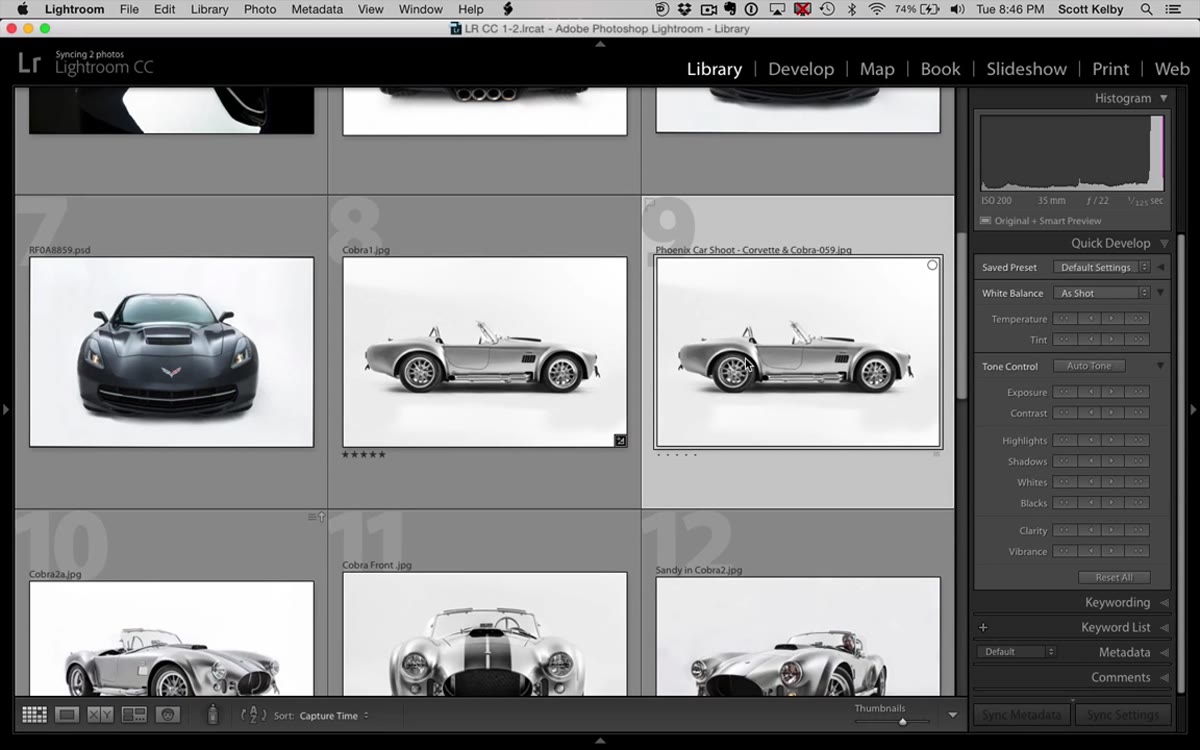 Star rating being applied to image in Library grid view
In the Library module, pressing 1 through 5 on your keyboard assigns that number of stars to whatever image is selected. Press 3 and you get three stars. Press 1 and you get one. Press 0 and all stars are removed entirely, which is useful when you’ve misjudged an image and want to start fresh.
Star rating being applied to image in Library grid view
In the Library module, pressing 1 through 5 on your keyboard assigns that number of stars to whatever image is selected. Press 3 and you get three stars. Press 1 and you get one. Press 0 and all stars are removed entirely, which is useful when you’ve misjudged an image and want to start fresh.
The real speed upgrade here is holding Shift while pressing a rating number. With Shift held down, Lightroom applies the rating and immediately advances to the next image automatically. This makes culling a shoot feel more like flipping through a physical contact sheet, which is genuinely the fastest mental state to be in during an editing session.
Step 6: Use Auto Advance to Skip the Shift Key Entirely
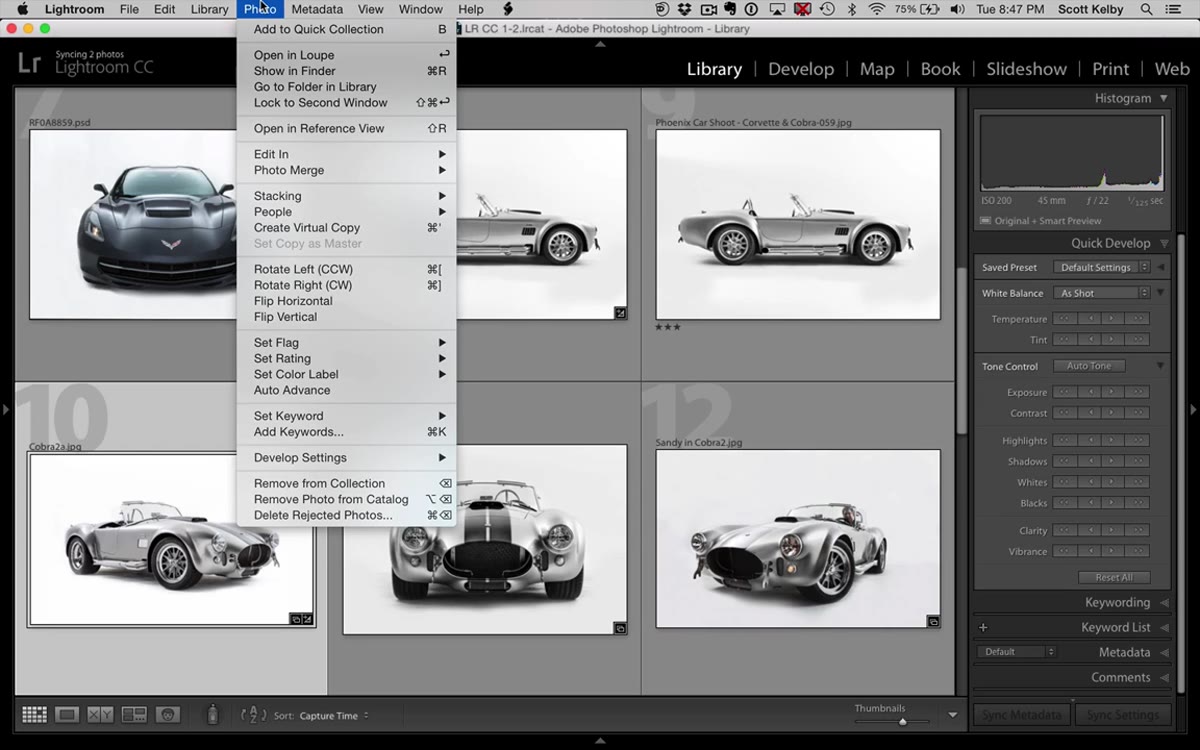 Photo menu open with Auto Advance option highlighted
If you find yourself always wanting that auto-advance behavior without holding Shift, there’s a toggle for it. Go to the Photo menu in the menu bar and enable Auto Advance. Once that’s on, every time you apply a star rating or, as it turns out, a color label, Lightroom automatically moves to the next image.
Photo menu open with Auto Advance option highlighted
If you find yourself always wanting that auto-advance behavior without holding Shift, there’s a toggle for it. Go to the Photo menu in the menu bar and enable Auto Advance. Once that’s on, every time you apply a star rating or, as it turns out, a color label, Lightroom automatically moves to the next image.
Scott mentions this almost as an aside but it’s actually a workflow-defining setting. If you’re doing a big cull on a deadline, Auto Advance on means you never have to touch the arrow keys between ratings. You’re in pure number-key flow.
Step 7: Apply Color Labels with Keys 6 Through 9
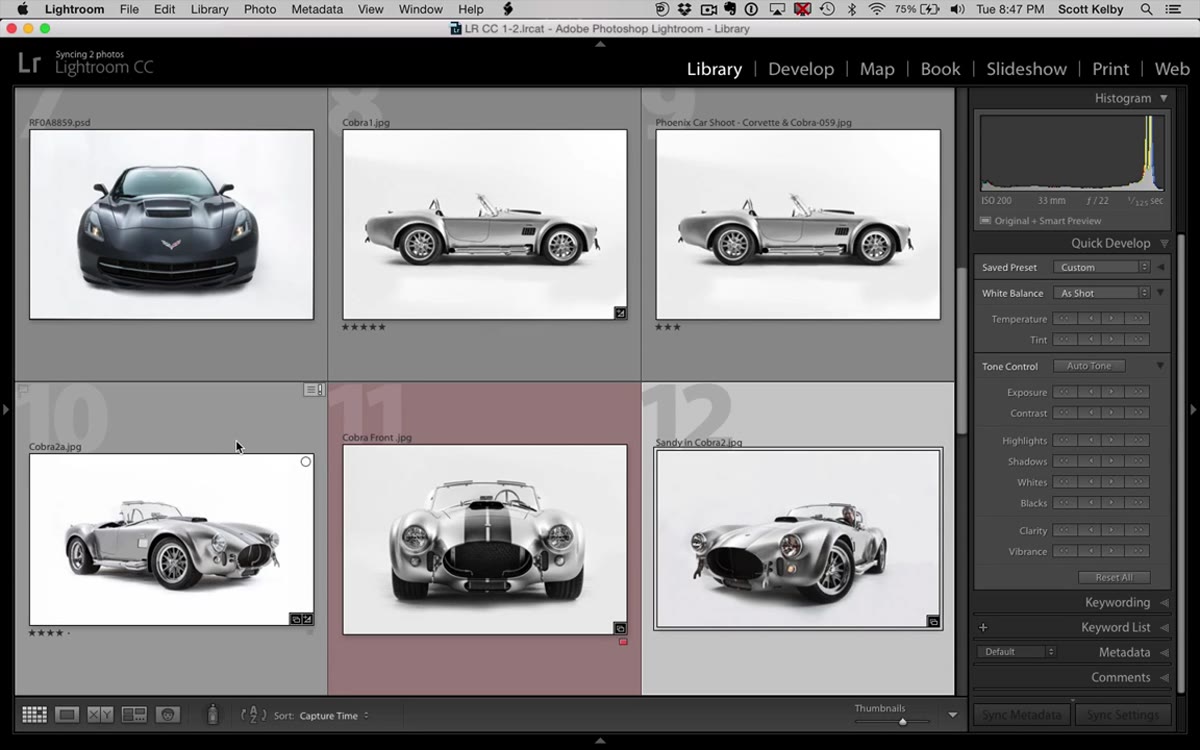 Color label being applied to image, red label appearing in filmstrip
The number keys 6 through 9 apply color labels to your images. Six gives you red, seven is green, eight is blue (or a darker shade depending on your label set), and nine applies a label as well depending on your configuration. These labels are separate from star ratings and can be stacked alongside them to build a more layered sorting system.
Color label being applied to image, red label appearing in filmstrip
The number keys 6 through 9 apply color labels to your images. Six gives you red, seven is green, eight is blue (or a darker shade depending on your label set), and nine applies a label as well depending on your configuration. These labels are separate from star ratings and can be stacked alongside them to build a more layered sorting system.
I use red for images I want a second look at and green for images I’m sending to clients. It’s a simple two-color system, but having it mapped to two number keys I can hit without looking means the whole review process stays in my hands and out of my mouse.
How I Actually Work These Into a Real Session
The trap with shortcut tutorials is that you watch them, nod along, and then open Lightroom and immediately do everything the slow way out of pure habit. What worked for me was picking one shortcut per week and forcing myself to use only that method until it was automatic. I started with the module number shortcuts because they’re the most frequent action I take. Two weeks later I added color labels. By the time I got to F7 for panel hiding, the earlier ones were already invisible to me, which is exactly where you want shortcuts to live.
The other thing worth noting: the Auto Advance setting under the Photo menu has no keyboard shortcut of its own, so you have to toggle it manually. I leave it on permanently now during culling sessions and turn it off when I’m doing detailed review work where I want to sit with an image.
If you want to see Scott walk through all of this in real time with actual images on screen, the full video is absolutely worth the twelve minutes: Watch the full tutorial on YouTube. The biggest single takeaway is this: your number row is a control surface, not just a way to type digits. Once you start treating it that way, the mouse starts feeling like the slow option it actually is.
Comments
Leave a Comment