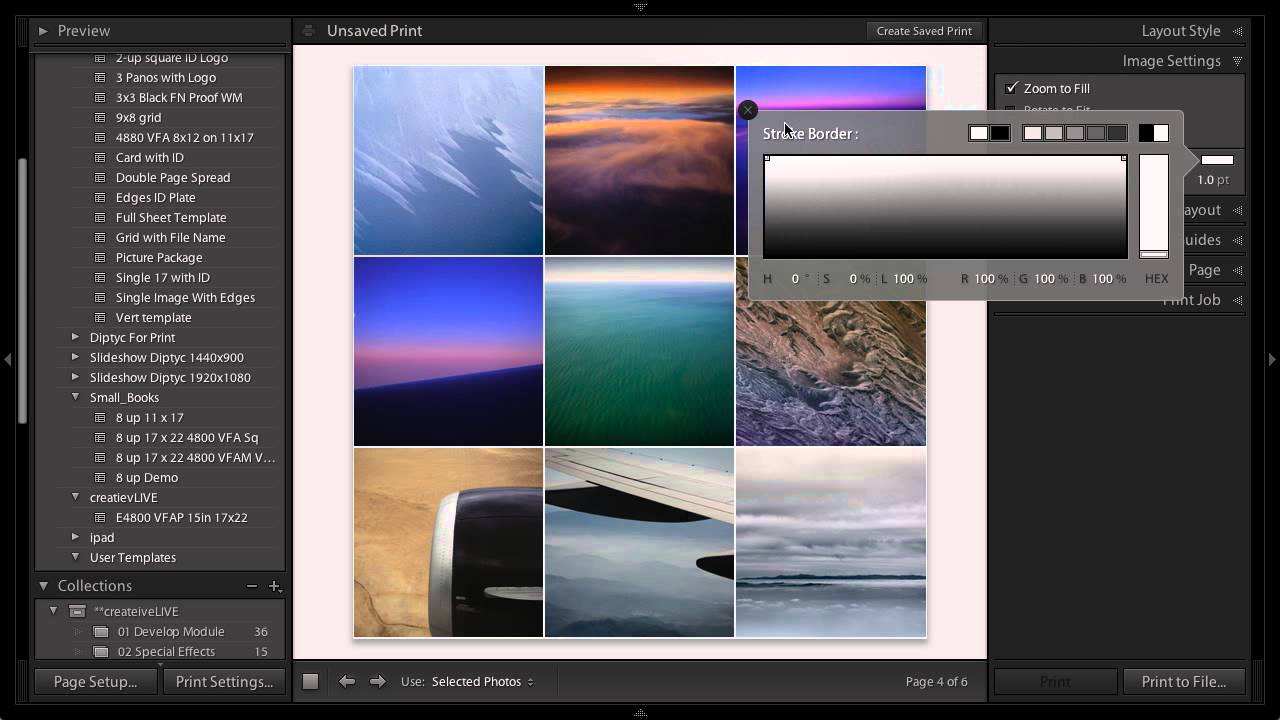
Every photographer hits that wall eventually. You need a specific layout, you open Lightroom’s template browser, and the exact thing you want simply isn’t there. I ran into this myself not long ago while building a contact sheet for a client who wanted nine square crops displayed in a clean grid, nothing fancy, nothing with decorative borders. Lightroom’s built-in templates had plenty of options with stylized edges and ornate frames, but a straightforward 3x3 grid? Gone. Like it never existed.
That’s what makes this CreativeLive tutorial with Julieanne Kost so immediately useful. Watch the full tutorial on YouTube — she demonstrates a workaround that most photographers overlook entirely: using the Print module to generate a custom layout, then importing that output back into your project as a usable image. It sounds like a roundabout path, but once you see it in action, you realize the Print module has been quietly sitting there this whole time, fully capable of doing things the Book module refuses to do.
The beauty of this approach is that you end up with a high-resolution JPEG that lives in your catalog like any other image. You can drop it into a book, share it directly with a client, or archive it alongside the originals. Here’s how to do it step by step.
Step 1: Leave the Book Module and Switch to Print
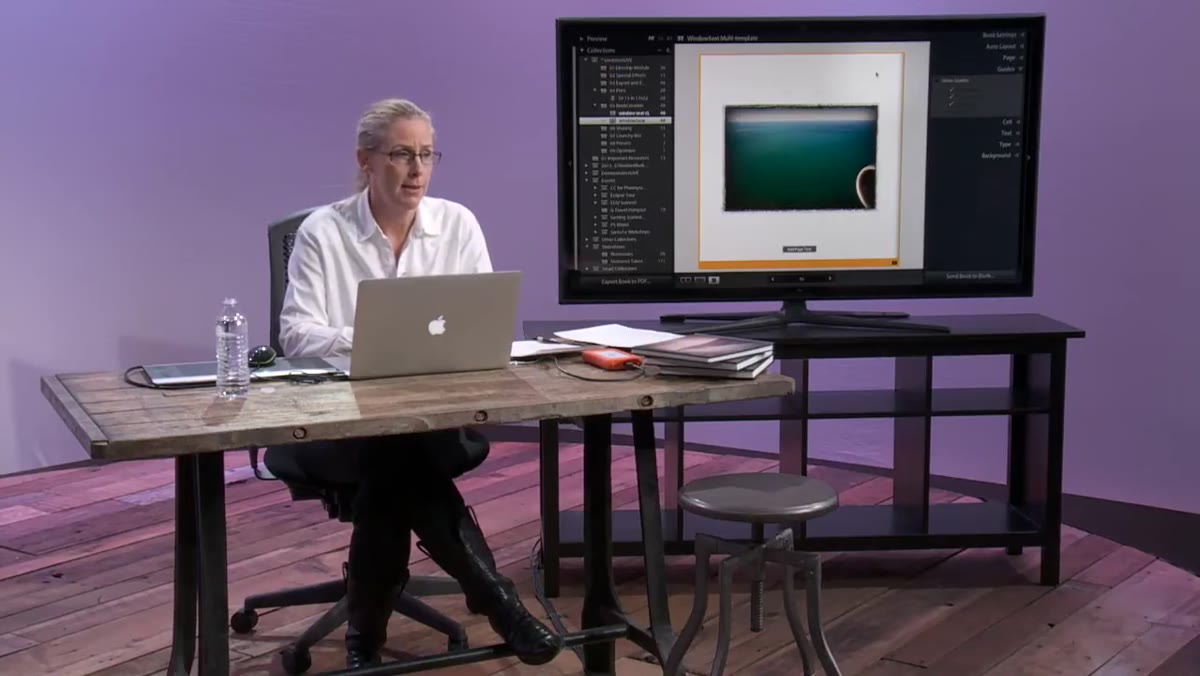 Navigating away from the Book module to Print
Head to the Print module by clicking it in the module picker at the top of your screen. This is the move most people skip because the Print module feels like it’s only for, well, printing. But Lightroom’s Print module is actually one of the most flexible layout tools in the whole application. Once you arrive, look at the left panel and confirm you’re working with “Single Image / Contact Sheet” layout style in the Layout Engine section.
Navigating away from the Book module to Print
Head to the Print module by clicking it in the module picker at the top of your screen. This is the move most people skip because the Print module feels like it’s only for, well, printing. But Lightroom’s Print module is actually one of the most flexible layout tools in the whole application. Once you arrive, look at the left panel and confirm you’re working with “Single Image / Contact Sheet” layout style in the Layout Engine section.
Step 2: Set Your Output Size First
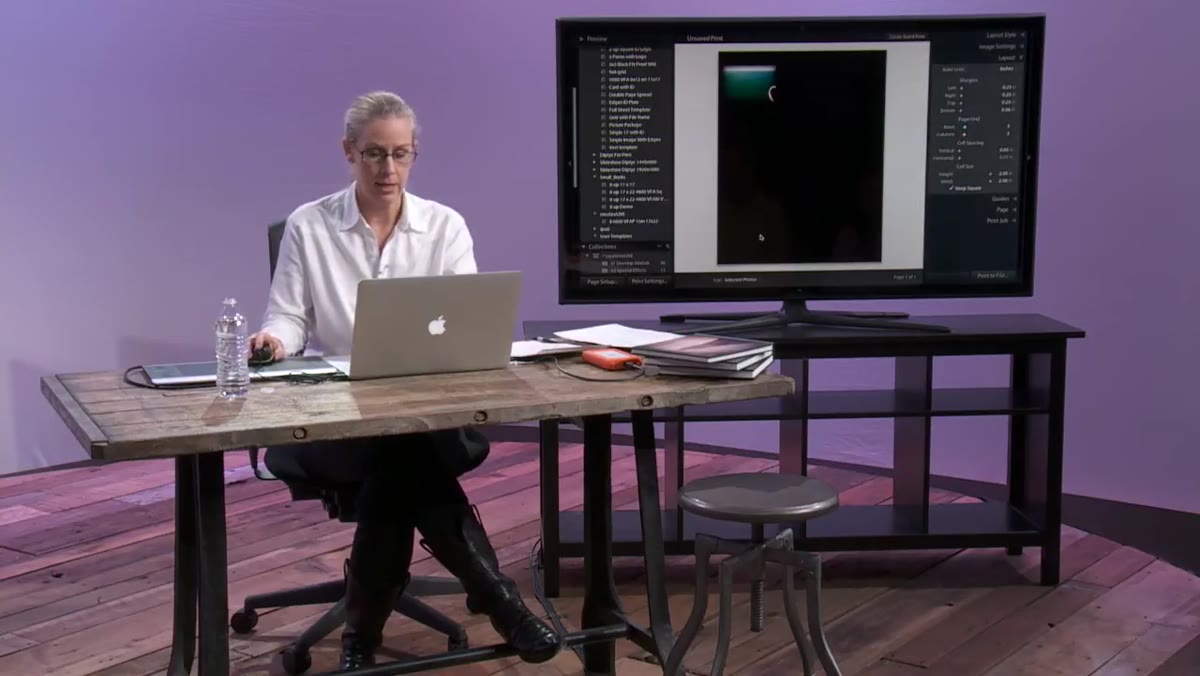 Setting page size to 12 by 12 inches in Print Job panel
Before you touch the grid settings, go to the Print Job panel on the right side and set your output format to JPEG. Then scroll down to set the custom page size. In the tutorial, Kost uses 12 by 12 inches to match a square book format, which is smart practice for anyone working with Blurb or similar square-format publishers. Set your width and height to match whatever final output size you need. Getting this right before you build the grid saves you from having to recalculate proportions later.
Setting page size to 12 by 12 inches in Print Job panel
Before you touch the grid settings, go to the Print Job panel on the right side and set your output format to JPEG. Then scroll down to set the custom page size. In the tutorial, Kost uses 12 by 12 inches to match a square book format, which is smart practice for anyone working with Blurb or similar square-format publishers. Set your width and height to match whatever final output size you need. Getting this right before you build the grid saves you from having to recalculate proportions later.
Step 3: Zero Out the Margins
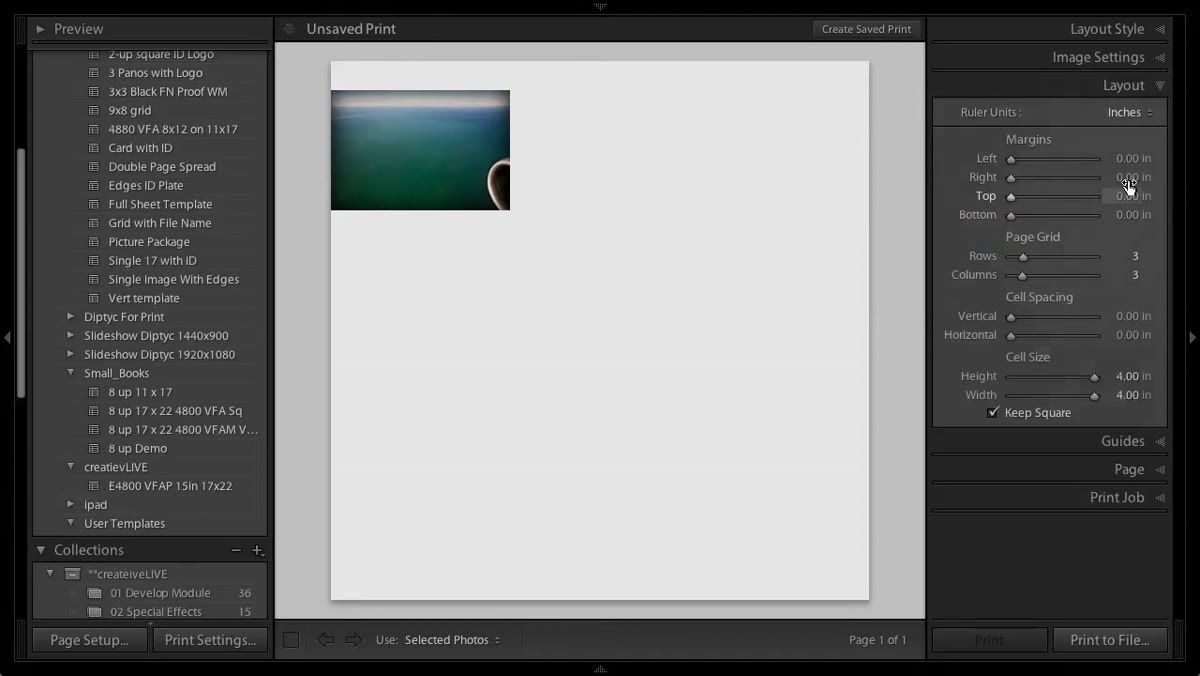 Margins set to zero in the Layout panel for JPEG output
Open the Layout panel on the right side. Because you’re outputting to JPEG rather than sending directly to a physical printer, Lightroom lets you remove all margins completely. Drag every margin slider to zero. This gives your images the full page to work with and makes the math on your grid much cleaner. You’ll see the layout preview update in real time as you drag, which is one of those small Lightroom features that makes this process feel genuinely intuitive.
Margins set to zero in the Layout panel for JPEG output
Open the Layout panel on the right side. Because you’re outputting to JPEG rather than sending directly to a physical printer, Lightroom lets you remove all margins completely. Drag every margin slider to zero. This gives your images the full page to work with and makes the math on your grid much cleaner. You’ll see the layout preview update in real time as you drag, which is one of those small Lightroom features that makes this process feel genuinely intuitive.
Step 4: Build Your 3x3 Grid
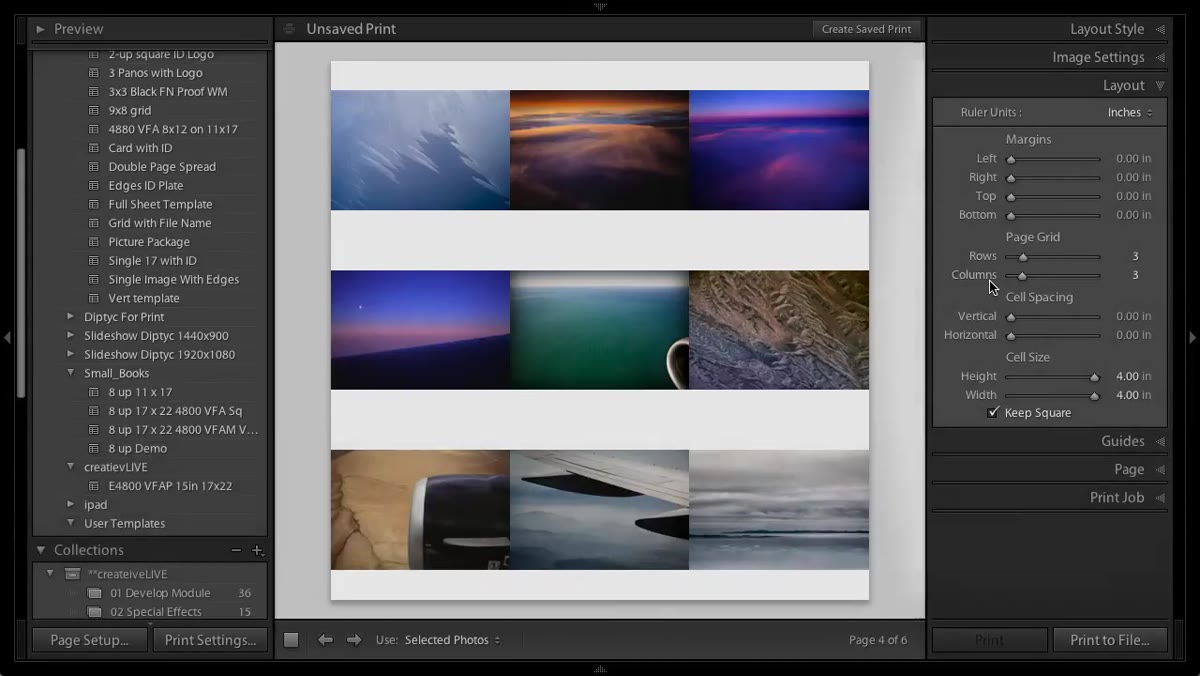 Layout panel showing three rows and three columns selected
Still in the Layout panel, set Rows to 3 and Columns to 3. You now have a nine-cell grid sitting on your canvas. Jump over to the Image Settings panel and enable “Zoom to Fill” so your images fill each cell without leaving any dead space. If you want a subtle separation between cells, add a white stroke border under the Image Settings panel. Printing on a white background with a white stroke creates a natural visual gap between each image that looks clean without being heavy-handed.
Layout panel showing three rows and three columns selected
Still in the Layout panel, set Rows to 3 and Columns to 3. You now have a nine-cell grid sitting on your canvas. Jump over to the Image Settings panel and enable “Zoom to Fill” so your images fill each cell without leaving any dead space. If you want a subtle separation between cells, add a white stroke border under the Image Settings panel. Printing on a white background with a white stroke creates a natural visual gap between each image that looks clean without being heavy-handed.
Step 5: Select Your Nine Images and Export to JPEG
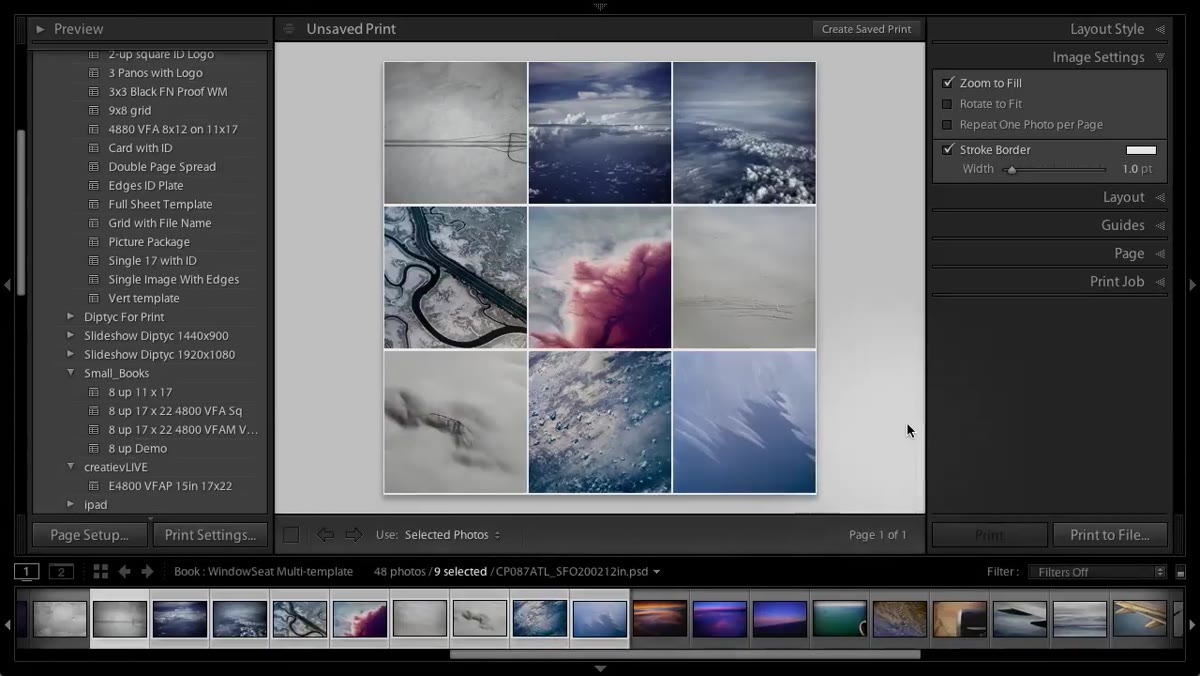 Nine images selected in filmstrip before printing to file
Go to your filmstrip at the bottom and select exactly nine images. Kost is deliberate about this step because if you leave everything selected, Lightroom will try to render every image in your catalog, which takes forever and produces a stack of files you don’t need. Once you have your nine images selected, look at the Print Job panel on the right. Confirm your settings: 300 PPI, low sharpening, and Adobe RGB as your color space. Then click “Print to File,” name the file something useful, and save it to your desktop or a project folder.
Nine images selected in filmstrip before printing to file
Go to your filmstrip at the bottom and select exactly nine images. Kost is deliberate about this step because if you leave everything selected, Lightroom will try to render every image in your catalog, which takes forever and produces a stack of files you don’t need. Once you have your nine images selected, look at the Print Job panel on the right. Confirm your settings: 300 PPI, low sharpening, and Adobe RGB as your color space. Then click “Print to File,” name the file something useful, and save it to your desktop or a project folder.
Step 6: Import the JPEG Back into Lightroom
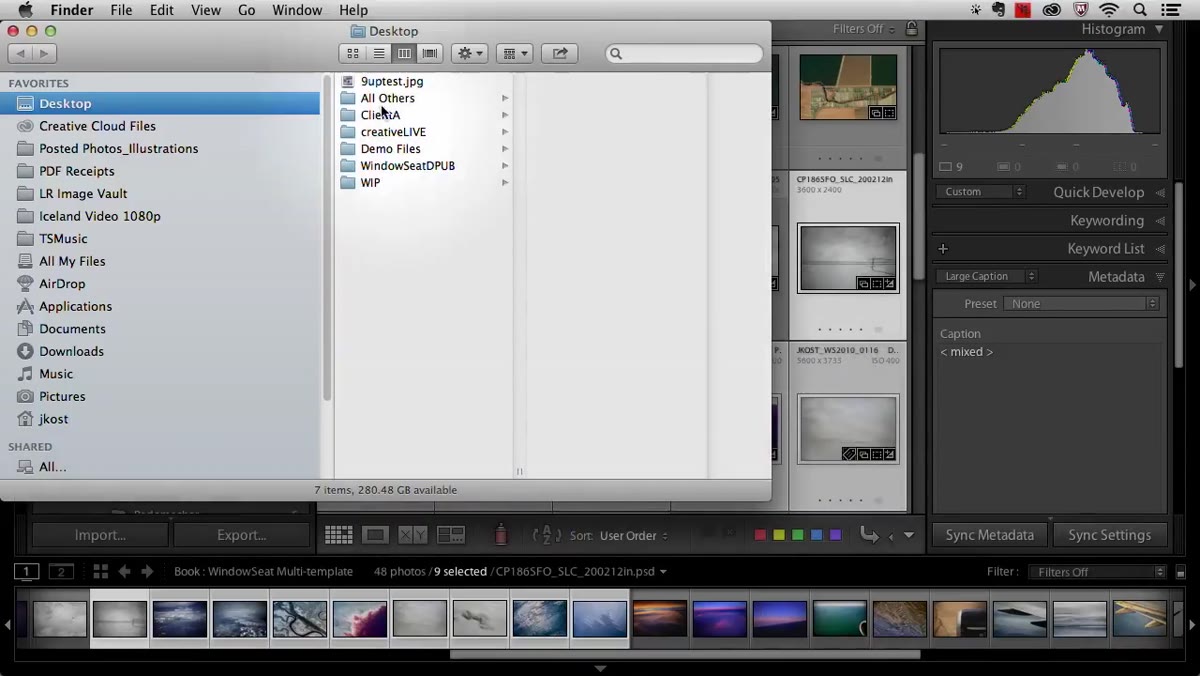 Dragging the new JPEG file onto the Lightroom icon to trigger import
Once Lightroom finishes rendering, you’ll have a single JPEG on your desktop showing all nine images in the grid. To bring it into your catalog, you can drag the file directly onto the Lightroom icon in your dock, which triggers the import dialog automatically. Choose “Add” to import it in place without moving the file. From the import screen, you can also add it directly to an existing collection so it lands exactly where you need it, no extra sorting required.
Dragging the new JPEG file onto the Lightroom icon to trigger import
Once Lightroom finishes rendering, you’ll have a single JPEG on your desktop showing all nine images in the grid. To bring it into your catalog, you can drag the file directly onto the Lightroom icon in your dock, which triggers the import dialog automatically. Choose “Add” to import it in place without moving the file. From the import screen, you can also add it directly to an existing collection so it lands exactly where you need it, no extra sorting required.
Step 7: Drop the Image Into Your Book or Project
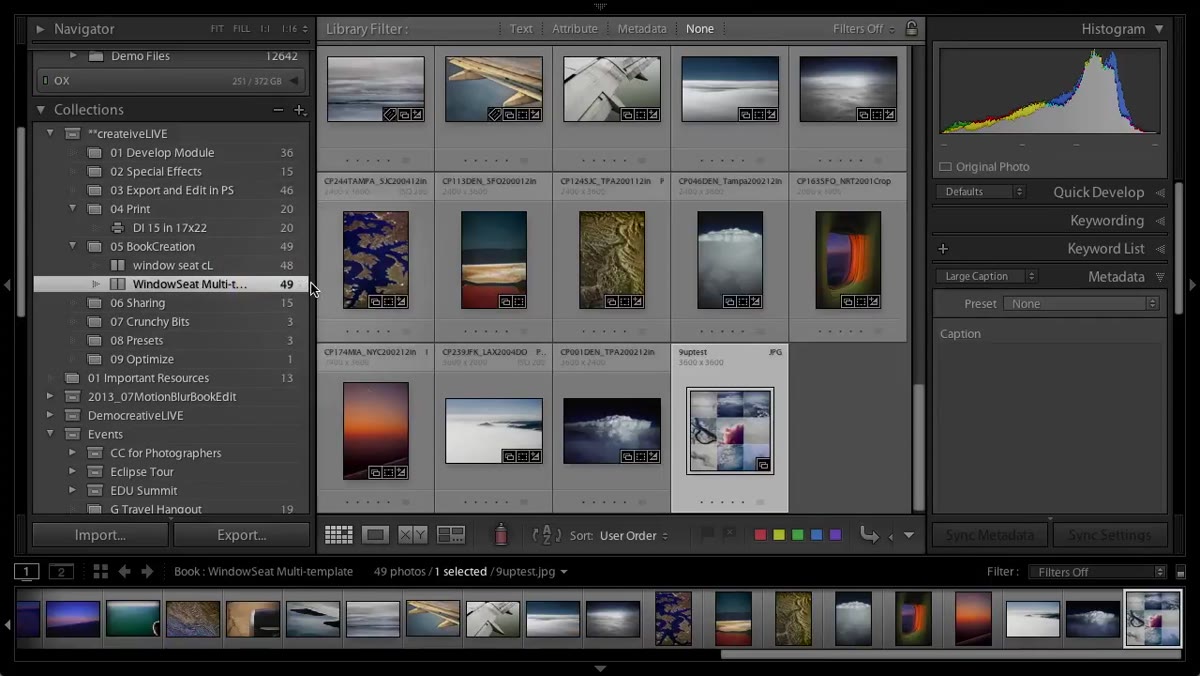 Dropping the imported JPEG into the Window Seat collection
Once imported, drag the new nine-up JPEG into whatever collection you’re building. If you’re working in the Book module, you can now place this file on a page like any other image. It’s a flat JPEG at this point, fully rendered, and it behaves exactly the way you’d expect. No special handling needed.
Dropping the imported JPEG into the Window Seat collection
Once imported, drag the new nine-up JPEG into whatever collection you’re building. If you’re working in the Book module, you can now place this file on a page like any other image. It’s a flat JPEG at this point, fully rendered, and it behaves exactly the way you’d expect. No special handling needed.
One Thing I Do Differently
When I use this technique, I take the output resolution up to 400 PPI before exporting, especially for anything going to a print-on-demand service. Kost’s 300 PPI setting is correct for most purposes and totally safe for professional printing, but I’ve found that square-format books sometimes compress slightly during the upload process on certain platforms, and the extra resolution gives me a small buffer. It adds maybe ten seconds to the rendering time and zero cost. I also save these nine-up files with a naming convention that ties them to the shoot date and the collection name, like “2024-05-Nashville-9up.jpg,” so they’re easy to find if a client comes back six months later asking for a layout revision.
The core lesson from Julieanne Kost’s tutorial is this: when Lightroom’s specialized modules say no, the Print module usually says yes. It’s one of the most underused tools in the whole application, and this nine-up trick is proof that the workaround is sometimes faster than waiting for a feature that might never ship.
Watch the full tutorial on YouTube to see Kost walk through the whole thing in real time. Her pacing is excellent and she catches the small details that are easy to miss in a written walkthrough.
Comments (1)
Applied this to my portfolio shots and the improvement is noticeable.
Leave a Comment