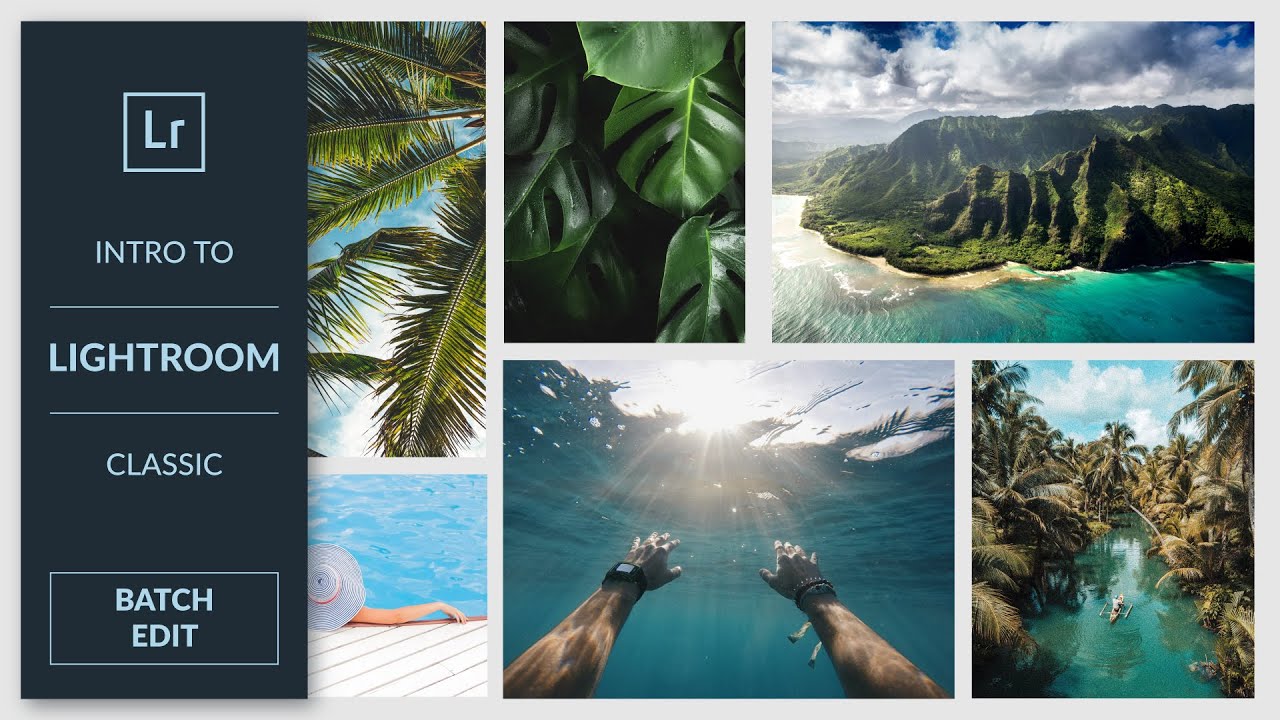
There’s a specific kind of dread that hits when you load 300 photos from an event shoot and realize your white balance was slightly off the entire time. Not catastrophically wrong, just… off. Warm enough to look like a mistake, not warm enough to look intentional. I’ve been there more times than I’d like to admit, and early on I fixed it the worst possible way: one image at a time. It took me an entire afternoon, and by the end I wanted to throw my laptop off my balcony.
Batch editing in Lightroom Classic is the fix for exactly that situation. In this Aaron Nace (PHLEARN) tutorial, Watch the full tutorial on YouTube, Aaron walks through how to perfect one image and then push those changes across a whole series with just a few clicks. The technique works for anything: exposure corrections, a color grade, a film grain treatment, a black and white conversion. If you can do it to one photo, you can do it to all of them.
What I love about this workflow is that it respects how real shooting actually happens. You’re not going to nail every setting perfectly on a long shoot. Conditions change, you move fast, and you adjust on the fly. Batch editing isn’t a crutch. It’s just smart post-processing.
Step 1: Organize and Filter Your Images First
 Filtering images by red and yellow color labels in the Library module
Before you touch a single slider, spend a few minutes in the Library module sorting out which images you actually want to edit. Aaron filters his vacation photos down to only his picks, using red and yellow color labels to isolate the keepers. This matters because batch editing works best when you’re applying changes to a coherent set of images, shots from the same lighting situation, the same scene, or the same creative direction.
Filtering images by red and yellow color labels in the Library module
Before you touch a single slider, spend a few minutes in the Library module sorting out which images you actually want to edit. Aaron filters his vacation photos down to only his picks, using red and yellow color labels to isolate the keepers. This matters because batch editing works best when you’re applying changes to a coherent set of images, shots from the same lighting situation, the same scene, or the same creative direction.
If you try to sync edits across wildly different exposures or mixed lighting conditions, you’ll create more work for yourself cleaning up the outliers. Do the culling first. Your future self will thank you.
Step 2: Open Your Best Image in the Develop Module
 Opening the first selected image in the Develop module
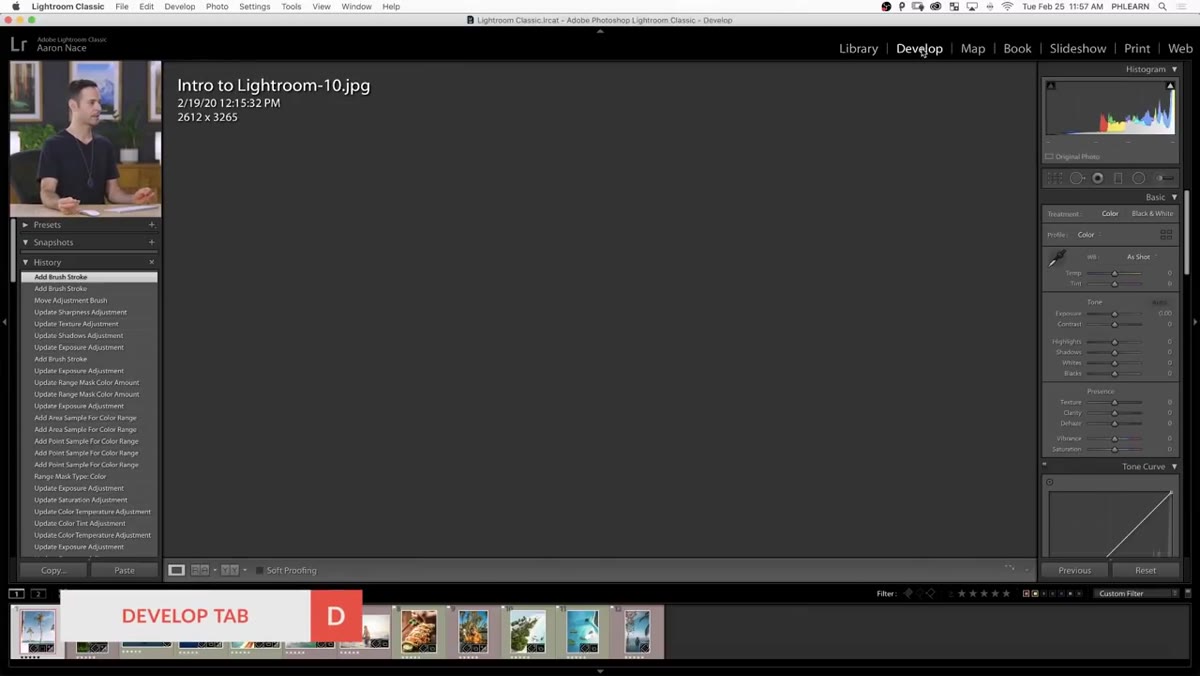
Double-click on the image you want to use as your “hero” edit, the one that will serve as the template for the rest. Click over to the Develop module. This is the photo you’ll spend real time on, so pick one that’s representative of the group. If most of the shots have similar exposure and light, any of the keepers can work. If there’s one that’s a little more technically clean than the others, start there.
Opening the first selected image in the Develop module
Double-click on the image you want to use as your “hero” edit, the one that will serve as the template for the rest. Click over to the Develop module. This is the photo you’ll spend real time on, so pick one that’s representative of the group. If most of the shots have similar exposure and light, any of the keepers can work. If there’s one that’s a little more technically clean than the others, start there.
Getting this choice right matters. The settings you dial in here are going to ripple across everything else. Think of it as setting the tone for the whole batch.
Step 3: Build Your Edit (Aaron’s Example: Black and White with Film Grain)
 Adjusting contrast, highlights, shadows, and whites in the Basic panel
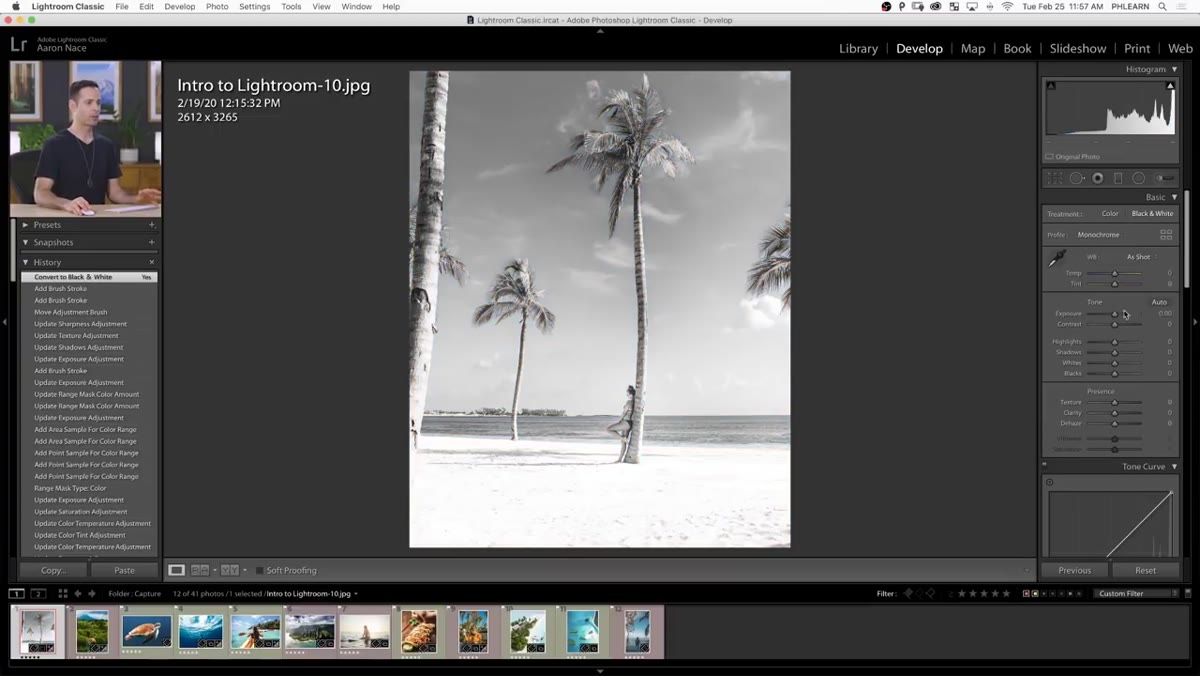
Aaron demonstrates the process using a black and white film look. He converts the image using the Black and White option at the top of the Basic panel, then makes a series of tonal adjustments: contrast up, highlights down, shadows down slightly, whites pulled back, blacks deepened. The exact numbers matter less than the logic. He’s compressing the dynamic range to give the image that matte, analog feel.
Adjusting contrast, highlights, shadows, and whites in the Basic panel
Aaron demonstrates the process using a black and white film look. He converts the image using the Black and White option at the top of the Basic panel, then makes a series of tonal adjustments: contrast up, highlights down, shadows down slightly, whites pulled back, blacks deepened. The exact numbers matter less than the logic. He’s compressing the dynamic range to give the image that matte, analog feel.
Then he scrolls down to the Effects panel and adds grain. Amount, Size, and Roughness are the three sliders to work with here. A moderate Amount (somewhere in the 20-40 range) with a slightly higher Roughness tends to read as film rather than noise. That distinction is everything when you’re going for a cinematic look versus just a gritty one.
Step 4: Return to Grid View and Select Your Full Image Set
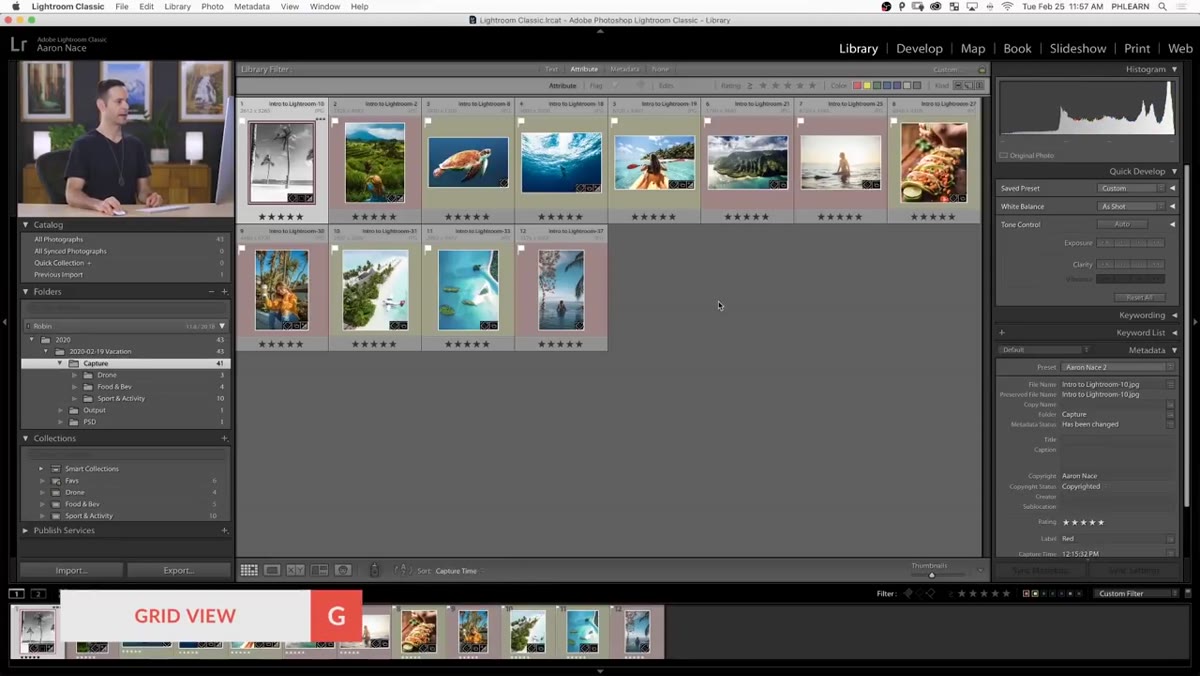 Grid view with first image selected and remaining images shift-clicked
Once your hero edit looks exactly how you want it, press G to jump back to Grid view in the Library module. Click once on your edited image first. This is critical: it needs to be the active selection, the one with the lighter border around it in the grid. Then hold Shift and click the last image in your series to select the whole range.
Grid view with first image selected and remaining images shift-clicked
Once your hero edit looks exactly how you want it, press G to jump back to Grid view in the Library module. Click once on your edited image first. This is critical: it needs to be the active selection, the one with the lighter border around it in the grid. Then hold Shift and click the last image in your series to select the whole range.
You’ll notice the edited image has a brighter highlight around it compared to the others. That visual difference is Lightroom telling you which image is the source of the sync. If you get this wrong and the source image isn’t the edited one, you’ll be syncing blank settings. Get the click order right.
Step 5: Use Sync Settings to Push the Edit Across All Images
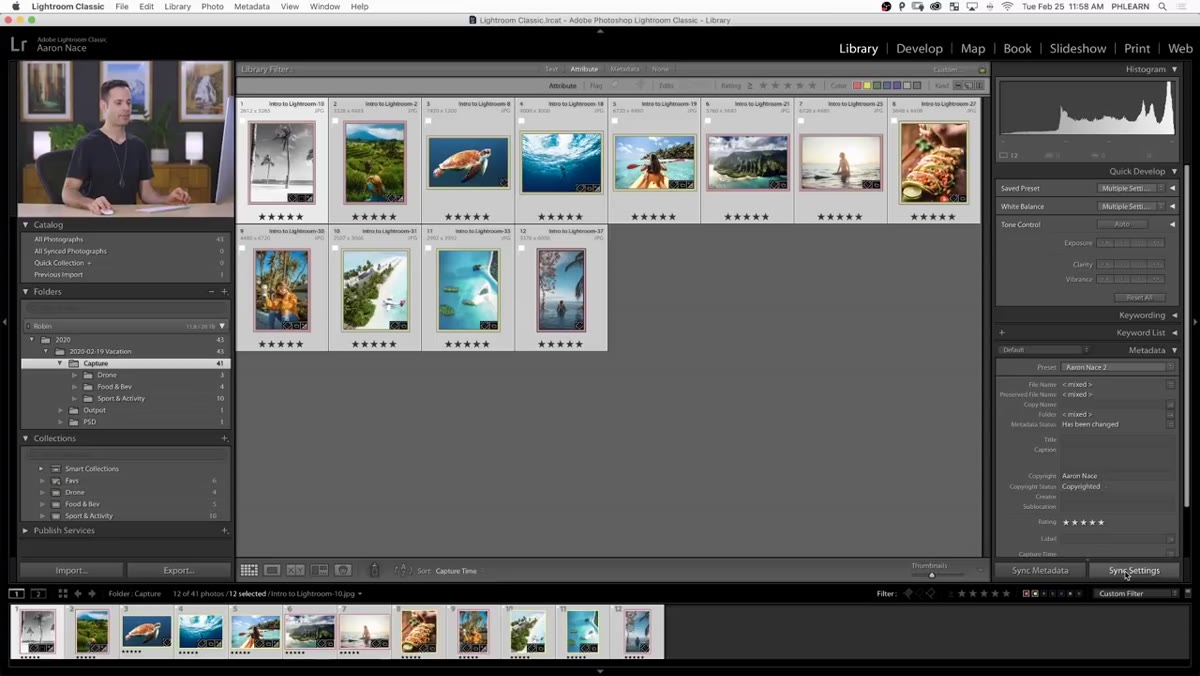 The Sync Settings dialog box with individual options checked
With your images selected, look to the bottom right of the Library module for the Sync Settings button. Click it. A dialog box will appear listing every possible setting Lightroom can sync, and by default, most of them are checked.
The Sync Settings dialog box with individual options checked
With your images selected, look to the bottom right of the Library module for the Sync Settings button. Click it. A dialog box will appear listing every possible setting Lightroom can sync, and by default, most of them are checked.
Here’s where you need to be deliberate. Aaron makes a point of unchecking settings he didn’t actually change on the hero image. If you only adjusted tone, don’t sync lens corrections or noise reduction from a different image. Syncing settings you didn’t intentionally set can introduce inconsistencies across your batch. Check the boxes that match your actual edit. Uncheck the rest. Hit Synchronize, and watch Lightroom apply your edit across the entire selection.
What I Do Differently: Virtual Copies Before Batch Syncing
One habit I’ve added on top of Aaron’s workflow is creating Virtual Copies before I sync anything. In Lightroom Classic, you can right-click any image and select “Create Virtual Copy,” and Lightroom will generate a duplicate inside the catalog without duplicating the actual file on your hard drive. This means I can keep my original color edits intact and apply a completely different treatment, like Aaron’s black and white film look, to the copies.
It’s a non-destructive safety net. If a client wants both versions, or if I change my mind about the direction halfway through, I haven’t overwritten anything. The original edits are sitting right there. I name my preset variations after songs, so my working folder might have a stack of images sitting alongside copies tagged “Harvest Moon” or “Blue Ridge Mountains.” Weird system, but it works for me.
Batch editing is one of those Lightroom features that sounds simple and actually is simple, once you understand the logic behind the selection order and the Sync Settings dialog. Edit one image well, select the group with the right image active, sync only what you changed. That’s the whole thing.
The real skill is in the hero edit itself, knowing what adjustments will translate well across varied shots and what will create problems. That judgment comes with practice, but Aaron’s tutorial gives you the mechanical foundation to start building it.
Watch the full tutorial on YouTube to see the complete walkthrough, including how Aaron navigates the Sync Settings dialog and filters his image library before starting the edit.
Comments
Leave a Comment