How to Create and Sell Your Own Lightroom Presets

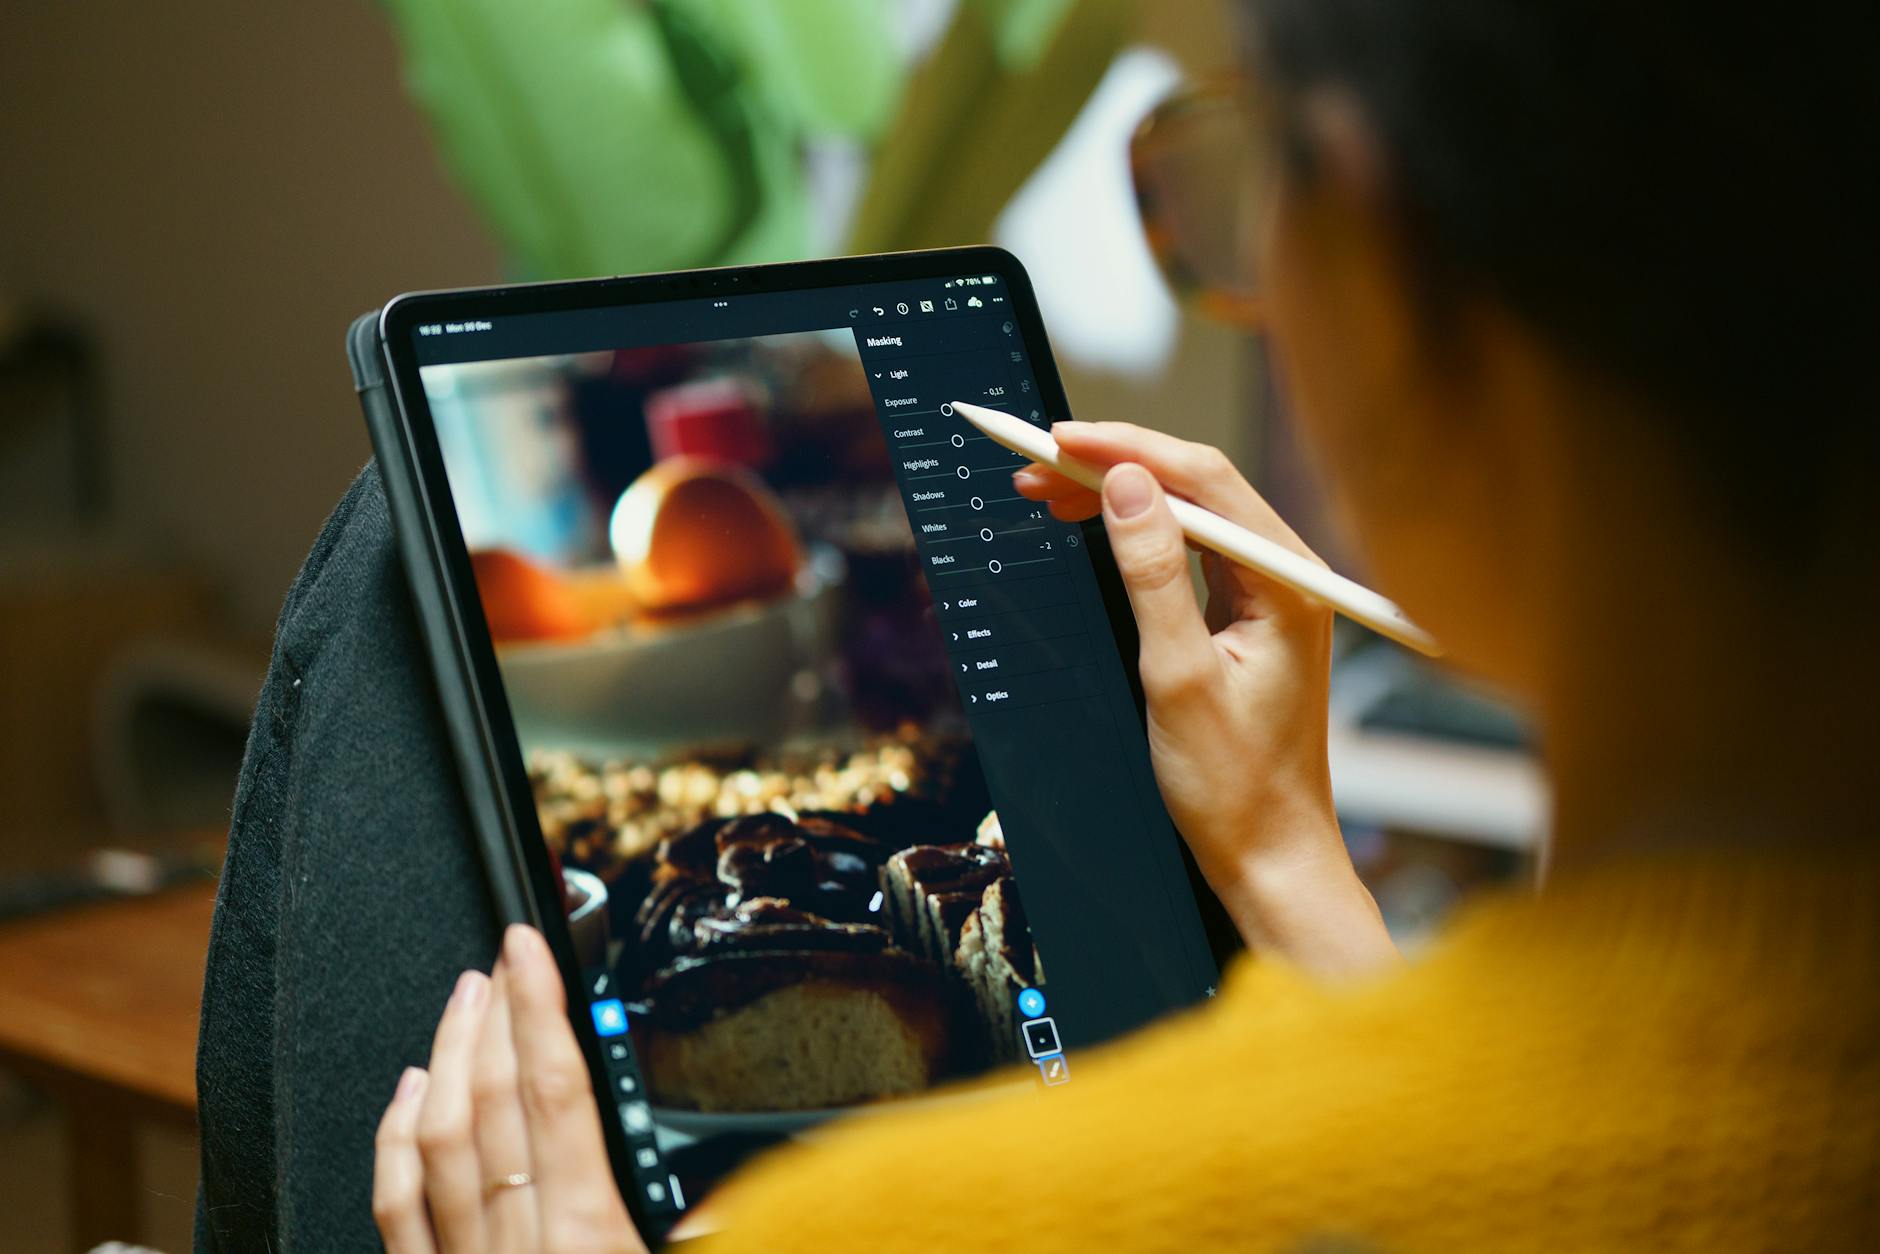
I made $400 from my first preset pack. Not life-changing money, but $400 from work I did once and sold repeatedly. Two years later, preset sales contribute a consistent $1,500-2,000/month to my income. Selling presets isn’t a get-rich-quick scheme. But if you have a distinctive editing style that people admire, it’s a legitimate business. Creating Presets That People Want to Buy Develop Your Signature Look First Nobody buys generic presets. “Clean and bright” presets exist by the thousands.

Creating Film Emulation Looks in Lightroom

Creating Film Emulation Looks in Lightroom

There’s a reason film photography has seen a massive revival: film looks beautiful. The colors, grain, and tonal characteristics of classic film stocks have a quality that digital images straight out of camera don’t naturally have. But you don’t need to shoot film to get the look. Lightroom can convincingly emulate the characteristics of popular film stocks if you understand what makes each one distinctive. What Makes Film Look Like Film Several characteristics separate film rendering from digital:

Clean and Bright: The Minimalist Editing Style Guide

Clean and bright editing is the hardest style to do well because it has nowhere to hide. Moody editing can mask exposure problems in dark shadows. Cinematic grading covers inconsistencies with heavy color casts. Clean and bright editing demands a properly exposed, well-lit image and precise, minimal adjustments. When it works, it looks like the photographer didn’t edit at all. That’s the point. The Foundation: It Starts in Camera Clean and bright editing works best with images that are:

Color Theory for Photographers: Why Some Edits Just Work

Have you ever applied a preset that looks gorgeous on one image and terrible on another? Or spent twenty minutes tweaking color sliders without knowing why it doesn’t look right? The answer is usually color theory — or the lack of it. Understanding basic color relationships transforms editing from random slider adjustment into intentional creative decisions. You don’t need an art degree. You need about ten minutes of foundational knowledge.

Creating a Cinematic Color Grade in Lightroom

The cinematic look isn’t about slapping on a preset and hoping for the best. It’s a specific set of color and tone decisions that filmmakers have used for decades. And you can replicate it in Lightroom with intention. What Makes a Photo Look “Cinematic” Cinematic images share three characteristics: Compressed dynamic range — shadows aren’t pure black, highlights aren’t pure white. The tonal range is narrower than reality, which creates that filmic, polished feel.

Batch Editing in Lightroom: Copy Settings Like a Pro

Batch Editing in Lightroom: Copy Settings Like a Pro

I shot 1,200 photos at a recent event. Without batch editing, that would be 40+ hours of individual edits. With a solid batch workflow, I delivered the final gallery in under three hours. Batch editing isn’t about cutting corners — it’s about making consistent, repeatable editing decisions and applying them intelligently. The Three Batch Methods Method 1: Sync Settings Select your reference photo (the one you’ve already edited). Then hold Shift and click the last photo in the group you want to edit, or Ctrl/Cmd-click to select specific images.