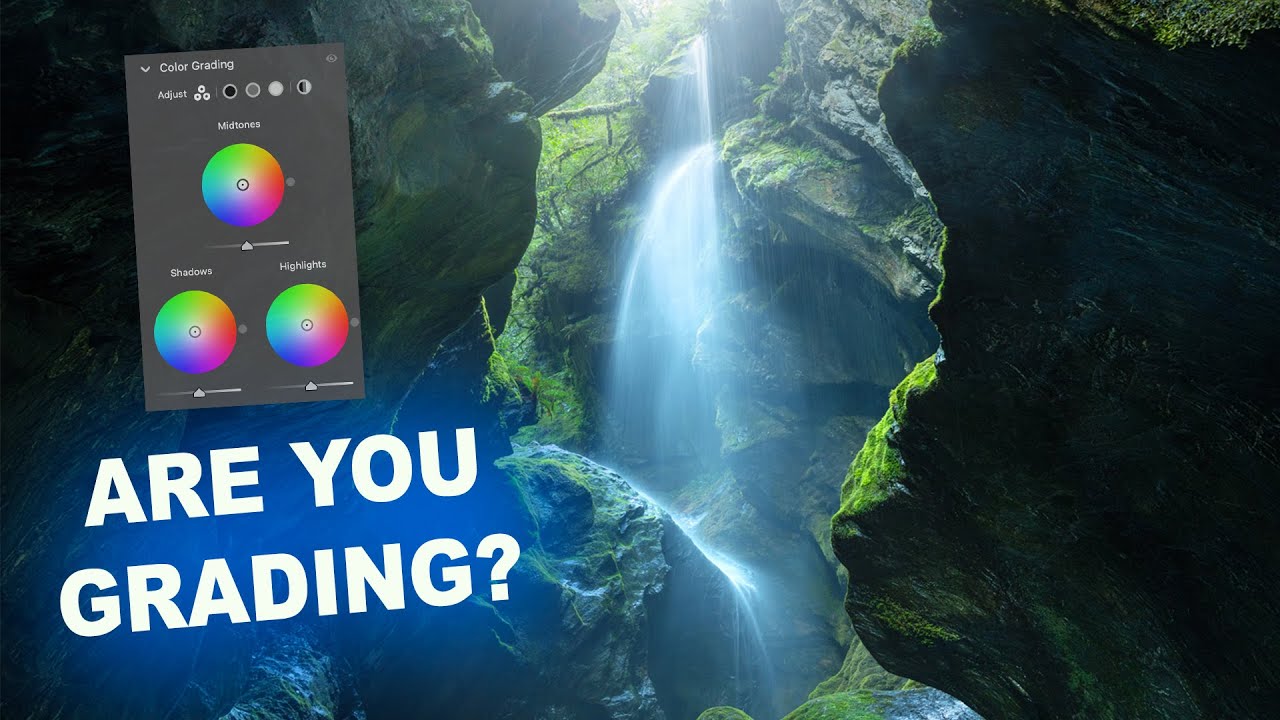
There’s a specific kind of frustration I know well: standing in front of a stunning location, firing off a solid technical shot, and then opening Lightroom later only to feel like something is just… missing. The image is fine. But fine isn’t why you drove two hours into a canyon. That gap between “technically correct” and “actually feels like the place” is where color grading lives, and it’s also the exact problem William Patino sets out to solve in this tutorial on shooting and editing a canyon waterfall. Watch the full tutorial on YouTube
What makes this one worth studying isn’t just the Lightroom work. Patino opens by pulling up his previous attempts at this same waterfall and walking through why they fell short. One image isolated the fern and the fall nicely but completely lost the sense of scale the canyon provides. Another captured the canyon beautifully but didn’t include the waterfall at all. He frames the whole shoot around a single compositional goal: get both in the same frame. That kind of honest pre-shoot analysis is something most tutorials skip entirely, and it directly shapes every editing decision that follows.
He also makes a case I don’t hear often enough in landscape photography: that rainfall is an asset, not an obstacle. For a waterfall location tucked inside a canyon, rain increases water flow, adds atmospheric mist, and saturates every surface. The editing choices he makes later are built on that foundation. You can’t fully color grade your way to mood that the conditions didn’t give you to work with.
Step 1: Scout with Intention Before You Ever Touch the Camera
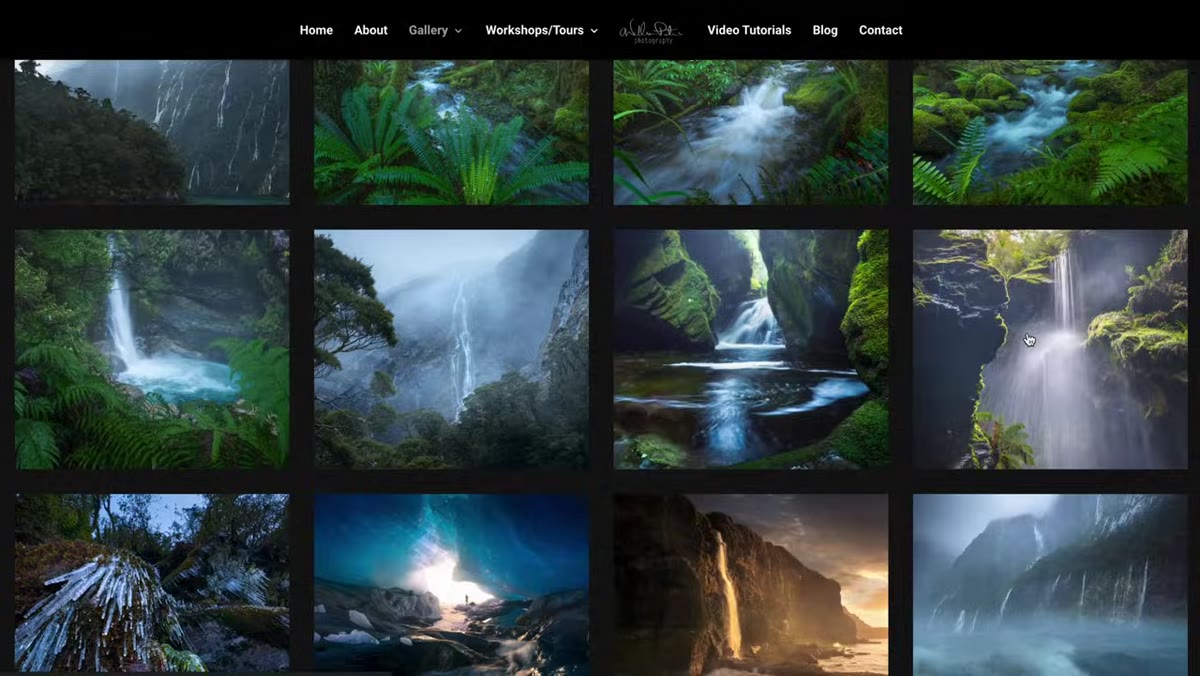 Reviewing previous waterfall photos on a website
Before heading out, Patino reviews his past images from the same location and identifies exactly what each one got wrong. The first isolated the waterfall details but lost the canyon’s grandeur. The second nailed the canyon but cut the waterfall out entirely. His goal becomes a synthesis: one wide frame that holds both subjects in tension with each other. If you have a location you’ve shot before and weren’t satisfied with, do this exercise. Pull up your old edits, write down in plain language what the image is missing, and let that drive your composition on the next trip. It sounds obvious but most of us just show up and hope for better luck.
Reviewing previous waterfall photos on a website
Before heading out, Patino reviews his past images from the same location and identifies exactly what each one got wrong. The first isolated the waterfall details but lost the canyon’s grandeur. The second nailed the canyon but cut the waterfall out entirely. His goal becomes a synthesis: one wide frame that holds both subjects in tension with each other. If you have a location you’ve shot before and weren’t satisfied with, do this exercise. Pull up your old edits, write down in plain language what the image is missing, and let that drive your composition on the next trip. It sounds obvious but most of us just show up and hope for better luck.
Step 2: Shoot in the Rain and Protect Your Gear Practically
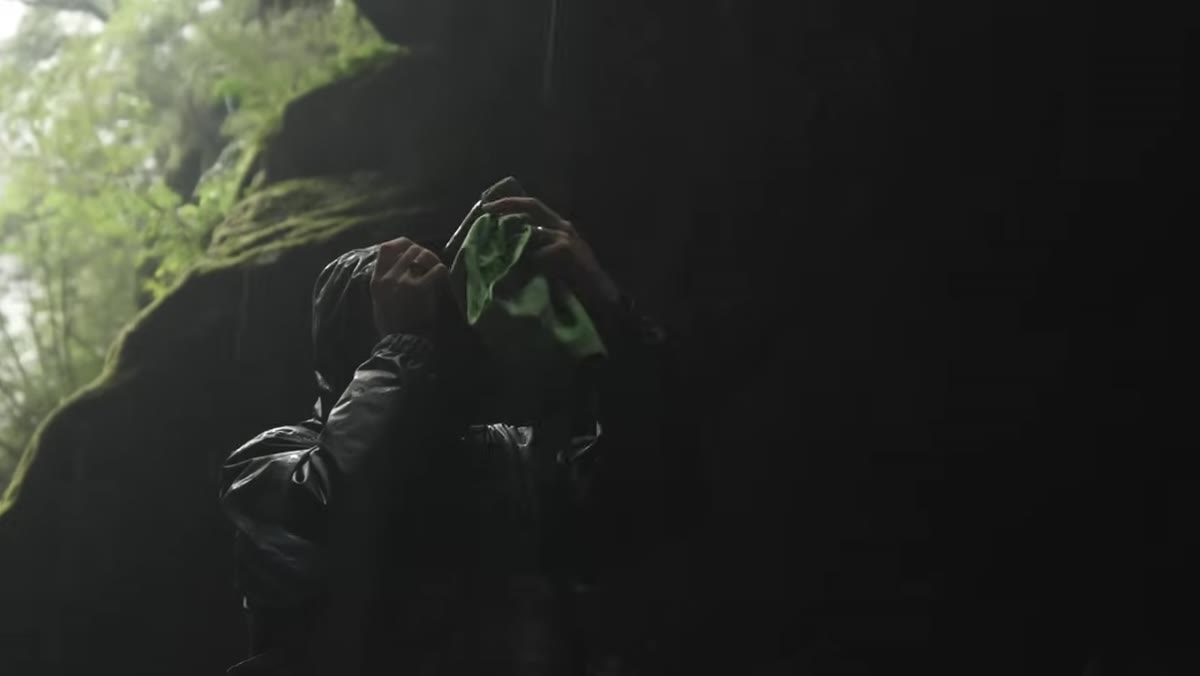 Shooting in rain with camera equipment in canyon
Patino shoots in active rainfall, which immediately raises the question of gear protection. His approach is straightforward rather than expensive: large dry towels, kept close, used to wipe down the camera between frames. The real challenge in wet conditions isn’t the rain itself but the lens glass. Raindrops on the front element will kill a frame completely, so he works quickly and wipes often. If you’re considering a similar shoot, prioritize a lens cloth in your jacket pocket over any fancy rain cover. You’ll use the cloth a hundred times. The cover mostly just slows you down.
Shooting in rain with camera equipment in canyon
Patino shoots in active rainfall, which immediately raises the question of gear protection. His approach is straightforward rather than expensive: large dry towels, kept close, used to wipe down the camera between frames. The real challenge in wet conditions isn’t the rain itself but the lens glass. Raindrops on the front element will kill a frame completely, so he works quickly and wipes often. If you’re considering a similar shoot, prioritize a lens cloth in your jacket pocket over any fancy rain cover. You’ll use the cloth a hundred times. The cover mostly just slows you down.
Step 3: Prioritize the Wider Composition to Anchor the Location
 Comparing canyon-only image with waterfall-only image side by side
The images from his previous visits that Patino was most frustrated with were both tight. A wide composition that includes the canyon walls, the waterfall, and some foreground context gives the viewer a sense of place before pulling them into detail. When you’re in a dramatic location, your instinct is often to zoom into the most photogenic element. Fight that. Get the establishing shot first, one that could exist as its own image, and then move into tighter frames. You’ll have more to work with in post and you’ll understand the scene better when you do zoom in.
Comparing canyon-only image with waterfall-only image side by side
The images from his previous visits that Patino was most frustrated with were both tight. A wide composition that includes the canyon walls, the waterfall, and some foreground context gives the viewer a sense of place before pulling them into detail. When you’re in a dramatic location, your instinct is often to zoom into the most photogenic element. Fight that. Get the establishing shot first, one that could exist as its own image, and then move into tighter frames. You’ll have more to work with in post and you’ll understand the scene better when you do zoom in.
Step 4: Let Atmospheric Conditions Shape Your Color Grade Direction
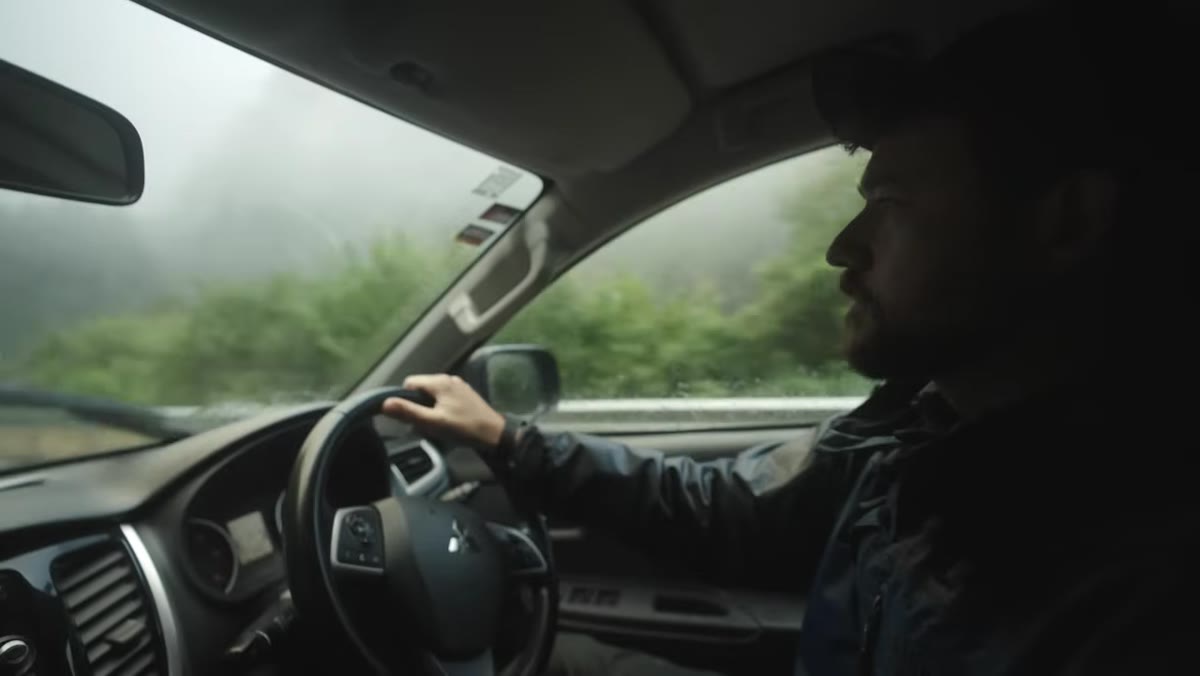 Discussing how rainfall creates mist and atmosphere at waterfall
Rainfall at this location created exactly what Patino was after: mist hanging in the canyon air, deeper saturation on the moss and ferns, and extra volume in the waterfall itself. When you sit down to edit images from a moody environmental shoot like this, the conditions you actually captured should dictate your grade. Don’t fight the atmosphere in post. If the scene was cool and misty, pushing warmth into it to make it feel like a sunny day is going to look forced. Instead, lean into what was there. Bring up the blues and greens, let the shadows sit cool, and add contrast in a way that emphasizes depth rather than clarity.
Discussing how rainfall creates mist and atmosphere at waterfall
Rainfall at this location created exactly what Patino was after: mist hanging in the canyon air, deeper saturation on the moss and ferns, and extra volume in the waterfall itself. When you sit down to edit images from a moody environmental shoot like this, the conditions you actually captured should dictate your grade. Don’t fight the atmosphere in post. If the scene was cool and misty, pushing warmth into it to make it feel like a sunny day is going to look forced. Instead, lean into what was there. Bring up the blues and greens, let the shadows sit cool, and add contrast in a way that emphasizes depth rather than clarity.
Step 5: Approach Each Editing Session With a Specific Emotional Target
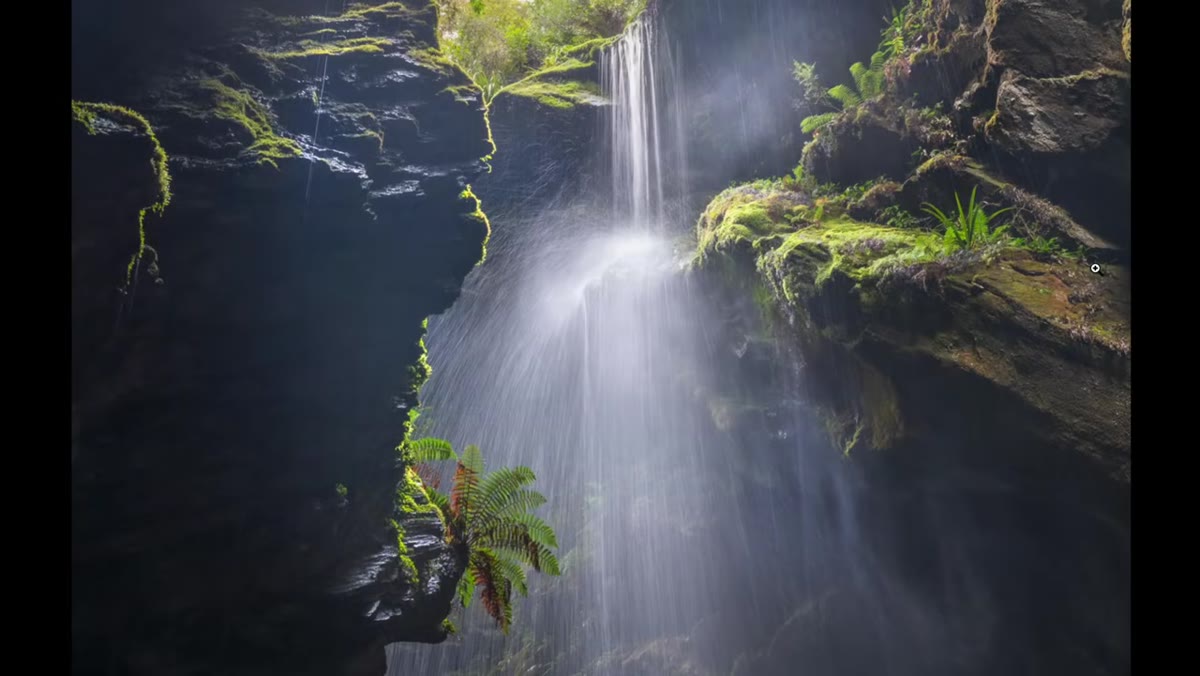 Patino explaining what he wants the final image to feel like
Patino doesn’t just want a technically sharp image of a waterfall. He wants a frame that communicates the scale and drama of being inside that canyon. That distinction matters in Lightroom because it changes which sliders you reach for first. If you’re chasing drama and depth, you’re probably starting with tone curve and HSL rather than just bumping exposure and calling it done. Before opening your editing panel, write one sentence about how you want the finished image to feel. “Moody and immersive” leads to completely different choices than “bright and airy,” even if the raw file is the same.
Patino explaining what he wants the final image to feel like
Patino doesn’t just want a technically sharp image of a waterfall. He wants a frame that communicates the scale and drama of being inside that canyon. That distinction matters in Lightroom because it changes which sliders you reach for first. If you’re chasing drama and depth, you’re probably starting with tone curve and HSL rather than just bumping exposure and calling it done. Before opening your editing panel, write one sentence about how you want the finished image to feel. “Moody and immersive” leads to completely different choices than “bright and airy,” even if the raw file is the same.
Step 6: Stay Open to Images You Didn’t Plan For
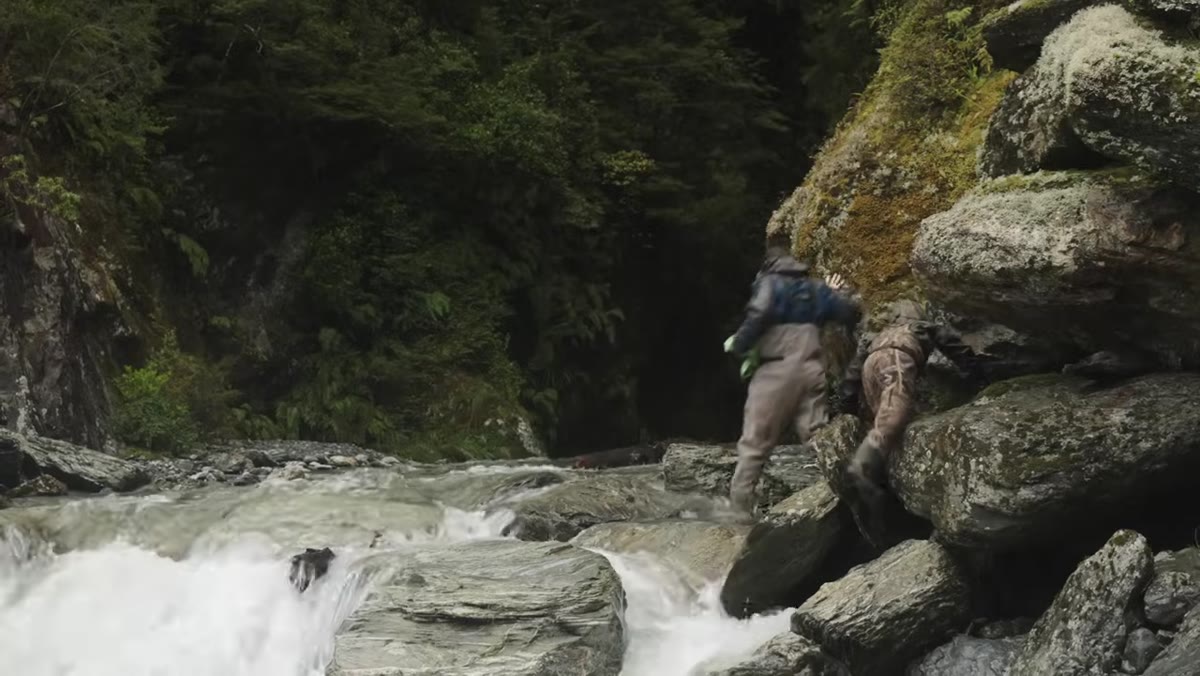 Patino describing staying open to unplanned shots in the field
One of the more useful things Patino says in this video is that his favorite image from any planned shoot is often one he didn’t anticipate. He plans the composition, sets the intention, and then stays genuinely open to the canyon showing him something different. In editing terms, this matters because it’s easy to over-commit to a preset or a grade that fits your “plan” and then force all your images through it. The shots that break your original concept often need their own grade to work. I keep a few neutral starting presets for exactly this reason, frames that arrived sideways and don’t fit the series but are too good to ignore.
Patino describing staying open to unplanned shots in the field
One of the more useful things Patino says in this video is that his favorite image from any planned shoot is often one he didn’t anticipate. He plans the composition, sets the intention, and then stays genuinely open to the canyon showing him something different. In editing terms, this matters because it’s easy to over-commit to a preset or a grade that fits your “plan” and then force all your images through it. The shots that break your original concept often need their own grade to work. I keep a few neutral starting presets for exactly this reason, frames that arrived sideways and don’t fit the series but are too good to ignore.
What I’d Add: Build Your Grade Around the Greens First
Canyon and forest waterfall locations are dominated by green tones, and green is notoriously difficult to make look natural in Lightroom without deliberate work in the HSL panel. My standard move for this kind of scene is to shift the green hue slightly toward yellow (somewhere between +10 and +20) which pulls the foliage away from that artificial neon look that crushed shadows can cause. Then I’ll reduce green saturation by a small amount and recover it through luminance instead. The result reads as lush rather than oversaturated. Patino’s atmospheric grade benefits from this kind of restraint, because the mist and the canyon depth are what carry the mood, not aggressive color pushing.
The single most valuable thing this tutorial models is the loop between pre-shoot analysis and post-processing intent. Patino knows what his previous images missed, he goes back with a specific plan to fix it, and his editing decisions flow directly from that plan. That’s not a lucky workflow. It’s a repeatable one.
Watch the full tutorial on YouTube and pay particular attention to how Patino reviews his old work at the start. That five minutes of honest self-critique is the part most people will skip, and it’s the part that changes everything.
Comments
Leave a Comment