
I have a confession that will probably resonate with a lot of you: I have years of photo shoots sitting in Lightroom with zero keywords attached to them. Portraits from 2019, landscapes from a road trip through Montana, a whole session I did at a friend’s horse farm. All of it is technically “organized” in folders by date, which means finding any specific image involves either remembering the exact month I shot it or scrolling through thousands of thumbnails like it’s 2009. Not great for a guy who writes Lightroom tutorials for a living.
That’s why when I watched this Tony & Chelsea Northrup tutorial on using Excire inside Lightroom, I immediately stopped what I was doing and installed it. The pitch is straightforward: Excire uses artificial intelligence to analyze every photo in your catalog and make them searchable by subject, even if you never typed a single keyword. Watch the full tutorial on YouTube to see Tony walk through it in real time, and keep reading for a step-by-step breakdown you can follow alongside it.
The thing that actually sold me wasn’t the search feature itself. It was the fact that the entire AI runs locally on your machine. No uploading your client work to some cloud server. No privacy trade-offs. The intelligence is built into the app, which means it works offline and your photos stay yours. That detail alone separates this from a lot of the “AI-powered” tools floating around the photography space right now.
Step 1: Install Excire and Find It Inside Lightroom
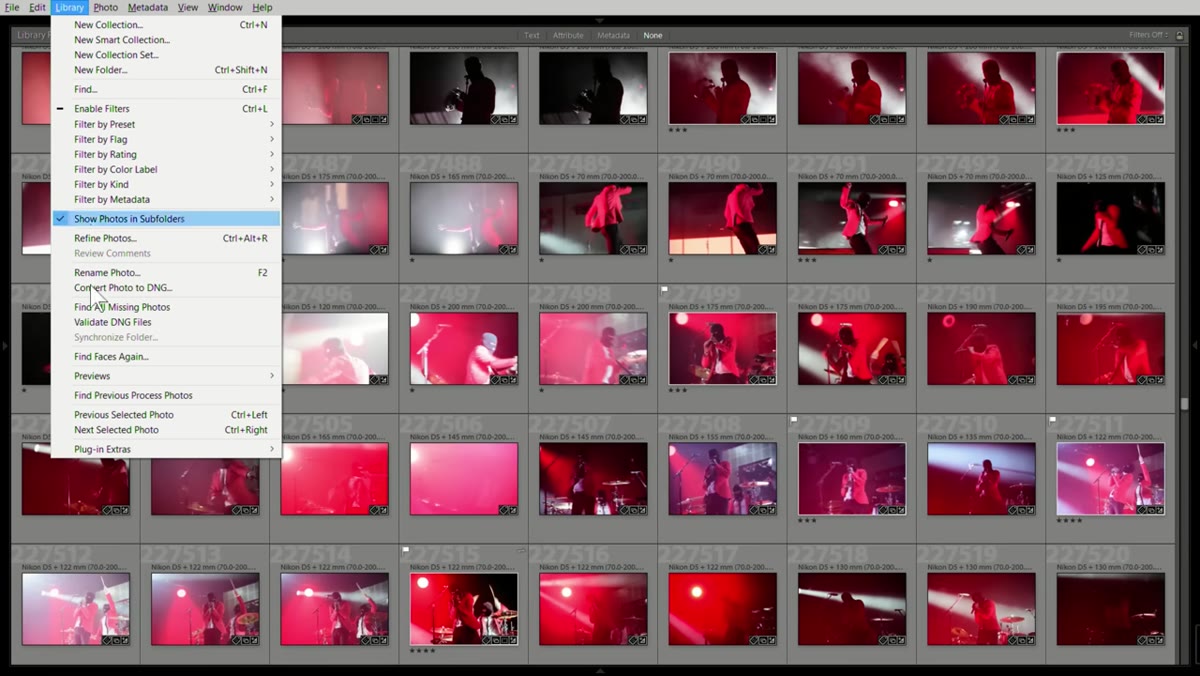 Navigating to Library menu, then Plug-in Extras in Lightroom
Once you’ve installed Excire (Tony mentions the discount link in the video, and there’s a coupon code worth grabbing), it lives inside Lightroom’s native menu structure rather than launching as a separate app. Head to the Library module, then look for Plug-in Extras in the top menu bar. That’s your gateway into everything Excire does. It’s a clean integration – no switching windows, no breaking your editing flow.
Navigating to Library menu, then Plug-in Extras in Lightroom
Once you’ve installed Excire (Tony mentions the discount link in the video, and there’s a coupon code worth grabbing), it lives inside Lightroom’s native menu structure rather than launching as a separate app. Head to the Library module, then look for Plug-in Extras in the top menu bar. That’s your gateway into everything Excire does. It’s a clean integration – no switching windows, no breaking your editing flow.
Step 2: Initialize Your Photo Library
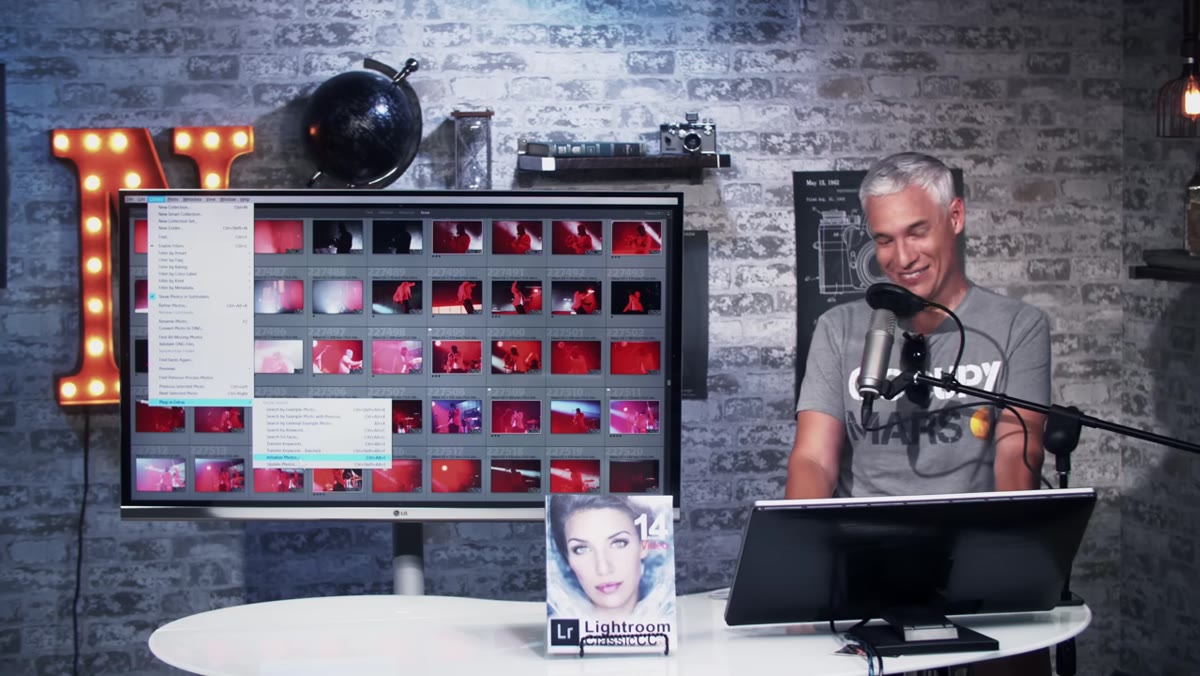 The “Initialize Photos” screen beginning the AI analysis process
Before you can search anything, Excire needs to analyze your entire catalog. You’ll click “Initialize Photos” and then step away from your computer for a while. Tony’s 392,000-image catalog took two full days to process. If you’re working with a more typical catalog of a few thousand or even tens of thousands of images, expect a few hours at most. Run it overnight and come back to a fully indexed library in the morning. You only have to do this once – after initialization, new imports are analyzed as they come in.
The “Initialize Photos” screen beginning the AI analysis process
Before you can search anything, Excire needs to analyze your entire catalog. You’ll click “Initialize Photos” and then step away from your computer for a while. Tony’s 392,000-image catalog took two full days to process. If you’re working with a more typical catalog of a few thousand or even tens of thousands of images, expect a few hours at most. Run it overnight and come back to a fully indexed library in the morning. You only have to do this once – after initialization, new imports are analyzed as they come in.
Step 3: Open the Keyword Search Interface
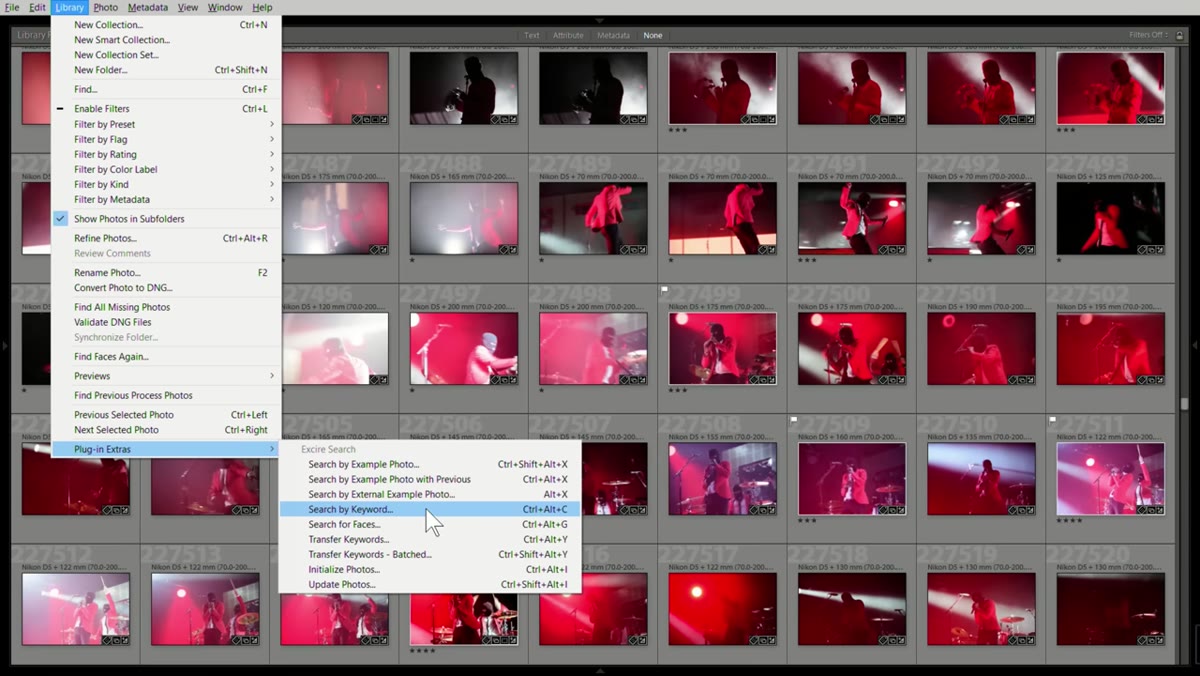 Excire’s search panel open with category options visible
After initialization, go back to Plug-in Extras and this time select the keyword search option. You’ll see a search panel that breaks down into two main search modes: Image Content and Image Property. Tony is pretty direct about which one actually delivers results – Image Content is where the tool earns its keep. Image Property lets you filter for things like tone (sepia, monochromatic, dark images), which is handy in specific situations but not the headline feature.
Excire’s search panel open with category options visible
After initialization, go back to Plug-in Extras and this time select the keyword search option. You’ll see a search panel that breaks down into two main search modes: Image Content and Image Property. Tony is pretty direct about which one actually delivers results – Image Content is where the tool earns its keep. Image Property lets you filter for things like tone (sepia, monochromatic, dark images), which is handy in specific situations but not the headline feature.
Step 4: Search by Subject Using Image Content Categories
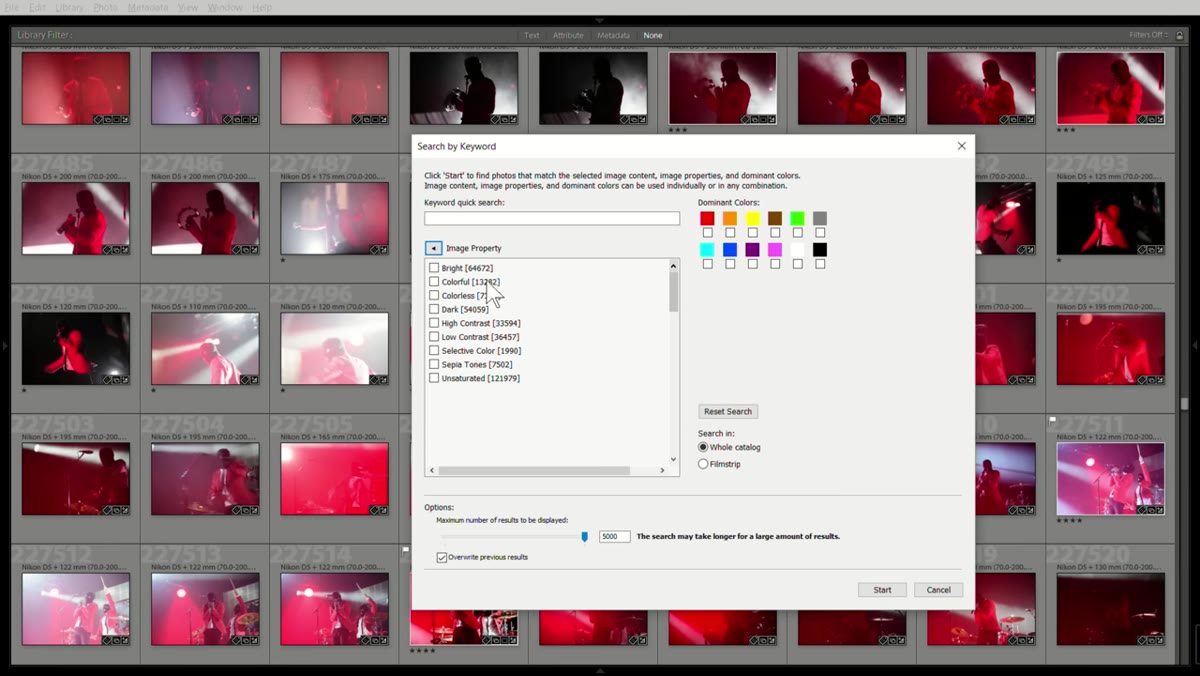 The Image Content category browser showing searchable subject tags
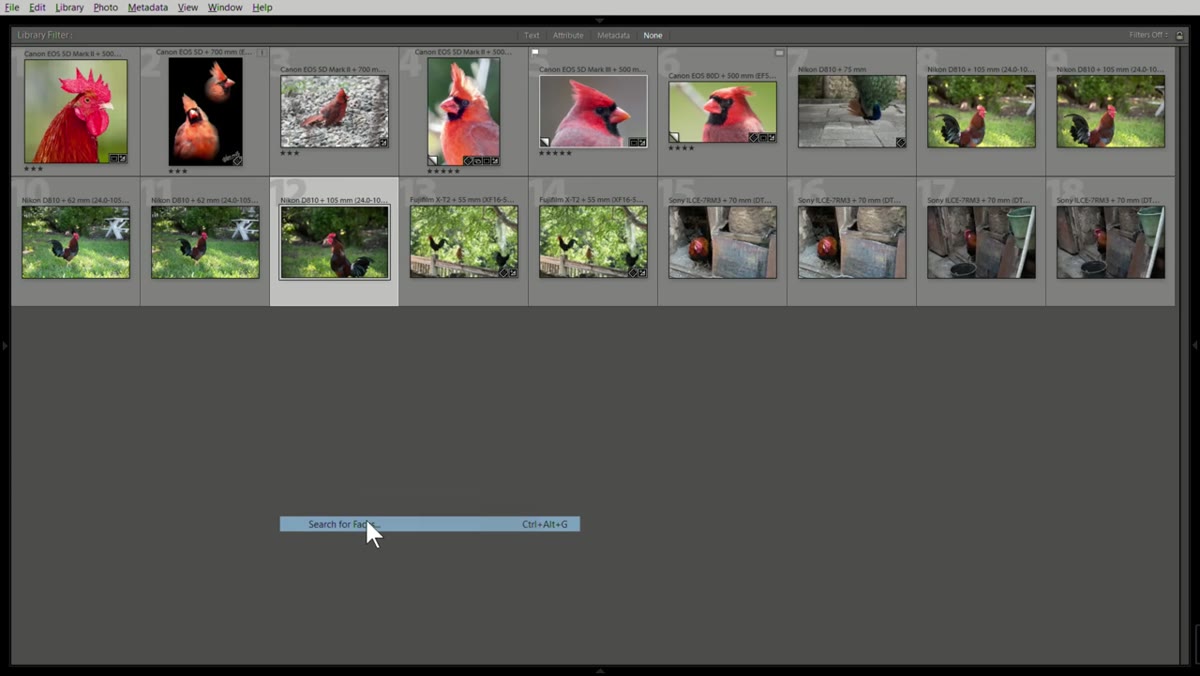
Inside Image Content, you’re browsing a library of more than 500 subject categories. Think of it like typing a hashtag search, but instead of relying on tags you manually added, the AI has already read every frame. Tony tests this by searching for “bride,” and the results pull up a strong majority of correctly identified wedding portraits. There are some false positives – a model in a white dress makes the cut, which is understandable – but the point is that the search dramatically narrows down a massive catalog to a workable shortlist. For a follow-up search on chickens (yes, really), it surfaces the right images from a catalog of nearly 400,000 photos. Not perfect, but genuinely useful.
The Image Content category browser showing searchable subject tags
Inside Image Content, you’re browsing a library of more than 500 subject categories. Think of it like typing a hashtag search, but instead of relying on tags you manually added, the AI has already read every frame. Tony tests this by searching for “bride,” and the results pull up a strong majority of correctly identified wedding portraits. There are some false positives – a model in a white dress makes the cut, which is understandable – but the point is that the search dramatically narrows down a massive catalog to a workable shortlist. For a follow-up search on chickens (yes, really), it surfaces the right images from a catalog of nearly 400,000 photos. Not perfect, but genuinely useful.
The accuracy sweet spot here is “good enough to stop you from wasting hours scrolling.” Expect the tool to cast a slightly wide net. That’s by design, and it’s the right call – missing a photo you were looking for is more frustrating than reviewing a few extras that don’t quite match.
Step 5: Use Face Search to Narrow Down People Photos
 Face search options showing gender, age, and group size filters
Beyond subject categories, Excire includes a dedicated face search mode with some surprisingly useful filters. You can search by number of faces in the frame (one person, two people, a group), by general age range (babies, children, adults), and by gender. Tony searches for babies specifically and pulls up a solid collection of infant portraits he’d half-forgotten were in the catalog. This mode doesn’t let you search by identity – it won’t find “photos of my sister” – but it’s genuinely helpful when you remember the general composition of a shot but not when you took it.
Face search options showing gender, age, and group size filters
Beyond subject categories, Excire includes a dedicated face search mode with some surprisingly useful filters. You can search by number of faces in the frame (one person, two people, a group), by general age range (babies, children, adults), and by gender. Tony searches for babies specifically and pulls up a solid collection of infant portraits he’d half-forgotten were in the catalog. This mode doesn’t let you search by identity – it won’t find “photos of my sister” – but it’s genuinely helpful when you remember the general composition of a shot but not when you took it.
Step 6: Retrieve Forgotten or Long-Buried Photos
 Search results for “light painting” revealing old archived images
One of the more quietly impressive moments in Tony’s walkthrough is when he searches for light painting photos and pulls up work he’d genuinely forgotten about. This is maybe the best argument for Excire beyond practical retrieval. It’s not just a filing system – it’s a way to rediscover your own archive. For photographers who have been shooting for a decade or more, that’s a meaningful feature. Old work that got buried in a dated folder structure suddenly becomes accessible again without a manual tagging project that would take months.
Search results for “light painting” revealing old archived images
One of the more quietly impressive moments in Tony’s walkthrough is when he searches for light painting photos and pulls up work he’d genuinely forgotten about. This is maybe the best argument for Excire beyond practical retrieval. It’s not just a filing system – it’s a way to rediscover your own archive. For photographers who have been shooting for a decade or more, that’s a meaningful feature. Old work that got buried in a dated folder structure suddenly becomes accessible again without a manual tagging project that would take months.
What I’d Add After Using It Myself
The one thing Tony doesn’t dig into – because the tutorial is focused on the search features specifically – is how Excire fits into an ongoing workflow rather than a one-time rescue mission. My suggestion: after your initial search, use the results as a starting point for actual batch keywording inside Lightroom. Excire identifies the images. You confirm and tag. Over time, your catalog gets cleaner, and the AI has a smaller gap to cover. It’s a feedback loop that pays off faster than you’d expect.
I’d also recommend running initialization on an SSD if possible. The processing speed difference is noticeable, and cutting even a few hours off a two-day analysis is worth it if you’re working with a large catalog.
If your Lightroom catalog has become a place where photos go to get lost rather than found, Excire is the most practical fix I’ve seen. The local AI processing is a genuine differentiator, the 500-plus category search is broader than you’d expect, and the face search filters are simple but effective. It’s not flawless – plan for false positives and a few misses – but it’s the best available tool for making an untagged catalog actually searchable without spending a week doing it by hand.
Watch the full tutorial on YouTube to see Tony demo every search mode with his own real-world catalog, and pay attention to his notes on initialization time – your experience will vary depending on catalog size and hardware.
Comments
Leave a Comment