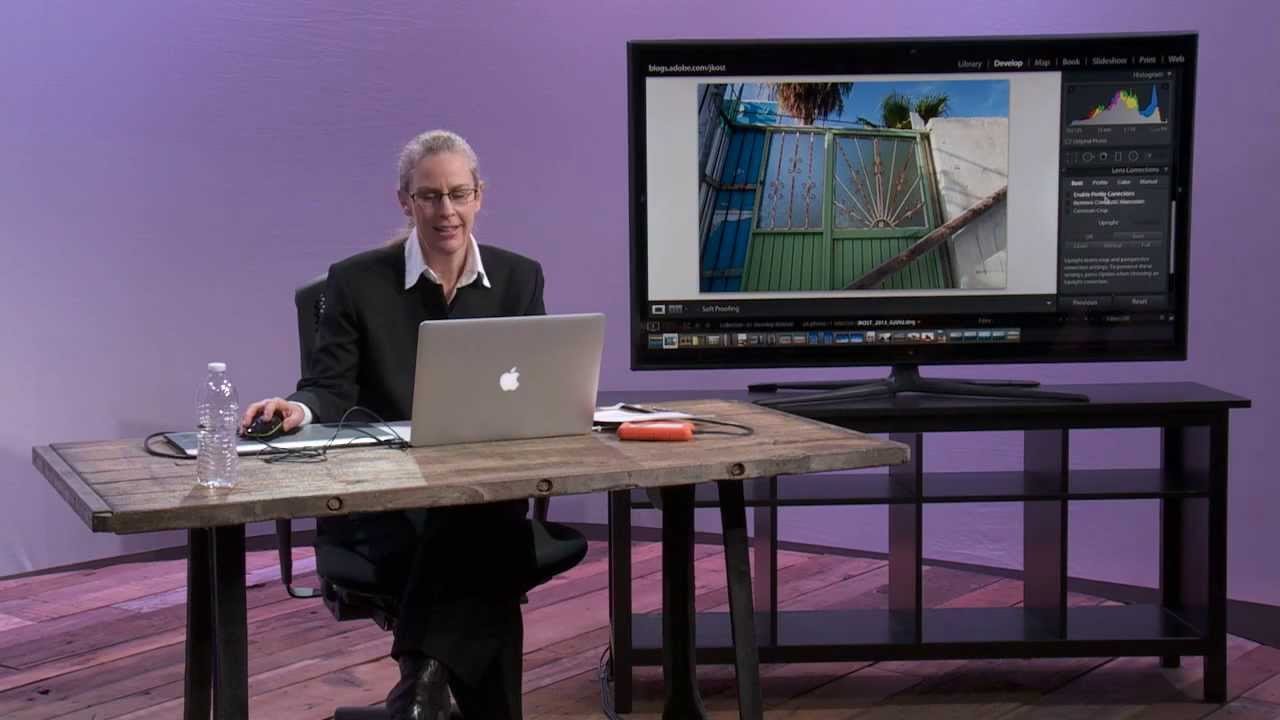
There’s a particular kind of frustration that comes from shooting architecture or interiors, loading the photos into Lightroom, and realizing that every single vertical line looks like it’s slowly falling over. I’ve been there more times than I want to count. Whether you’re tilting the camera up to catch a full building facade or shooting a doorway at a slight angle, perspective distortion creeps into the frame almost invisibly on location and becomes glaringly obvious on a 27-inch monitor. For a long time, fixing it felt like a manual wrestling match with the Transform sliders.
In this CreativeLive tutorial, Julieanne Kost - an Adobe evangelist who genuinely understands how photographers actually use this software - walks through the Upright tool with the kind of specificity that makes you realize how much most people skip. Watch the full tutorial on YouTube. The technique is fast once you understand the setup, but the setup is the part that almost nobody talks about. Let me walk you through it.
Step 1: Shoot Wider Than You Think You Need To
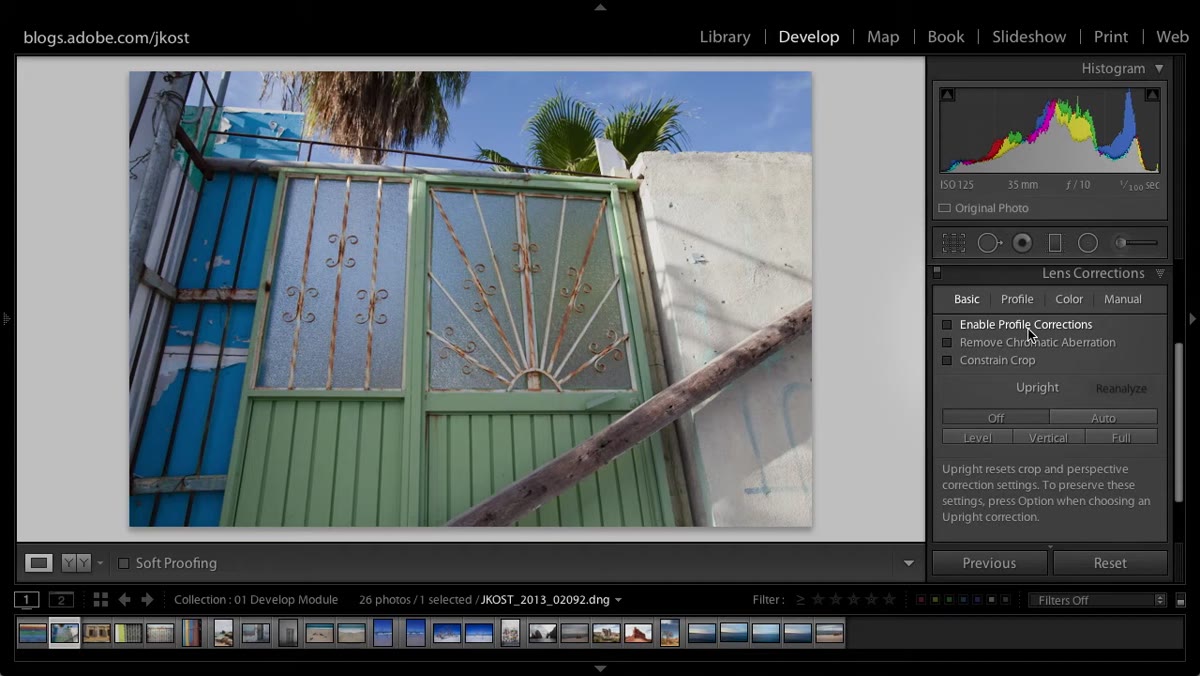 Presenter explaining the need for extra frame data before correcting
Before you even open Lightroom, there’s a field decision that determines how much flexibility you’ll have. When you correct perspective digitally, the software essentially stretches or compresses parts of the image to make lines straight. That transformation eats into your frame edges. If you’re already tight on composition, you’ll end up cropping out something important or - worse - you’ll have to push the file into Photoshop and use Content-Aware Fill to rebuild missing corners.
Presenter explaining the need for extra frame data before correcting
Before you even open Lightroom, there’s a field decision that determines how much flexibility you’ll have. When you correct perspective digitally, the software essentially stretches or compresses parts of the image to make lines straight. That transformation eats into your frame edges. If you’re already tight on composition, you’ll end up cropping out something important or - worse - you’ll have to push the file into Photoshop and use Content-Aware Fill to rebuild missing corners.
The practical fix is simple: shoot wider than your final composition requires. If you’re capturing a building or any scene where you know you’ll be correcting keystoning or tilt, give yourself an extra buffer around all four edges. Think of it as leaving margin for the math.
Step 2: Enable Profile Corrections and Remove Chromatic Aberration First
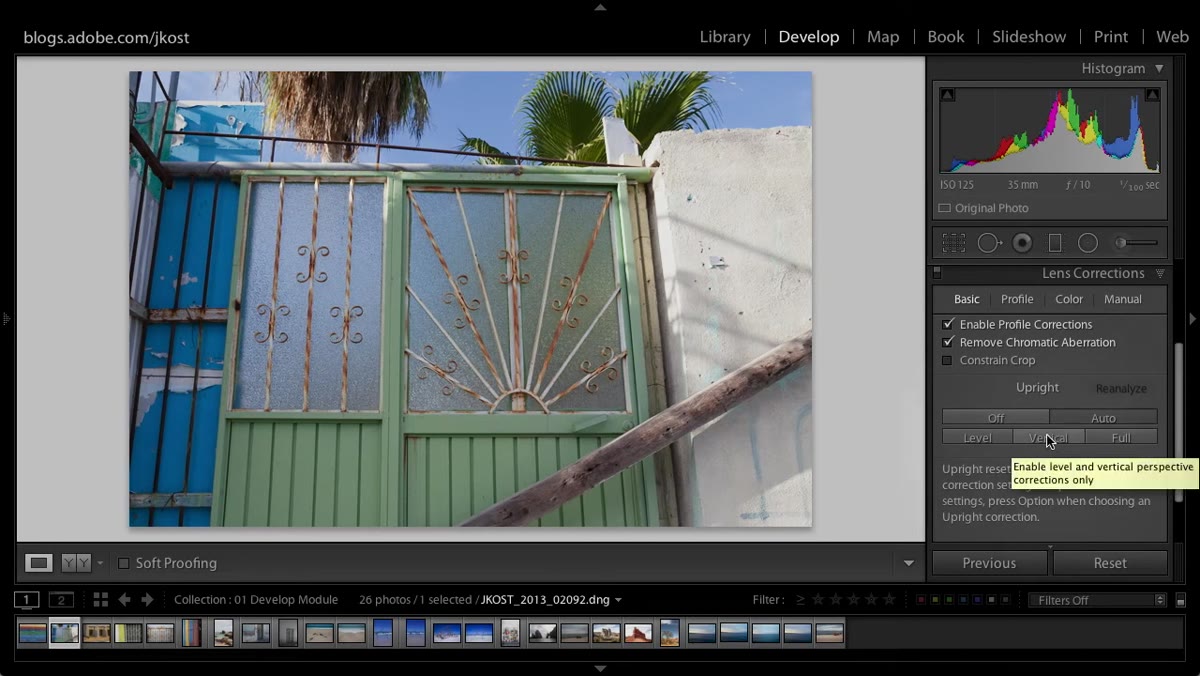
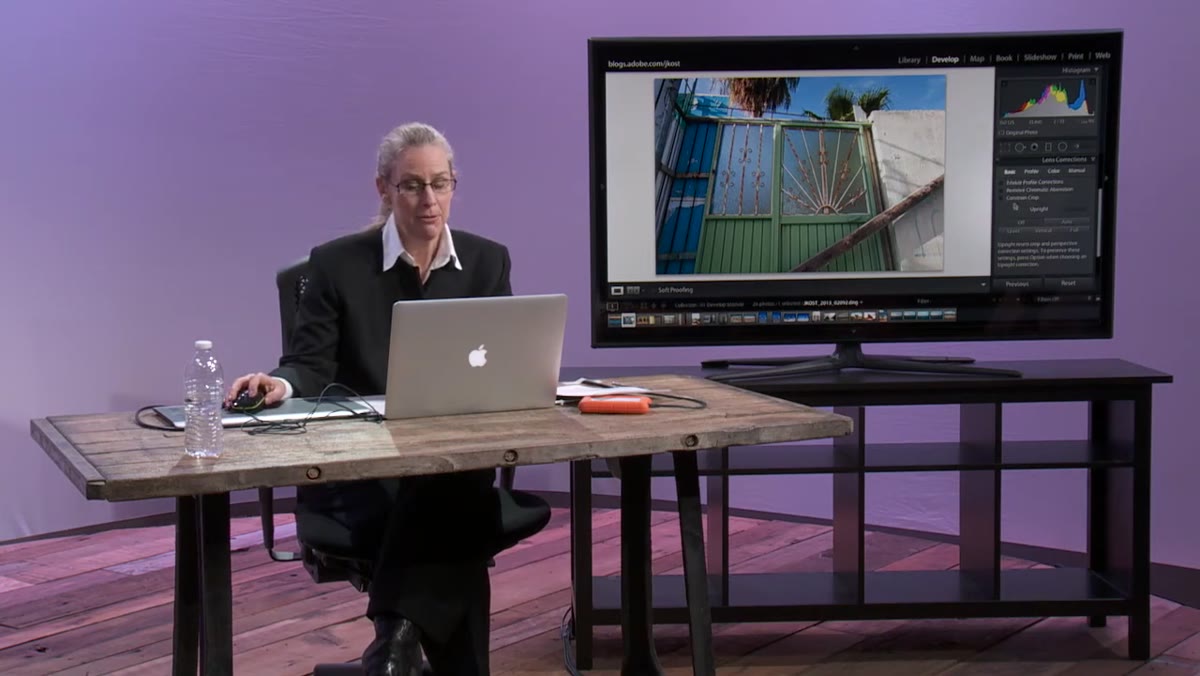 Lens Corrections panel with profile corrections and CA options visible
This is the step that gets skipped constantly, and it matters more than most people realize. In the Lens Corrections panel, enable the lens profile correction for your specific camera and lens combination. Lightroom pulls from a built-in library of profiles and will automatically counter the barrel or pincushion distortion that most lenses introduce. While you’re there, also check the “Remove Chromatic Aberration” box.
Lens Corrections panel with profile corrections and CA options visible
This is the step that gets skipped constantly, and it matters more than most people realize. In the Lens Corrections panel, enable the lens profile correction for your specific camera and lens combination. Lightroom pulls from a built-in library of profiles and will automatically counter the barrel or pincushion distortion that most lenses introduce. While you’re there, also check the “Remove Chromatic Aberration” box.
Julieanne makes the point that the Upright options are deliberately placed below these corrections in the panel order - that’s intentional design, not coincidence. The Upright tool performs its analysis after lens corrections are applied. If you let Upright work on a distorted image, it’s solving two problems at once and doing neither especially well. Clean the optical distortion first, then correct the perspective.
Step 3: Understand What Each Upright Mode Actually Does
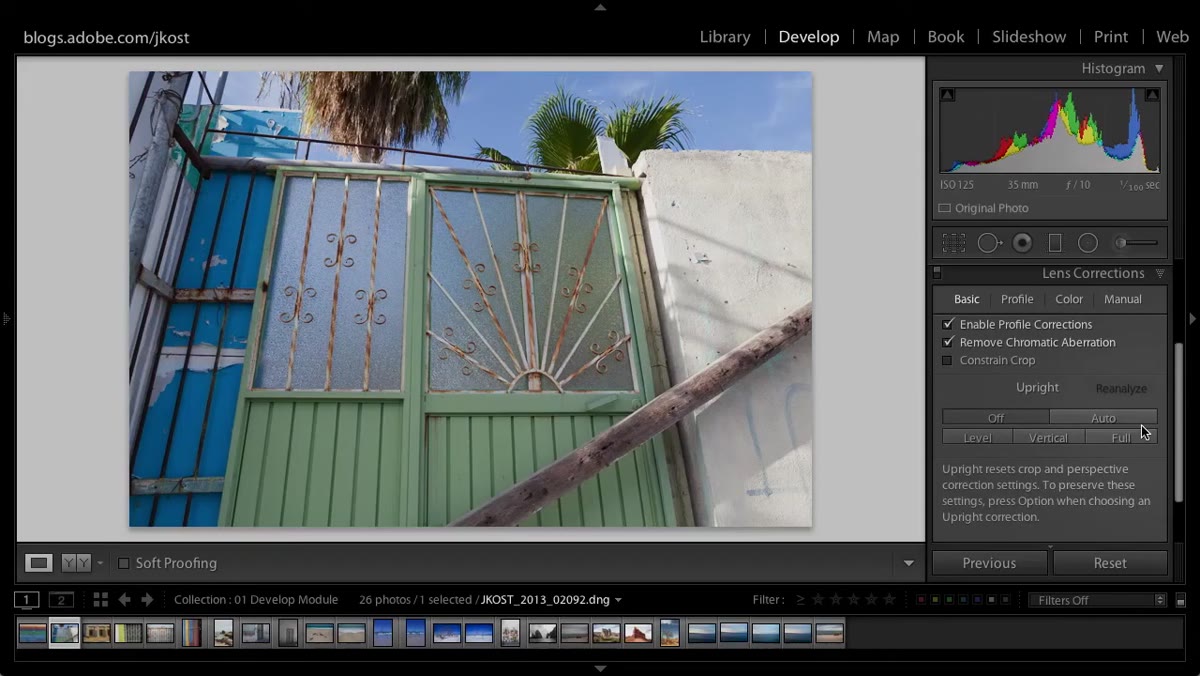 Four Upright mode buttons shown in the Lens Corrections panel
There are four Upright modes, and they are not interchangeable. Level looks for a horizon line and rotates the image until that line is flat - nothing more. It’s the right choice when you have a tilted landscape or seascape where the horizon is the only problem.
Four Upright mode buttons shown in the Lens Corrections panel
There are four Upright modes, and they are not interchangeable. Level looks for a horizon line and rotates the image until that line is flat - nothing more. It’s the right choice when you have a tilted landscape or seascape where the horizon is the only problem.
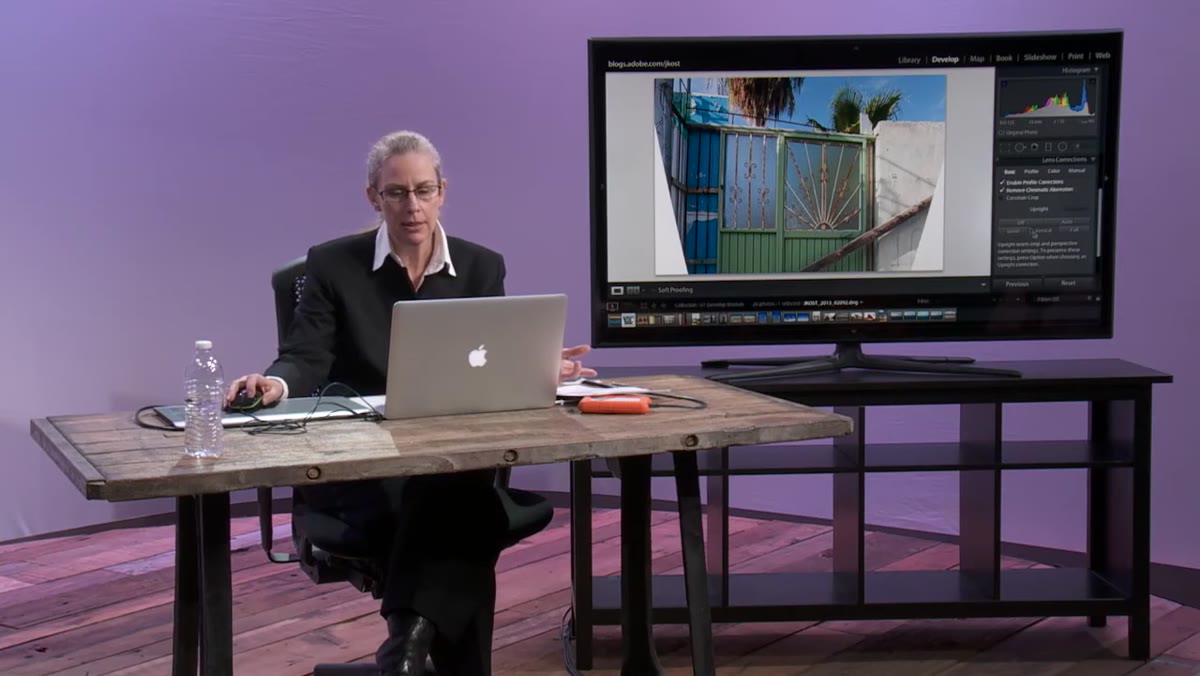
Vertical corrects converging vertical lines, the kind you see when you point a camera upward at a building and the walls seem to lean inward. The catch is that Vertical leaves horizontal lines alone, which can sometimes produce results that look technically correct but visually strange. Auto applies a balanced combination of level, vertical, and horizontal corrections and tends to produce the most natural-looking result. Full goes the most aggressive route, forcing both vertical and horizontal lines to be mathematically straight - useful for architectural line-up work, but it can flatten the perspective in a way that reads as artificial.
Step 4: Try Auto First, Then Compare
 Before and after toggle showing Auto correction applied to doorway image
In practice, Auto is usually where you want to start. It runs a balanced analysis of the image and applies corrections that feel natural rather than clinical. Julieanne demonstrates this clearly with a door - the vertical option produces something that is technically corrected but looks slightly off in a way that’s hard to articulate. Auto produces something that looks like the photo you meant to take.
Before and after toggle showing Auto correction applied to doorway image
In practice, Auto is usually where you want to start. It runs a balanced analysis of the image and applies corrections that feel natural rather than clinical. Julieanne demonstrates this clearly with a door - the vertical option produces something that is technically corrected but looks slightly off in a way that’s hard to articulate. Auto produces something that looks like the photo you meant to take.
The fastest way to evaluate any of these modes is to click through them one at a time and compare each result to the original by toggling the panel off and back on. Don’t commit to a mode until you’ve seen at least two options side by side. What works on one image won’t always translate to another.
Step 5: Use Reanalyze When Lightroom Seems Stuck
 Reanalyze button highlighted in Upright section of panel
If you’re clicking through the Upright modes and nothing seems to be happening, or the results look identical regardless of which option you choose, there’s a reason for that. Lightroom caches the analysis data from the first time you apply an Upright mode to a file. This is actually smart design - it prevents a future software update from silently altering corrections you’ve already committed to. But it also means that if you enabled profile corrections after already clicking around in Upright, the cached analysis was based on the uncorrected image.
Reanalyze button highlighted in Upright section of panel
If you’re clicking through the Upright modes and nothing seems to be happening, or the results look identical regardless of which option you choose, there’s a reason for that. Lightroom caches the analysis data from the first time you apply an Upright mode to a file. This is actually smart design - it prevents a future software update from silently altering corrections you’ve already committed to. But it also means that if you enabled profile corrections after already clicking around in Upright, the cached analysis was based on the uncorrected image.
The Reanalyze button clears that cache and forces Lightroom to re-examine the image with your current settings applied. The button only becomes active when there’s cached data present, so if it’s grayed out, you haven’t committed anything yet and you’re fine. If it’s clickable, hit it after enabling your lens corrections before you settle on a final mode.
Step 6: Use Constrain Crop to Clean Up the Edges
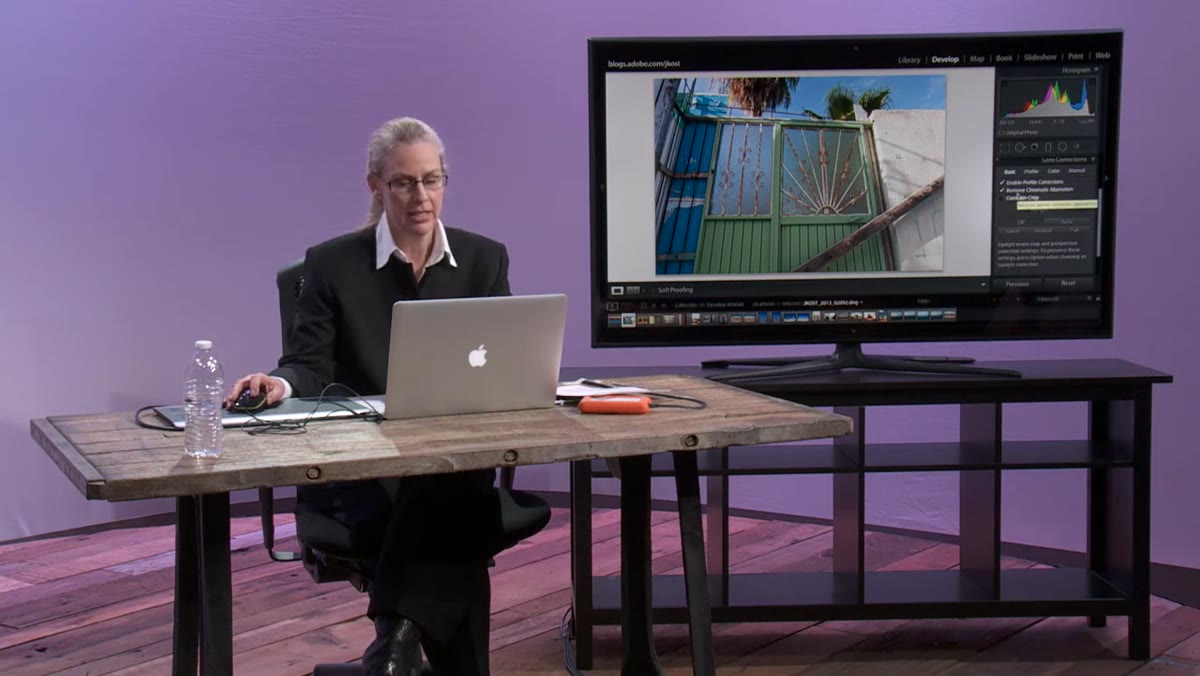 Constrain Crop checkbox in Lens Corrections panel
After any Upright correction, you’ll likely see white triangles or irregular edges where the image has been rotated or stretched. The Constrain Crop checkbox automatically trims these away by tightening the crop to the largest rectangular frame that fits inside the corrected image. It’s not magic - it does cost you some pixels - but it’s a much cleaner solution than manually dragging crop handles or leaving visible artifacts in your export.
Constrain Crop checkbox in Lens Corrections panel
After any Upright correction, you’ll likely see white triangles or irregular edges where the image has been rotated or stretched. The Constrain Crop checkbox automatically trims these away by tightening the crop to the largest rectangular frame that fits inside the corrected image. It’s not magic - it does cost you some pixels - but it’s a much cleaner solution than manually dragging crop handles or leaving visible artifacts in your export.
This is where shooting wider pays off. The more buffer you left in camera, the less the constrained crop will bite into your composition.
What I’d Add From My Own Work
I edit a lot of concert and venue photography, and the Upright tool has become a regular stop in my workflow for anything involving stage structures or architectural backgrounds. One thing I’ve found useful that Julieanne doesn’t cover here: if Auto doesn’t quite nail it, try using the Guided Upright option (the grid icon in the Transform panel in newer versions of Lightroom). You draw reference lines directly onto your image and tell Lightroom exactly which edges should be straight. It takes an extra thirty seconds, but for complex images with multiple converging lines, it’s far more precise than any of the automatic modes.
Also - and I cannot stress this enough - Upright corrections are non-destructive and entirely reversible. Click None to reset at any point. There is no reason not to experiment.
The single most important thing to take away from this tutorial is the order of operations: lens profile correction and chromatic aberration removal before you ever touch Upright. Skip that step and you’re asking the tool to solve a problem it wasn’t designed to solve alone. Do it in the right sequence and you’ll straighten images in under a minute that used to eat up half your editing session.
Watch the full tutorial on YouTube to see Julieanne walk through the live comparison with her sample images - seeing the before and after in motion makes the difference between the Vertical and Auto modes much easier to understand than any static screenshot can show.
Comments
Leave a Comment