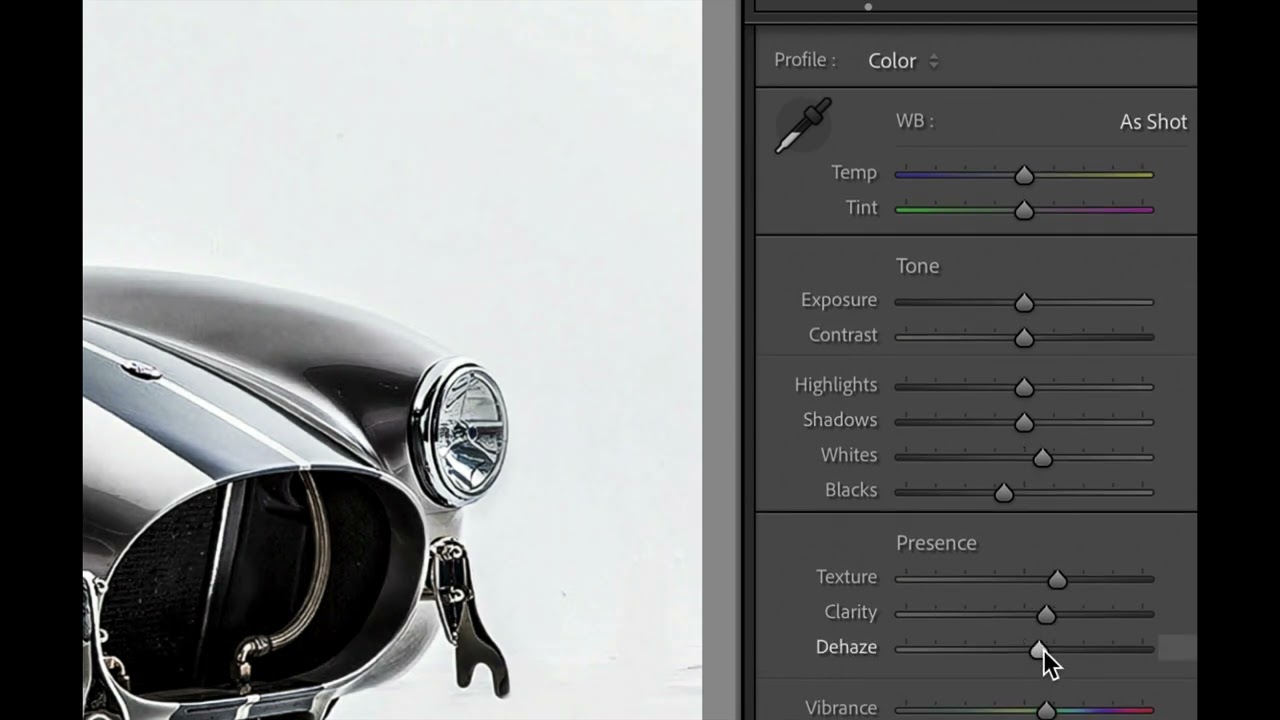
There’s a particular kind of frustration that hits when you’re deep in an edit and you realize a whole section of adjustments has gone sideways. The Presence panel is a mess, your Tone sliders look like a seismograph readout, and you need to back everything out and start fresh. For a long time, my solution was to drag each slider back to zero by hand, one at a time, like some kind of monk doing penance. It was slow, it was annoying, and I was definitely doing it wrong.
Watch the full tutorial on YouTube
In this Scott Kelby tutorial, the fix takes about 45 seconds to explain because it really is that simple. But simple doesn’t mean obvious, and I’d been editing in Lightroom long enough that not knowing this felt embarrassing until I realized almost nobody talks about it. Scott frames it as a speed tip, which it absolutely is, but the real payoff is that it removes friction from the moment when an edit isn’t working and you need to reset your thinking alongside your sliders.
Step 1: Open an Image with Existing Adjustments in the Develop Module
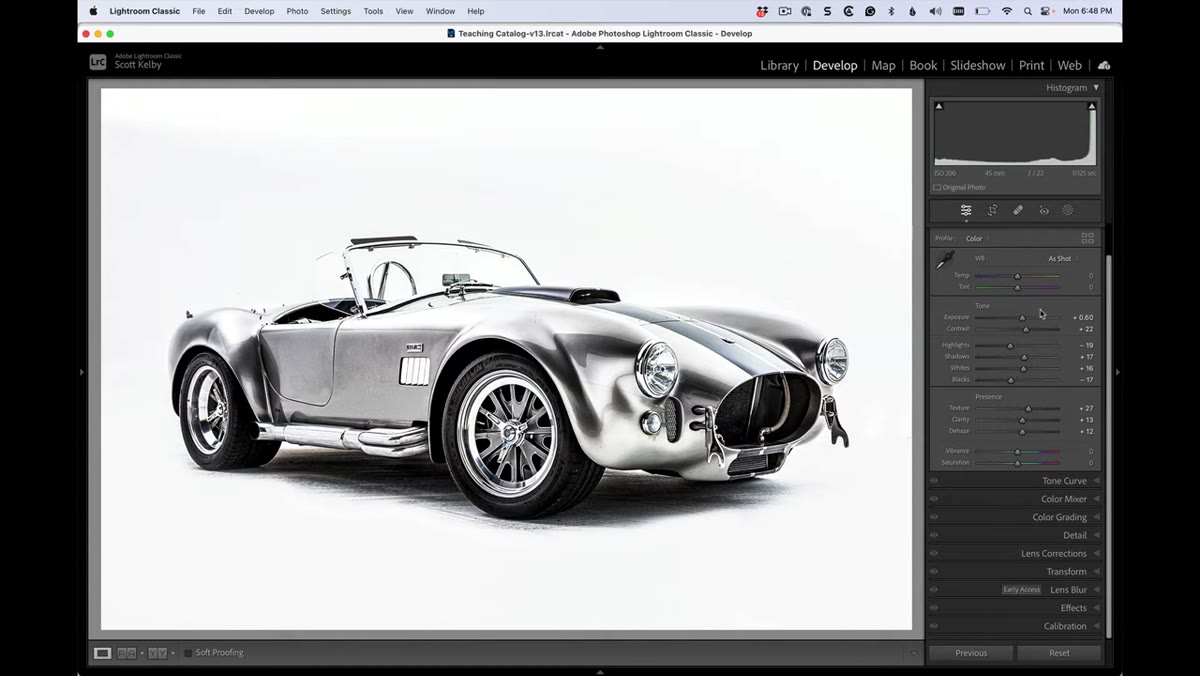 Lightroom Develop panel showing multiple adjusted sliders on a car image
Pull up any image where you’ve already made adjustments. The technique works on any photo, but it’s most useful when you have several sliders moved away from zero and you want to clean up a specific section without hitting the nuclear option of a full reset. Scott demonstrates with a car photo that has a handful of active adjustments, which is a realistic scenario for anyone doing product or automotive work.
Lightroom Develop panel showing multiple adjusted sliders on a car image
Pull up any image where you’ve already made adjustments. The technique works on any photo, but it’s most useful when you have several sliders moved away from zero and you want to clean up a specific section without hitting the nuclear option of a full reset. Scott demonstrates with a car photo that has a handful of active adjustments, which is a realistic scenario for anyone doing product or automotive work.
Make sure you’re in the Develop module, not the Library module. The sliders you’re targeting live in the right-hand panel under sections like Tone, White Balance, and Presence.
Step 2: Reset a Single Slider by Double-Clicking the Slider Nub
 Cursor double-clicking directly on a slider nub to reset it to zero
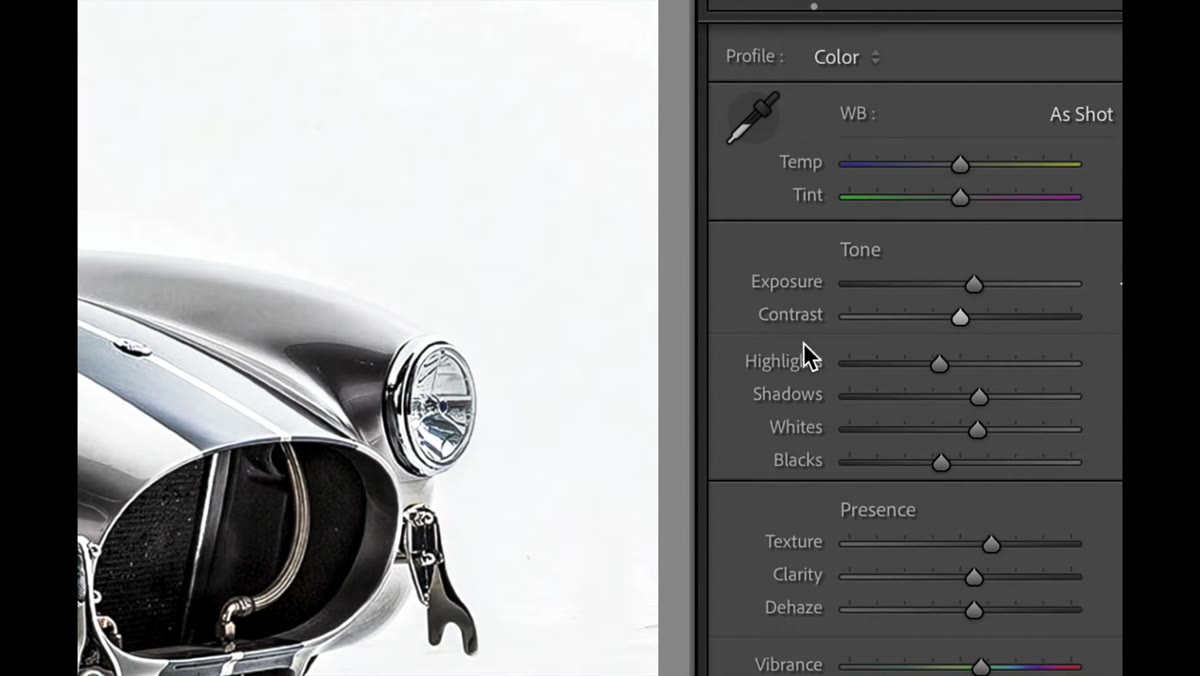
Find any slider that’s been moved away from zero. Hover over the small circular handle on the slider itself, the nub, and double-click it. The slider snaps back to zero immediately. No dragging, no typing in a value, no right-click menu required.
Cursor double-clicking directly on a slider nub to reset it to zero
Find any slider that’s been moved away from zero. Hover over the small circular handle on the slider itself, the nub, and double-click it. The slider snaps back to zero immediately. No dragging, no typing in a value, no right-click menu required.
This is the version of the trick most people eventually discover on their own after a year or two of Lightroom use. It works on every slider in the Develop panel, which means you can surgically reset a single value without disturbing anything around it. I use this constantly when I’ve pushed Clarity or Dehaze too far and want to pull just that one control back to neutral.
Step 3: Reset a Single Slider by Double-Clicking Its Name
 Cursor double-clicking the text label of a slider to reset it
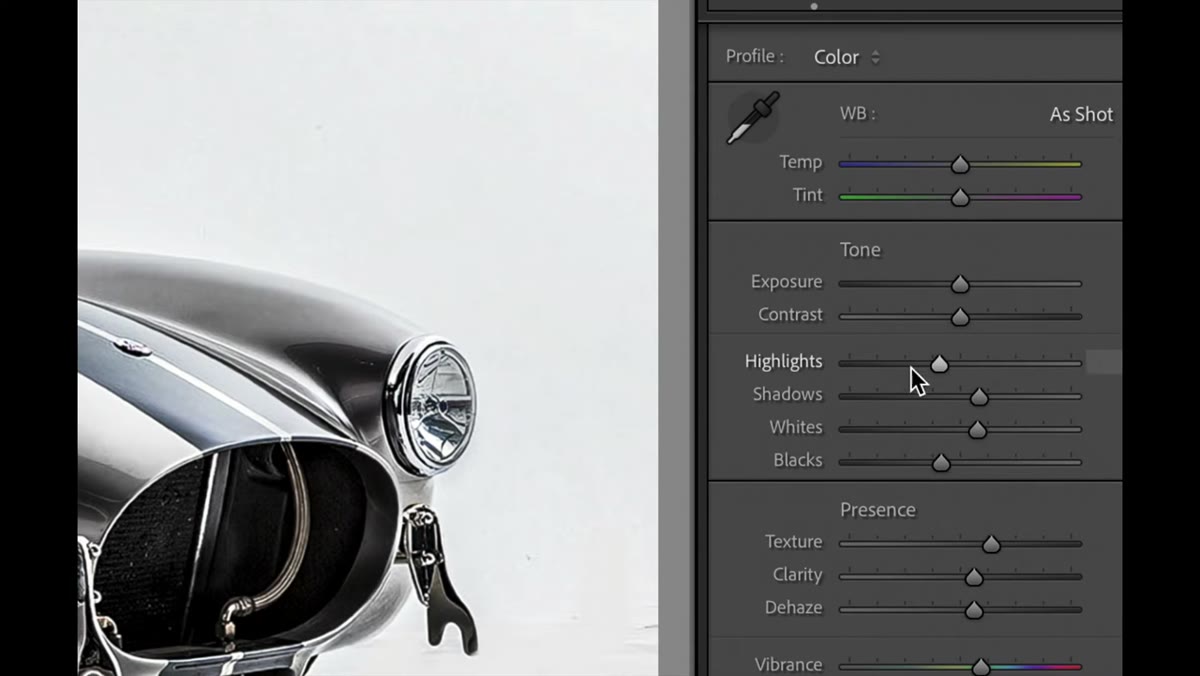
Here’s the version fewer people know. Instead of targeting the nub, double-click directly on the slider’s text label, the actual word like “Clarity” or “Vibrance” or “Shadows.” It does the exact same thing. The slider resets to zero.
Cursor double-clicking the text label of a slider to reset it
Here’s the version fewer people know. Instead of targeting the nub, double-click directly on the slider’s text label, the actual word like “Clarity” or “Vibrance” or “Shadows.” It does the exact same thing. The slider resets to zero.
Why does this matter? Because the text label is a bigger click target than the nub, especially when you’re moving fast or working on a laptop trackpad. On smaller screens, hunting for the nub can slow you down. Knowing you can just click the name makes the whole workflow feel less precise and more fluid, which is exactly what you want when you’re in a rhythm.
Step 4: Reset an Entire Panel Section by Double-Clicking the Section Label
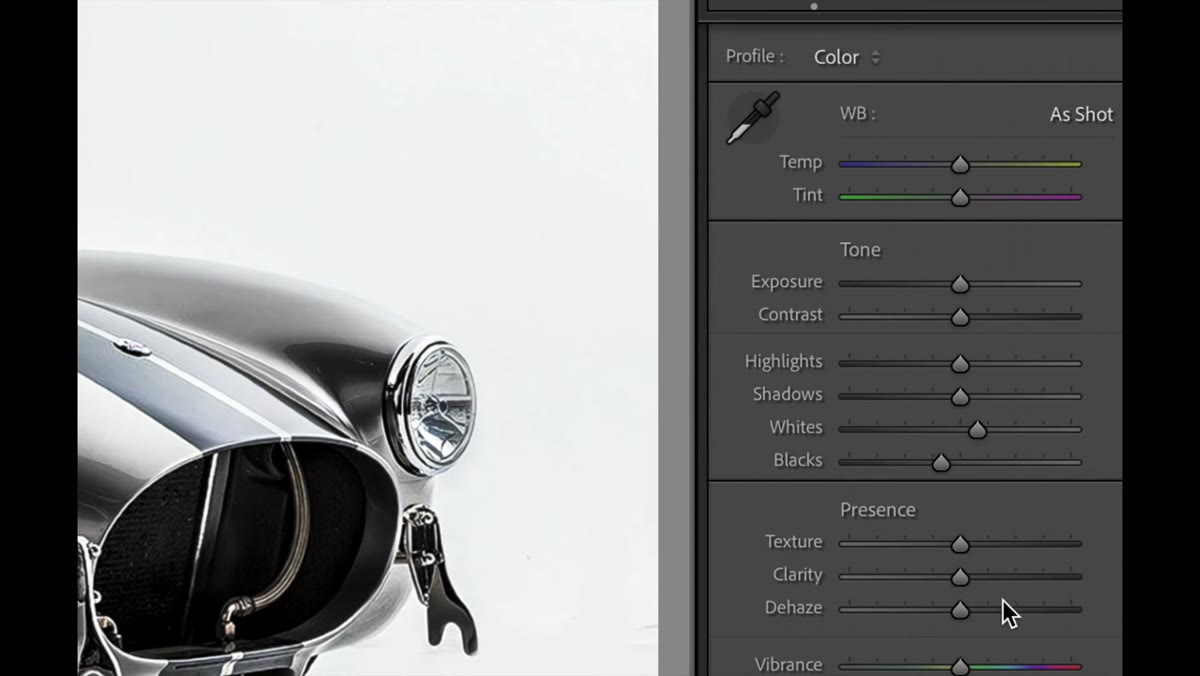 Double-clicking the word “Presence” to zero out all sliders in that section
This is where the technique gets genuinely powerful. Instead of resetting one slider at a time, you can zero out an entire group of sliders in a single double-click. Scott demonstrates with the Presence section. Double-click the word “Presence” at the top of that panel group and every slider under it, Texture, Clarity, Dehaze, Vibrance, Saturation, resets to zero at once.
Double-clicking the word “Presence” to zero out all sliders in that section
This is where the technique gets genuinely powerful. Instead of resetting one slider at a time, you can zero out an entire group of sliders in a single double-click. Scott demonstrates with the Presence section. Double-click the word “Presence” at the top of that panel group and every slider under it, Texture, Clarity, Dehaze, Vibrance, Saturation, resets to zero at once.
Think about how often you experiment with the Presence controls as a group and then want to back out the whole thing. Before knowing this, I’d drag four or five sliders back manually. Now it’s one click. The same logic applies to the Tone section and White Balance. Double-click the section header and the whole group returns to its default state.
Step 5: Apply the Same Reset to Tone and White Balance
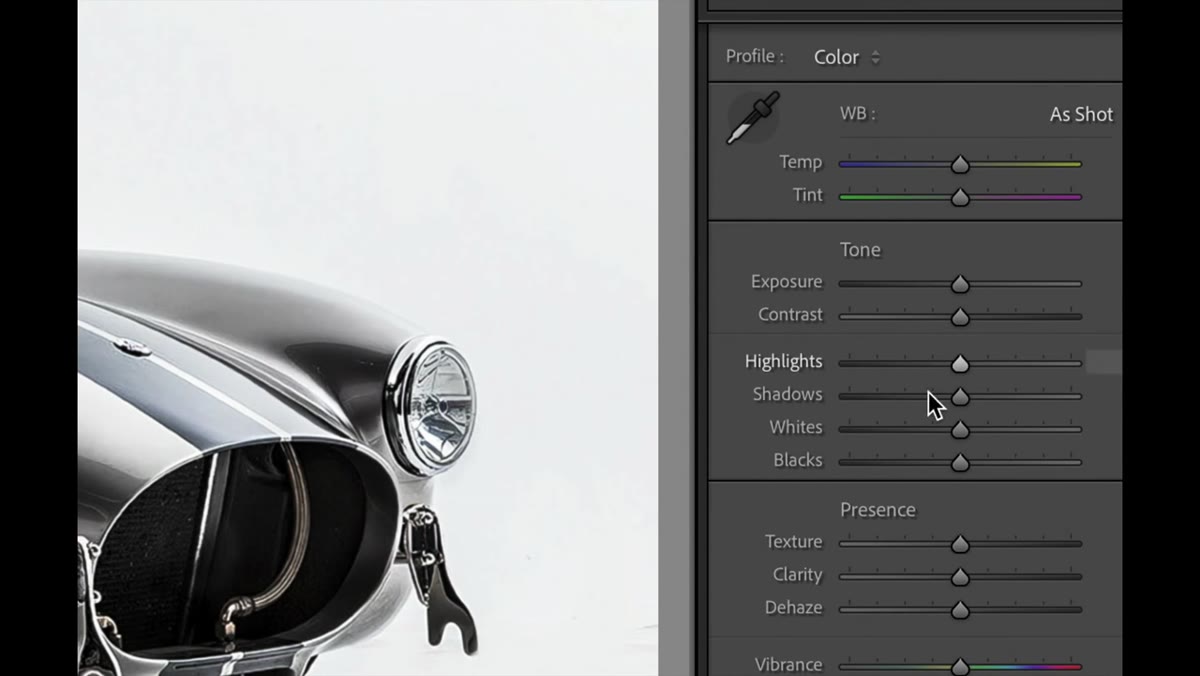 Double-clicking the “Tone” section header to reset all tone sliders simultaneously
The section-reset behavior isn’t exclusive to Presence. Double-click “Tone” and your Exposure, Contrast, Highlights, Shadows, Whites, and Blacks all return to zero. Double-click “White Balance” and both the Temp and Tint sliders reset.
Double-clicking the “Tone” section header to reset all tone sliders simultaneously
The section-reset behavior isn’t exclusive to Presence. Double-click “Tone” and your Exposure, Contrast, Highlights, Shadows, Whites, and Blacks all return to zero. Double-click “White Balance” and both the Temp and Tint sliders reset.
This is the move I use most often at the start of a second-pass edit. If I’ve gone too aggressive with tone adjustments on a first pass, resetting the whole Tone section and rebuilding from scratch is faster than trying to reverse-engineer what went wrong. It’s also useful when you’re applying a preset that conflicts with your manual adjustments and you want a clean slate in one specific area before letting the preset do its work.
What I Do Differently After Learning This
Knowing you can reset by section changed how I approach experimental edits. I used to be more conservative with the Presence sliders because I didn’t want to spend time unwinding them if the look didn’t land. Now I push Texture and Clarity aggressively on a test pass, see how the image responds, and then double-click “Presence” to wipe it and try a different direction. The reset is free, so the experiment costs nothing.
One caveat worth mentioning: the section-header double-click resets everything in that group, so make sure that’s actually what you want. If you’ve dialed in a Shadows adjustment you love and you double-click Tone to reset Highlights, you’ll lose the Shadows value too. In cases like that, use the individual slider or name double-click instead. It’s a small thing, but it’s worth keeping in mind so you don’t reset work you meant to keep.
I’ve also started thinking about this technique when I name my presets. If a preset is only handling one panel section, I note that in the name so I remember I can manually reset that section later without blowing up the rest of the edit. Small organizational habit, big time saver.
The single biggest takeaway here is that in Lightroom, double-clicking is doing a lot more work than most users realize. A double-click on a nub, a label, or a section header all behave differently and purposefully. Knowing all three versions means you’re never stuck dragging a slider back to zero by hand again.
Watch the full tutorial on YouTube and see Scott walk through the whole thing in under a minute. It’s the kind of tip that’s easy to absorb and immediately changes how you move through an edit.
Comments (7)
This is exactly what I needed today. Been struggling with this for weeks.
Love this. I referenced a similar technique in one of my recent posts. Always good to see other perspectives.
Simple but effective. Sometimes that's all you need.
Clear and practical. No fluff. Appreciate that.
Printing this out and pinning it next to my monitor. That good.
This is the kind of content that keeps me coming back.
Never thought of approaching it this way. Really creative.
Leave a Comment