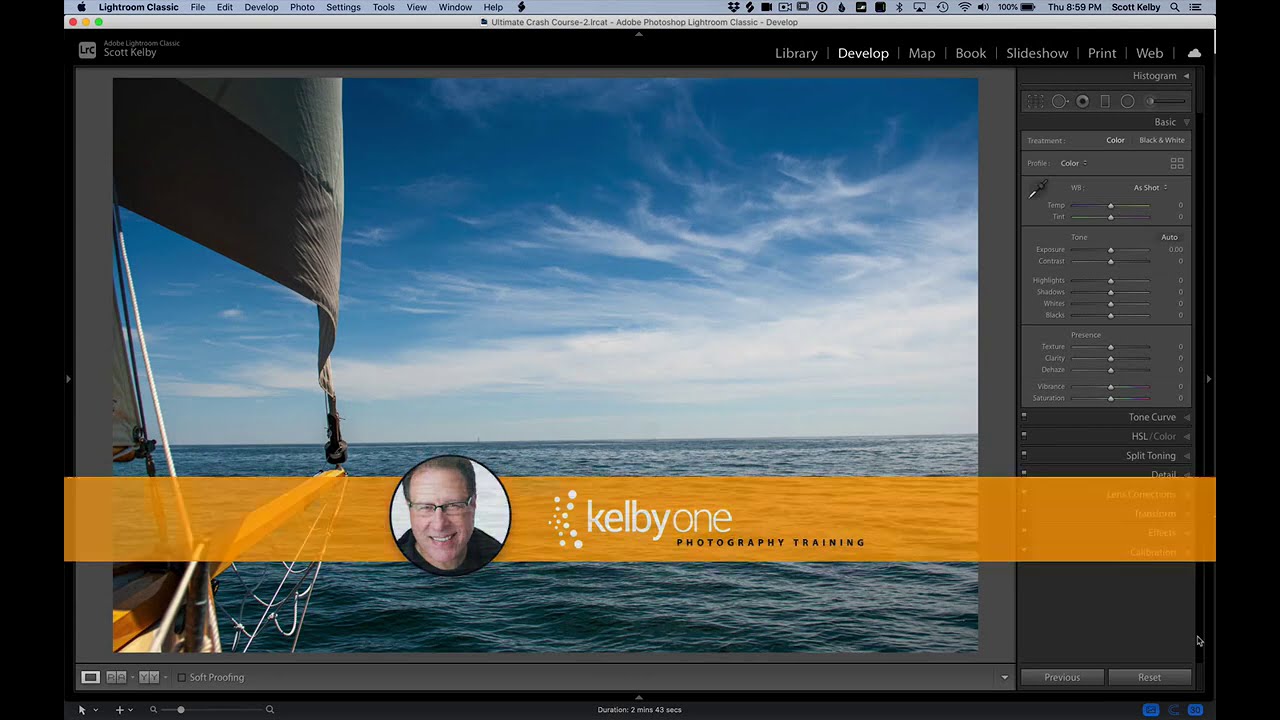
I’ll be honest with you: the crooked horizon line is the editing mistake that ages the worst. You can get away with slightly flat colors or a touch of noise, but a tilted horizon line reads immediately as careless, even to people who have never opened Lightroom in their lives. I learned this the hard way when I was editing press shots for my band, squinting at skewed rooftop photos and wondering why they looked “off” even after I’d color graded them within an inch of their lives. The horizon was wrong. That was it.
In this Scott Kelby tutorial, he lays out four distinct methods for straightening a crooked photo in Lightroom, each one worth knowing because they live in different parts of the interface and suit different situations. Watch the full tutorial on YouTube if you want to see his hands-on demo, but I’m going to walk through each method with enough detail that you can follow along in Lightroom right now without pausing anything.
The reason four methods exist for one problem is not redundancy. It’s because Lightroom’s Auto analysis doesn’t always read a scene correctly, and knowing your fallback options is the difference between a two-second fix and a five-minute frustration spiral.
Step 1: Use the Auto Button Inside the Crop Tool
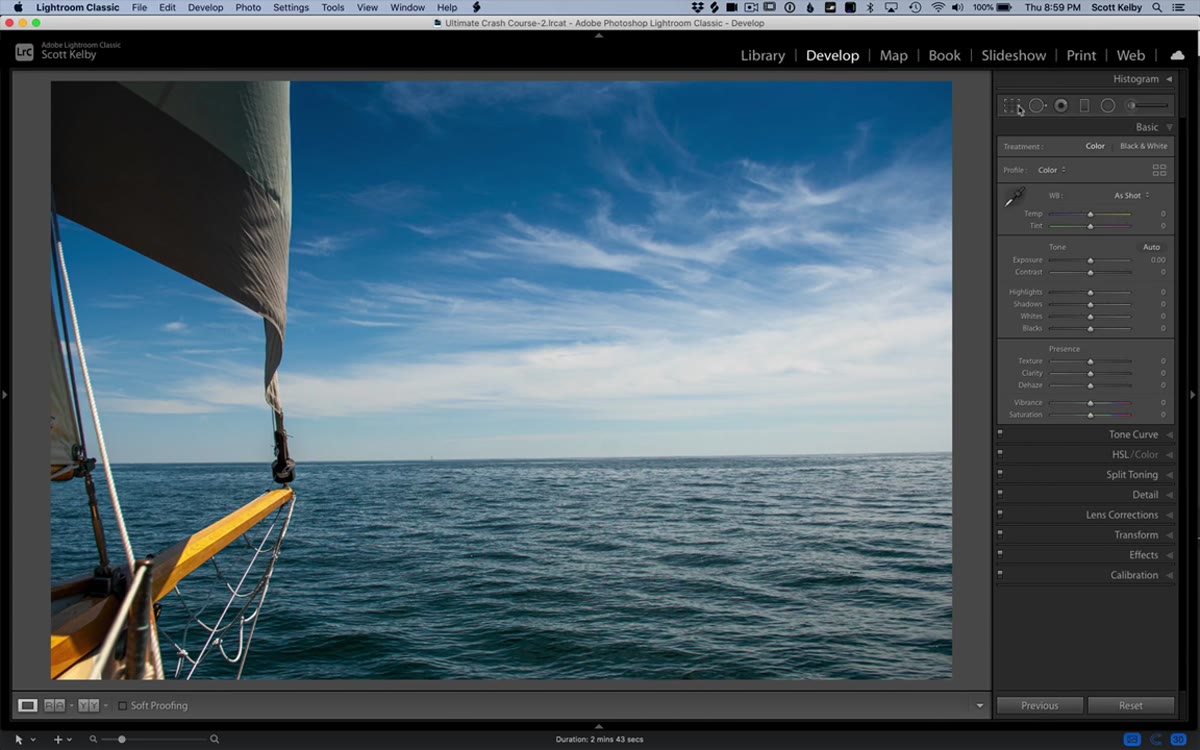 Crop tool open with Auto button highlighted in panel
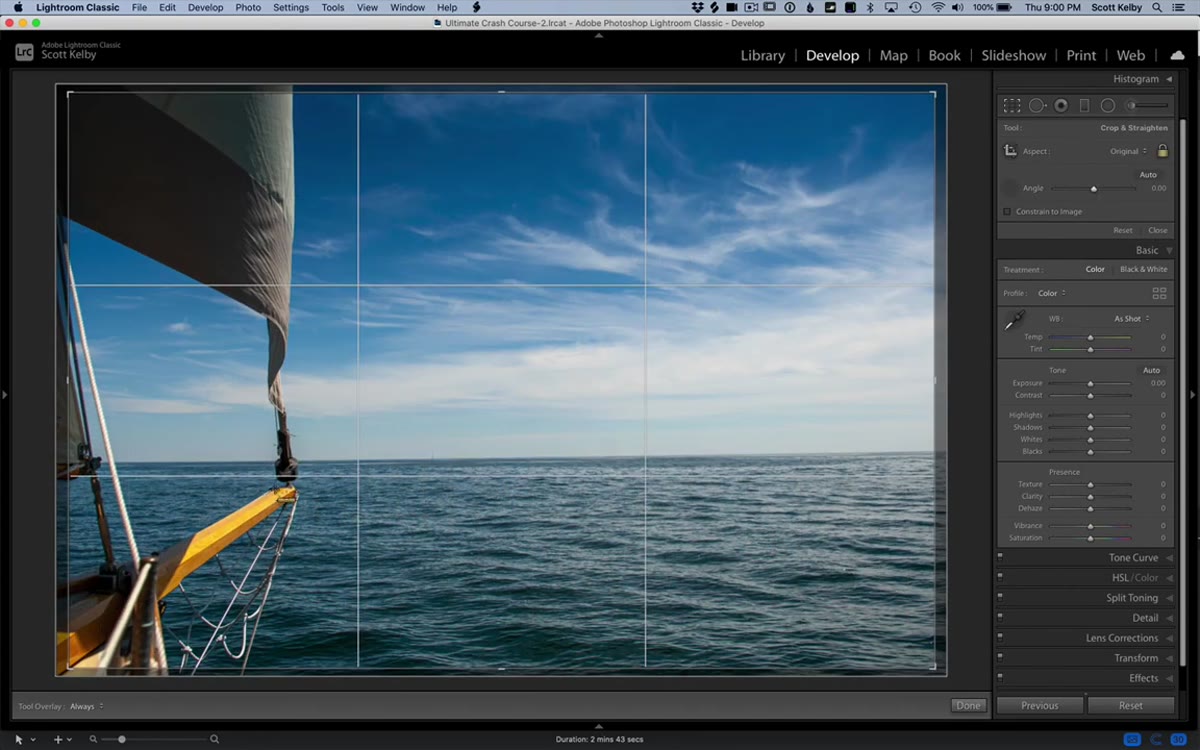
Press R to jump into the Crop Overlay tool, or click the crop icon in the toolbar beneath the histogram. Once you’re in the crop panel, look at the top of the panel options on the right side. You’ll see a button simply labeled “Auto.” Click it once, no double-clicking required.
Crop tool open with Auto button highlighted in panel
Press R to jump into the Crop Overlay tool, or click the crop icon in the toolbar beneath the histogram. Once you’re in the crop panel, look at the top of the panel options on the right side. You’ll see a button simply labeled “Auto.” Click it once, no double-clicking required.
Lightroom analyzes the image and rotates the crop boundary to compensate for the tilt. When it works, it’s genuinely fast. Hit Return or Enter to apply the crop and you’re done in under five seconds. The key detail here is that Lightroom is rotating the crop frame, not the original file, so your image data stays intact. If the result looks right, take it. If it feels slightly off, undo with Command+Z (Mac) or Control+Z (PC) and move to the next method.
Step 2: Draw the Angle Manually with the Angle Tool
 Angle tool selected, cursor positioned on horizon line
Still inside the Crop tool panel, look for the Angle section. There’s a small level/ruler icon next to the degree value field. Click that icon to activate the Angle tool, and your cursor will change to a crosshair with a small level indicator.
Angle tool selected, cursor positioned on horizon line
Still inside the Crop tool panel, look for the Angle section. There’s a small level/ruler icon next to the degree value field. Click that icon to activate the Angle tool, and your cursor will change to a crosshair with a small level indicator.
Now click and drag along whatever line in your photo should be perfectly horizontal, typically the horizon, a roofline, or the edge of a body of water. Release the mouse and Lightroom rotates the image to make that line level. Kelby shows a result of 0.77 degrees in the demo, which looks minor but makes a visible difference. This method beats the Auto button when the scene has an ambiguous horizon or when the auto analysis picks the wrong reference point. You drew the line yourself, so the result reflects your read of the image.
Step 3: Apply Level Under the Transform Panel
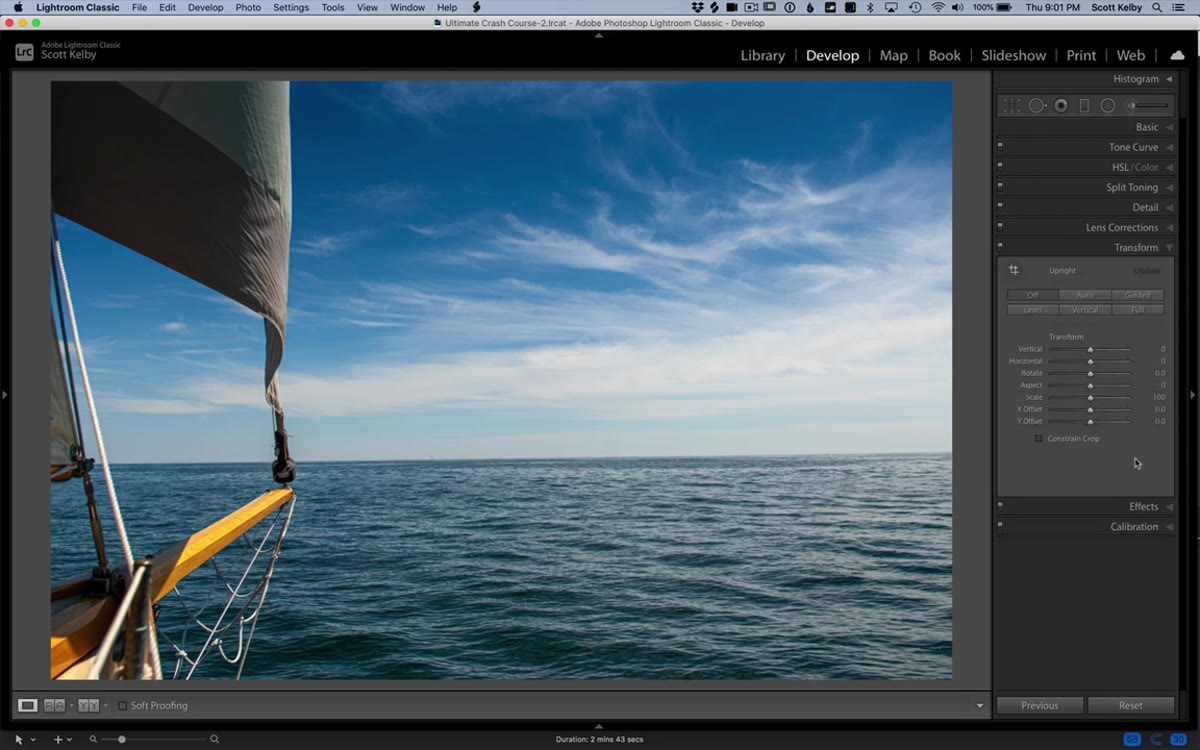 Transform panel open with Level button visible
Navigate to the Lens Corrections panel in the Develop module. Before you touch anything in Transform, make sure “Enable Profile Corrections” is checked at the top. This tells Lightroom to apply your lens’s distortion profile, which gives the Transform tools more accurate geometry to work with.
Transform panel open with Level button visible
Navigate to the Lens Corrections panel in the Develop module. Before you touch anything in Transform, make sure “Enable Profile Corrections” is checked at the top. This tells Lightroom to apply your lens’s distortion profile, which gives the Transform tools more accurate geometry to work with.
Now scroll down to the Transform section. You’ll see a row of buttons: Auto, Guided, Level, Vertical, Full. Click “Level.” This applies a horizontal correction using Lightroom’s analysis of the scene, similar to the Auto crop button but operating through a different engine and without cropping the frame. It’s worth trying as a second opinion when the crop tool’s Auto button doesn’t convince you. The two algorithms don’t always agree, and sometimes one reads the scene better than the other depending on the content.
Step 4: Rotate Manually in Transform and Use Constrain Crop
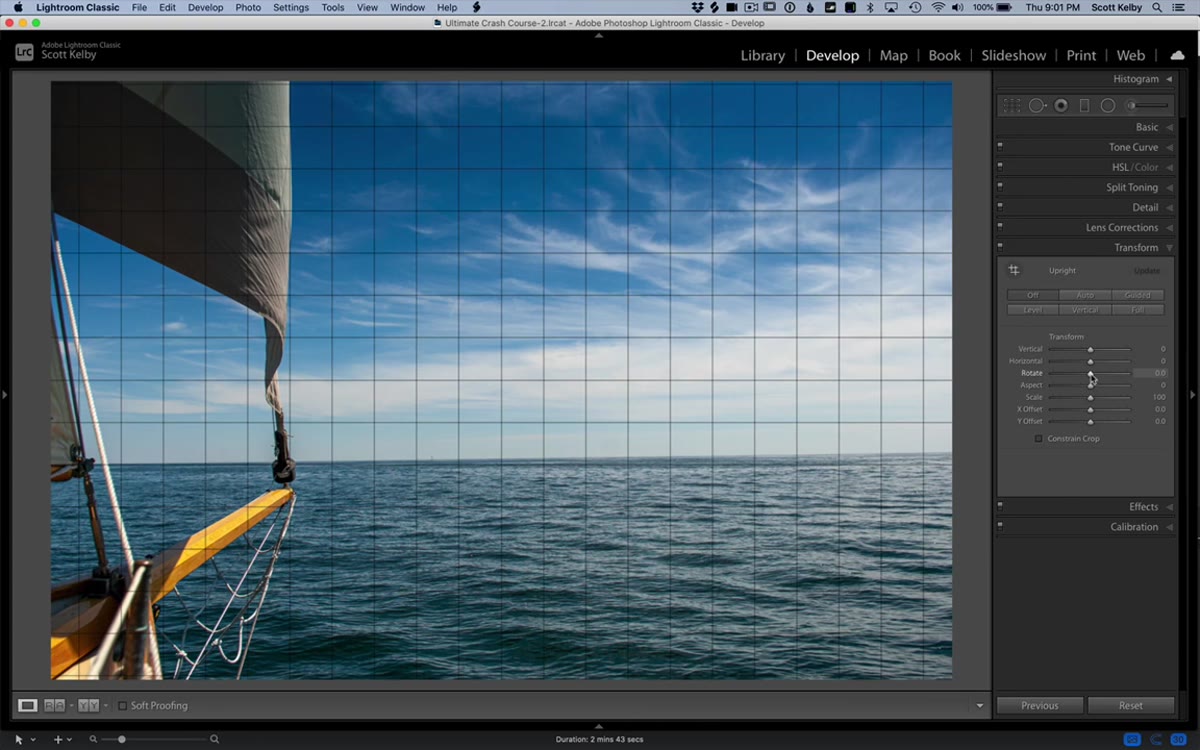 Transform panel with rotate slider being adjusted, grid overlay visible
Still in the Transform panel, you’ll find a Rotate slider. This is your fully manual fallback for situations where no automated tool gets it right. Drag the slider left or right while watching the grid overlay that appears over your image. That grid is your best friend here because it gives you horizontal and vertical reference lines across the entire frame, not just the edges.
Transform panel with rotate slider being adjusted, grid overlay visible
Still in the Transform panel, you’ll find a Rotate slider. This is your fully manual fallback for situations where no automated tool gets it right. Drag the slider left or right while watching the grid overlay that appears over your image. That grid is your best friend here because it gives you horizontal and vertical reference lines across the entire frame, not just the edges.
Once the horizon lines up with the horizontal grid lines, release the slider. You’ll likely see small white triangular gaps appear in the corners or along the edges of the image where the rotation pushed content outside the original frame boundary. Directly below the Transform sliders, check the box labeled “Constrain Crop.” Lightroom automatically tightens the crop to eliminate those gaps. You lose a small amount of edge content, but the result is a clean, straight image with no white corners.
When “Auto” Misleads You: A Note on Complex Scenes
Every one of these four methods relies on Lightroom reading the scene and deciding what’s supposed to be horizontal. That works cleanly on a landscape with an obvious horizon, but it can misfire on architecture, abstract shots, or any image where there are competing lines going in different directions.
My personal default order when I’m working through a batch is: try the Angle tool first because it lets me define the reference line myself, fall back to the Transform Level button if I’m working quickly and the scene is simple, and use the manual Rotate slider with Constrain Crop for anything architectural where I want precise control. I almost never lead with the Auto crop button for client work because when it’s wrong, it’s confidently wrong, and it’s easy to miss if you’re moving fast.
One extra thing worth building into your habit: do your straightening before you do any significant color work. A crooked crop changes the compositional weight of the frame, which affects how you read the light and shadow balance. Straighten first, color grade second. It sounds obvious but it’s easy to skip when you’re excited to get into the tone curves.
The single biggest takeaway from Kelby’s breakdown is that no one method works for every image, which is exactly why you need all four in your toolkit. The Auto button in the Crop tool is your fastest option. The Angle tool is your most precise option. The Transform panel’s Level button is your best second opinion. The Rotate slider with Constrain Crop is your manual override when everything else misses. Learn the keyboard shortcuts, keep them in muscle memory, and a crooked horizon stops being a problem before it starts.
Watch the full tutorial on YouTube to see Scott Kelby demonstrate each method on the same image back to back, which makes the differences between the approaches easier to internalize.
Comments (3)
Quality content like this is rare. Keep it up.
Been doing this wrong for years apparently. Thanks for the wake-up call.
This is the kind of content that keeps me coming back.
Leave a Comment