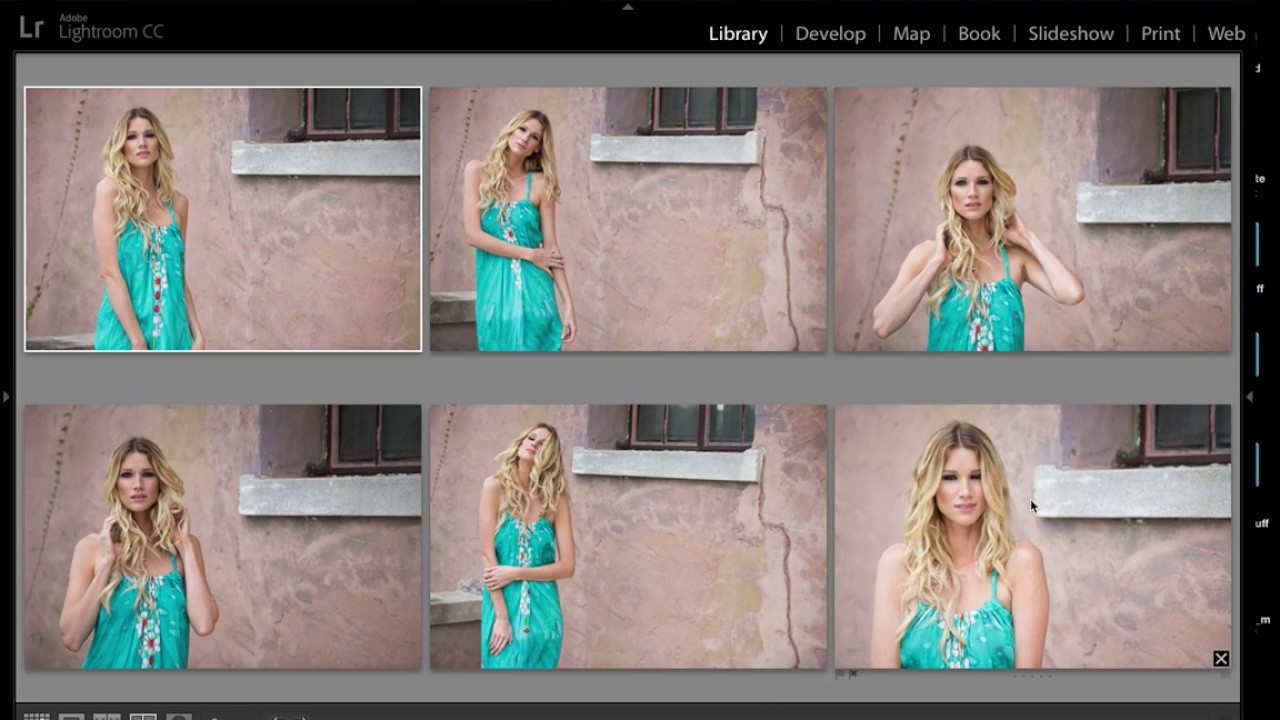
Culling is the part of my workflow that used to eat the most time and give me the least confidence. I’d sit there clicking through similar frames in the filmstrip, second-guessing every pick, and eventually just choosing the one that felt right in the moment, which is not exactly a repeatable system. The problem isn’t taste. The problem is that comparing eight nearly identical shots inside your own head, one at a time, is genuinely hard. Your brain doesn’t hold all those images simultaneously well enough to make a clean decision.
That changed when I worked through this KelbyOne tutorial from Scott Kelby, who walks through a feature I’d skipped over for longer than I’m proud to admit: Survey Mode. Watch the full tutorial on YouTube before or after reading, either order works fine. Kelby’s use case is a portrait session, several frames that look nearly identical, and the goal is to find the keeper without losing your mind. Survey Mode turns that problem from a memory game into a process of elimination, and that distinction matters more than it sounds.
The core insight is this: it’s much easier to identify the image you like least than the image you like most. Survey Mode is built around that fact. You pull the candidates up together, start removing the ones that bother you, and whatever survives is your winner. It sounds almost too simple. It works almost embarrassingly well.
Step 1: Select the images you want to compare
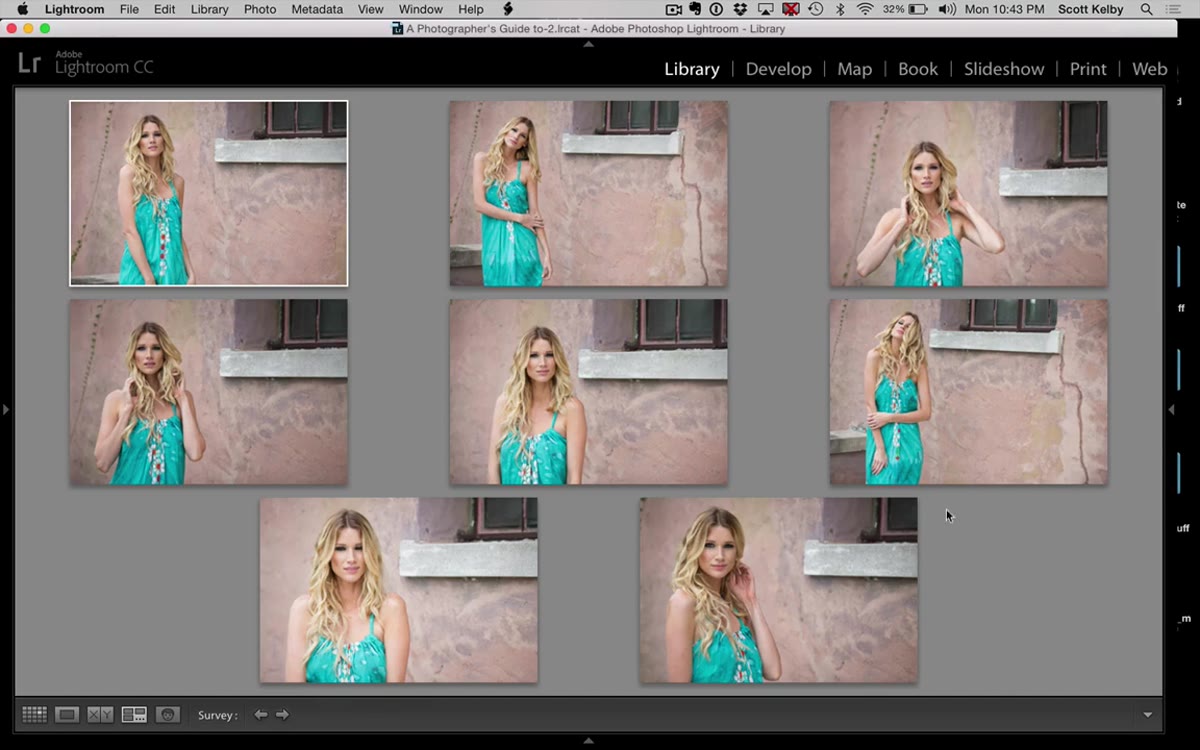
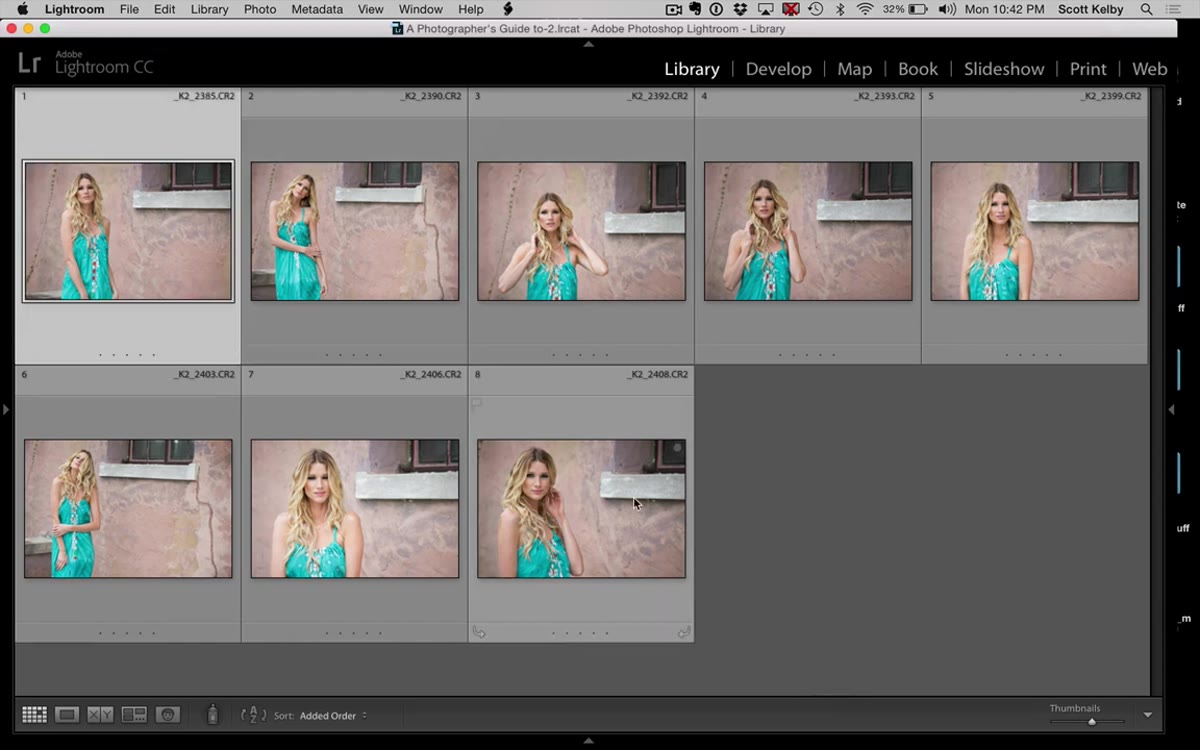 Eight similar portrait images selected in the filmstrip
Start in the Library module with your candidates selected in the filmstrip or grid view. You can select a range by clicking the first image, holding Shift, and clicking the last one. If you want specific non-consecutive frames, use Command-click on Mac or Control-click on Windows. For this technique to be worth using, you want at least four images, and it really shines when you’ve got six to ten similar shots you’re genuinely undecided between. Think of the typical portrait burst, a set of headshots, or a sequence from a single setup at a shoot.
Eight similar portrait images selected in the filmstrip
Start in the Library module with your candidates selected in the filmstrip or grid view. You can select a range by clicking the first image, holding Shift, and clicking the last one. If you want specific non-consecutive frames, use Command-click on Mac or Control-click on Windows. For this technique to be worth using, you want at least four images, and it really shines when you’ve got six to ten similar shots you’re genuinely undecided between. Think of the typical portrait burst, a set of headshots, or a sequence from a single setup at a shoot.
Step 2: Enter Survey Mode with the N key
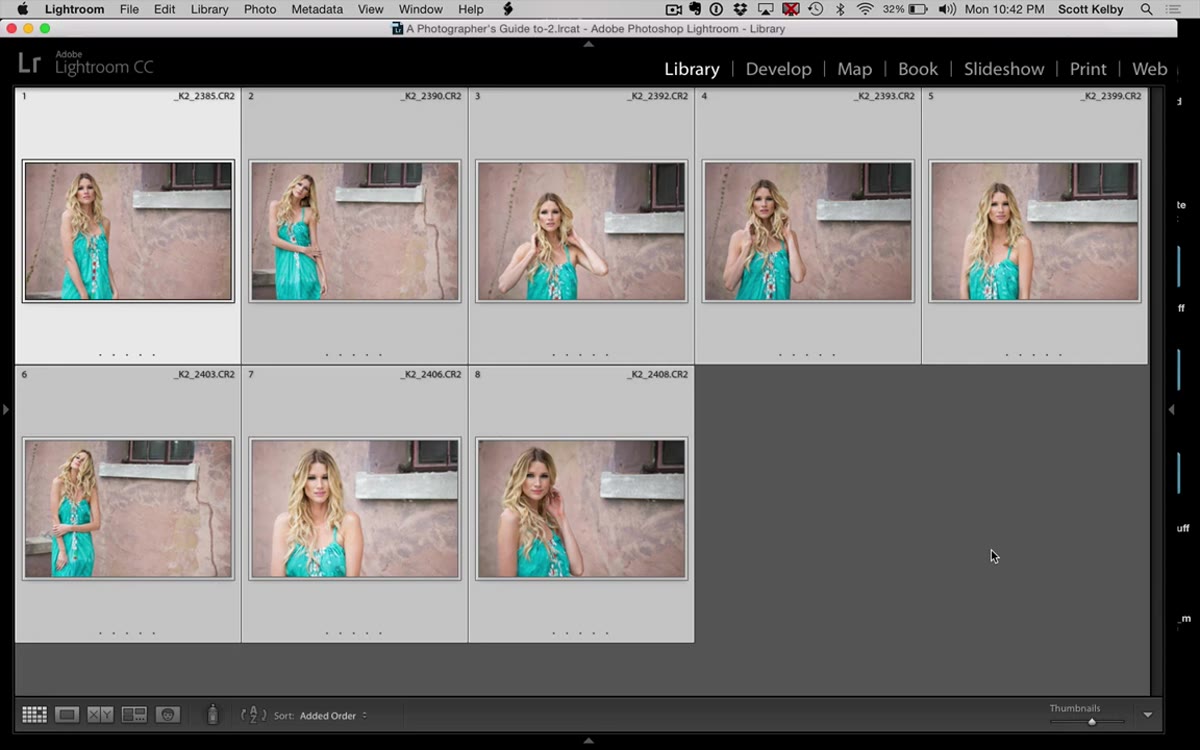 All selected images displayed simultaneously in Survey Mode
With your images selected, press the letter N. That’s it. Lightroom fills the main viewing area with all your selected photos arranged in a grid that’s specific to Survey Mode, which looks like the regular grid at first glance but behaves completely differently. The images resize automatically to fit the screen together. What makes this different from just looking at the grid view is that every photo stays visible and proportional throughout the whole process. As you remove images, the remaining ones get larger to fill the space. The screen rewards you for making decisions.
All selected images displayed simultaneously in Survey Mode
With your images selected, press the letter N. That’s it. Lightroom fills the main viewing area with all your selected photos arranged in a grid that’s specific to Survey Mode, which looks like the regular grid at first glance but behaves completely differently. The images resize automatically to fit the screen together. What makes this different from just looking at the grid view is that every photo stays visible and proportional throughout the whole process. As you remove images, the remaining ones get larger to fill the space. The screen rewards you for making decisions.
Step 3: Play “which one do I hate most” instead of “which one do I love”
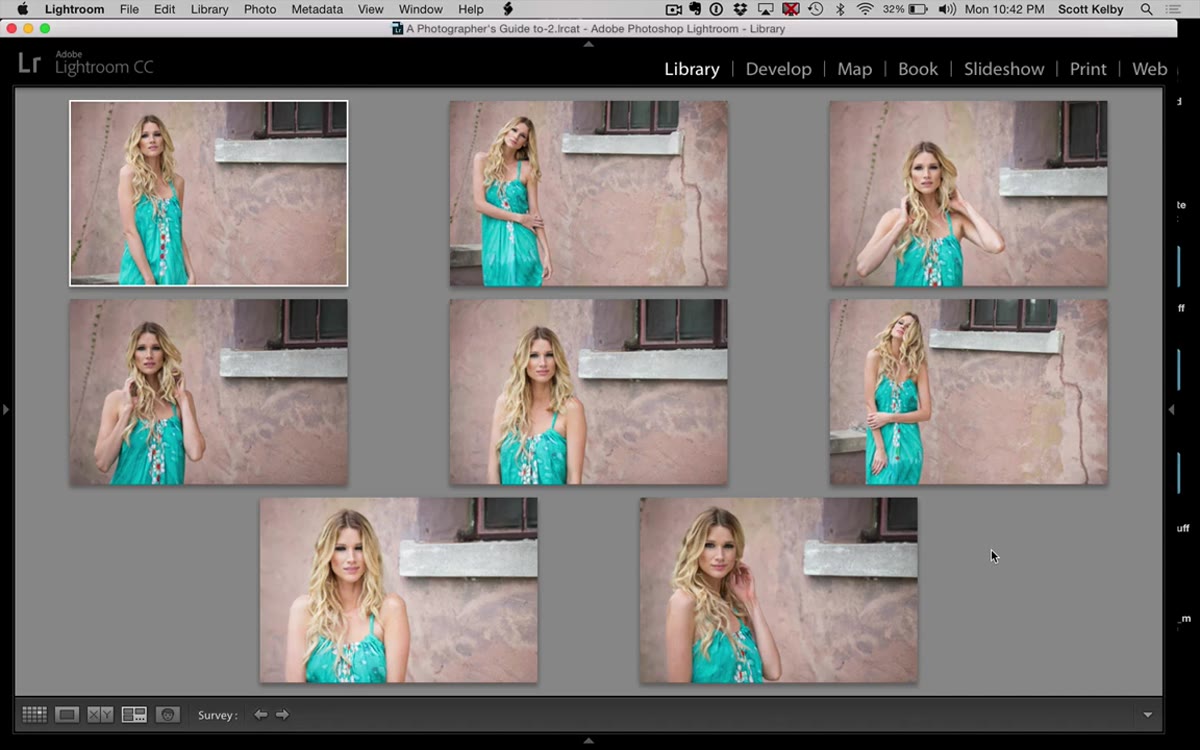 Cursor hovering over a portrait image in Survey Mode
This is the reframe that makes Survey Mode click. Don’t look for your favorite, that’s too hard when the images are similar. Instead, scan the group and find the one that bothers you most. Maybe the exposure is slightly off on one, or the subject blinked, or the framing is a little awkward. Hover your cursor over that image and a small X will appear in its bottom corner. Click it, and the image disappears from the Survey view. The remaining photos immediately expand to fill the gap. Kelby describes this as a game, and that framing genuinely helps. You’re not making a final judgment on a photo, you’re just temporarily dismissing the weakest link in the current round.
Cursor hovering over a portrait image in Survey Mode
This is the reframe that makes Survey Mode click. Don’t look for your favorite, that’s too hard when the images are similar. Instead, scan the group and find the one that bothers you most. Maybe the exposure is slightly off on one, or the subject blinked, or the framing is a little awkward. Hover your cursor over that image and a small X will appear in its bottom corner. Click it, and the image disappears from the Survey view. The remaining photos immediately expand to fill the gap. Kelby describes this as a game, and that framing genuinely helps. You’re not making a final judgment on a photo, you’re just temporarily dismissing the weakest link in the current round.
Step 4: Remove images in rounds, not all at once
 Remaining images growing larger after each removal
The key to this process is patience across multiple passes. After you remove your least favorite, don’t rush to click another X immediately. Let the remaining images settle on screen, look at them fresh with the added size advantage, and then find the next weakest one. The images get noticeably larger with each removal, which often reveals details you couldn’t see when all eight were crammed onto the screen together. A slightly closed eye, an unflattering shadow, a distracting background element, these things become visible at larger sizes in ways they simply aren’t in a crowded grid. Each round gives you better information than the last.
Remaining images growing larger after each removal
The key to this process is patience across multiple passes. After you remove your least favorite, don’t rush to click another X immediately. Let the remaining images settle on screen, look at them fresh with the added size advantage, and then find the next weakest one. The images get noticeably larger with each removal, which often reveals details you couldn’t see when all eight were crammed onto the screen together. A slightly closed eye, an unflattering shadow, a distracting background element, these things become visible at larger sizes in ways they simply aren’t in a crowded grid. Each round gives you better information than the last.
Step 5: Work down to your final two before making a call
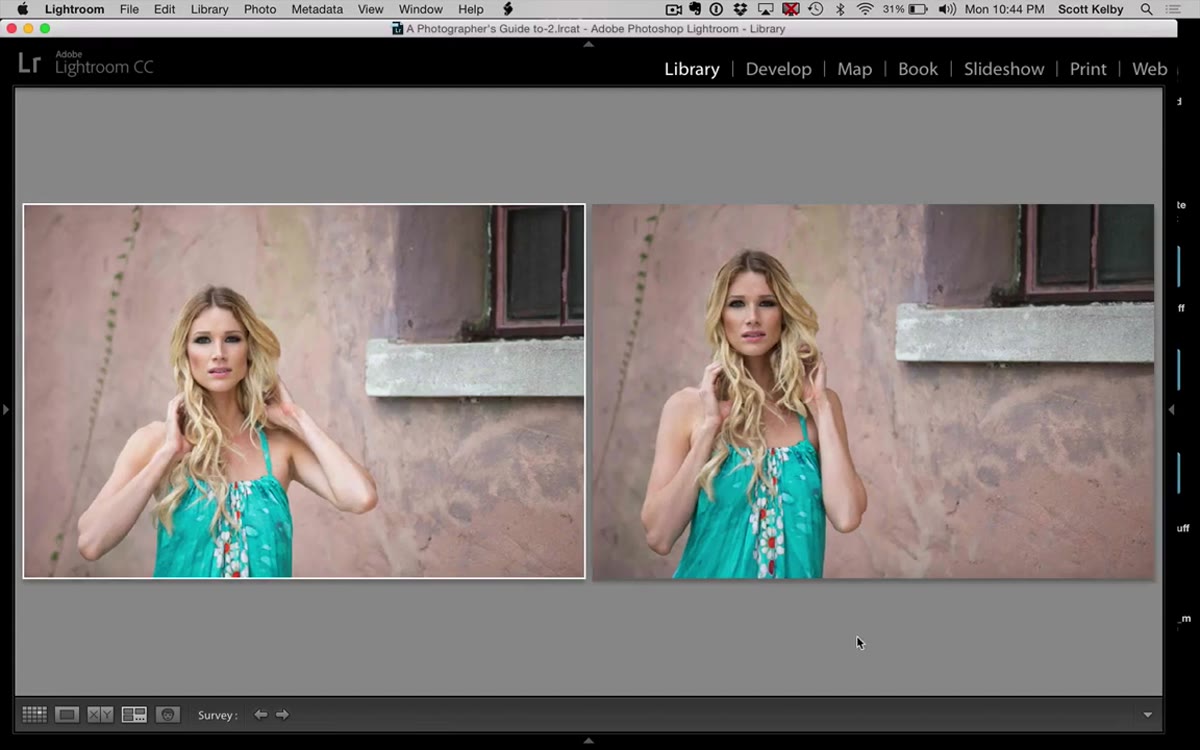 Two nearly identical portrait images remaining in Survey Mode
Resist the urge to declare a winner until you’re down to two images. When you have six images on screen, it’s tempting to think you already know which one you’d choose, but that instinct is often wrong by the time you actually get there. Once you’re at two, you have the most screen real estate and the clearest head, because you’ve already reasoned through everything else. At two images, pick the one that bothers you less, click the X on the eliminated photo, and whatever remains is your selection.
Two nearly identical portrait images remaining in Survey Mode
Resist the urge to declare a winner until you’re down to two images. When you have six images on screen, it’s tempting to think you already know which one you’d choose, but that instinct is often wrong by the time you actually get there. Once you’re at two, you have the most screen real estate and the clearest head, because you’ve already reasoned through everything else. At two images, pick the one that bothers you less, click the X on the eliminated photo, and whatever remains is your selection.
Step 6: Flag your winner before exiting Survey Mode
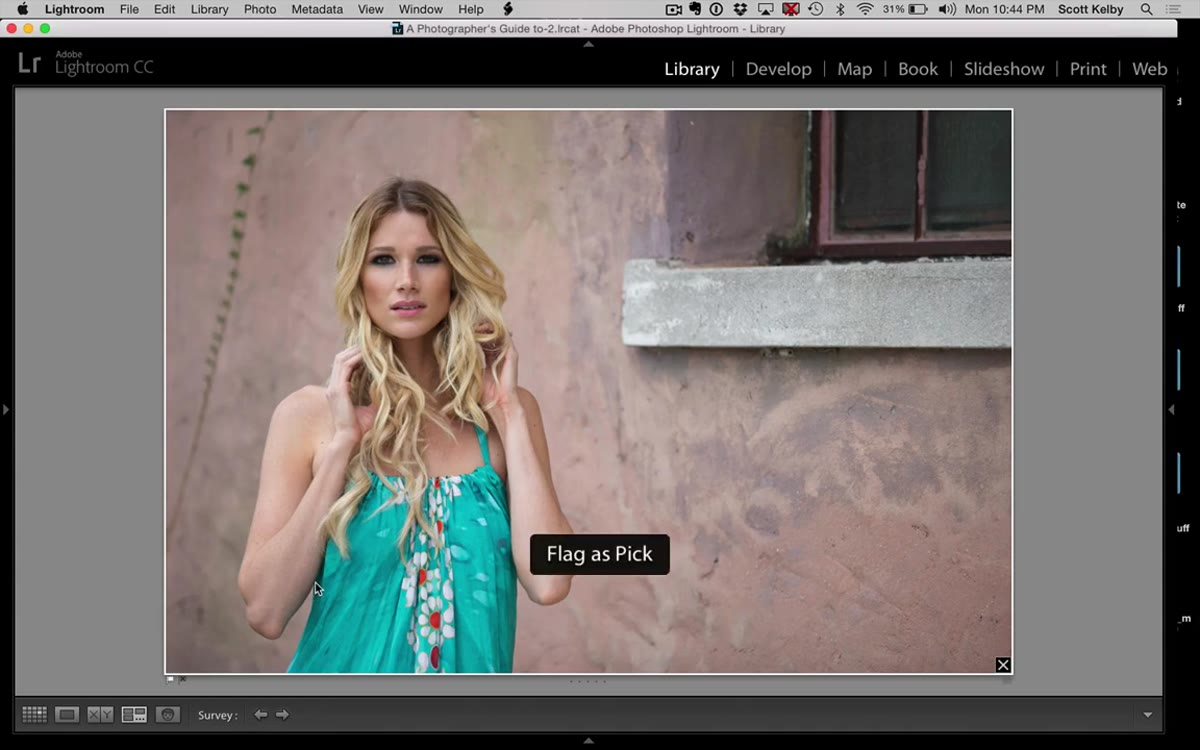 Single winning image remaining in Survey Mode full view
With your winning image alone on screen, press P to flag it as a pick before you do anything else. This is a small step that saves a real headache. The moment you press G to return to Grid view or navigate away, you’re back inside a filmstrip full of similar images with no obvious marker showing which one you chose. Flagging takes one keystroke and makes your decision permanent and findable. From there you can move forward with editing, exporting, or sending to a client knowing you made a deliberate, reasoned choice rather than a gut grab.
Single winning image remaining in Survey Mode full view
With your winning image alone on screen, press P to flag it as a pick before you do anything else. This is a small step that saves a real headache. The moment you press G to return to Grid view or navigate away, you’re back inside a filmstrip full of similar images with no obvious marker showing which one you chose. Flagging takes one keystroke and makes your decision permanent and findable. From there you can move forward with editing, exporting, or sending to a client knowing you made a deliberate, reasoned choice rather than a gut grab.
One thing I’d add from my own workflow
Kelby uses Survey Mode for portraits, which is the obvious use case, but I’ve started using it for location shots too, specifically when I’ve bracketed a scene and ended up with a cluster of frames that are technically identical except for tiny compositional differences. The elimination method works just as well there. I’d also suggest combining Survey Mode with a quick color label pass before you start. I tag all my maybe images with yellow before entering Survey Mode, so when I return to the full catalog I can filter by color and see exactly which pool I was working from. It keeps things clean when you’re culling a large session in multiple rounds throughout the day.
The single most important takeaway here is that picking your best image is easier when you reframe it as eliminating your worst image. Survey Mode isn’t a flashy feature, it’s a process tool, and process tools are the ones that actually change how fast and how confidently you work. If you’re still picking selects by toggling through the filmstrip one by one, this is worth ten minutes of your time.
Watch the full tutorial on YouTube to see Kelby work through a real portrait session with the technique live. It takes about three minutes and it will probably change how you cull forever.
Comments (2)
My workflow just got 10x faster. Not even kidding.
Never thought of approaching it this way. Really creative.
Leave a Comment