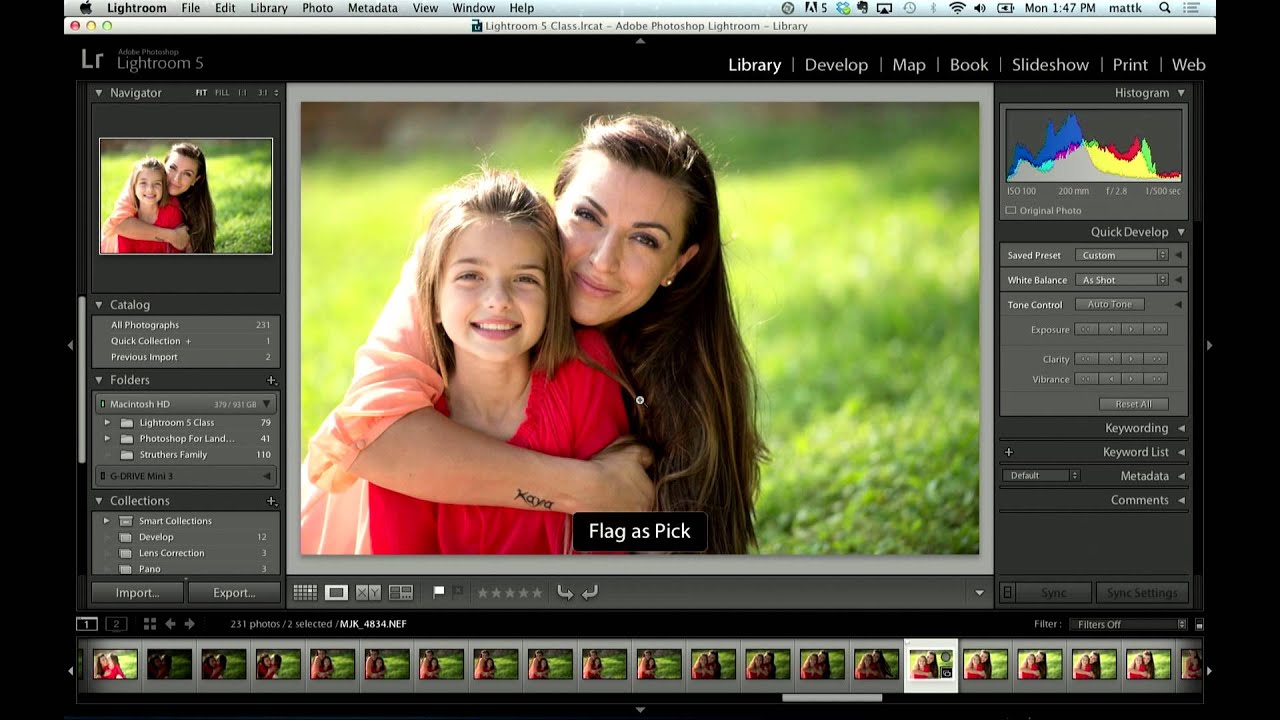
There’s a specific kind of editing paralysis that hits after a big shoot. You’ve got 400 frames from a session, a playlist queued up, and absolutely no momentum. You open Lightroom, click to the first photo, and immediately start the internal negotiation: is this a three-star or a four-star? Does that slight motion blur knock it down to two? Twenty minutes later you’ve rated eleven photos and your coffee is cold. I’ve been there more times than I want to admit, and for a long time I thought the solution was just more discipline. It wasn’t. The solution was a single menu item I had walked past hundreds of times without ever clicking it.
In this KelbyOne tutorial, instructor M. Laskowski walks through one of those genuinely useful Lightroom tips that feels almost too simple once you see it. Watch the full tutorial on YouTube – it’s short, it’s practical, and it reframes the way you think about the culling step entirely. What follows is my breakdown of the technique with enough detail that you can follow along without watching first, plus a note on how I’ve adapted it for my own sessions.
Step 1: Understand Why the Flag System Beats Star Ratings for Culling
 Instructor explaining the difference between flags and star ratings
The first thing Laskowski challenges is the assumption that star ratings are the right tool for first-pass culling. On paper, a five-tier rating system sounds thorough. In practice, it turns culling into a grading rubric when what you actually need is a binary decision: keep or don’t keep.
The flag system in Lightroom gives you exactly that. A photo is either a Pick or a Reject. That’s the whole decision. You don’t have to calculate whether the slightly soft focus costs it one star or two. You just ask yourself if you like it, and you move on. Reserve the star ratings for a second pass once you’ve already narrowed the field down to your keepers.
Step 2: Locate the Flagging Options in the Library Module
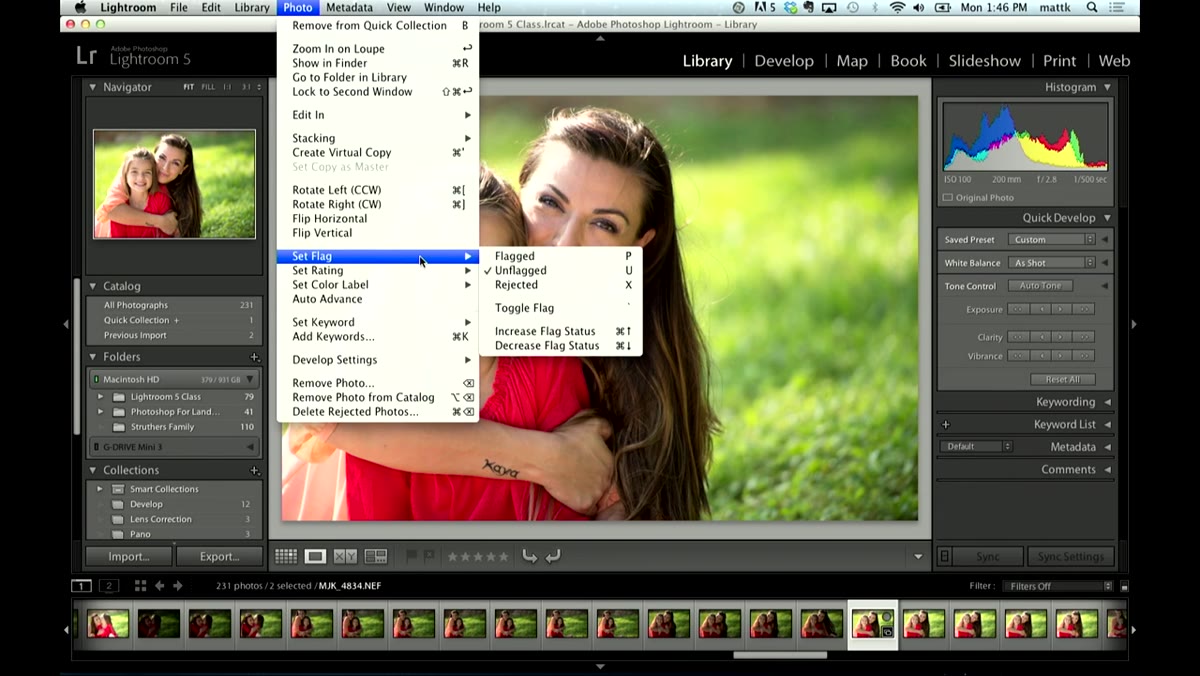
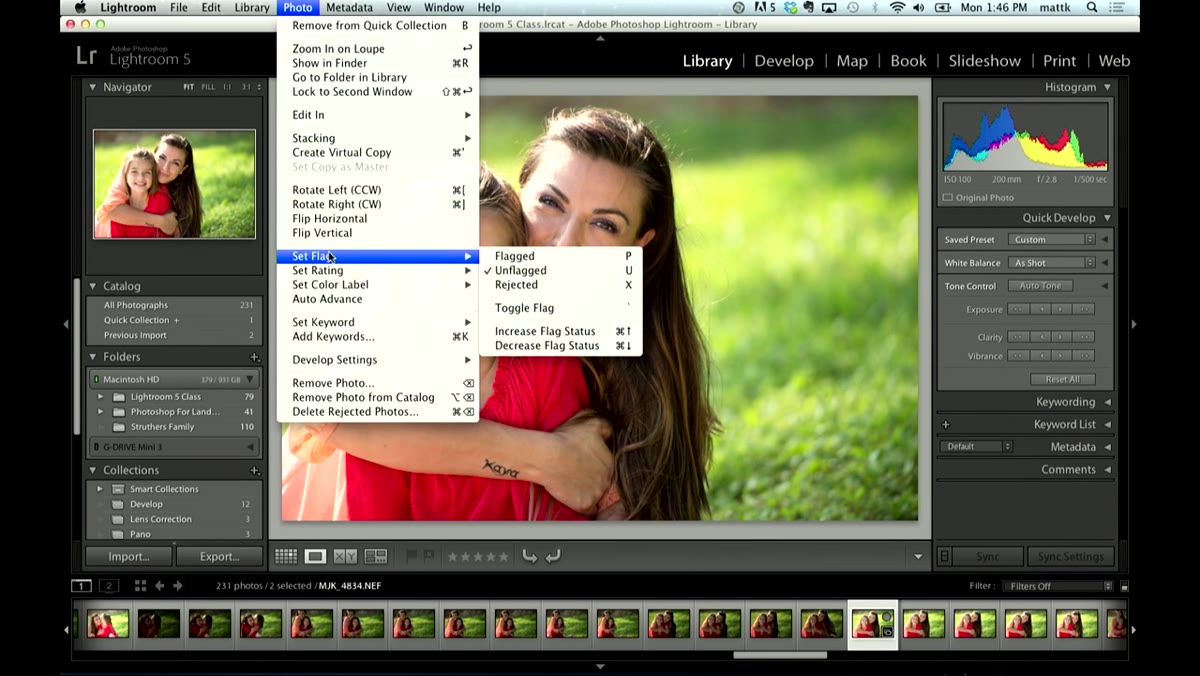 Photo menu open showing Flags, Ratings, and Color Labels options
Make sure you’re in the Library module – not Develop, not any of the output modules. Flagging lives here. You can see all three organizational systems (Flags, Ratings, and Color Labels) listed under the Photo menu at the top, which is a good place to confirm they exist, but you won’t actually use the menu to apply them.
The two keyboard shortcuts you need are P (for Pick) and X (for Reject). That’s it. P because “pick” starts with P, and X because it has the energy of crossing something out. If you’ve never used these before, they feel a little awkward for the first thirty seconds and then they become completely automatic.
Step 3: Enable Auto Advance from the Photo Menu
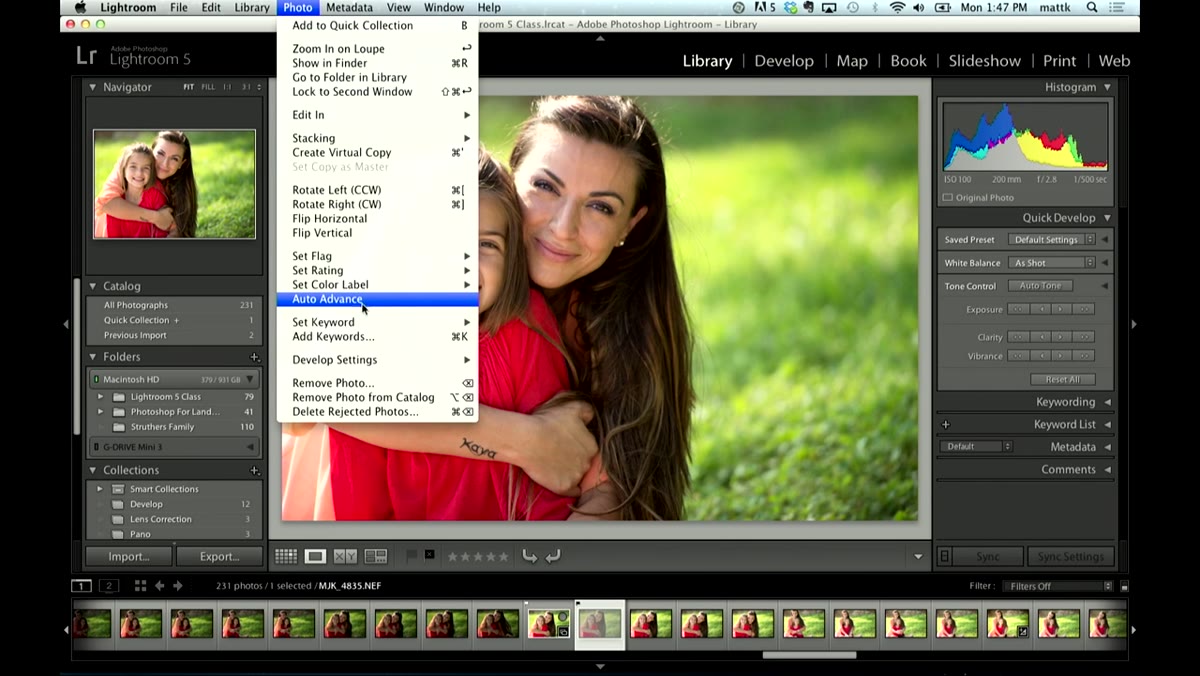 Photo menu open with Auto Advance option highlighted
Here’s the part that most people miss. Open the Photo menu and look toward the bottom. You’ll find an option called Auto Advance that is easy to overlook because it doesn’t have its own toolbar button or a prominent spot in any panel. It’s just quietly sitting there in the menu.
Click it to turn it on. That’s the whole step. What it does is automatic: every time you apply a flag to a photo, Lightroom immediately advances to the next image in your filmstrip without you pressing the right arrow key. One action, one keystroke, forward momentum. It’s the culling equivalent of flipping through a contact sheet with a grease pencil.
Step 4: Run Your First Pass Using Only P and X
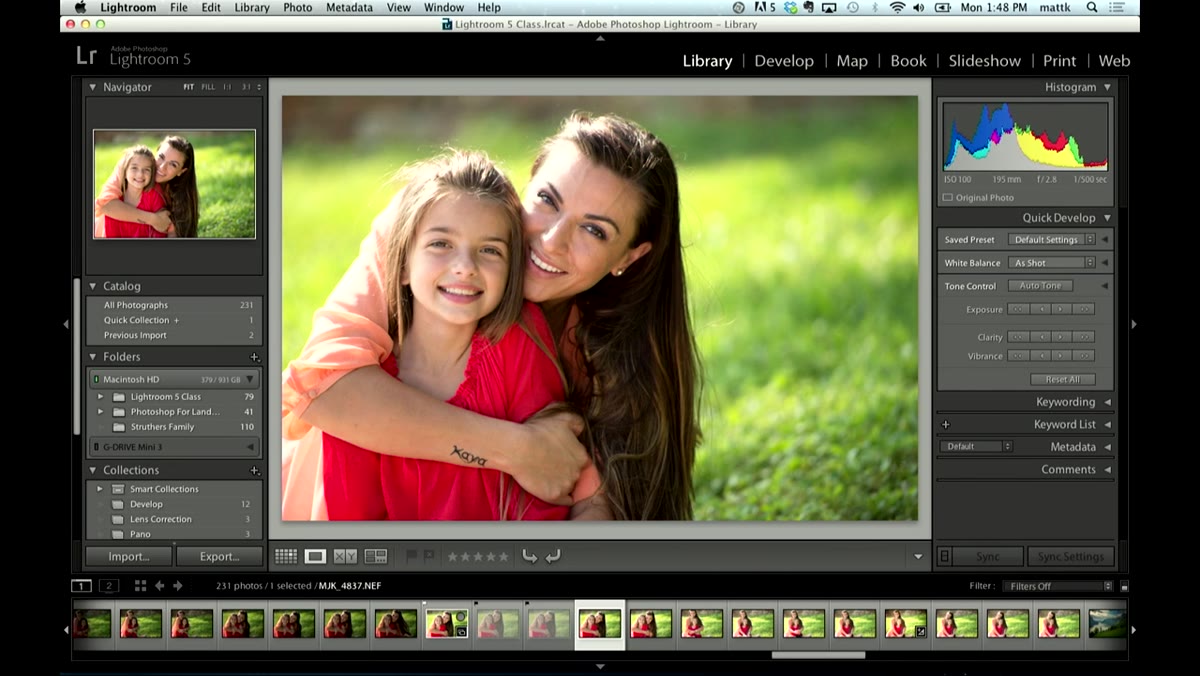 Filmstrip showing flagged photo with cursor advancing to next image
With Auto Advance enabled, your culling rhythm becomes a one-handed operation. You’re looking at a photo. You like it – press P. Lightroom flags it and jumps to the next one. You don’t like it – press X. Lightroom marks it as rejected and jumps forward again. You never have to reach for the arrow key.
Watch the filmstrip at the bottom of the screen as you go. You’ll see the small flag and reject icons appear on thumbnails in real time, which gives you a visual confirmation that the system is working. If you’re moving through a 400-shot session and you’re averaging about one to two seconds per photo on obvious decisions, you can clear the whole first pass in well under fifteen minutes. That’s the kind of speed that makes post-production feel less like a second job.
Step 5: Review Your Results After the Pass
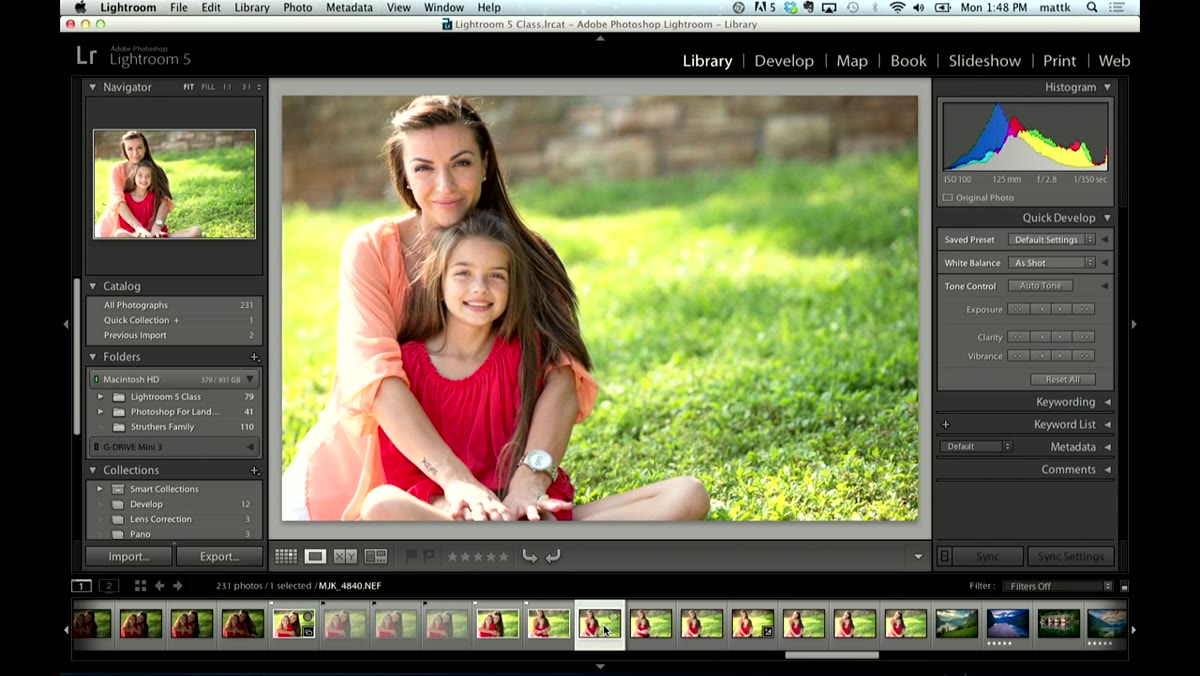 Filmstrip showing mix of flagged and rejected photo thumbnails
Once you’ve made it through all your photos, use the filter bar in the Library module to isolate just your Picks. This gives you a clean working set for the next phase – color grading, retouching, exporting, whatever comes next. Your Rejects are still there if you want to review them before deleting, but they’re out of the way.
If you’re not sure where the filter bar is, look for it at the very bottom of the Library module grid view, or press the backslash key to toggle it. Filter by “Flagged” and you’ll only see the photos you marked with P. Everything else disappears from the view temporarily, which makes it a lot easier to see how strong (or how thin) your keeper set actually is.
A Note From My Own Sessions: The Two-Pass Approach
I took Laskowski’s core idea and added a second layer that works well for client work. After my first pass with P and X, I do a second, much shorter pass through just the Picks. This time I actually use the star system – but only two values. Five stars for the shots I’m confident are selects, and three stars for ones I want to keep in reserve in case a preferred shot doesn’t edit well.
This keeps the binary logic of the first pass intact (you’re still not debating between three and four stars) while giving you a simple way to rank within your keepers for client delivery. The flag pass is about volume and speed. The star pass is about priority. Doing them separately means neither one bogs down the other.
The single most important shift here is conceptual: culling is not editing. It’s sorting. And sorting should be fast, low-friction, and binary at the first pass. Auto Advance is a small toggle with a genuinely large impact on how much mental energy you spend before you even get to the work of actually making your photos look good.
Watch the full tutorial on YouTube to see Laskowski demonstrate it in real time – seeing the filmstrip update automatically as he flags each photo makes the value of this workflow click faster than any written description can.
Comments (4)
The tip about stop wasting time on star rati was the missing piece for me. Thank you.
Couldn't agree more. I've seen this make a huge difference in photography work specifically.
This is going in my reference folder. Incredibly useful.
Solid advice. Especially the part about taking your time with it.
Leave a Comment