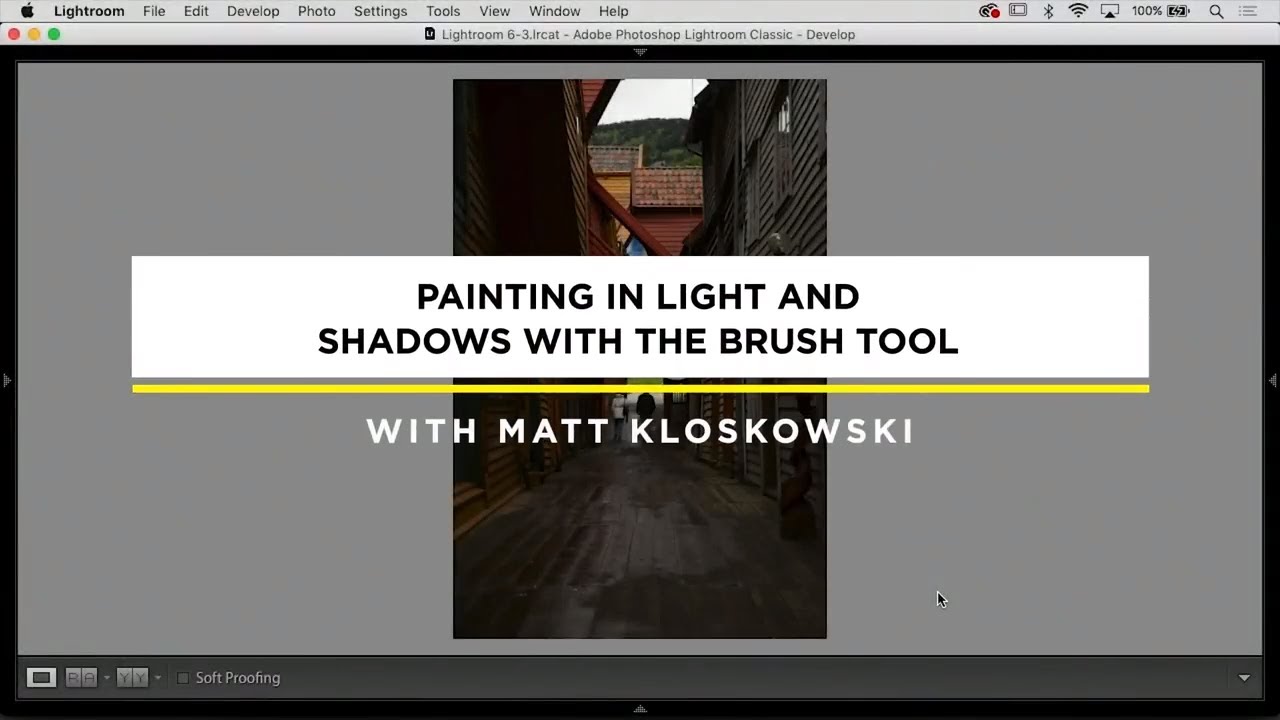
There’s a specific kind of travel photo I used to quietly dread opening in Lightroom. You know the one. A narrow alleyway, a cobblestone path threading between buildings, maybe a sliver of sky overhead. You took it because something about the scene grabbed you in person, but when you import it, the magic has completely evaporated. The exposure looks wrong no matter which direction you push it. The shadows go muddy, the highlights go nuclear, and the whole thing just sits there looking like a documentation photo rather than a travel memory.
For years, my instinct was to treat it like a technical problem. Bring the exposure up. Open the shadows. Pull the highlights. The result was always the same: a correctly exposed photograph that felt like nothing. What I was missing, and what finally clicked for me watching this CreativeLive tutorial, is that these scenes are not exposure problems. They are atmosphere problems. Watch the full tutorial on YouTube before you dig into these steps, or follow along below and use the video to fill in the visual gaps.
The technique the instructor walks through is deceptively simple: targeted brush work, a darkened perimeter, a lit path through the center, and a touch of warmth. No complicated masking, no layer stacking, no Photoshop round-trip. Just Lightroom’s adjustment brush used with a clear visual intention. Here’s how it breaks down.
Step 1: Resist the Global Sliders
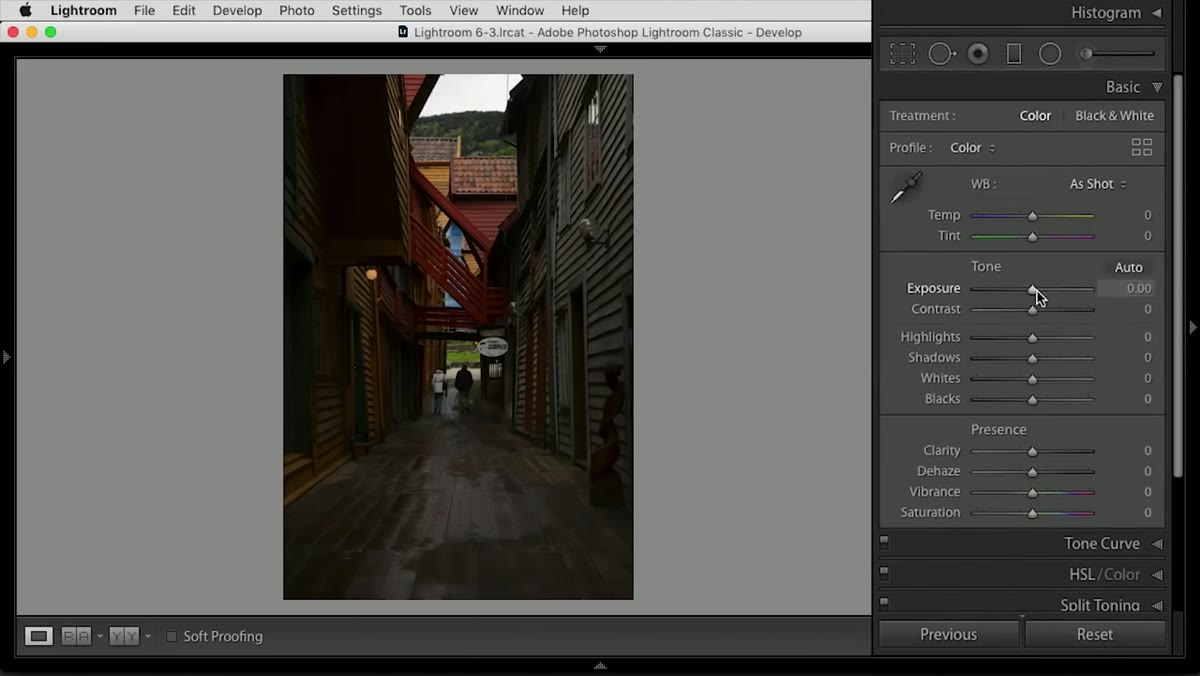 Instructor explaining why global exposure adjustments fail here
Before touching anything, the instructor makes a point that I think is the most important part of this whole tutorial: the problem with these alley-style shots is not fixable with global adjustments. Dragging the Exposure slider up just brightens everything uniformly. Pulling Shadows open muddies the contrast. The scene loses its sense of depth because depth in a photo like this comes from light and dark coexisting, not from averaging them out. Sit with the image for a moment and ask yourself where you want the viewer’s eye to go before you make a single move.
Instructor explaining why global exposure adjustments fail here
Before touching anything, the instructor makes a point that I think is the most important part of this whole tutorial: the problem with these alley-style shots is not fixable with global adjustments. Dragging the Exposure slider up just brightens everything uniformly. Pulling Shadows open muddies the contrast. The scene loses its sense of depth because depth in a photo like this comes from light and dark coexisting, not from averaging them out. Sit with the image for a moment and ask yourself where you want the viewer’s eye to go before you make a single move.
Step 2: Grab the Adjustment Brush and Brighten the Path
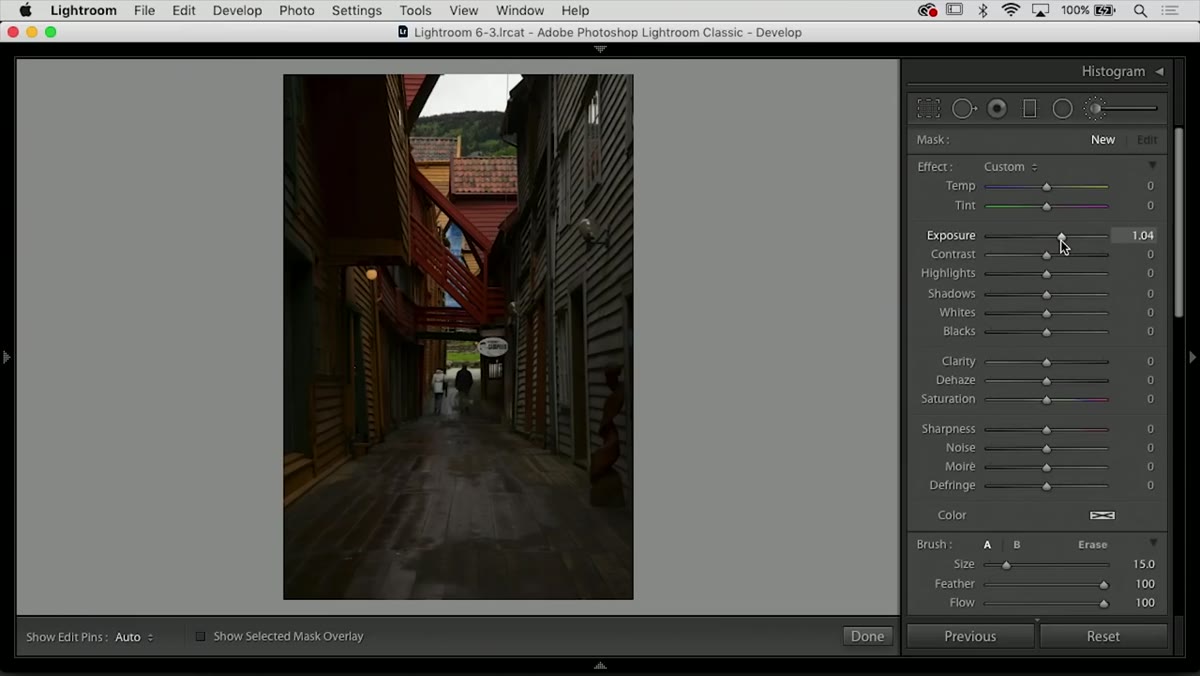 Adjustment brush active, painting brightness along center path
Open the Adjustment Brush (keyboard shortcut: K) and dial in a moderate Exposure boost, somewhere in the range of +0.5 to +1.0 to start. Now paint carefully down the center of the image, following the natural line of the path or road. The goal is to create a visual lane, a subtle suggestion that light is falling specifically there. This is the hook the instructor talks about. It draws the eye inward, toward the depth of the scene, which is exactly what made you stop and photograph this place in the first person.
Adjustment brush active, painting brightness along center path
Open the Adjustment Brush (keyboard shortcut: K) and dial in a moderate Exposure boost, somewhere in the range of +0.5 to +1.0 to start. Now paint carefully down the center of the image, following the natural line of the path or road. The goal is to create a visual lane, a subtle suggestion that light is falling specifically there. This is the hook the instructor talks about. It draws the eye inward, toward the depth of the scene, which is exactly what made you stop and photograph this place in the first person.
Keep the brushwork loose but intentional. You are not trying to perfectly mask an object. You are painting light, and light has soft edges.
Step 3: Use Alt/Option to Erase and Keep the Ground Dark
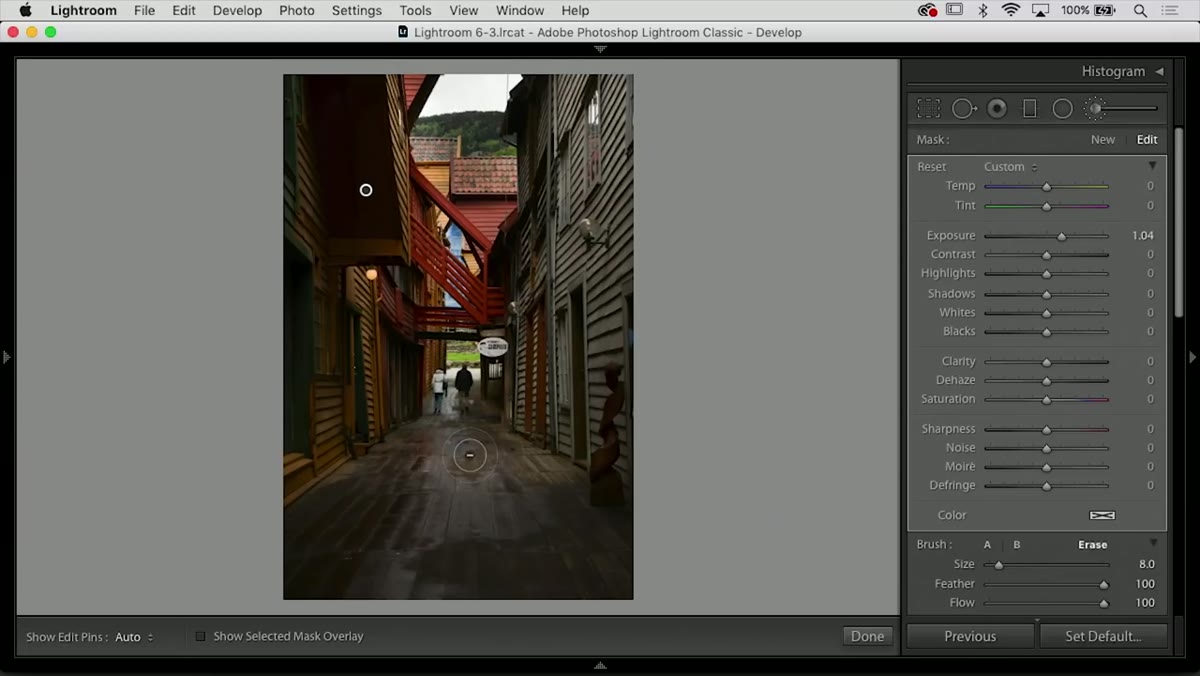 Holding Alt key to switch brush into erase mode
Here is a small workflow detail that saves a lot of frustration. If you paint too far outside your intended area, you do not need to create a new brush or undo. Hold down Alt on Windows or Option on Mac and your Adjustment Brush temporarily switches into Erase mode. Paint over the areas you want to pull the brightening back from, particularly the foreground ground and the edges of the frame. Keeping those areas darker is what gives the brightened path its contrast and pull. A path that glows slightly only works if what surrounds it stays rooted in shadow.
Holding Alt key to switch brush into erase mode
Here is a small workflow detail that saves a lot of frustration. If you paint too far outside your intended area, you do not need to create a new brush or undo. Hold down Alt on Windows or Option on Mac and your Adjustment Brush temporarily switches into Erase mode. Paint over the areas you want to pull the brightening back from, particularly the foreground ground and the edges of the frame. Keeping those areas darker is what gives the brightened path its contrast and pull. A path that glows slightly only works if what surrounds it stays rooted in shadow.
Step 4: Create a Second Brush Layer to Darken the Sky
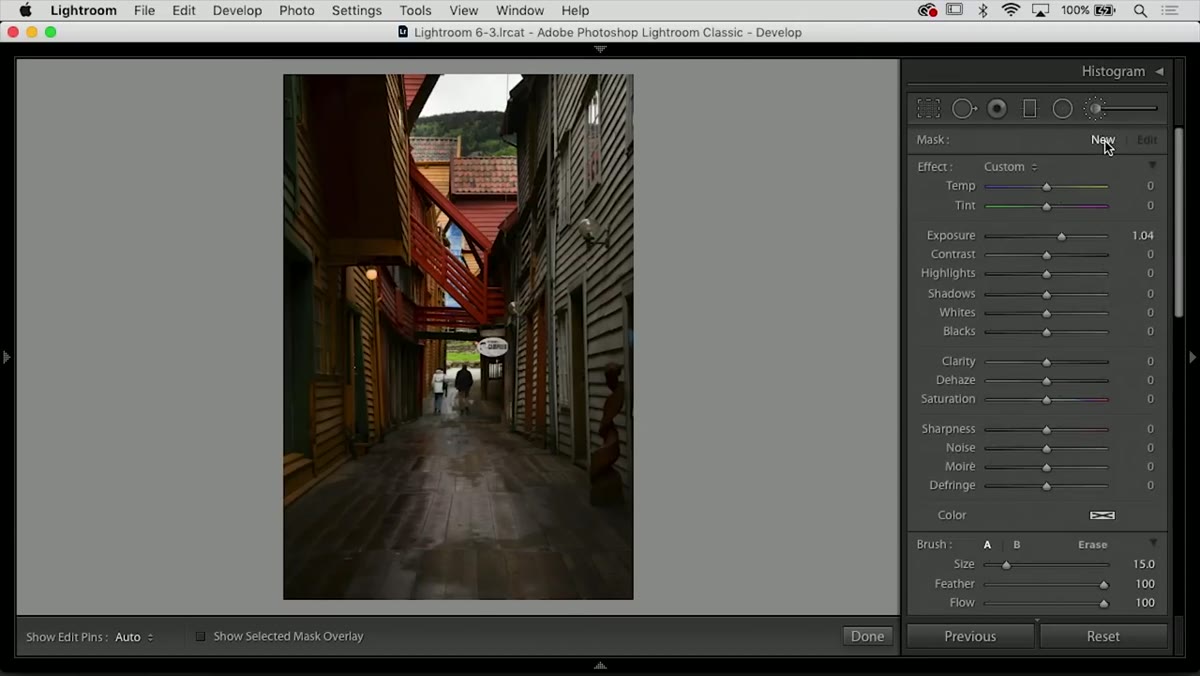 New brush layer created, pulling highlights down in sky area
Click “New” in the Adjustment Brush panel to start a fresh brush layer, completely independent from your first one. This time, pull the Exposure down and reduce Highlights to rein in whatever sky or bright upper portion exists in your frame. Darkening the top of the image reinforces the tunnel-like quality that makes these alley shots feel immersive. You are essentially vignetting with intention rather than using the blunt instrument of Lightroom’s Vignette slider, which darkens everything equally toward the corners.
New brush layer created, pulling highlights down in sky area
Click “New” in the Adjustment Brush panel to start a fresh brush layer, completely independent from your first one. This time, pull the Exposure down and reduce Highlights to rein in whatever sky or bright upper portion exists in your frame. Darkening the top of the image reinforces the tunnel-like quality that makes these alley shots feel immersive. You are essentially vignetting with intention rather than using the blunt instrument of Lightroom’s Vignette slider, which darkens everything equally toward the corners.
Two separate brush layers means you can go back and tweak each one independently later without affecting the other. This is worth building as a habit on any image where you are balancing multiple zones of light.
Step 5: Return to the Brightness Layer and Add Clarity
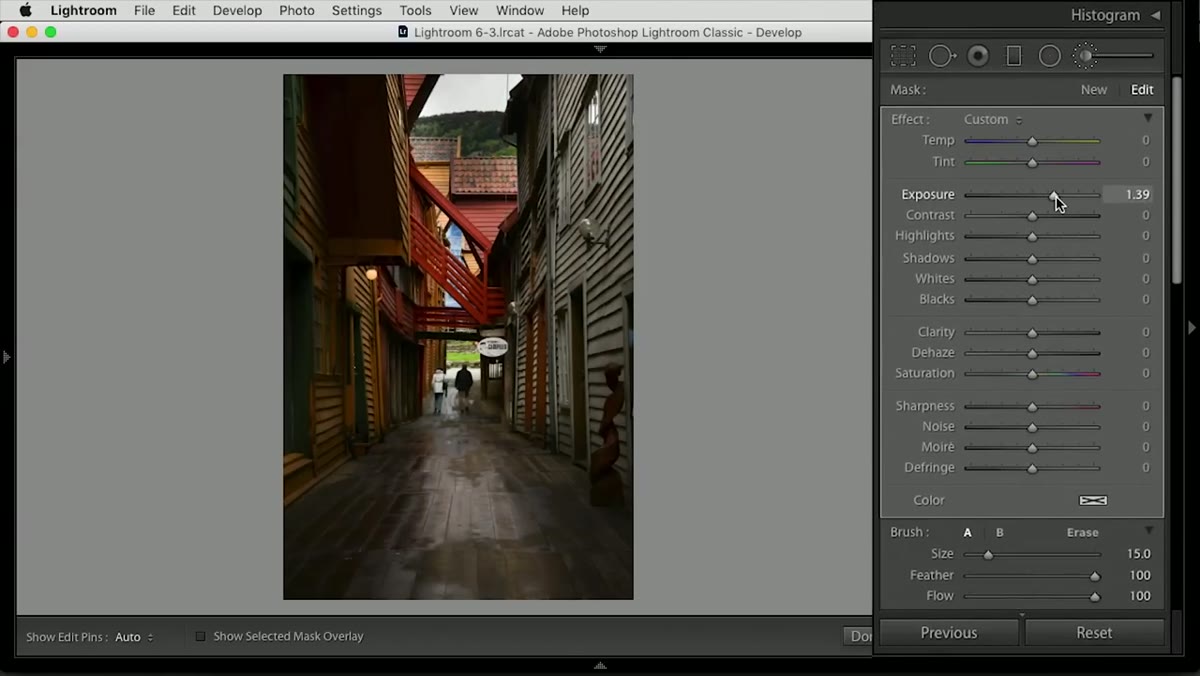 Brightness brush layer selected, Clarity slider being increased
Click back to select your first brush layer, the one brightening the center path. Now bring in some Clarity, somewhere between +20 and +40 is a useful starting range. Clarity works on midtone contrast specifically, so it adds a sense of texture and edge without blowing out highlights or crushing shadows the way a straight Contrast boost would. On a scene with a lot of stone, brick, or textured surfaces, this is where the image starts to feel genuinely tactile. The detail that was always there in the file just becomes visible.
Brightness brush layer selected, Clarity slider being increased
Click back to select your first brush layer, the one brightening the center path. Now bring in some Clarity, somewhere between +20 and +40 is a useful starting range. Clarity works on midtone contrast specifically, so it adds a sense of texture and edge without blowing out highlights or crushing shadows the way a straight Contrast boost would. On a scene with a lot of stone, brick, or textured surfaces, this is where the image starts to feel genuinely tactile. The detail that was always there in the file just becomes visible.
This is not sharpening. Think of it more like focus for the texture that already exists.
Step 6: Add Warmth to the Lit Path
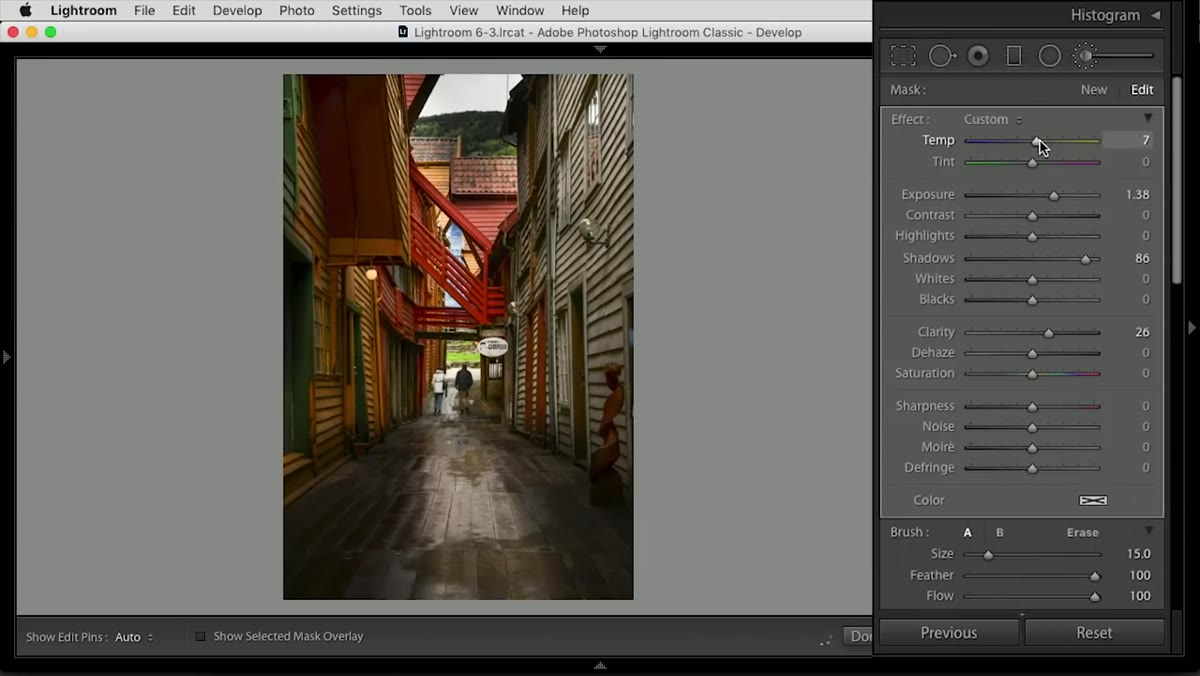 Temperature slider adjusted warmer within the brightness brush layer
Still on that first brush layer, nudge the Temperature slider toward warm. You do not need much. A small push toward yellow and orange on the lit portion of the image makes the brightness feel like actual light rather than a digital exposure correction. It suggests a lamp down the alley, afternoon sun hitting the far end, something plausible. The human eye reads warm light as inviting. That emotional cue is part of why these alley shots attracted you in the first place, and this is how you bring it back into the file.
Temperature slider adjusted warmer within the brightness brush layer
Still on that first brush layer, nudge the Temperature slider toward warm. You do not need much. A small push toward yellow and orange on the lit portion of the image makes the brightness feel like actual light rather than a digital exposure correction. It suggests a lamp down the alley, afternoon sun hitting the far end, something plausible. The human eye reads warm light as inviting. That emotional cue is part of why these alley shots attracted you in the first place, and this is how you bring it back into the file.
Step 7: Paint a Subtle Vignette Around the Edges
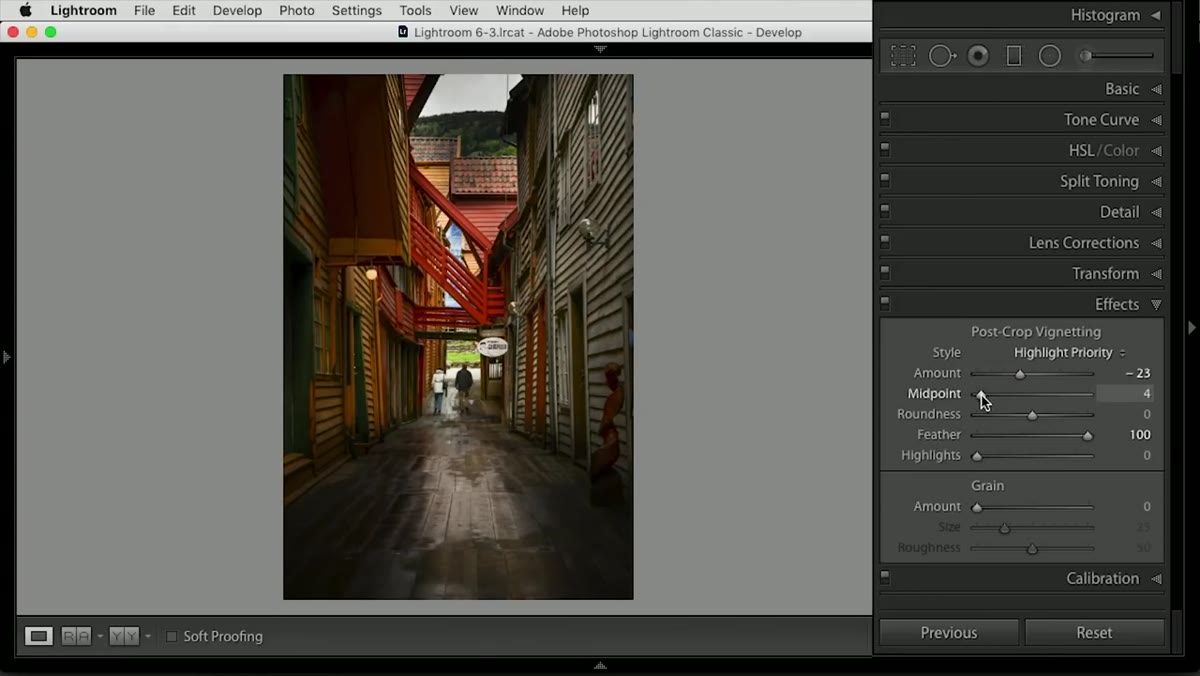 Dark brush strokes painted around frame edges to create tunnel effect
Create one final brush layer and use it to deepen the edges of the frame, particularly the sides and top. Paint with a large, very soft brush and a negative Exposure value. This creates the tunnel feeling the instructor describes, a natural visual compression that pushes the eye toward the center. It works because it mimics how your eye actually experienced the scene in person. Your peripheral vision fell away. The path ahead was what mattered.
Dark brush strokes painted around frame edges to create tunnel effect
Create one final brush layer and use it to deepen the edges of the frame, particularly the sides and top. Paint with a large, very soft brush and a negative Exposure value. This creates the tunnel feeling the instructor describes, a natural visual compression that pushes the eye toward the center. It works because it mimics how your eye actually experienced the scene in person. Your peripheral vision fell away. The path ahead was what mattered.
One Thing I’d Add From My Own Workflow
After doing this kind of targeted brush work on travel images for a few years, I’ve started adding one extra step that the tutorial doesn’t mention: a slight Dehaze boost on the brightened path layer, usually around +10 to +15. Dehaze was designed for cutting through atmospheric haze in landscape photos, but on narrow street scenes it adds a quiet richness to the midtones that Clarity alone doesn’t quite achieve. Try it on your next alley shot and see if you agree.
I’ve also learned to do this whole process before touching any global settings. Getting the atmosphere right first means the global tweaks at the end are minor corrections rather than heavy lifts.
The single most important idea in this whole tutorial is one the instructor states plainly: these images need mood, not just proper exposure. Every tool here, the brightness path, the warm light, the tunnel vignette, is in service of recreating the feeling that made you raise the camera in the first place. That is the whole job.
Watch the full tutorial on YouTube to see the before and after side by side. The difference is the kind that makes you want to go back through your travel archive immediately.
Comments
Leave a Comment