There’s a certain kind of pain every photographer knows: you shoot 40 frames of the same subject in the same light, you spend 20 minutes dialing in the perfect edit on the first one, and then you sit there staring at the rest of the gallery knowing you have to do it all over again. Sync settings exist, yes. Presets exist. But there’s a faster option hiding right at the bottom of the Develop module panel that most people scroll past without a second glance.
In this KelbyOne tutorial, Matt Kloskowski walks through a real portrait edit and then demonstrates exactly how to transfer every setting from that edit to the next photo with a single click. Watch the full tutorial on YouTube if you want to see him do it live. But if you want a step-by-step breakdown you can actually follow while Lightroom is open in front of you, here’s what he covers and why it works.
Step 1: Build Your Edit on the First Image
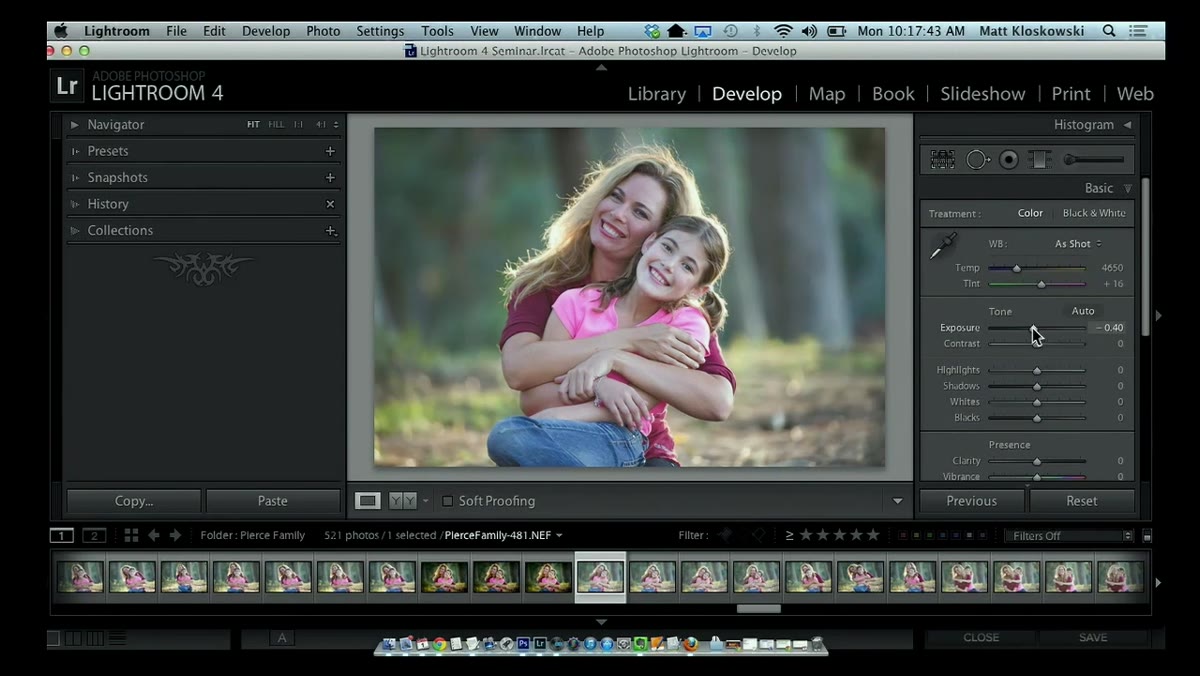 Lightroom Develop module open with a portrait photo
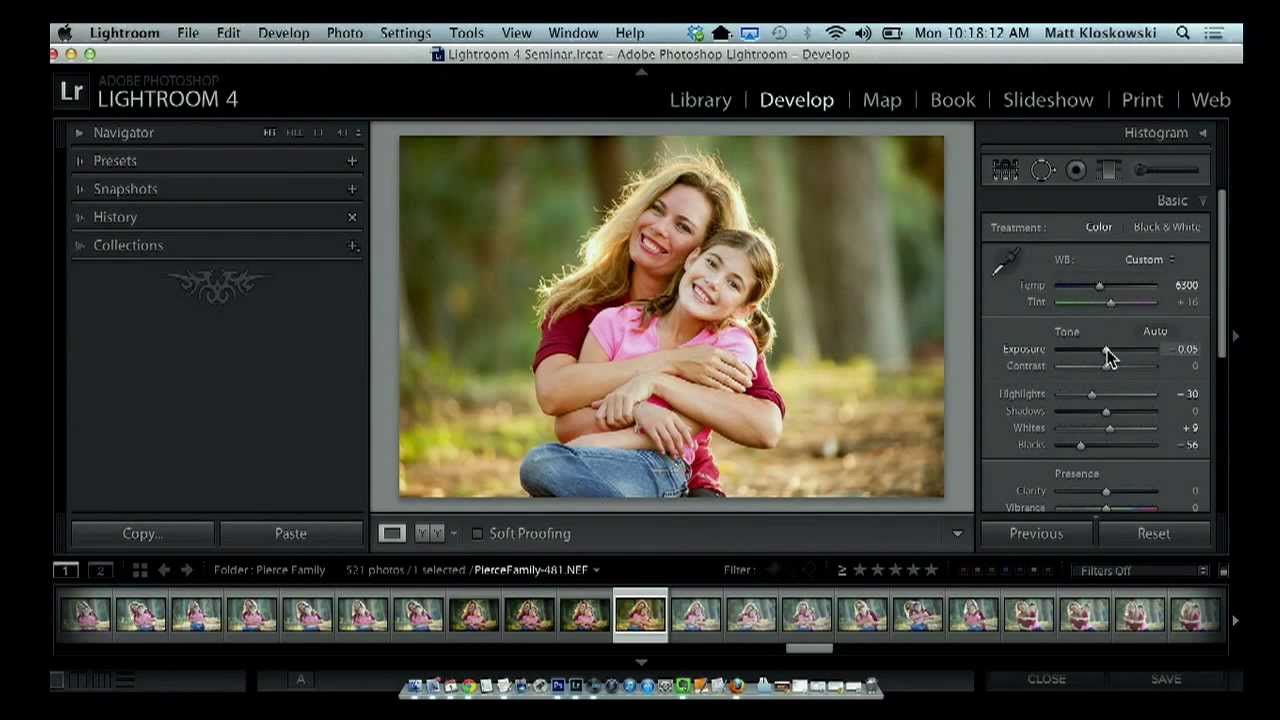
Start in the Develop module with the photo you want to use as your reference edit. This is the image where you’re going to make all your decisions, so treat it like you normally would. Matt begins by pulling down the exposure slightly and reining in the highlights to recover some of the blown-out sky or bright areas. Shadows stay where they are here, because crushing them would lose detail in the darker parts of the portrait.
Lightroom Develop module open with a portrait photo
Start in the Develop module with the photo you want to use as your reference edit. This is the image where you’re going to make all your decisions, so treat it like you normally would. Matt begins by pulling down the exposure slightly and reining in the highlights to recover some of the blown-out sky or bright areas. Shadows stay where they are here, because crushing them would lose detail in the darker parts of the portrait.
The key moves at this stage are setting your white and black points intentionally. Hold Option (Mac) or Alt (Windows) while dragging the Whites slider until the screen goes mostly black with just a few blown highlights peeking through. Then hold Option/Alt on the Blacks slider and drag left until just a handful of dots appear on screen. Those dots signal you’ve reached a true black point without completely clipping the shadows. This is a two-slider habit that makes every other tonal adjustment cleaner.
Step 2: Warm the Image and Boost Vibrance
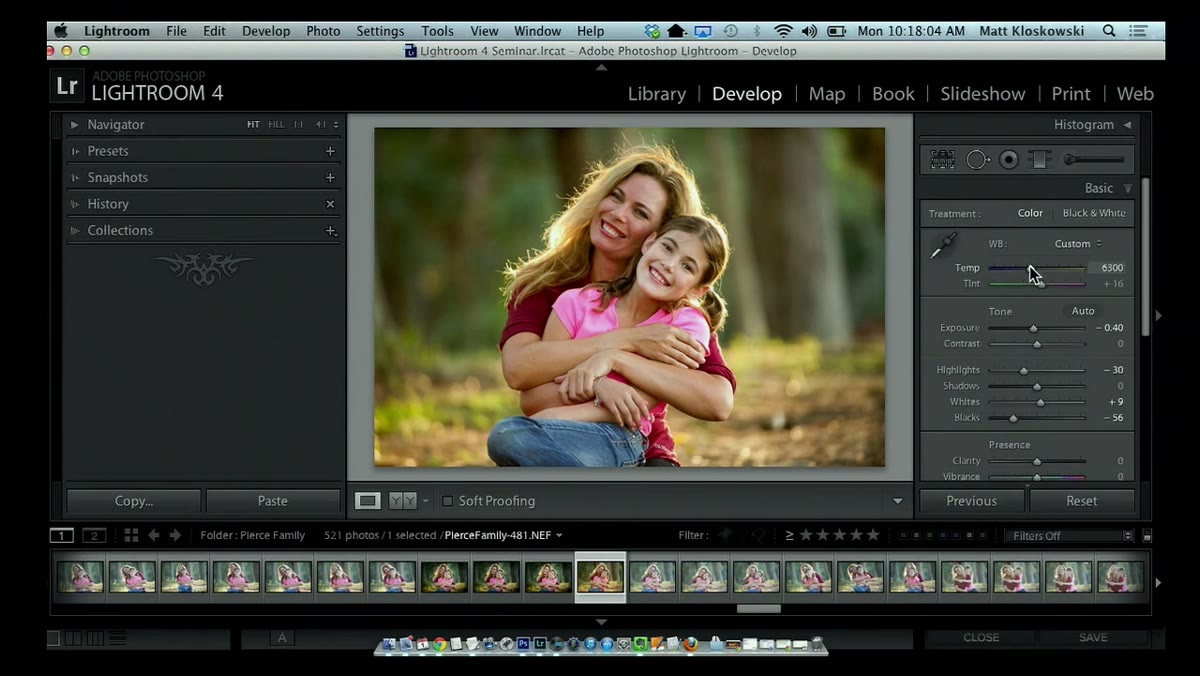 Temperature slider being dragged right in the Basic panel
Once your tones are set, Matt moves into color. He drags the Temperature slider to the right to push the image toward warmer tones, which works especially well for portraits shot in natural or golden light. A subtle shift is usually enough here. You’re not trying to make the image look like a sunset filter – you’re just restoring warmth that the camera’s white balance flattened out.
Temperature slider being dragged right in the Basic panel
Once your tones are set, Matt moves into color. He drags the Temperature slider to the right to push the image toward warmer tones, which works especially well for portraits shot in natural or golden light. A subtle shift is usually enough here. You’re not trying to make the image look like a sunset filter – you’re just restoring warmth that the camera’s white balance flattened out.
From there, he adds a small amount of Vibrance. Vibrance is smarter than Saturation for portraits because it boosts the less-saturated colors first and protects skin tones from going nuclear orange. Think of it as a targeted color enhancer rather than a volume knob. A Vibrance bump in the 10 to 20 range usually does the job without making anyone look like they’ve been tangoed.
Step 3: Add a Vignette to Finish the Look
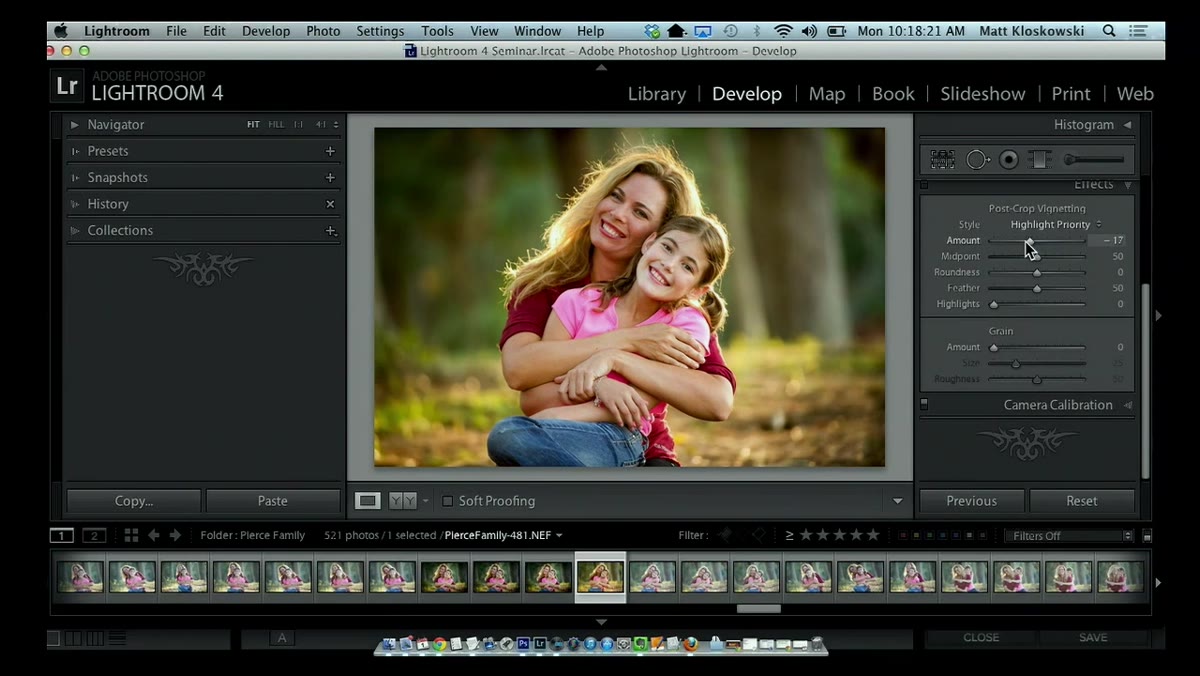 Vignetting slider being adjusted in Effects panel
After cropping, Matt applies a light vignette. In the Effects panel, drag the Amount slider in the Vignetting section to the left – negative values darken the edges and pull the viewer’s eye toward the center of the frame. Keep it subtle. A value around -10 to -20 reads as a professional finishing touch. Push past -40 and you’re suddenly in dramatic territory, which is a choice, but probably not the one you want for a casual portrait session.
Vignetting slider being adjusted in Effects panel
After cropping, Matt applies a light vignette. In the Effects panel, drag the Amount slider in the Vignetting section to the left – negative values darken the edges and pull the viewer’s eye toward the center of the frame. Keep it subtle. A value around -10 to -20 reads as a professional finishing touch. Push past -40 and you’re suddenly in dramatic territory, which is a choice, but probably not the one you want for a casual portrait session.
Step 4: Use the Adjustment Brush to Correct Uneven Faces
 Adjustment brush being painted over a face in the portrait
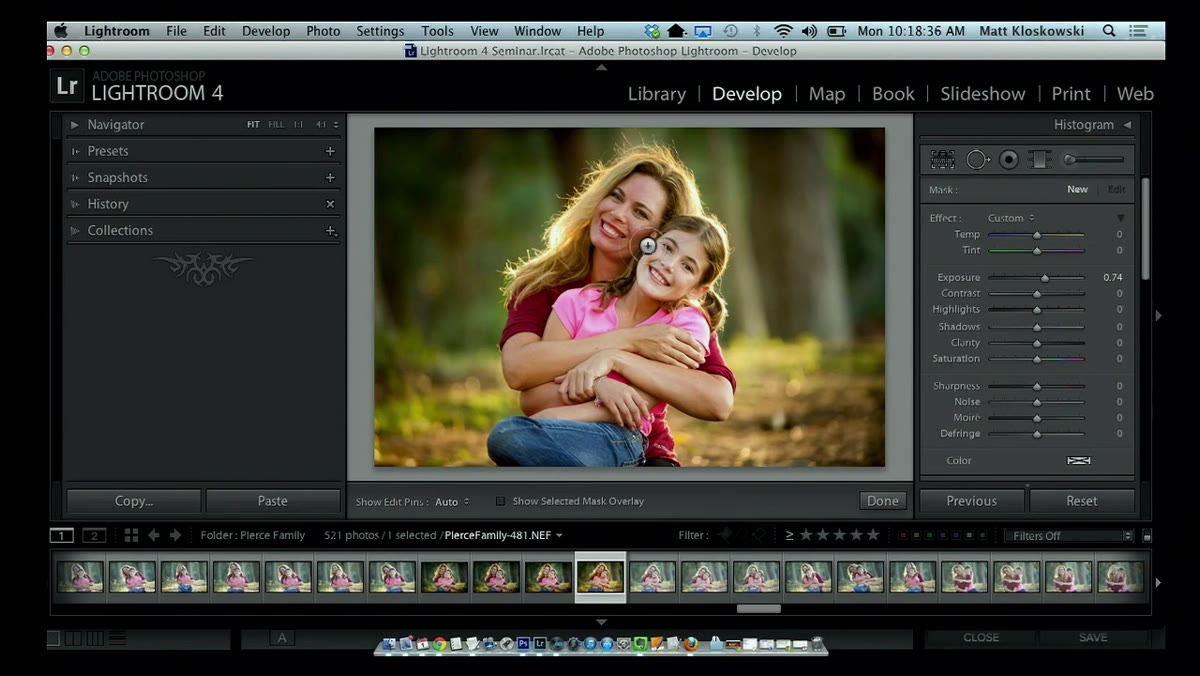
This is where the edit becomes portrait-specific. Matt notices that one face in the photo is darker than the other, a common situation when two people are standing at slightly different angles to the light source. He grabs the Adjustment Brush, paints over the darker face, and nudges the Exposure slider up just enough to even out the skin tones between both subjects.
Adjustment brush being painted over a face in the portrait
This is where the edit becomes portrait-specific. Matt notices that one face in the photo is darker than the other, a common situation when two people are standing at slightly different angles to the light source. He grabs the Adjustment Brush, paints over the darker face, and nudges the Exposure slider up just enough to even out the skin tones between both subjects.
The trick here is restraint. If the brightened area suddenly looks like a spotlight, walk the Exposure back. You’re not trying to make that face brighter than the other – you’re trying to make them match. This kind of micro-adjustment is where a portrait edit goes from “processed” to “polished.”
Step 5: Move to the Next Photo and Click “Previous”
 Previous button highlighted at the bottom of the Develop panel
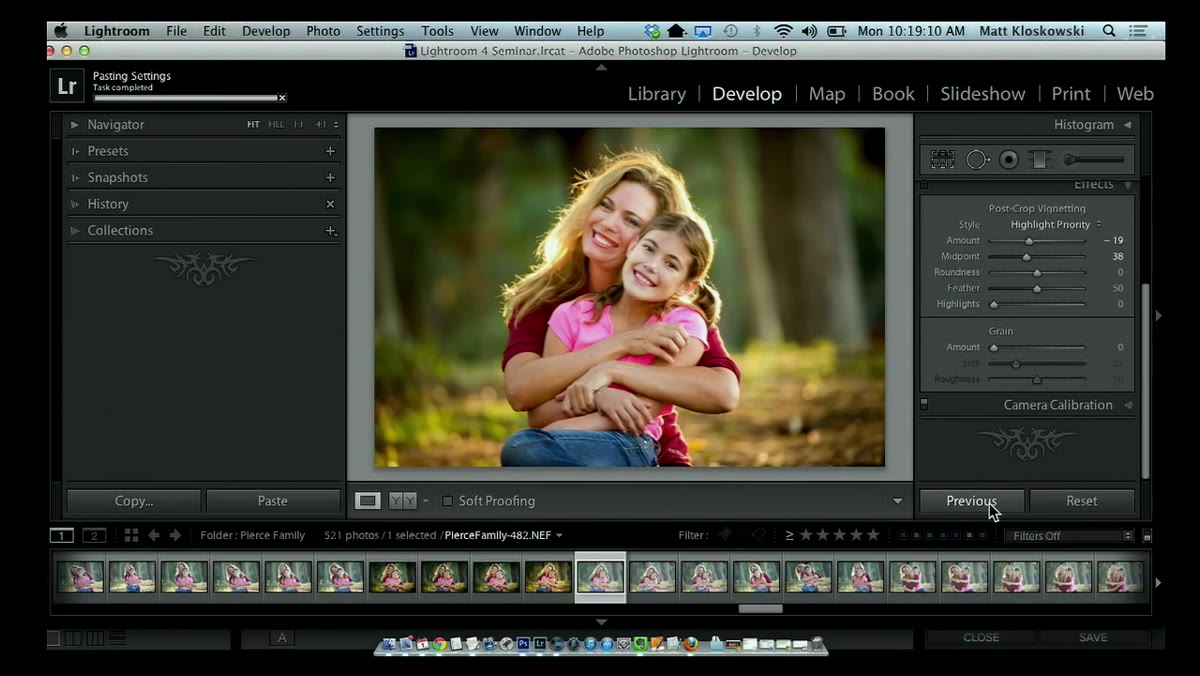
Here’s the whole point of the tutorial. Move to your next photo, which in this case is a similar shot from the same session with comparable lighting and framing. Instead of touching a single slider, scroll to the very bottom of the right-hand panel in the Develop module. You’ll find a button simply labeled “Previous.”
Previous button highlighted at the bottom of the Develop panel
Here’s the whole point of the tutorial. Move to your next photo, which in this case is a similar shot from the same session with comparable lighting and framing. Instead of touching a single slider, scroll to the very bottom of the right-hand panel in the Develop module. You’ll find a button simply labeled “Previous.”
Click it. Lightroom instantly copies every setting from your last edited image onto this one, including the exposure, white balance, vibrance, vignette, and even the adjustment brush work. It’s not a preset (which only stores global settings you’ve defined manually) and it’s not a sync (which requires you to select multiple images in the Grid). It’s just a direct transfer of whatever you last did, applied immediately to whatever you’re currently looking at.
Step 6: Know What “Previous” Actually Copies (and What to Watch)
 Adjustment brush showing face-brightening applied to second photo
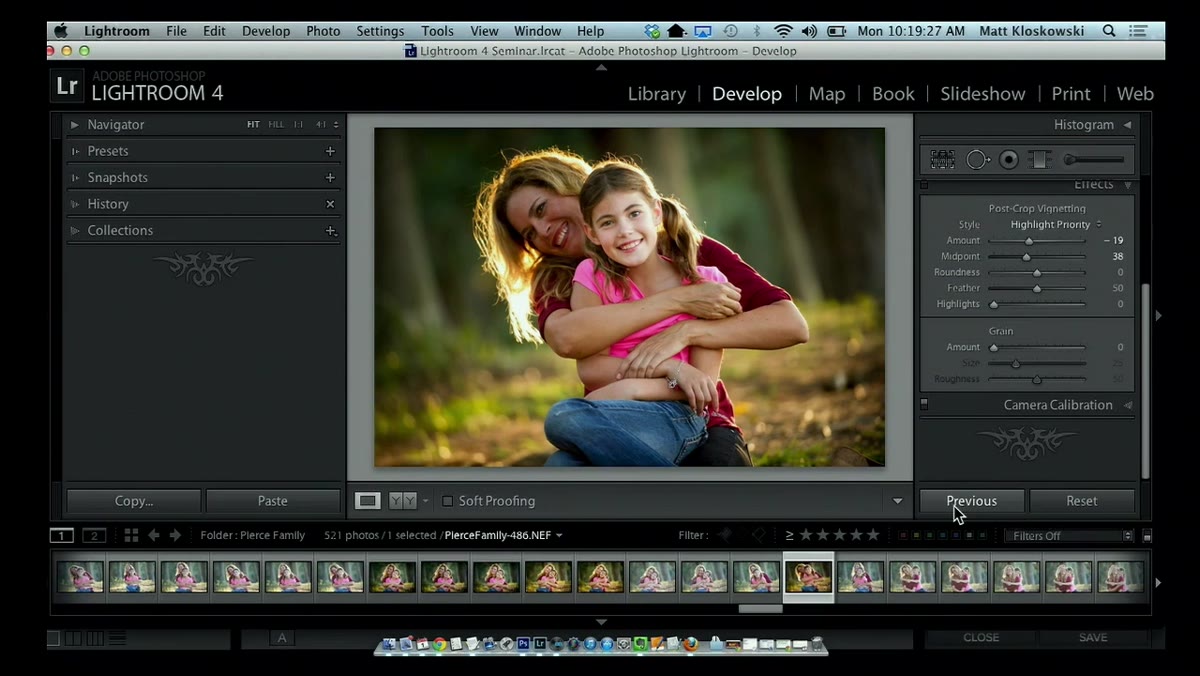
Matt flags an important caveat that’s worth paying close attention to. The Previous button copies everything, and that includes position-specific adjustments like your Adjustment Brush strokes, Gradient Filters, and crop settings. If the subjects have shifted between frames – and in real portrait sessions they almost always have – your brush strokes from the previous image will land in the wrong place on the new one.
Adjustment brush showing face-brightening applied to second photo
Matt flags an important caveat that’s worth paying close attention to. The Previous button copies everything, and that includes position-specific adjustments like your Adjustment Brush strokes, Gradient Filters, and crop settings. If the subjects have shifted between frames – and in real portrait sessions they almost always have – your brush strokes from the previous image will land in the wrong place on the new one.
It’s not a dealbreaker. It just means that after clicking Previous, you should open the Adjustment Brush on the new photo, check where the mask landed, and repaint it if needed. The global settings (exposure, tone, color, vignette) will be exactly right. The local adjustments will need a quick look. That’s a two-minute fix versus a 20-minute full re-edit, which is still a massive win.
How I Actually Use This in My Own Workflow
I use the Previous button most during event sessions and family portrait batches, exactly the use case Matt is demonstrating. But I’ve also started leaning on it as a creative shortcut when I’m experimenting. I’ll develop one image in a very specific direction – usually with a preset I’ve named after a song as a starting point – then use Previous to quickly spread that look across a few similar frames before deciding which direction I actually want to take the series.
One thing I’d add beyond what the tutorial covers: Previous also works if you’ve jumped around between photos and then come back to edit a new one. Lightroom remembers the most recently edited photo’s settings, not the most recently viewed one. So even if you’ve clicked around the library looking at thumbnails, the button will pull from whichever image you last made changes to in Develop.
The single most important thing to take away from this tutorial is that “Previous” is not just a convenience button – it’s a workflow tool with a very specific behavior that’s different from Sync, Copy/Paste, or presets. Understanding that distinction is what makes it actually useful rather than occasionally confusing. Once it clicks, you’ll find yourself reaching for it constantly.
Watch the full tutorial on YouTube to see Matt walk through the edit and the button in real time.
Comments
Leave a Comment