I’ve been editing photos in Lightroom long enough that my workflow feels like muscle memory. Import, lens correction, exposure, color grade, export. Repeat. It works. But last month I was processing a batch of golden-hour landscape shots from a recent trip, and when I zoomed into the shadows at 100 percent, I saw the kind of luminance noise that makes you question your camera, your lens, and every life choice that led to that moment. Lightroom’s built-in denoise did its job, but something felt soft. Like the image had been smoothed rather than cleaned.
That’s when I finally paid attention to something I’d been ignoring for years: pre-processing RAW files before they ever touch Lightroom.
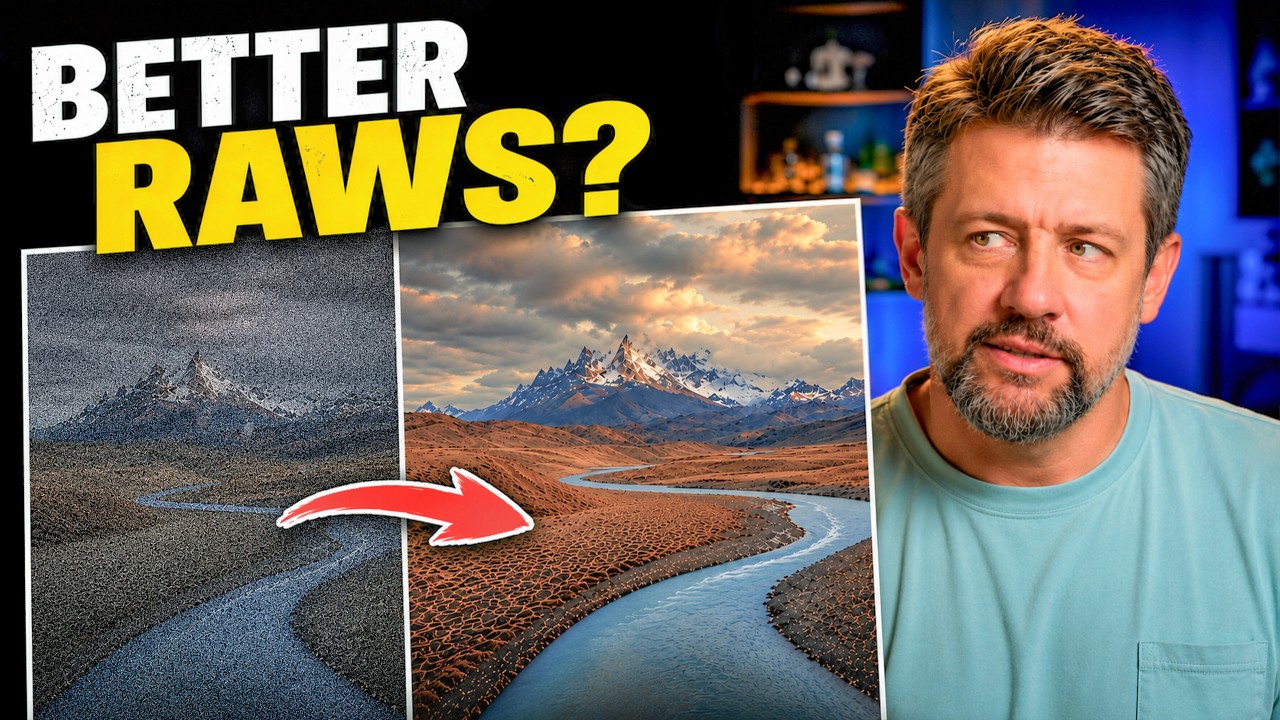
What DxO PureRAW 6 Actually Does to Your File
In this Mark Denney tutorial, he cuts straight to the question most Lightroom-only editors have: why would you add a whole extra application to your workflow? His answer is specific, and it’s the right one. DxO PureRAW 6 processes your RAW file before editing. It applies lens corrections, optical aberration fixes, and AI-powered noise reduction using data from DxO’s own lens and camera body database. The output is a DNG file that lands in Lightroom already cleaner and sharper than the original.
This is not the same as running Lightroom’s Denoise slider up to 40 and calling it a day. PureRAW works at the RAW demosaicing stage, which means it’s correcting problems in the data before the image is even fully rendered. That’s a fundamentally different approach.
DeepPRIME 3 vs. DeepPRIME XD3: Where the Difference Shows Up
Mark tests two processing modes in the video, and this is where it gets genuinely useful. DeepPRIME 3 is the standard AI denoising engine, solid across most shooting situations. DeepPRIME XD3 is the more aggressive option, designed specifically for high-ISO files and images with heavy noise in the shadows.
At lower ISO values, the difference between the two is subtle enough that you could reasonably use either. But once you push into ISO 3200, 6400, or higher, XD3 pulls ahead noticeably. Mark’s landscape comparisons show fine texture in foliage and rock surfaces that DeepPRIME 3 starts to blur. The trade-off is processing time. XD3 takes longer, sometimes significantly, depending on your hardware. For a single hero shot you plan to print large, that extra time is worth it. For a 300-image wedding cull, maybe run a test first.
The practical workflow Mark demonstrates is simple: select your files in PureRAW 6, choose your processing mode, and let it run. The resulting DNGs are automatically organized and can be sent directly to Lightroom. You keep your original RAW files and work from the processed versions going forward.
AI Dust Removal and the Feature I Didn’t Expect to Care About
Dust spot removal is the part of this tutorial I was most skeptical about. Dust removal in software tends to feel like a patch job. But PureRAW 6’s approach is more intelligent than that. Because it’s working at the file level with full optical data, it can identify sensor dust patterns and remove them consistently across a batch of images shot with the same body. Mark demonstrates this on a series of landscape frames and the consistency is genuinely impressive. Spots that would have taken several minutes of manual healing work per image are gone before the file opens in Lightroom.
The High Fidelity File Compression feature is newer and aimed at storage management. It reduces DNG file size without throwing away image data in a way that affects editing headroom. I haven’t stress-tested this personally yet, but Mark’s before and after comparisons show no visible quality loss at 100 percent, and the file size reduction is meaningful if you’re working with large batches.
Where I’d Push Back a Little
Here’s my honest extension to what Mark covers: PureRAW 6 earns its place for high-ISO work and for critical landscape or print files. But for everyday shooting at base ISO in good light, the benefit shrinks. I ran a batch of well-lit product shots through PureRAW last week and compared them against straight Lightroom imports. At 100 percent, PureRAW was technically cleaner. At any normal viewing size, I couldn’t tell the difference. The extra processing step added time without adding visible value for that specific use case.
The lesson I took from this is that PureRAW 6 is a precision tool, not a blanket solution. If your shooting conditions are clean and controlled, Lightroom’s native processing holds up fine. If you’re regularly working with high-ISO files, underexposed shadows, or images you’re planning to upscale or print large, this is the step you’ve probably been skipping at a real cost to your final image quality.
The Actual Impact on Editing Headroom in Lightroom
This is the part Mark’s video makes clearest, and it’s the most convincing argument for adding PureRAW to a Lightroom-based workflow. When you bring a PureRAW-processed DNG into Lightroom, you have more room to push your edit. You can lift shadows further, recover highlights more aggressively, and increase local contrast without the noise floor becoming a problem. The file is more stable under pressure.
That extra editing headroom is what makes this step worth the effort. It’s not about replacing Lightroom. It’s about giving Lightroom a better file to work with.
The single most important takeaway here: RAW pre-processing isn’t a workaround for bad technique, it’s a way to recover the maximum amount of real image data before your editing decisions compress it. Watch Mark’s full video to see the 100 percent pixel comparisons that make this obvious in a way that words can’t fully replicate.
Comments
Leave a Comment