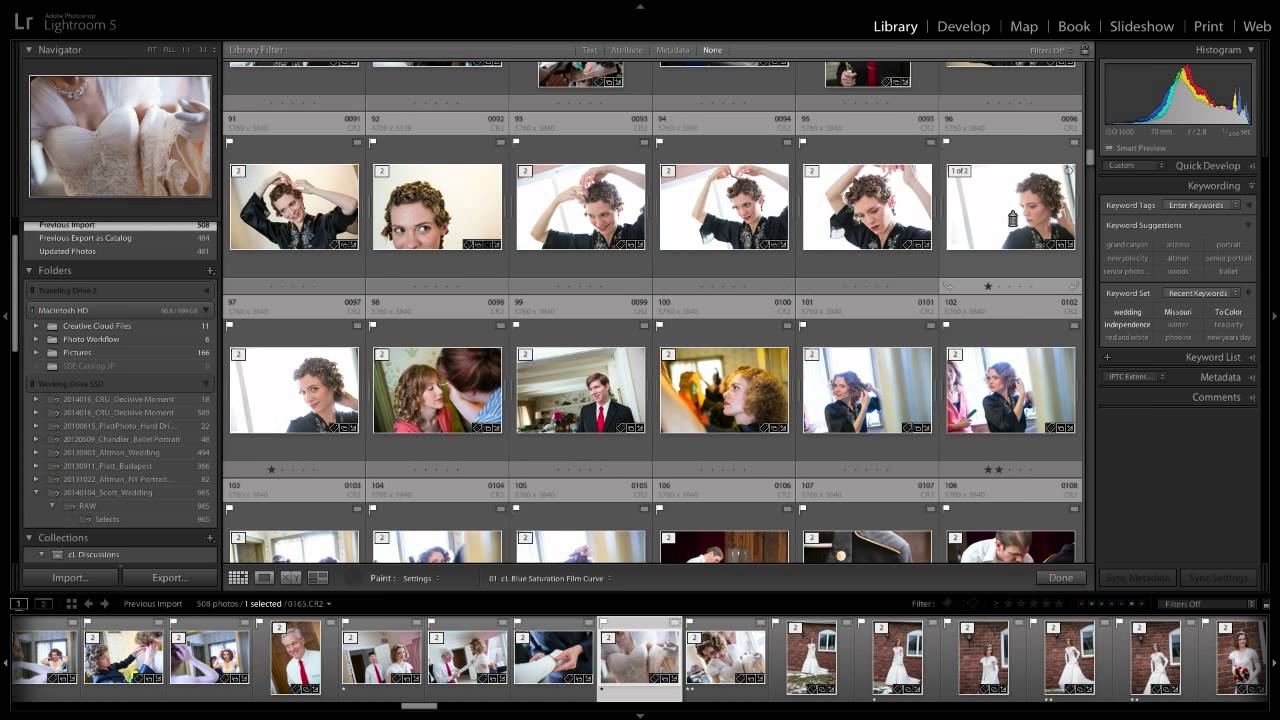
There’s a moment in every big shoot where you’re staring at 800 raw files and the math stops working in your favor. You could batch-select and sync settings, sure. But syncing assumes every image in a range wants the same treatment, and that’s almost never true. What you actually want is to move fast and stay selective. That gap between speed and intention is exactly what this technique fills.
In this CreativeLive tutorial, the instructor walks through one of Lightroom’s most underused tools: the spray can, repurposed not for keywords but for style. Watch the full tutorial on YouTube. The basic idea is that you stay in the grid view, scan visually, and paint presets onto individual images or small clusters as you go. No jumping into Develop. No selecting ranges. Just instinct and a click.
I’ve been editing event photos long enough to know that the bottleneck is almost never the actual adjustments. It’s the decision-making. This method externalizes that process and makes it faster without making it sloppier. Here’s how to do it.
Step 1: Switch to Grid View in the Library Module
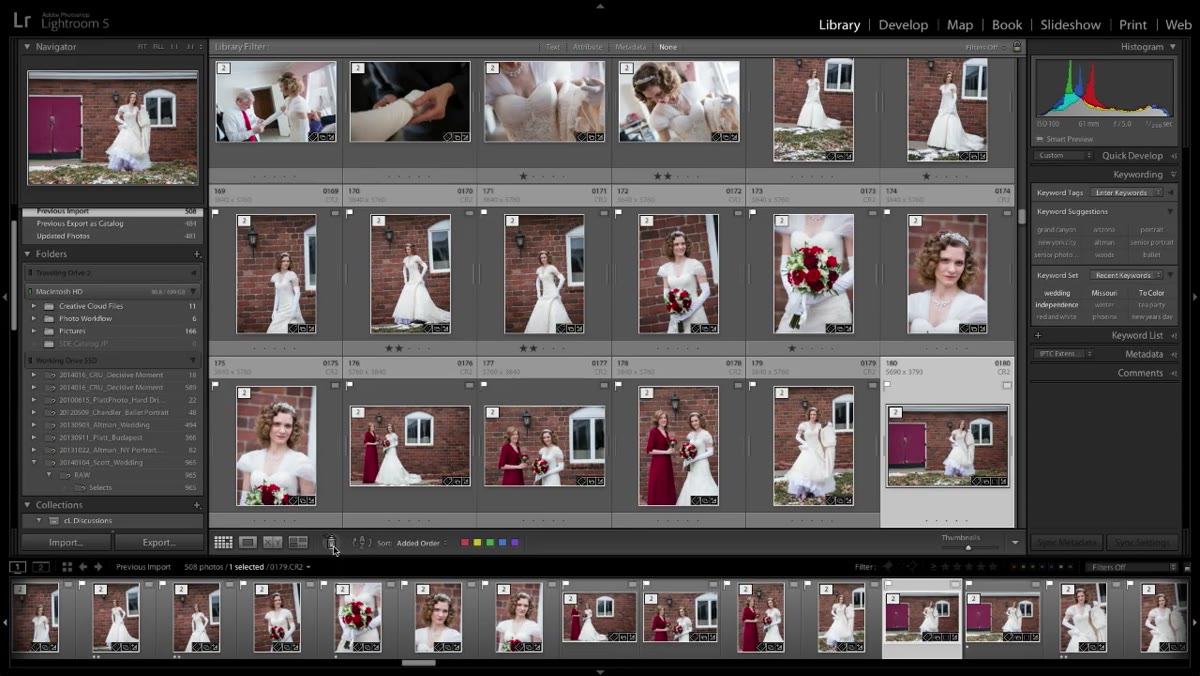 Spray can tool visible in the Library module toolbar
Before anything else, make sure you’re working in the Library module, not Develop. Grid view is the whole point here. You need to see multiple images at once so you can make visual decisions quickly. Hit G to get into grid view if you’re not already there.
Spray can tool visible in the Library module toolbar
Before anything else, make sure you’re working in the Library module, not Develop. Grid view is the whole point here. You need to see multiple images at once so you can make visual decisions quickly. Hit G to get into grid view if you’re not already there.
The spray can lives in the toolbar at the bottom of the grid. If your toolbar isn’t visible, press T to bring it up. The spray can icon sits in that row of tools alongside the sort controls and other grid options.
Step 2: Set the Spray Can to “Settings” Mode
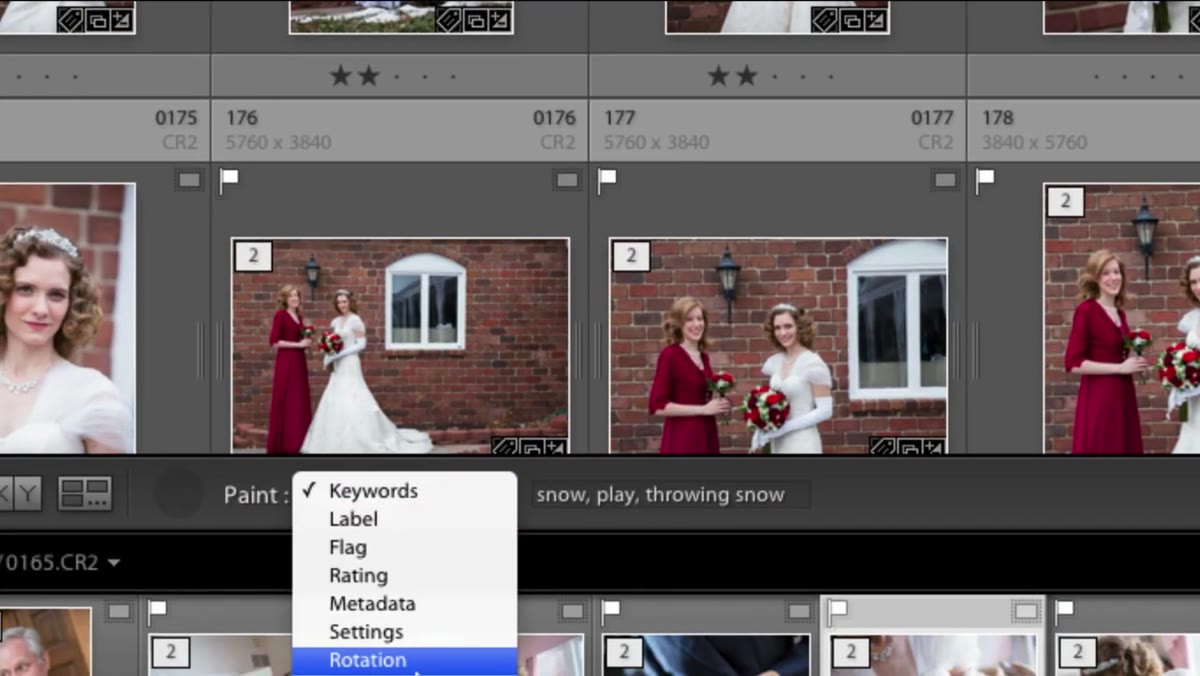 Spray can dropdown menu showing “Settings” option selected
Click the spray can to activate it, and then look at the dropdown that appears in the toolbar immediately to the right of the icon. By default it’s probably set to “Keywords.” Change that to Settings. This is the mode that lets you spray presets rather than metadata tags.
Spray can dropdown menu showing “Settings” option selected
Click the spray can to activate it, and then look at the dropdown that appears in the toolbar immediately to the right of the icon. By default it’s probably set to “Keywords.” Change that to Settings. This is the mode that lets you spray presets rather than metadata tags.
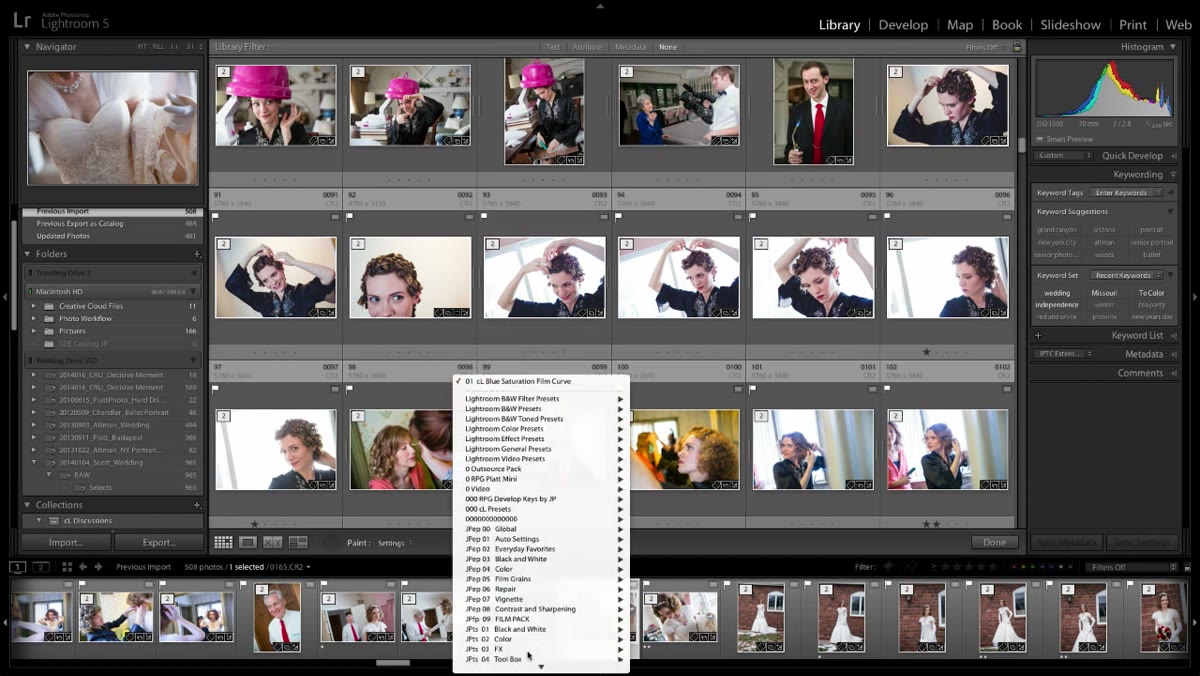
Once you switch to Settings mode, a second dropdown appears where you can choose which preset to load. This is where your preset library matters. If your presets are organized into meaningful folders, you can navigate to exactly the look you want in a few clicks. If they’re a mess, now’s a good time to clean that up.
Step 3: Select Your Preset and Start Scanning the Grid
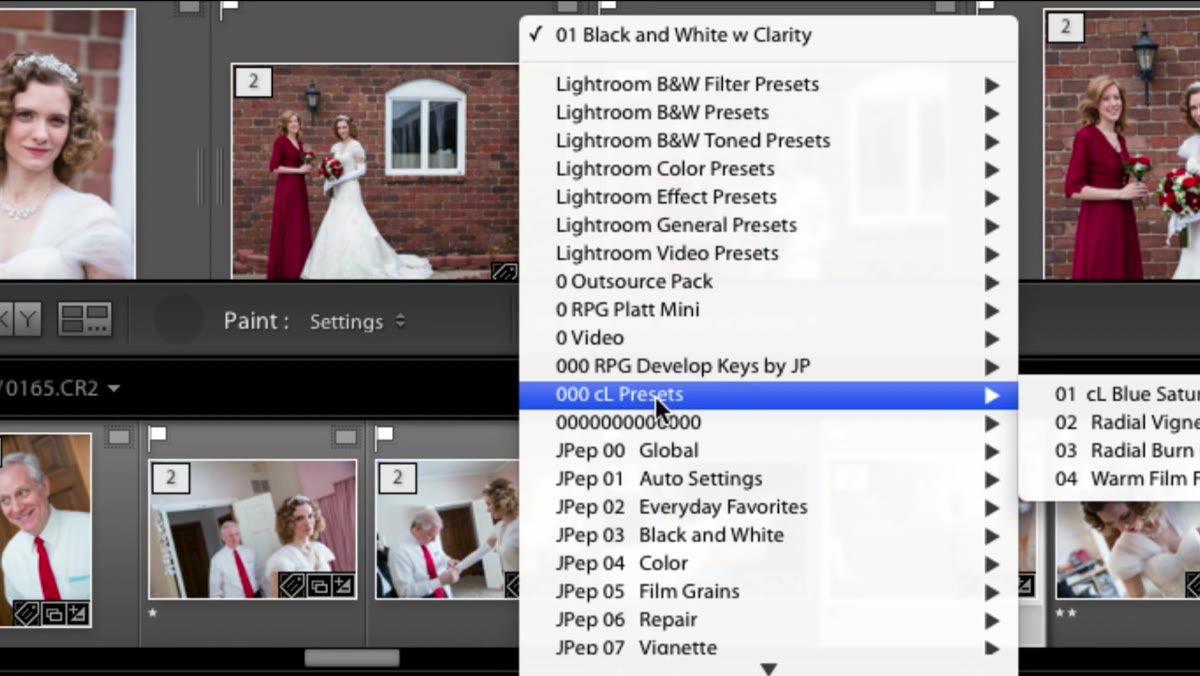 Preset dropdown open with a specific preset highlighted
Choose the preset you want to work with first. The tutorial uses a blue saturation film curve, a specific look built earlier in the course. The exact preset doesn’t matter for learning the technique. What matters is that you pick one look at a time and commit to it for a full pass through the grid.
Preset dropdown open with a specific preset highlighted
Choose the preset you want to work with first. The tutorial uses a blue saturation film curve, a specific look built earlier in the course. The exact preset doesn’t matter for learning the technique. What matters is that you pick one look at a time and commit to it for a full pass through the grid.
This is the part that changes how the workflow feels. Instead of asking “what does this photo need,” you’re asking “where would this look work?” It’s a subtly different question, and it’s much faster to answer visually when you’re moving through thumbnails.
Step 4: Click or Drag Across Images to Apply the Preset
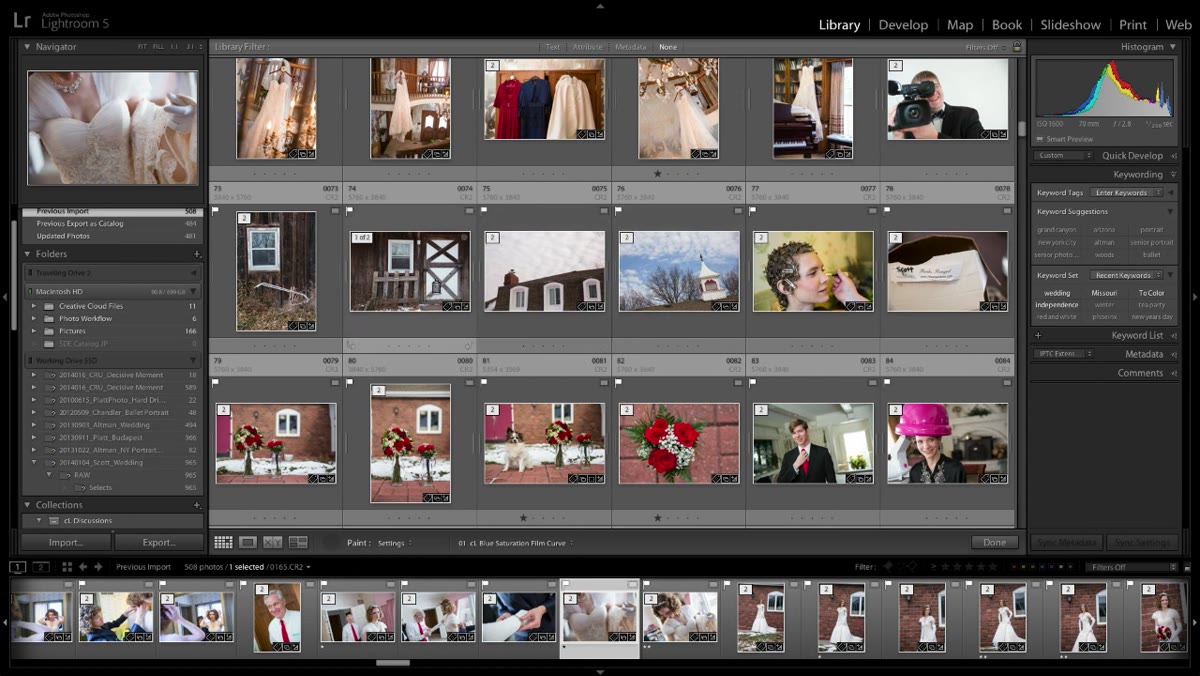 Cursor dragging across a group of four images in the grid
With the spray can active, a single click applies the preset to one image. Click and drag across a row or a cluster to hit multiple images in one motion. You don’t need to pre-select anything. The spray can works directly on whatever your cursor touches.
Cursor dragging across a group of four images in the grid
With the spray can active, a single click applies the preset to one image. Click and drag across a row or a cluster to hit multiple images in one motion. You don’t need to pre-select anything. The spray can works directly on whatever your cursor touches.
The instructor drags across four images at once here, and you can see all four update immediately in the thumbnail. This is the speed multiplier. For a 600-image wedding gallery, a single pass with a black and white preset might take four or five minutes instead of forty.
Step 5: Layer Multiple Presets Additively
 Second preset being sprayed on top of images that already have a preset applied
Here’s where it gets interesting. Presets applied through the spray can are additive, meaning you can spray one preset over another and both sets of adjustments stack. The tutorial demonstrates this by spraying a warm sepia tone on top of images that already have the film curve applied.
Second preset being sprayed on top of images that already have a preset applied
Here’s where it gets interesting. Presets applied through the spray can are additive, meaning you can spray one preset over another and both sets of adjustments stack. The tutorial demonstrates this by spraying a warm sepia tone on top of images that already have the film curve applied.
This only works cleanly if your presets are modular. A preset that touches every single slider will overwrite whatever came before it. But if you build presets that only control specific parameters (grain, vignette, tone curve, color grading), they layer the way you’d want them to. It’s worth auditing your preset library with this in mind.
Step 6: Use Color Problems as Black-and-White Triggers
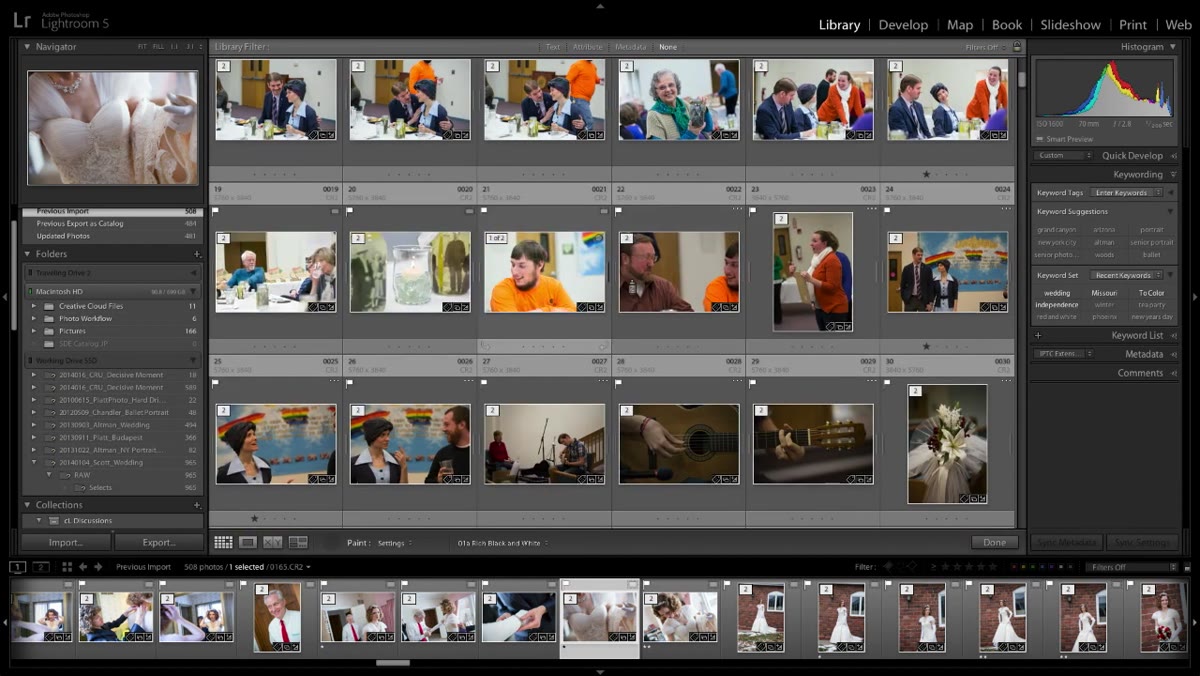 Wedding image with distracting orange shirts being converted to black and white
The most practically useful part of the tutorial isn’t the blue film curve. It’s the decision-making framework for black and white. The instructor’s rule is simple: when the colors in a frame compete with the subject rather than support it, convert to black and white.
Wedding image with distracting orange shirts being converted to black and white
The most practically useful part of the tutorial isn’t the blue film curve. It’s the decision-making framework for black and white. The instructor’s rule is simple: when the colors in a frame compete with the subject rather than support it, convert to black and white.
The example is a wedding shot where guests in bright orange shirts visually overpower the bride and groom. The fix isn’t to desaturate the orange. The fix is to spray a black-and-white preset across every image from that moment and move on. Color that distracts from the primary subject is a liability, not an asset. Black and white makes it a non-issue.
Step 7: Do Full Style Passes, One Look at a Time
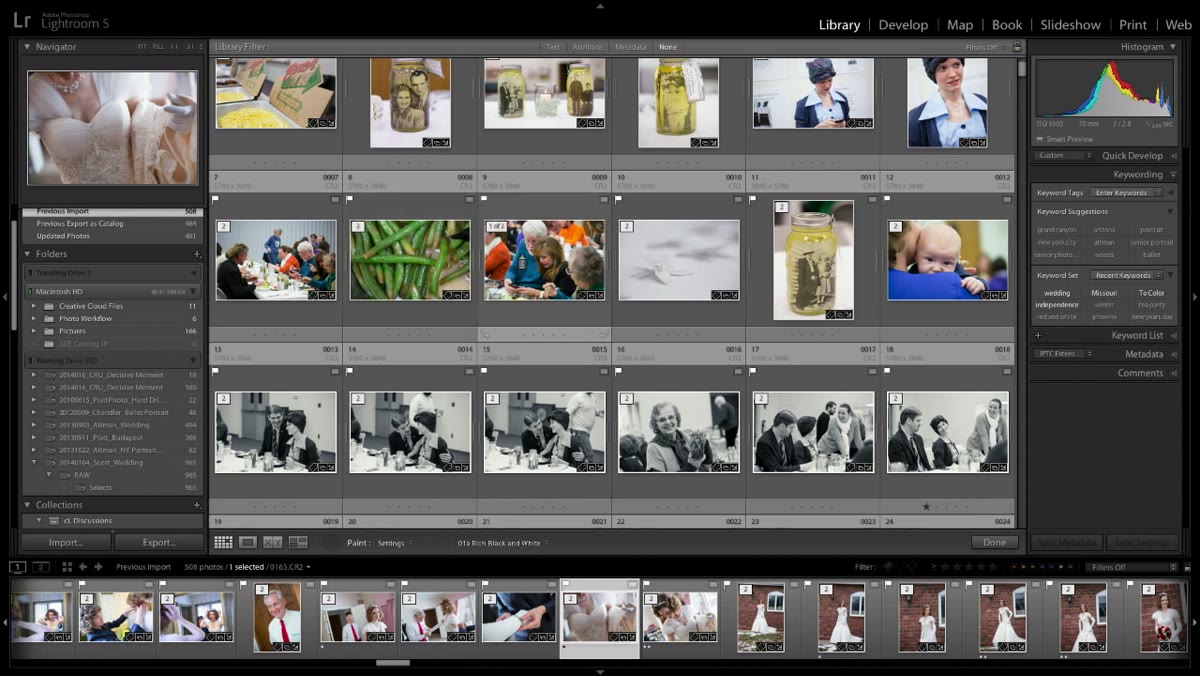 Scrolling through the grid applying a black and white preset across multiple shots
The instructor’s actual workflow is to do separate passes through the full grid for each style category. One pass for black and whites. One pass for the warm film look. One pass for vignettes. This keeps your eye calibrated to a single question at a time and prevents the kind of decision fatigue that makes galleries feel inconsistent.
Scrolling through the grid applying a black and white preset across multiple shots
The instructor’s actual workflow is to do separate passes through the full grid for each style category. One pass for black and whites. One pass for the warm film look. One pass for vignettes. This keeps your eye calibrated to a single question at a time and prevents the kind of decision fatigue that makes galleries feel inconsistent.
Think of it like proofing for one type of error at a time rather than trying to catch everything in one read. Your hit rate goes up because your attention is focused.
What I Do Differently (and Why)
I run a pass before any preset work where I just flag images with P or reject them with X without touching a single adjustment. Getting the culling done first means my preset passes are only landing on images that are already keepers. That keeps me from falling in love with a treatment on a photo I was going to cut anyway.
I also name my presets the way I name songs. My go-to film curve is called “Side A,” my warm matte look is “Golden Hour Session,” and my punchy black-and-white preset is “Quiet Storm.” Ridiculous? Maybe. But when I’m moving fast through 900 images, scanning a list of named presets feels more like intuition and less like a filing system. Whatever keeps you moving without breaking concentration is the right system.
The core lesson from this tutorial is that editing speed comes from limiting your decisions per pass, not from making fewer decisions overall. Spray one look at a time, let visual instinct drive where it lands, and let presets stack when the image calls for more. That’s the whole system.
Watch the full tutorial on YouTube to see the spray can technique in action alongside the full context of the CreativeLive editing session.
Comments (2)
Been doing this wrong for years apparently. Thanks for the wake-up call.
Wow, I had no idea you could do this. Mind blown.
Leave a Comment