There’s a specific kind of frustration that hits when you’ve committed to an edit, exported the file, and then a client asks if you can see what it would look like in black and white “just for comparison.” If your whole workflow runs through a single edited file, that question costs you real time. I’ve been there more than once, usually late on a Tuesday night with a vinyl record skipping in the background and zero patience for rebuilding an entire grade from scratch.
That’s exactly the problem that virtual copies, versions, and snapshots are built to solve. These three features let you branch your editing work without duplicating actual files or starting over. They sound similar on the surface, but they behave very differently depending on which version of Lightroom you’re using and what you’re trying to accomplish. In this KelbyOne tutorial, Terry White walks through all three with live demonstrations, and his breakdown clarified a few things I’d been fuzzy on even after years of working in both apps. Watch the full tutorial on YouTube if you want to follow along.
Here’s the step-by-step of what Terry covers, with enough detail that you can apply it immediately.
Step 1: Create a Virtual Copy in Lightroom Classic
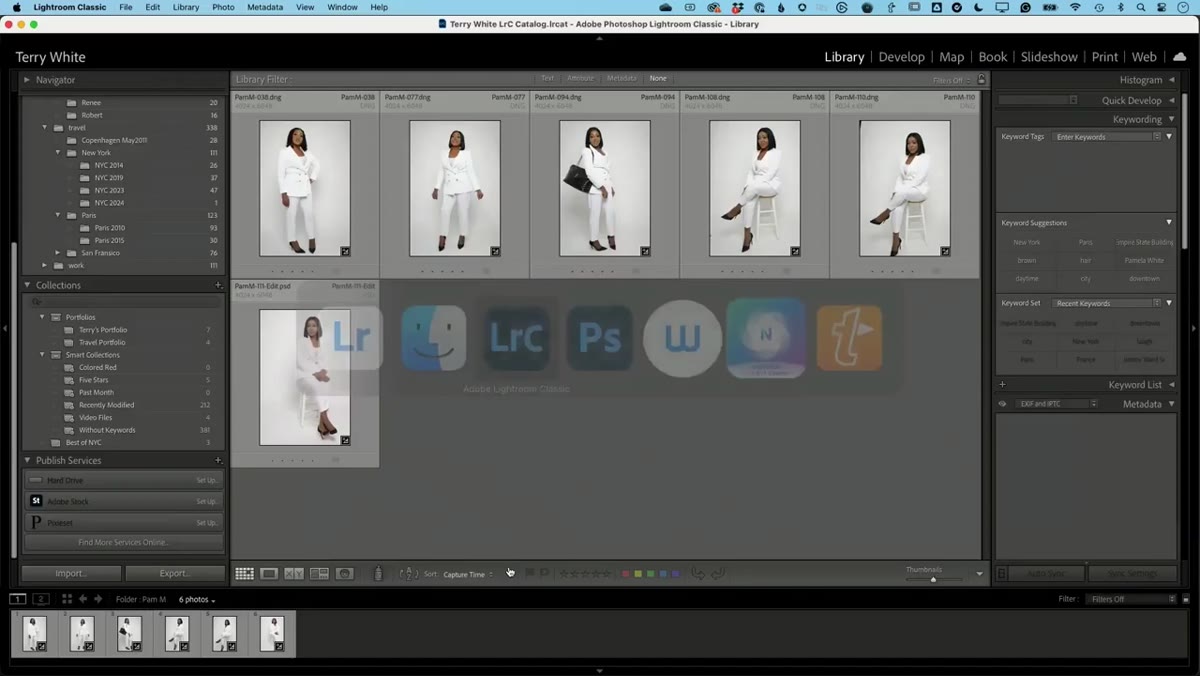 Lightroom Classic grid view with a photo selected
Virtual copies live in Lightroom Classic only - they don’t exist in the cloud-based Lightroom app, and that distinction matters. To make one, right-click your image in the Grid or Filmstrip and choose “Create Virtual Copy,” or use the keyboard shortcut Command + Quote (Mac) / Ctrl + Quote (Windows). The copy appears right next to your original in the filmstrip, and you’ll recognize it immediately by the small folded page corner icon in the lower-left of the thumbnail. Lightroom also labels it “Copy 1” so there’s no confusion.
What you’re actually creating is a second set of metadata and develop instructions that point back to the same source file. No new image file is written to disk. The storage cost is basically nothing, which means you can make five or six variations of the same shot without any guilt.
Step 2: Edit the Virtual Copy Without Touching the Original
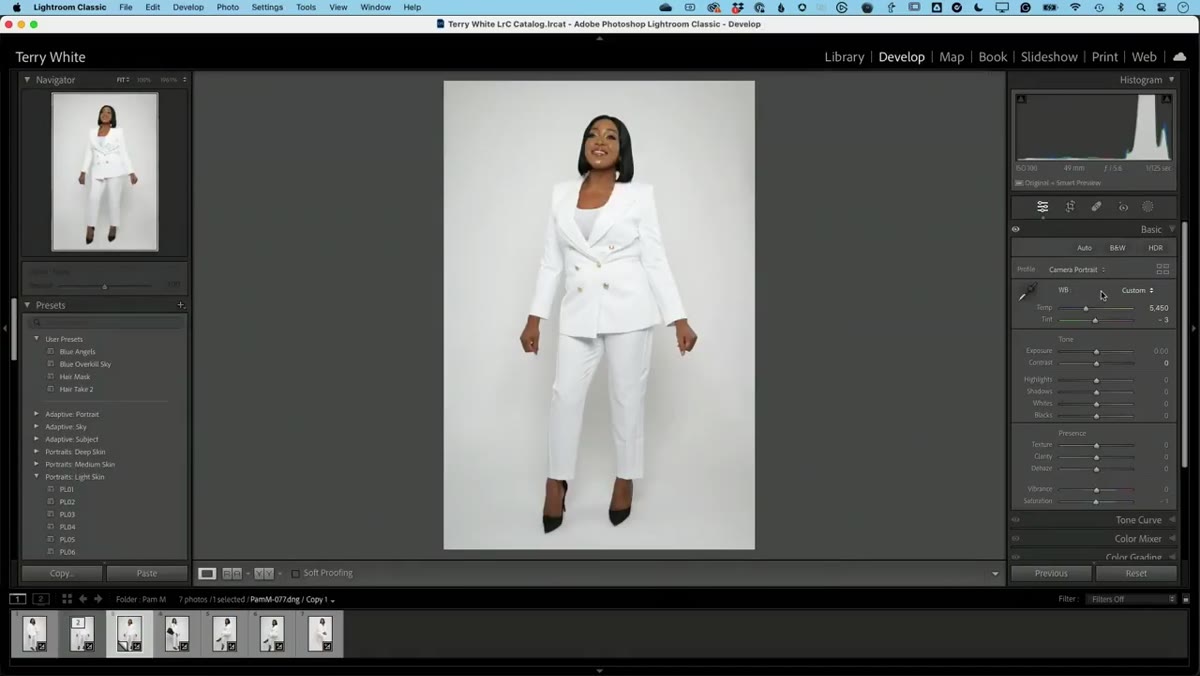 Develop module open with a virtual copy in black and white
Once your virtual copy exists, jump into the Develop module and do whatever you want to it. Terry converts his to black and white as a demo, but the point isn’t the specific edit - it’s that every adjustment you make stays isolated to this copy. The original stays exactly where it was, with its own edit history fully intact.
This is the core value of virtual copies: total independence. You can push exposure hard, apply a completely different color grade, or run a preset that you’d never use on a client deliverable just to see what happens. If you hate the result, delete the copy and move on. If you love it, you now have two deliverables from one file.
Step 3: Stack Multiple Virtual Copies for Side-by-Side Comparison
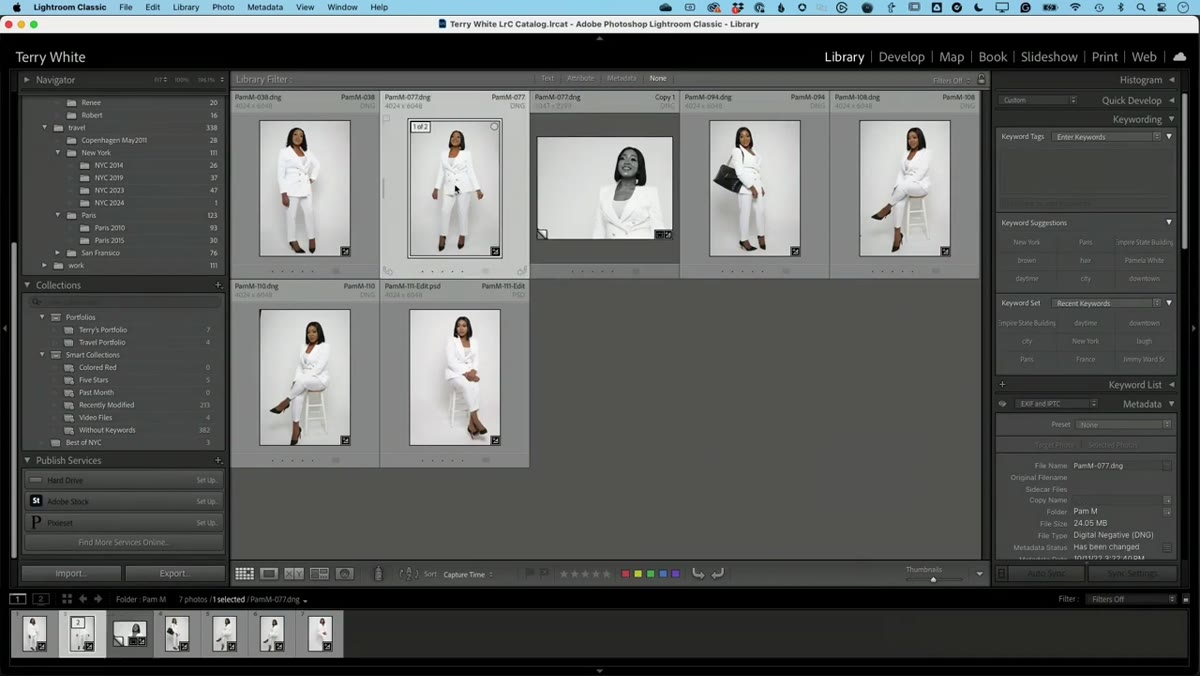 Two virtual copies plus original visible in Lightroom Classic filmstrip
Nothing stops you from creating a second or third virtual copy from the same original. Hit Command + Quote again on the master file and you get another independent branch. Terry demonstrates this by applying a dramatic brightness shift and then a people mask to his second copy, selecting individual facial features like skin, lips, and hair to selectively lighten the subject while darkening the background.
The practical use case here is showing clients options without committing to one direction. I’ve built entire comparison exports this way - portrait bright and airy, same portrait dark and moody, same portrait black and white - all living in the same catalog location, all traceable back to one raw file. When the client picks one, I delete the others.
Step 4: Understand the One Limitation of Virtual Copies
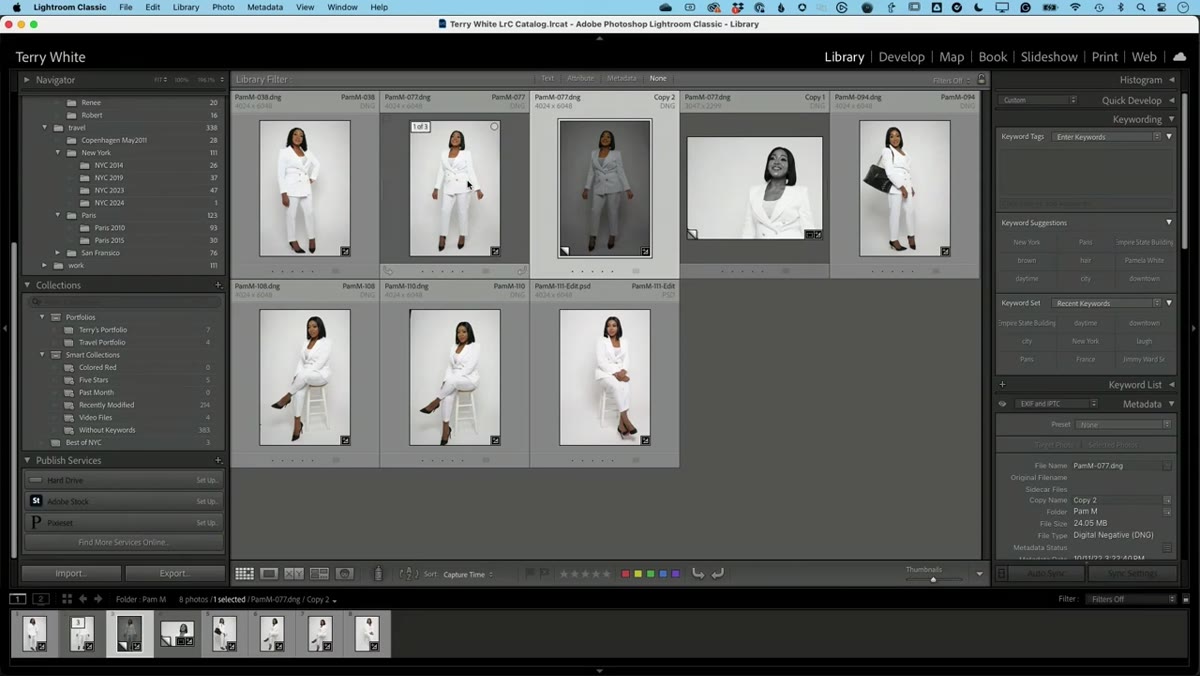 Original file selected in Lightroom Classic alongside virtual copies
Terry makes an important clarification here that’s easy to miss. If your image is a raw file, the original is never actually modified inside Lightroom, so your virtual copies remain fully independent no matter what. But if you were to open a non-raw file, edit the original externally in something like Photoshop, and save over it, that change would affect the source data the virtual copies are referencing. With raw files you’re protected by the format itself. With JPEGs or TIFFs, be more careful.
Step 5: Switch to Lightroom (Cloud) and Find Versions
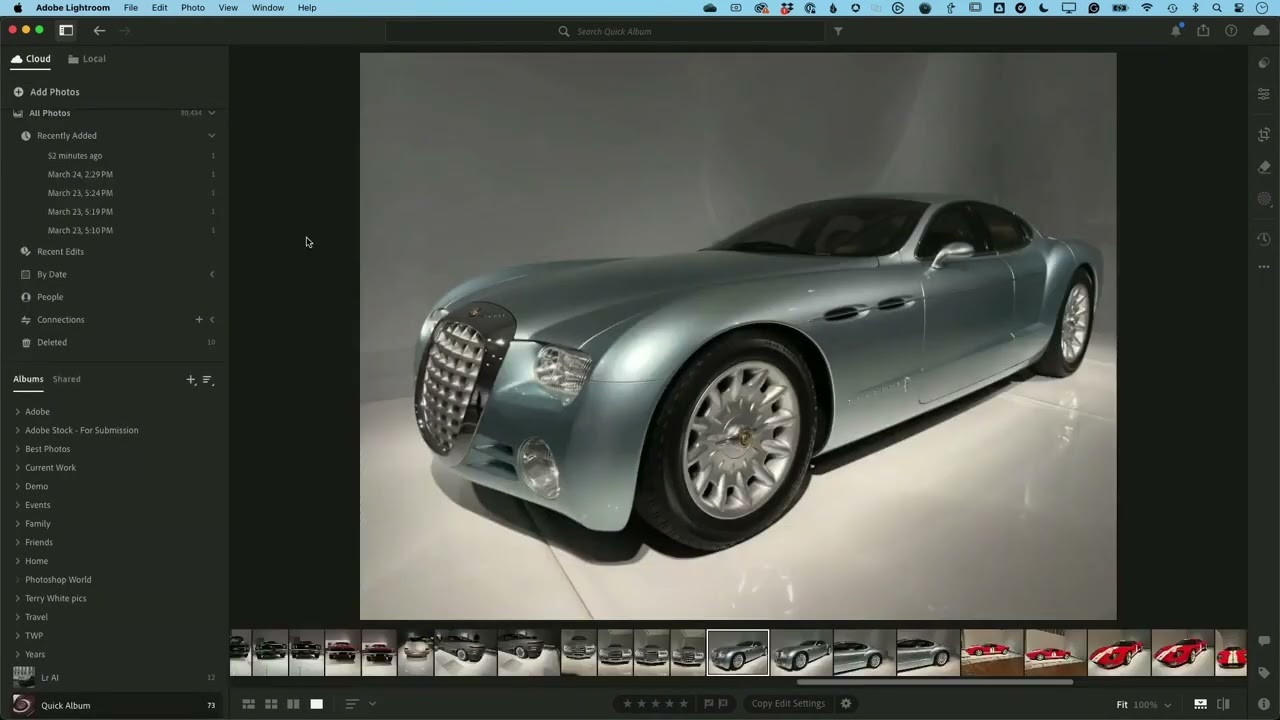
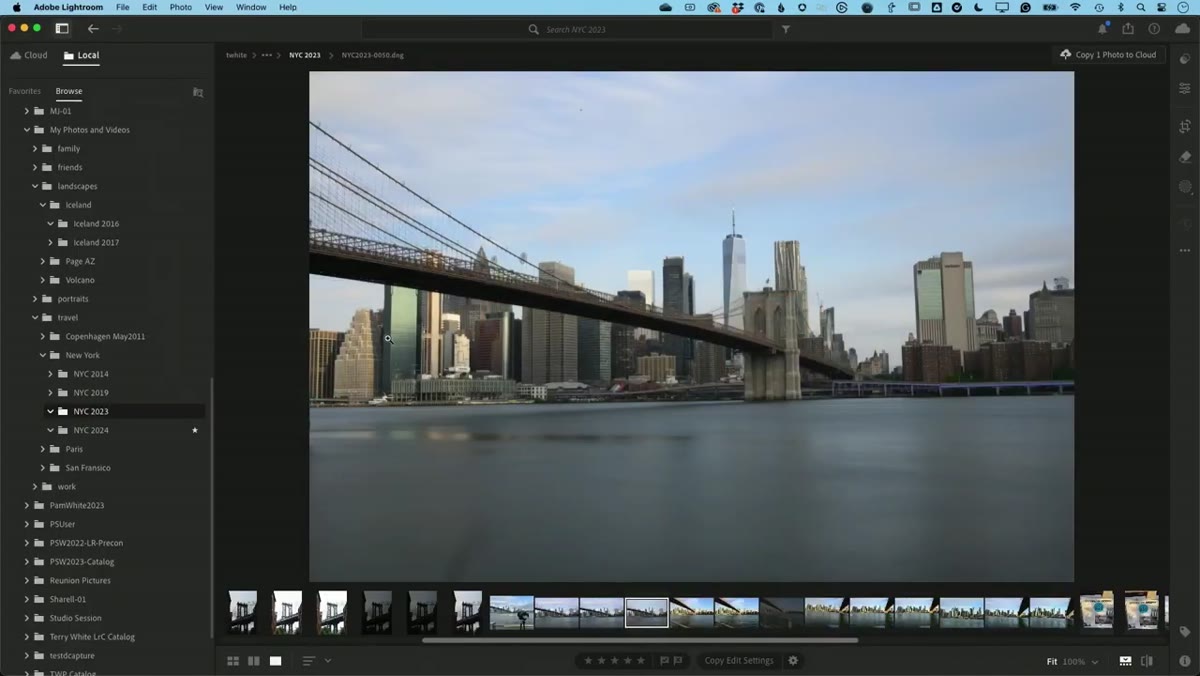 Lightroom cloud app open with a photo selected
Here’s where things shift. The cloud-based Lightroom app doesn’t have virtual copies. What it has instead is “Versions,” and there’s one catch Terry flags immediately: Versions only work if the image is synced to the cloud. If your photo is local-only, you won’t see the option. Once you’re working with a cloud-synced image, you can access Versions from the editing panel.
The workflow is slightly different from virtual copies. You make your edits first - Terry cranks exposure and pushes the car in his photo toward a heavy blue tone as a demonstration - and then you save that state as a named version. Click “Create Version” and give it a label. Terry names his “blue,” which is about as direct as it gets. From that point, you can always return to the original import state or jump back to any named version you’ve saved.
Step 6: Create Additional Named Versions
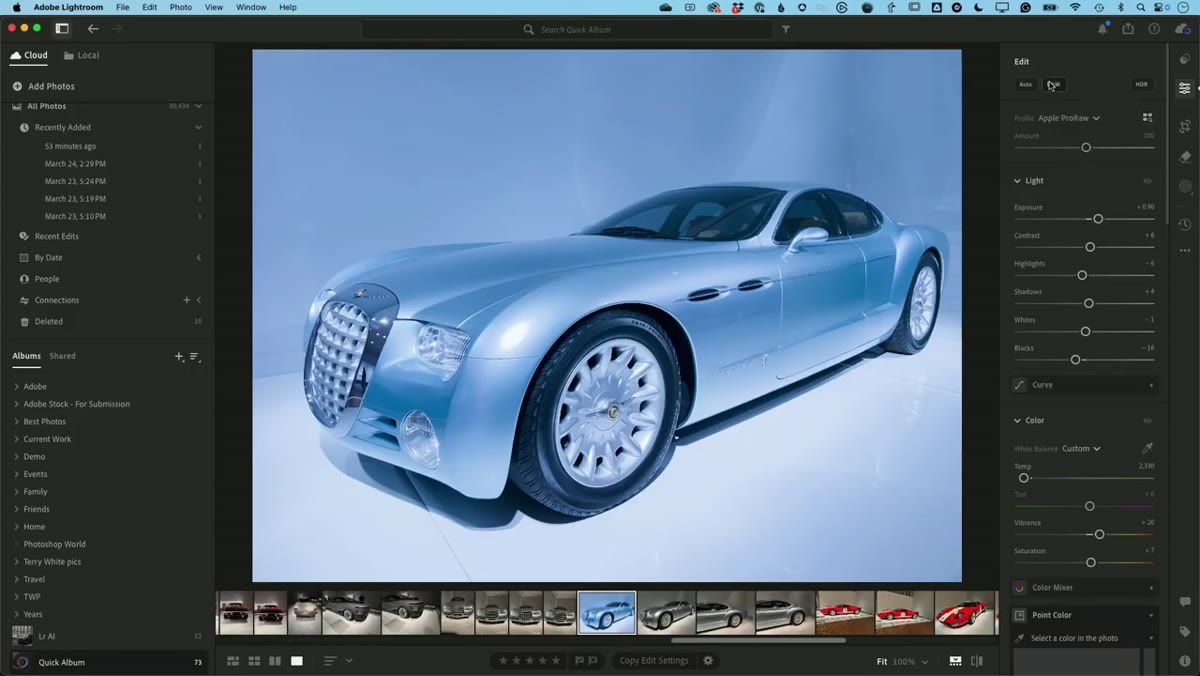 Versions panel in Lightroom cloud showing multiple saved versions
After saving one version, you can keep editing and save another. Terry converts his image to black and white after saving the blue version, then creates a second named version for that look. The versions panel keeps all of them accessible with a single click, similar to how you’d navigate virtual copies in Classic. The naming matters more here because you don’t have visual thumbnail previews in the same way - a good label like “warm grade” or “bw punchy” saves you from clicking through each one to remember what it was.
What I Do Differently: Version Naming as a Creative Log
I name my presets after songs, so it was natural for me to start naming versions the same way. “Born to Run” for a high-contrast black and white. “Harvest Moon” for a warm, pulled-back portrait grade. It sounds gimmicky but it works, because a creative mood is easier to recall than a technical description. When a client comes back six months later and asks for “that warm one we talked about,” I know exactly which version to find. Labels like “version 2 bright” blur together fast.
The other thing worth noting: if you work across both apps like I do, you’ll want to decide early which tool is your primary environment. Virtual copies in Classic don’t sync to the cloud Lightroom app as separate editable entities. They export fine, but the branching structure doesn’t cross over cleanly. Pick the right tool for the job before you build out a complex variation stack.
The single biggest takeaway here is that non-destructive editing isn’t just about protecting your original - it’s about giving yourself permission to experiment without penalty. Virtual copies in Classic and Versions in cloud Lightroom both remove the cost of trying something different, and once that cost disappears, you edit more freely and you end up with better work.
Watch the full tutorial on YouTube to see Terry walk through the whole thing live, including the masking demo in the Develop module.
Comments
Leave a Comment