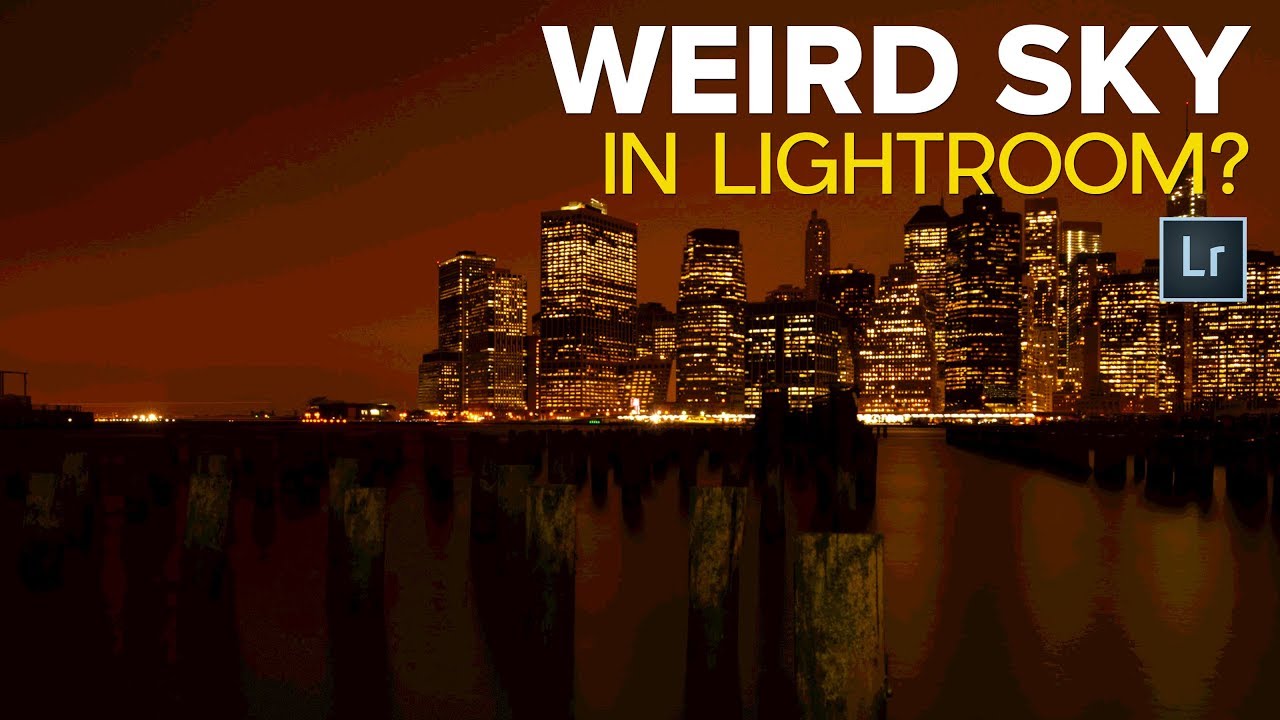
I’ve been editing photos in Lightroom long enough to know that the application has a gift for making you doubt yourself at exactly the wrong moment. You’re culling a shoot, you land on a landscape with a gorgeous gradient sky, and suddenly the sky looks like a television losing signal - horizontal lines cutting through what should be smooth, clean tones. Your stomach drops. You start mentally calculating whether your camera sensor is dying or your monitor is going bad. Nine times out of ten, neither is true.
This specific problem - called banding - is something Matt Kloskowski breaks down with refreshing clarity in a recent tutorial. Watch the full tutorial on YouTube before or after reading this walkthrough. I’m going to expand on what he covers because this is one of those workflow landmines that trips up photographers who are otherwise doing everything right, and understanding the “why” behind it changes how you evaluate every photo you cull from here on out.
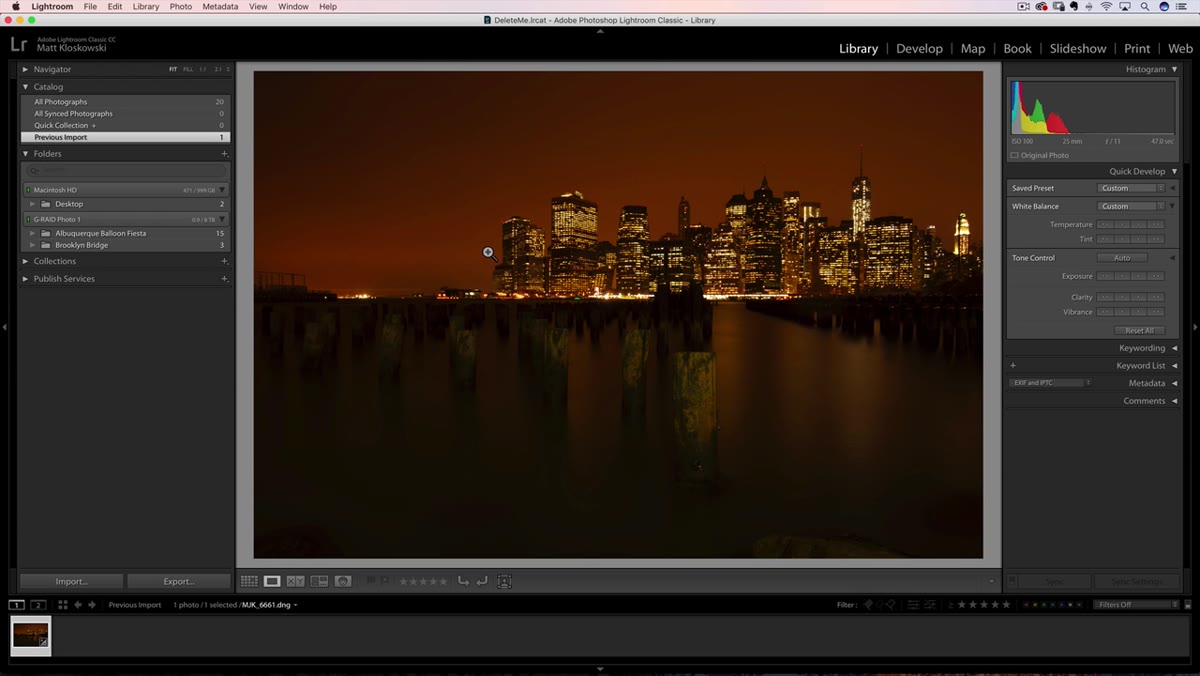
The short version: Lightroom is quietly showing you a compressed JPEG preview in the Library module to keep things fast. That preview is convenient. It is not accurate. And once you know that, you stop panicking every time a sky looks corrupted during a culling session.
Step 1: Spot the Banding in the Library Module
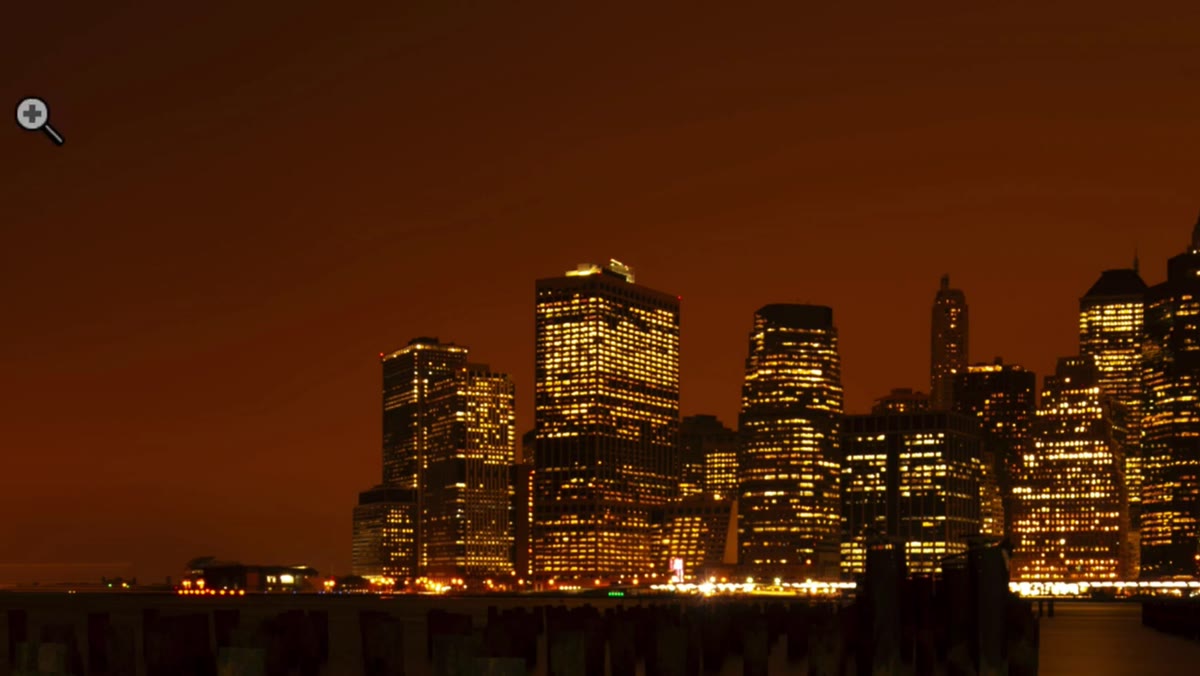 Banding lines visible across a gradient sky in Library module
Open Lightroom and pull up any image with a wide, gradual sky - think dusk shots, overcast skies, or any scene where the color shifts slowly across a large area. Zoom in slightly so the sky fills a good portion of your screen. If you see thin horizontal lines running through the gradient, that’s banding. It tends to be most obvious in darker, wider gradations - a deep blue pre-sunrise sky is a classic offender. The banding looks like compression artifacts and that is, in a way, exactly what it is.
Banding lines visible across a gradient sky in Library module
Open Lightroom and pull up any image with a wide, gradual sky - think dusk shots, overcast skies, or any scene where the color shifts slowly across a large area. Zoom in slightly so the sky fills a good portion of your screen. If you see thin horizontal lines running through the gradient, that’s banding. It tends to be most obvious in darker, wider gradations - a deep blue pre-sunrise sky is a classic offender. The banding looks like compression artifacts and that is, in a way, exactly what it is.
Not every photo will show this, and it doesn’t correlate with your camera quality or shooting technique. If you shoot RAW, your actual file data is clean. The preview is the problem, not the image.
Step 2: Switch to the Develop Module and Watch It Disappear
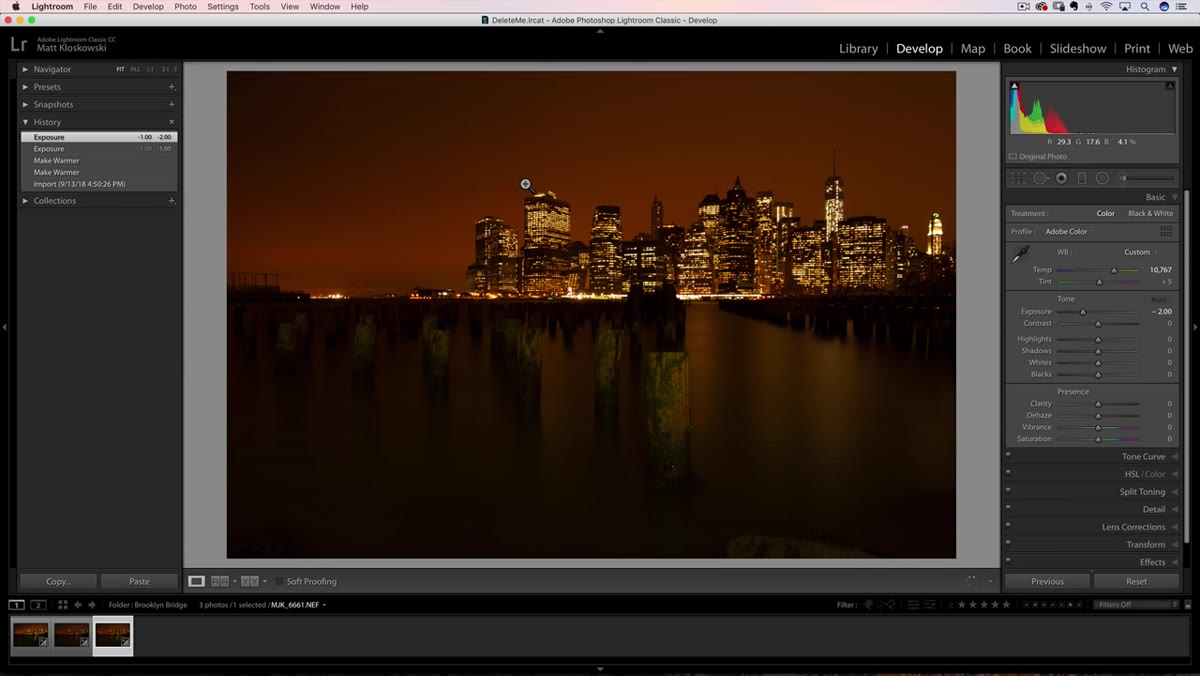 Develop module showing the same sky with smooth tones, no banding
Click over to the Develop module - keyboard shortcut D gets you there instantly. Give it a moment to render and watch the banding smooth out. The sky that looked like it was falling apart is now showing clean, continuous tones. This is your actual photo. This is what your RAW file contains.
Develop module showing the same sky with smooth tones, no banding
Click over to the Develop module - keyboard shortcut D gets you there instantly. Give it a moment to render and watch the banding smooth out. The sky that looked like it was falling apart is now showing clean, continuous tones. This is your actual photo. This is what your RAW file contains.
What’s happening under the hood is that Lightroom prioritizes speed in the Library module by displaying pre-rendered JPEG previews. JPEG compression introduces artifacts into gradients, and those artifacts show up as banding. The Develop module bypasses the preview and renders directly from your RAW data, which is why the image looks different - and better.
Step 3: Calibrate Your Culling Habit
 Library module grid view showing multiple images in quick succession
The practical takeaway from this step isn’t a button click, it’s a behavior change. Stop making quality judgments on skies and gradients while you’re in the Library module. Use Library for what it’s designed for - moving fast, flagging keepers, rejecting obvious misses. The moment you need to assess tonal quality, color accuracy, or whether a sky is actually clean, jump to Develop first.
Library module grid view showing multiple images in quick succession
The practical takeaway from this step isn’t a button click, it’s a behavior change. Stop making quality judgments on skies and gradients while you’re in the Library module. Use Library for what it’s designed for - moving fast, flagging keepers, rejecting obvious misses. The moment you need to assess tonal quality, color accuracy, or whether a sky is actually clean, jump to Develop first.
If you’re moving through a shoot with the right arrow key in Library, you’re browsing previews, not evaluating files. That’s a useful distinction to hold onto. It keeps the workflow efficient without letting a JPEG artifact fool you into trashing a perfectly good image.
Step 4: Check Your Lightroom External Editing Preferences
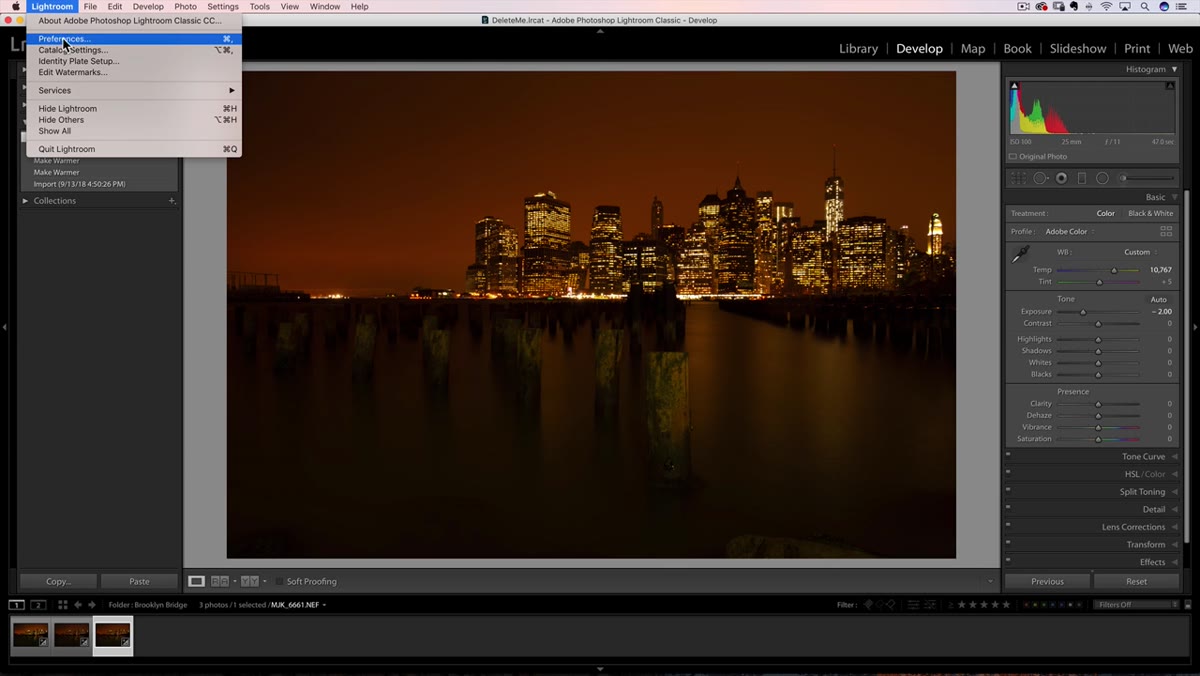 Lightroom Preferences panel open on the External Editing tab
This is where the tutorial shifts into tip territory and where things get genuinely useful for anyone who exports to Photoshop as part of their workflow. Go to Edit on a PC (Lightroom menu on Mac) and open Preferences, then navigate to the External Editing tab. You’ll see options that control what kind of file Lightroom sends to Photoshop when you use the “Edit In” command.
Lightroom Preferences panel open on the External Editing tab
This is where the tutorial shifts into tip territory and where things get genuinely useful for anyone who exports to Photoshop as part of their workflow. Go to Edit on a PC (Lightroom menu on Mac) and open Preferences, then navigate to the External Editing tab. You’ll see options that control what kind of file Lightroom sends to Photoshop when you use the “Edit In” command.
The defaults here are set for a reason. Lightroom ships with sensible color space and bit depth settings for external editing. The problem is that these settings can be changed, and some users - often while troubleshooting something unrelated - have dropped them to lower quality options without realizing the downstream effects.
Step 5: Avoid Dropping to sRGB for External Editing
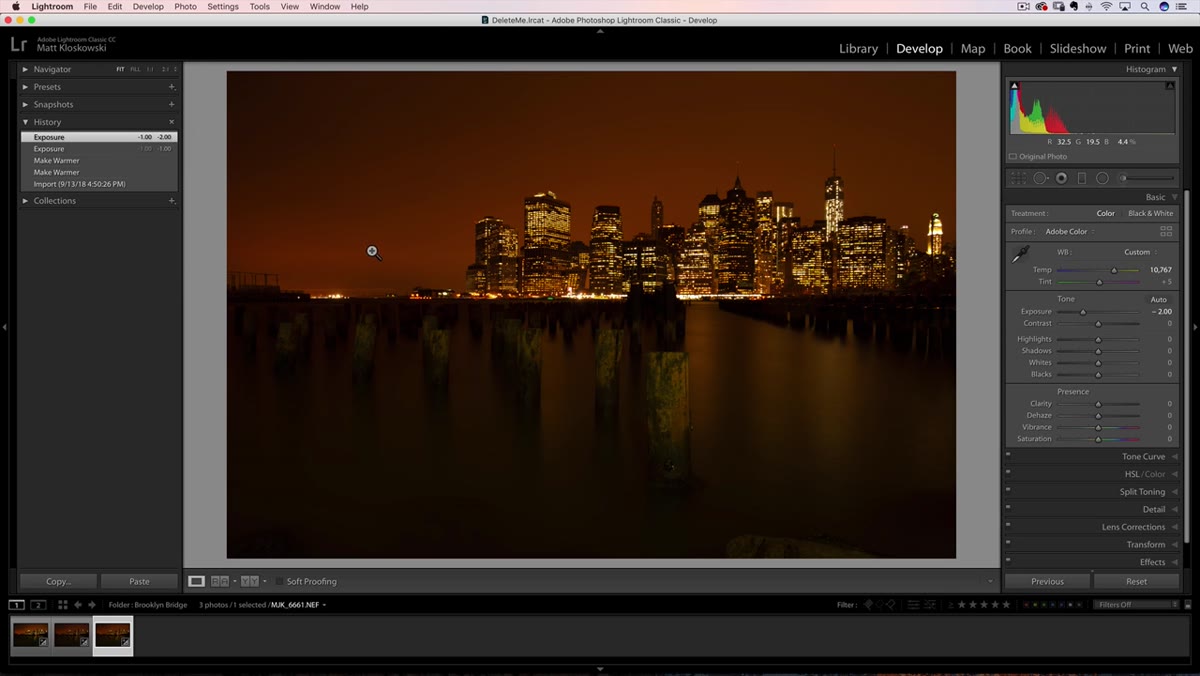 External editing color space dropdown changed to sRGB
Kloskowski demonstrates what happens when you switch the external editing color space to sRGB and send a file to Photoshop. The image looks fine at first - sRGB is a perfectly normal color space and nothing obviously explodes. The issue surfaces when you try to save that file back out as a JPEG at reduced quality settings.
External editing color space dropdown changed to sRGB
Kloskowski demonstrates what happens when you switch the external editing color space to sRGB and send a file to Photoshop. The image looks fine at first - sRGB is a perfectly normal color space and nothing obviously explodes. The issue surfaces when you try to save that file back out as a JPEG at reduced quality settings.
If you’re using a smaller color space combined with aggressive JPEG compression, you’re compounding the loss at every stage. ProPhoto RGB or Adobe RGB give your file more color data to work with throughout the editing and export process. Dropping to sRGB early, before you’ve finished editing and before your final export, is throwing away information you can’t get back.
Step 6: Keep the Quality Slider Honest During Export
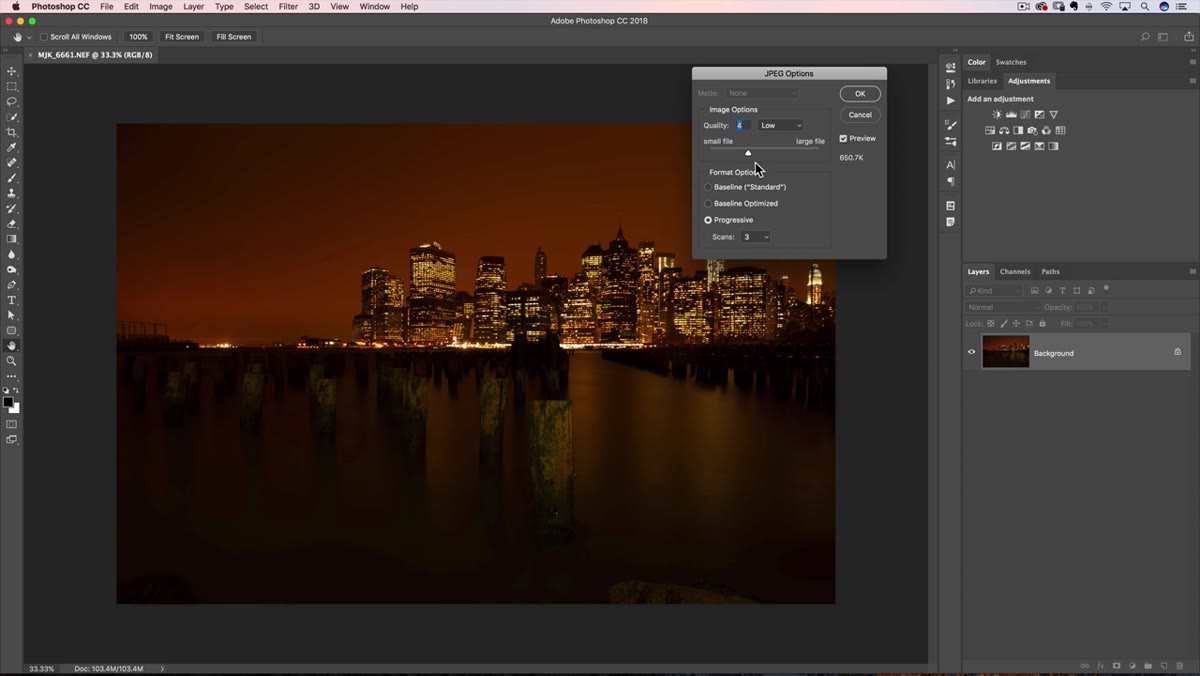 Photoshop Save As JPEG dialog with quality slider being reduced
In Photoshop’s JPEG save dialog, there’s a preview checkbox that lets you see compression artifacts in real time as you drag the quality slider down. Enable that checkbox and drag the slider slowly toward the lower end. Watch what happens to gradient areas - the banding comes back, and at lower quality settings it gets dramatic fast.
Photoshop Save As JPEG dialog with quality slider being reduced
In Photoshop’s JPEG save dialog, there’s a preview checkbox that lets you see compression artifacts in real time as you drag the quality slider down. Enable that checkbox and drag the slider slowly toward the lower end. Watch what happens to gradient areas - the banding comes back, and at lower quality settings it gets dramatic fast.
This is the same phenomenon you’re seeing in Lightroom’s Library module, just visible in a different context. JPEG compression and smooth gradients are a difficult combination. The fix is straightforward: keep your quality settings high on any export that involves files you’re still working with, and reserve compressed exports for final delivery only.
What I’d Add From My Own Workflow
The banding issue in Library has bitten me at the worst times, usually when I’m rushing through a cull late at night and making decisions I later question. My fix - beyond just knowing about this now - is building a habit of pressing D before I reject any image with a sky. It adds maybe two seconds per photo. It has saved me from deleting shots I would have missed.
One additional thing worth knowing: if you build standard or 1:1 previews when you import (under the Import dialog, under File Handling), Lightroom generates higher quality previews upfront. It slows down import, but it reduces the chance of banding showing up in Library later. It’s not a perfect solution for every situation, but for landscape and travel work where sky quality matters, it’s worth the trade-off.
The single most important thing to take from this: the Library module is a fast browsing tool, not a color accuracy tool. Never reject a photo based on what you see there. Always develop before you decide. It’s a small mental shift, but it will stop you from second-guessing files that were never actually broken.
Watch the full tutorial on YouTube - Matt walks through the live before-and-after comparison in a way that’s worth seeing directly, and he’s included the sample file in his description so you can test it in your own copy of Lightroom.
Comments
Leave a Comment