There’s a particular kind of pain that comes from getting home after a long shoot, opening Lightroom, selecting your pano sequence, hitting Merge, and watching the result come out warped, misaligned, or with exposure banding across the frame. I’ve been there more times than I’d like to admit. The frustrating part is that the problem almost always started on location, not in the software. That’s why this tutorial from Mark Denney caught my attention immediately. It doesn’t just cover the stitching process inside Lightroom. It goes back to the field and fixes the root causes first.
Watch the full tutorial on YouTube
What I appreciate most about Mark’s approach is that he treats panoramic photography as a versatile tool, not a gimmick for making things look cinematic. A pano doesn’t have to be a sweeping nine-image epic. Sometimes it’s two frames shot with a telephoto to make a mountain range feel massive in a way a wide-angle lens never could. Sometimes it’s a subtle resolution boost so you have room to crop later. Once that reframing clicked for me, I started shooting panos far more intentionally, and the results got a lot cleaner. Here’s the full walkthrough, step by step.
Step 1: Start with a Perfectly Level Tripod
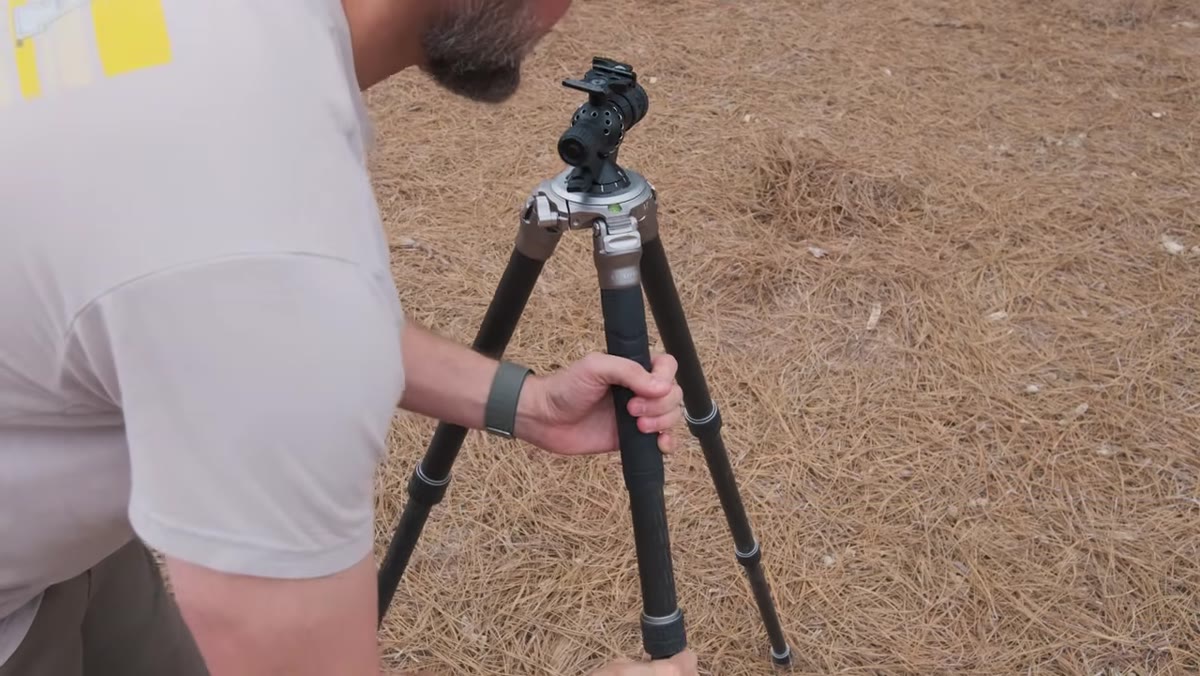 Tripod bubble level centered, camera mounted and aligned
Before you fire a single frame, get your tripod dead level. Most tripods have a bubble level built into the head or the legs. That bubble needs to be centered, not close to centered. When your tripod is even slightly off-axis, every frame in your sequence will be shot at a slightly different angle, and Lightroom has to compensate when stitching. Sometimes it can. Often it introduces curvature or awkward cropping that eats into your final image. Take the thirty seconds. Level the tripod.
Tripod bubble level centered, camera mounted and aligned
Before you fire a single frame, get your tripod dead level. Most tripods have a bubble level built into the head or the legs. That bubble needs to be centered, not close to centered. When your tripod is even slightly off-axis, every frame in your sequence will be shot at a slightly different angle, and Lightroom has to compensate when stitching. Sometimes it can. Often it introduces curvature or awkward cropping that eats into your final image. Take the thirty seconds. Level the tripod.
Once the tripod is set, mount your camera and level that separately if your ball head allows it. The goal is a camera that rotates on a perfectly horizontal plane as you pan left or right. Think of it like a turntable. If the platter isn’t flat, the record skips.
Step 2: Lock Your Exposure Manually Before You Start Panning
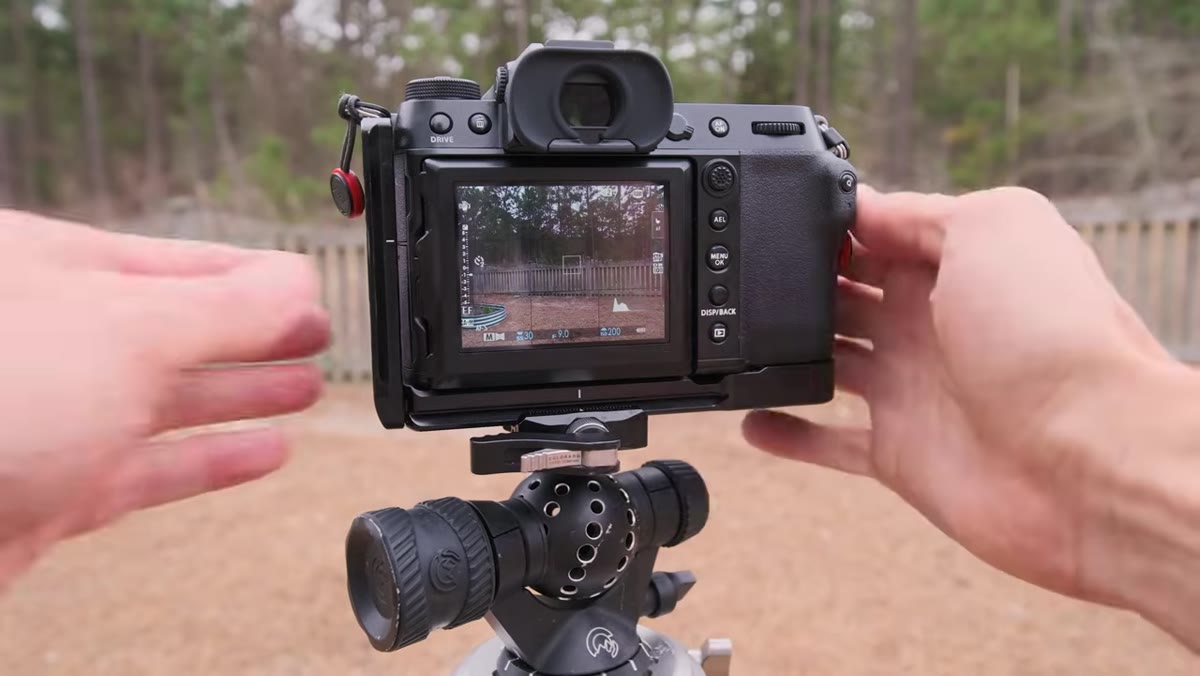 Camera histogram displayed, exposure settings locked in manual mode
This is the step most people skip, and it’s the one that causes the most damage. Before you commit to your starting position, swing your camera across the entire scene you plan to capture. Watch your histogram as you pan. You’re looking for the brightest part of the frame, typically where the sky is most blown out or where direct light is hitting.
Camera histogram displayed, exposure settings locked in manual mode
This is the step most people skip, and it’s the one that causes the most damage. Before you commit to your starting position, swing your camera across the entire scene you plan to capture. Watch your histogram as you pan. You’re looking for the brightest part of the frame, typically where the sky is most blown out or where direct light is hitting.
Once you identify that hotspot, set your exposure to handle it. Then switch everything to manual: shutter speed, aperture, ISO, and white balance. If you shoot in auto or aperture-priority, your camera will try to rebalance exposure for each frame as the light changes across the scene. The result is a stitched panorama with visible banding, where one panel is noticeably brighter or cooler than the one next to it. Manual mode locks the look so every frame matches.
Step 3: Shoot with Generous Overlap Between Frames
 Camera panning sequence showing overlap between adjacent frames
Lightroom’s photo merge needs enough shared pixel data between adjacent frames to find alignment points. The standard recommendation is roughly 30 percent overlap between each shot. In practice, I usually aim for closer to 40 percent, especially when shooting wide scenes with a telephoto where a small pan covers a lot of ground.
Camera panning sequence showing overlap between adjacent frames
Lightroom’s photo merge needs enough shared pixel data between adjacent frames to find alignment points. The standard recommendation is roughly 30 percent overlap between each shot. In practice, I usually aim for closer to 40 percent, especially when shooting wide scenes with a telephoto where a small pan covers a lot of ground.
The overlap also gives you a buffer if the stitch crops your edges. Lightroom almost always trims the outer borders of a merged pano to create a clean rectangle, and the more overlap you’ve built in, the less meaningful image area you lose to that crop.
Step 4: Select Your Images in Lightroom and Open Photo Merge
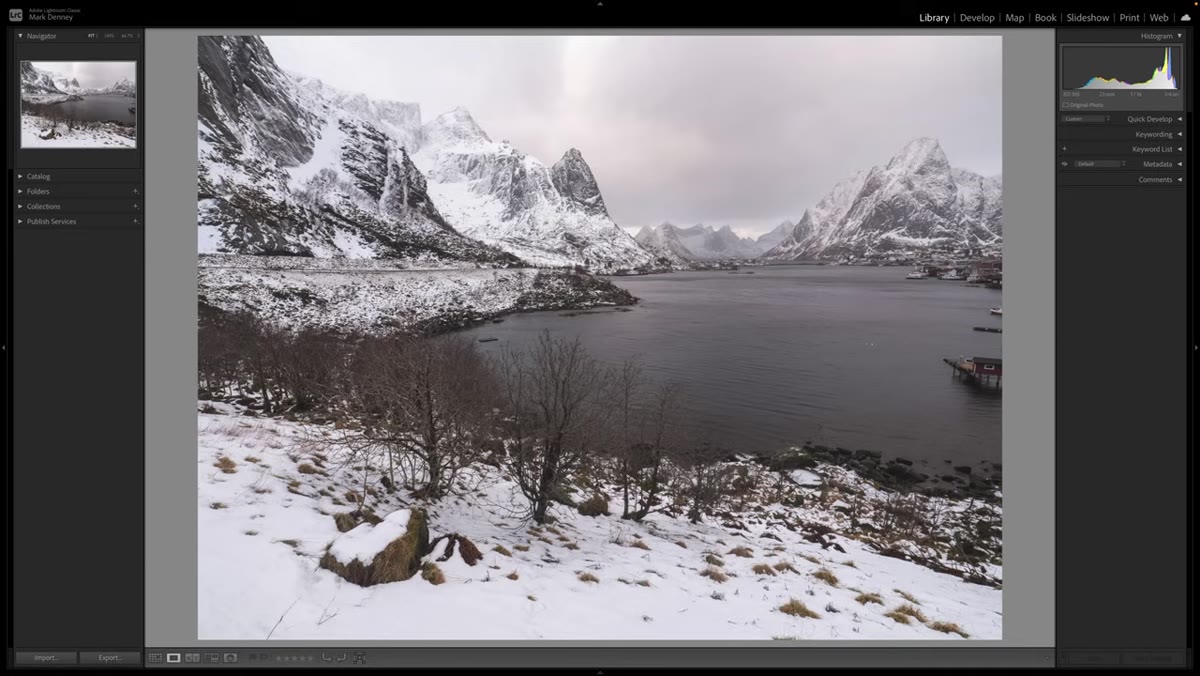 Lightroom grid view with pano sequence selected, right-click menu open
Back in Lightroom, select all the frames in your sequence from the grid or filmstrip. Right-click and navigate to Photo Merge, then choose Panorama. Lightroom will generate a preview using your chosen projection method. This is where you decide how the final image is shaped.
Lightroom grid view with pano sequence selected, right-click menu open
Back in Lightroom, select all the frames in your sequence from the grid or filmstrip. Right-click and navigate to Photo Merge, then choose Panorama. Lightroom will generate a preview using your chosen projection method. This is where you decide how the final image is shaped.
Mark walks through the three main projection options: Spherical, Cylindrical, and Perspective. For most landscape panos with a moderate number of frames, Cylindrical tends to hold straight horizon lines best. Spherical handles wide multi-row panos well. Perspective is best reserved for architecture or tight sequences where you need straight lines to stay genuinely straight. There’s no single right answer. Use the preview to check which one keeps your horizon clean and your edges usable.
Step 5: Use Boundary Warp to Recover Cropped Edges
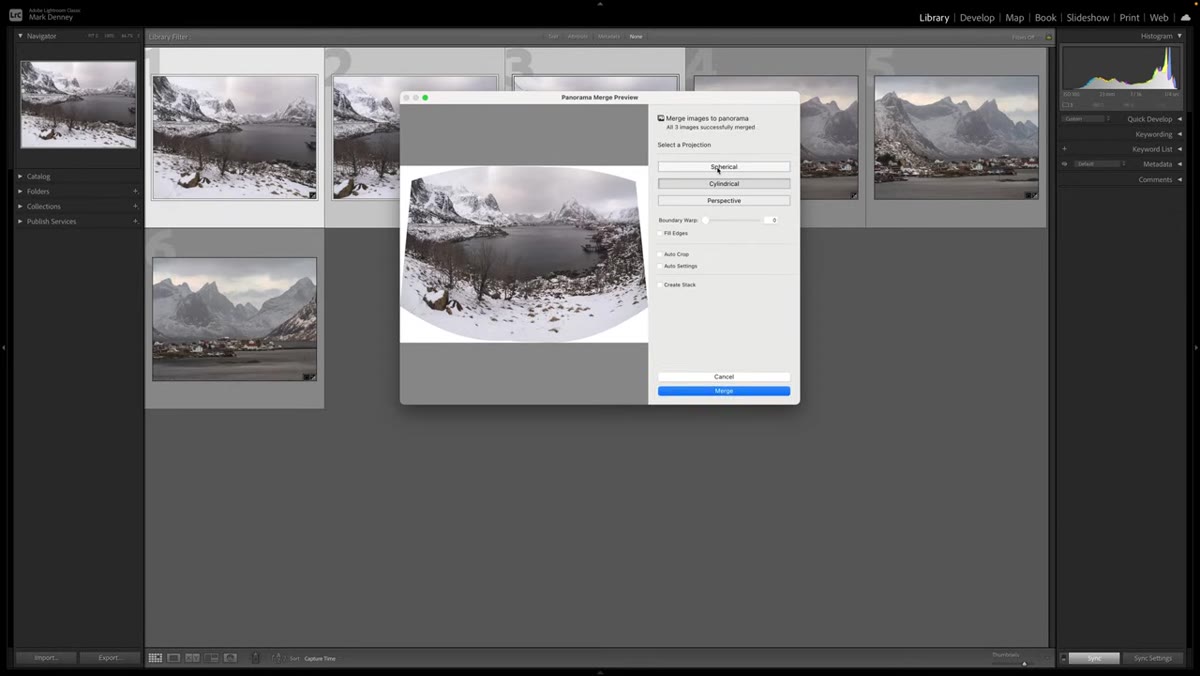 Boundary Warp slider in Panorama Merge dialog, canvas expanding
The Boundary Warp slider inside the Panorama Merge dialog is one of Lightroom’s most underused tools. When your stitched image has irregular white edges from the alignment process, your first instinct might be to just crop them out. Boundary Warp gives you a better option. It subtly warps the outer pixels of each frame to push them toward the edges of the canvas, filling in those gaps.
Boundary Warp slider in Panorama Merge dialog, canvas expanding
The Boundary Warp slider inside the Panorama Merge dialog is one of Lightroom’s most underused tools. When your stitched image has irregular white edges from the alignment process, your first instinct might be to just crop them out. Boundary Warp gives you a better option. It subtly warps the outer pixels of each frame to push them toward the edges of the canvas, filling in those gaps.
Slide it up gradually and watch the preview. Too much warp on a landscape with a strong straight horizon will start to curve it, which looks worse than the crop would have. A value somewhere between 20 and 60 usually hits the sweet spot, recovering usable edge detail without distorting the geometry of the scene. If the horizon starts bending, pull it back.
Step 6: Merge and Edit the DNG Like a Single Raw File
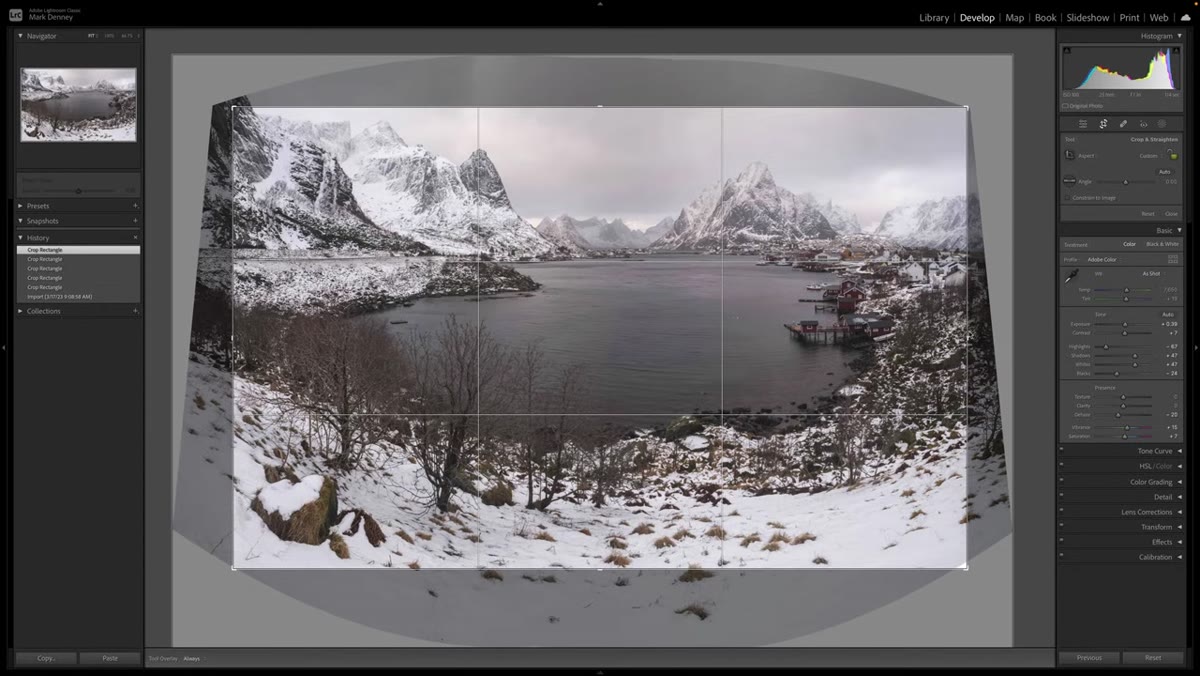 Completed panorama DNG open in Develop module, sliders active
Once you confirm the merge, Lightroom creates a DNG file and stacks it with your source images. That DNG is not a flattened JPEG or a TIFF. It’s a genuine raw file with the full dynamic range of your original captures, which means you can push shadows, pull highlights, and adjust white balance exactly as you would with any single frame. This is the reason to do the whole process inside Lightroom rather than exporting and stitching elsewhere.
Completed panorama DNG open in Develop module, sliders active
Once you confirm the merge, Lightroom creates a DNG file and stacks it with your source images. That DNG is not a flattened JPEG or a TIFF. It’s a genuine raw file with the full dynamic range of your original captures, which means you can push shadows, pull highlights, and adjust white balance exactly as you would with any single frame. This is the reason to do the whole process inside Lightroom rather than exporting and stitching elsewhere.
Edit the merged DNG in the Develop module the way you’d edit any landscape raw. All the masking tools, the tone curve, local adjustments, everything works exactly the same. The file is just wider.
A Note on Telephoto Panos Specifically
This is where I’d add something from my own experience that the tutorial touches on but doesn’t dwell on. Telephoto panos are genuinely different from wide-angle panos in ways that matter at the shooting stage. Because a longer focal length compresses depth and magnifies camera movement, the overlap you need between frames is higher and the tolerance for sloppy panning is lower. I shoot telephoto panos at 50 percent overlap minimum and I fire two frames at each position before moving, just to make sure at least one is tack sharp. The mountains-look-massive effect Mark describes is real and worth pursuing, but it requires more care in the field to pull off cleanly.
The single most important thing this tutorial reinforced for me is that a bad panorama is almost always a capture problem, not a software problem. Lock your exposure manually, level your tripod, and give yourself enough overlap. Lightroom can handle the rest remarkably well. The tools are solid. They just need you to bring clean source material.
Watch the full tutorial on YouTube to see Mark demonstrate every step with real footage from his Norway trip, including the before-and-after stitches that make the Boundary Warp section especially clear.
Comments
Leave a Comment