There’s a specific kind of frustration that hits when you’re sitting in front of a catalog of 800 wedding photos and Lightroom is chugging along like it’s running on a calculator. I’ve been there more times than I’d like to admit. Over the years I’ve picked up habits that help, but a recent tutorial from Mango Street pulled together eight of the most practical speed techniques I’ve seen organized in one place, and a couple of them genuinely changed how I approach a heavy editing session.
Watch the full tutorial on YouTube
What I like about this video is that it’s not about shortcuts for their own sake. Every tip connects back to how Lightroom actually processes information behind the scenes. Once you understand why the software slows down, the fixes start to feel obvious. Here’s the full walkthrough.
Step 1: Build Smart Previews on Import
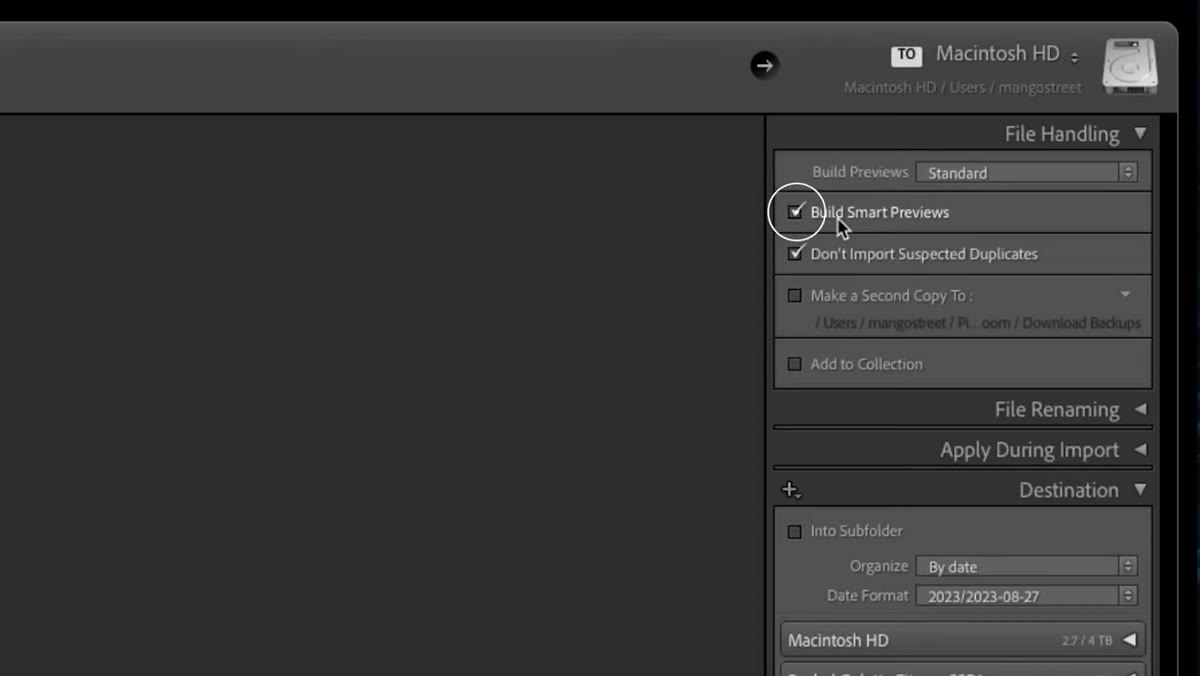 Import dialog with Build Smart Previews checkbox highlighted
When you’re importing a shoot, check the box to build smart previews. If you have extra time before you need to start editing, go further and render one-to-one previews as well. The reason this matters: every time you zoom into a photo inside the Develop module, Lightroom has to build that detailed preview on the fly, and it does it in the background while you’re trying to work. Doing that work upfront, before your session starts, keeps things moving smoothly once you’re actually in the zone.
Import dialog with Build Smart Previews checkbox highlighted
When you’re importing a shoot, check the box to build smart previews. If you have extra time before you need to start editing, go further and render one-to-one previews as well. The reason this matters: every time you zoom into a photo inside the Develop module, Lightroom has to build that detailed preview on the fly, and it does it in the background while you’re trying to work. Doing that work upfront, before your session starts, keeps things moving smoothly once you’re actually in the zone.
Think of it like mise en place in cooking. Get your ingredients ready before you start, and the actual cooking goes faster.
Step 2: Tune Your Performance Settings
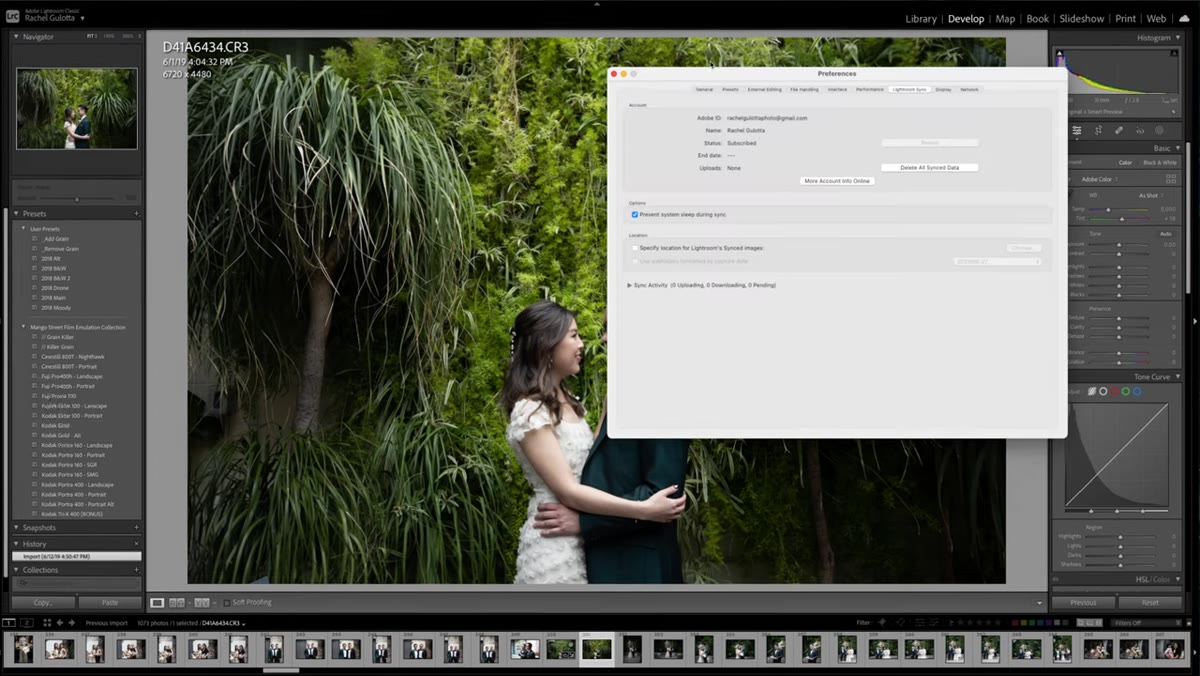 Lightroom Preferences window open on the Performance tab
Go to Lightroom’s Preferences and click the Performance tab. Bump the Camera Raw cache size up to 10 gigabytes if your drive has the space. This gives Lightroom more room to store processed data so it isn’t recalculating things from scratch every time you switch photos.
Lightroom Preferences window open on the Performance tab
Go to Lightroom’s Preferences and click the Performance tab. Bump the Camera Raw cache size up to 10 gigabytes if your drive has the space. This gives Lightroom more room to store processed data so it isn’t recalculating things from scratch every time you switch photos.
While you’re in there, turn off “Enable hover preview of presets.” That feature previews each preset as your mouse passes over it, which sounds helpful but adds a surprising amount of overhead. Then enable “Use Smart Previews instead of Originals for image editing.” If you’re working with large raw files, this alone can make your editing session feel like a different application. And if your catalog is one you’ve been using for years, hit “Optimize Catalog” while you’re at it. It’s a quick housekeeping step that clears out accumulated clutter.
Step 3: Make Batch Corrections in the Library Module
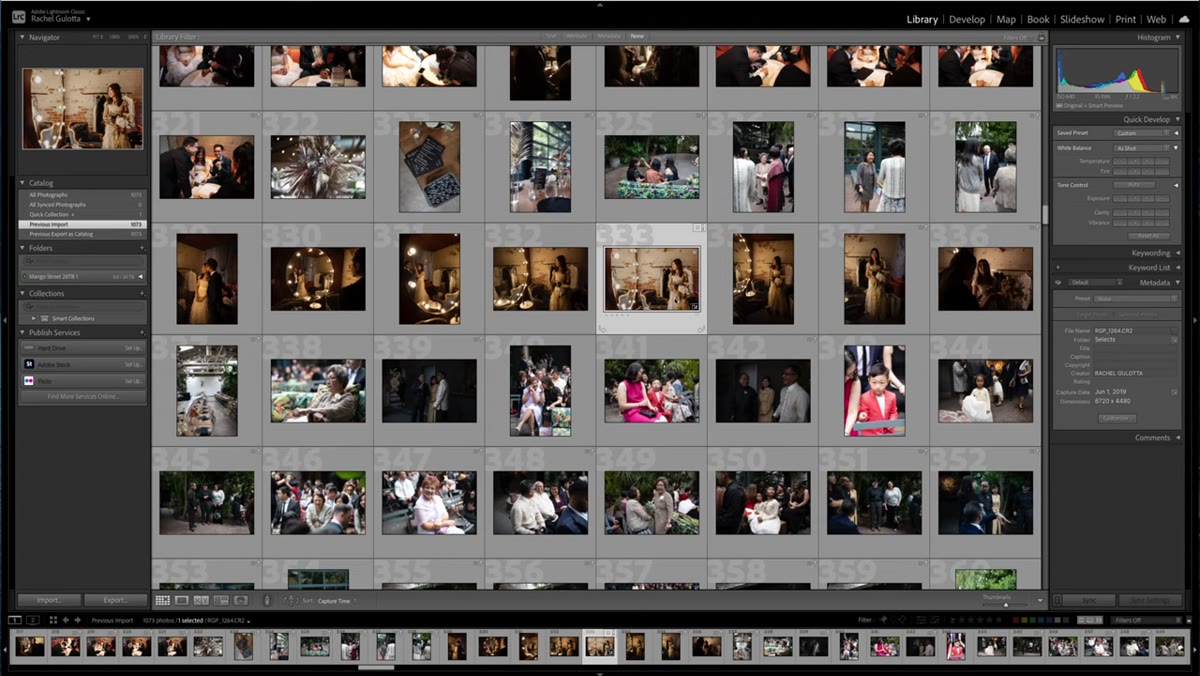
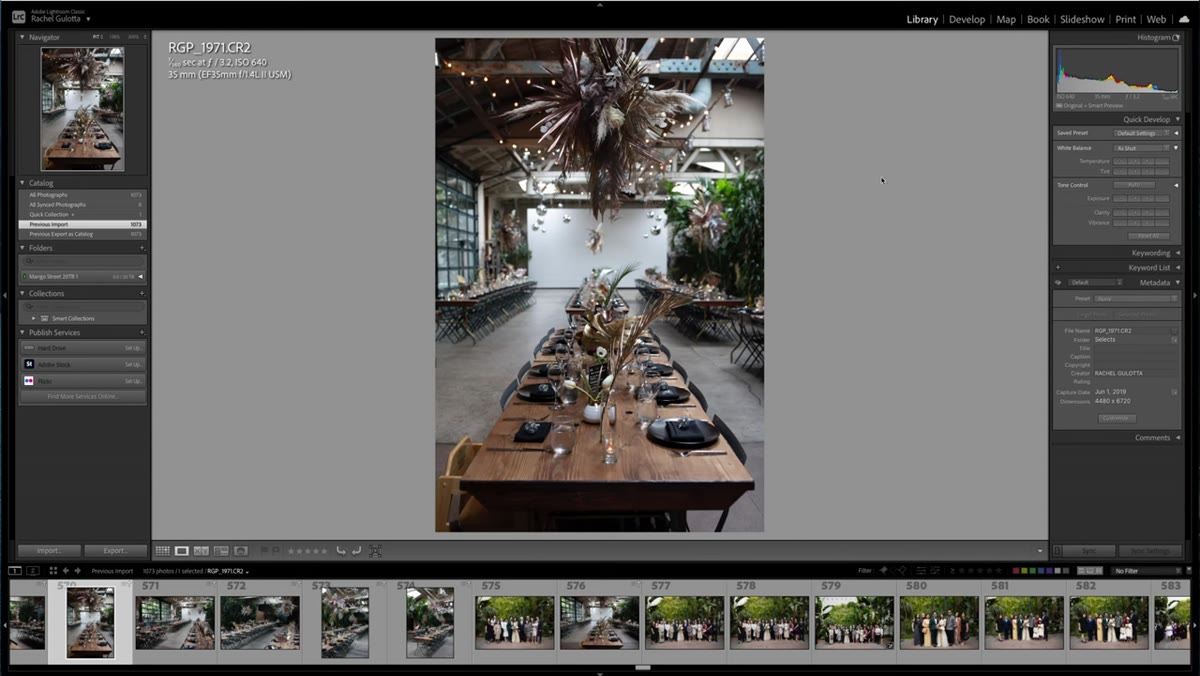
 Library module with Quick Develop panel open on the right
This one is a genuine time-saver on large shoots. Most photographers default to the Develop module for every adjustment, but for broad corrections across a group of photos, the Library module’s Quick Develop panel is the better tool. If you shot a ceremony in mixed lighting and half the images are a little underexposed, highlight the entire batch, open Quick Develop, and nudge the exposure for all of them at once.
Library module with Quick Develop panel open on the right
This one is a genuine time-saver on large shoots. Most photographers default to the Develop module for every adjustment, but for broad corrections across a group of photos, the Library module’s Quick Develop panel is the better tool. If you shot a ceremony in mixed lighting and half the images are a little underexposed, highlight the entire batch, open Quick Develop, and nudge the exposure for all of them at once.
The key difference here is that Quick Develop applies relative adjustments rather than absolute ones. Each photo gets nudged by the same amount, which means you’re not fighting the natural variation across the set. It’s faster and honestly more consistent than hopping into Develop and doing the same thing photo by photo.
Step 4: Use Sync to Spread Your Edits
 Develop module with Synchronize Settings dialog open
Sync is the tool I reach for after I’ve fully edited a hero image from a shoot. Select your edited photo, then shift-click to highlight all the photos you want to receive those same settings. Click Sync, review which settings you want to copy over, and uncheck anything that’s specific to that one frame. Crop, healing, and local masks usually stay unchecked, since those are tied to the geometry and content of a single image.
Develop module with Synchronize Settings dialog open
Sync is the tool I reach for after I’ve fully edited a hero image from a shoot. Select your edited photo, then shift-click to highlight all the photos you want to receive those same settings. Click Sync, review which settings you want to copy over, and uncheck anything that’s specific to that one frame. Crop, healing, and local masks usually stay unchecked, since those are tied to the geometry and content of a single image.
Hit Synchronize and watch Lightroom apply your work across the entire group in seconds. From there you can move through the set one by one to fine-tune anything that needs individual attention, but you’re not starting from scratch on any of them.
Step 5: Close Panels You’re Not Using
 Develop module with Histogram and Navigator panels collapsed
This tip is small but it adds up. Keep the Histogram and Navigator panels collapsed in the Develop module and only open them when you actually need them. Every time you move to a new photo, Lightroom has to refresh every active display. Two fewer panels means two fewer things to render on every single image change.
Develop module with Histogram and Navigator panels collapsed
This tip is small but it adds up. Keep the Histogram and Navigator panels collapsed in the Develop module and only open them when you actually need them. Every time you move to a new photo, Lightroom has to refresh every active display. Two fewer panels means two fewer things to render on every single image change.
I know it feels counterintuitive to hide information you use sometimes. But if you’re moving through 400 images and you don’t need the histogram on every single one, keeping it closed saves a small fraction of a second per photo, and that compounds fast.
Step 6: Clear Your Edit History Once You’re Done
 History panel in Develop module with the X button visible
Lightroom stores every single thing you do to an image, which is one of the reasons non-destructive editing is so powerful. But that history list has a performance cost. If you’ve spent an hour on a complex edit with dozens of spot removals and mask adjustments, all of that is being held in memory and tracked in your catalog. Once you’re satisfied with an image and you know you won’t need to backtrack, clear the history by clicking the X next to the History panel.
History panel in Develop module with the X button visible
Lightroom stores every single thing you do to an image, which is one of the reasons non-destructive editing is so powerful. But that history list has a performance cost. If you’ve spent an hour on a complex edit with dozens of spot removals and mask adjustments, all of that is being held in memory and tracked in your catalog. Once you’re satisfied with an image and you know you won’t need to backtrack, clear the history by clicking the X next to the History panel.
You’re not changing the edit. You’re just telling Lightroom it doesn’t need to remember every step that got you there.
Step 7: Follow Adobe’s Recommended Edit Order
 Develop module panels arranged in Adobe’s recommended processing order
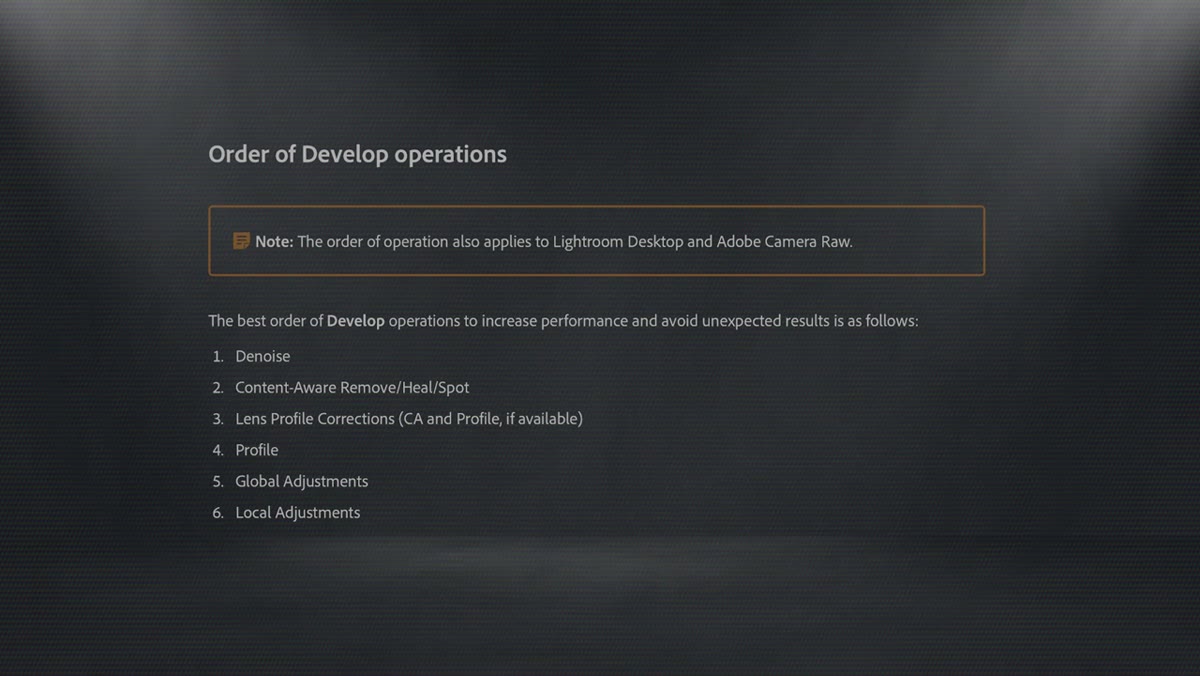
Adobe has a specific order in which it recommends processing your images for best performance. Start with crop and straighten, then move to spot healing or content-aware removal, then lens profile corrections, then global adjustments like white balance, exposure and color grading, and finally local adjustments like masking. This order follows how Lightroom’s rendering pipeline is actually structured.
Develop module panels arranged in Adobe’s recommended processing order
Adobe has a specific order in which it recommends processing your images for best performance. Start with crop and straighten, then move to spot healing or content-aware removal, then lens profile corrections, then global adjustments like white balance, exposure and color grading, and finally local adjustments like masking. This order follows how Lightroom’s rendering pipeline is actually structured.
The practical implication: if you need to do any spot healing or content-aware work, do it early. Running those tools after you’ve applied heavy local adjustments forces Lightroom to recalculate more, which is where you’ll notice the slowdown.
Step 8: Apply Noise Reduction and Sharpening at the Very End
 Detail panel open with Noise Reduction and Sharpening sliders visible
Noise reduction, sharpening, and lens corrections are processor-intensive settings. Applying them mid-session, especially when you still have hundreds of photos to move through, drags on performance throughout your whole edit. Instead, wait until you’ve finished editing the entire set. Then apply those settings to one photo, sync them across the batch, and export. You get the same result with far less friction during the actual editing process.
Detail panel open with Noise Reduction and Sharpening sliders visible
Noise reduction, sharpening, and lens corrections are processor-intensive settings. Applying them mid-session, especially when you still have hundreds of photos to move through, drags on performance throughout your whole edit. Instead, wait until you’ve finished editing the entire set. Then apply those settings to one photo, sync them across the batch, and export. You get the same result with far less friction during the actual editing process.
One Thing I’d Add from My Own Sessions
The sync step is where I’ve seen people leave the most time on the table. A lot of photographers sync once per shoot and call it done. But I’ve found it’s worth building a hierarchy: do a first pass sync across the whole shoot for global settings, then group photos by lighting condition and sync within those smaller groups for white balance and exposure. You end up with a more polished starting point for each image without spending much more time on the sync process itself.
The single most important thing to take away here is that Lightroom’s speed is not fixed. It responds directly to how you set it up and how you order your work. Getting your previews built ahead of time, doing your batch corrections in the right module, and clearing history when you’re done can make the difference between a smooth editing session and an afternoon of spinning wheels.
Watch the full tutorial on YouTube to see each of these tips demonstrated in real time.
Comments (2)
Solid advice. Especially the part about taking your time with it.
This is exactly what I needed today. Been struggling with this for weeks.
Leave a Comment