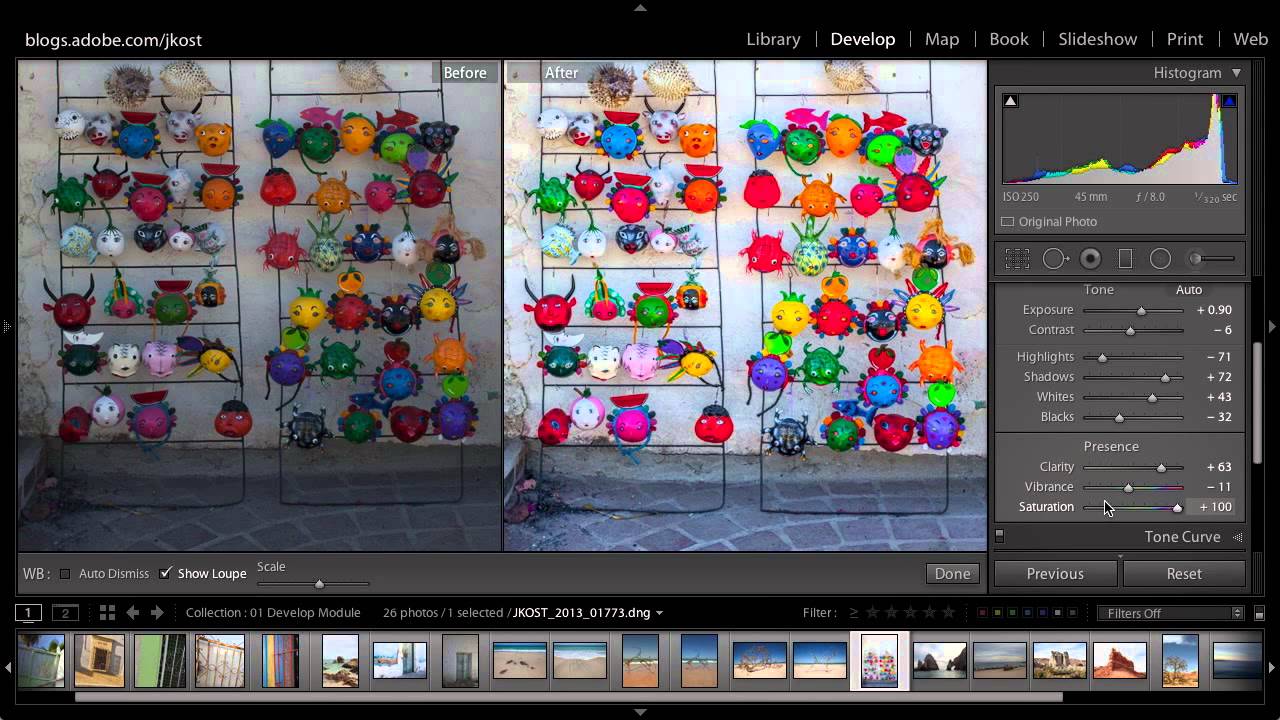
Vibrance vs. Saturation in Lightroom: What the Sliders Are Actually Doing to Your Colors

Vibrance vs. Saturation in Lightroom: What the Sliders Are Actually Doing to Your Colors

There’s a moment every Lightroom user hits where they crank up the Saturation slider and suddenly their subject looks like they’ve been standing next to a reactor. The colors pop, sure, but the reds are blown out, the skin tones look radioactive, and the detail in the image quietly disappears. For years I fixed this by just… not touching Saturation. I’d nudge it up two points and call it done. It worked, but it wasn’t understanding — it was avoidance.
There's a Hidden Vibrance Brush in Lightroom (And It's Been There the Whole Time)

There's a Hidden Vibrance Brush in Lightroom (And It's Been There the Whole Time)

I’ve been editing photos in Lightroom long enough to think I’d found all the tricks. And then something comes along and completely rearranges my mental model of how a tool works. That happened recently when I watched a tutorial by Matt Kloskowski showing a vibrance adjustment hidden inside Lightroom’s local adjustment tools. Not a workaround. Not a hack. A legitimately different rendering behavior that’s been sitting there quietly the whole time.