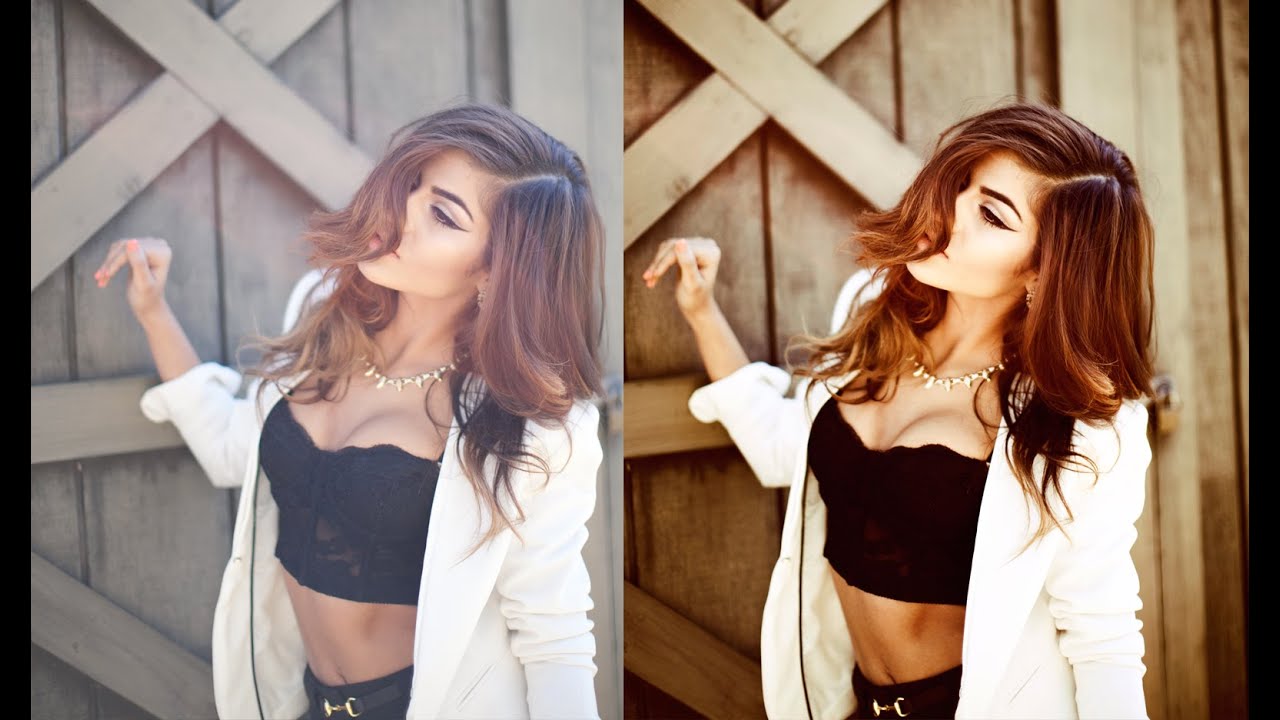
How to Get a Warm, Film-Toned Look in Photoshop Using Four Adjustment Layers

How to Get a Warm, Film-Toned Look in Photoshop Using Four Adjustment Layers

Most of my workflow lives inside Lightroom. That’s no secret. But every once in a while, a Photoshop technique comes along that makes me stop what I’m doing, close my preset panel, and actually pay attention. This is one of those techniques. Watch the full tutorial on YouTube In this Jessica Kobeissi tutorial, she walks through a warm-toned color grading effect using just four adjustment layers in Photoshop. No plugins, no complicated masking, no frequency separation rabbit holes.

Warm It Up: A Photoshop Layer-by-Layer Guide to Soft, Golden Fashion Tones

Warm It Up: A Photoshop Layer-by-Layer Guide to Soft, Golden Fashion Tones

There’s a specific problem I run into more than I’d like to admit. I shoot a portrait session on an overcast Nashville afternoon, pull the RAW files into Photoshop, and the whole thing looks like a dental office waiting room. Technically correct. Emotionally inert. The image needs warmth, not just a temperature slider drag, but a layered, intentional warmth that reads as a creative choice rather than a fix. That’s exactly the territory Jessica Kobeissi covers in her tutorial on creating a warm-toned fashion photo.

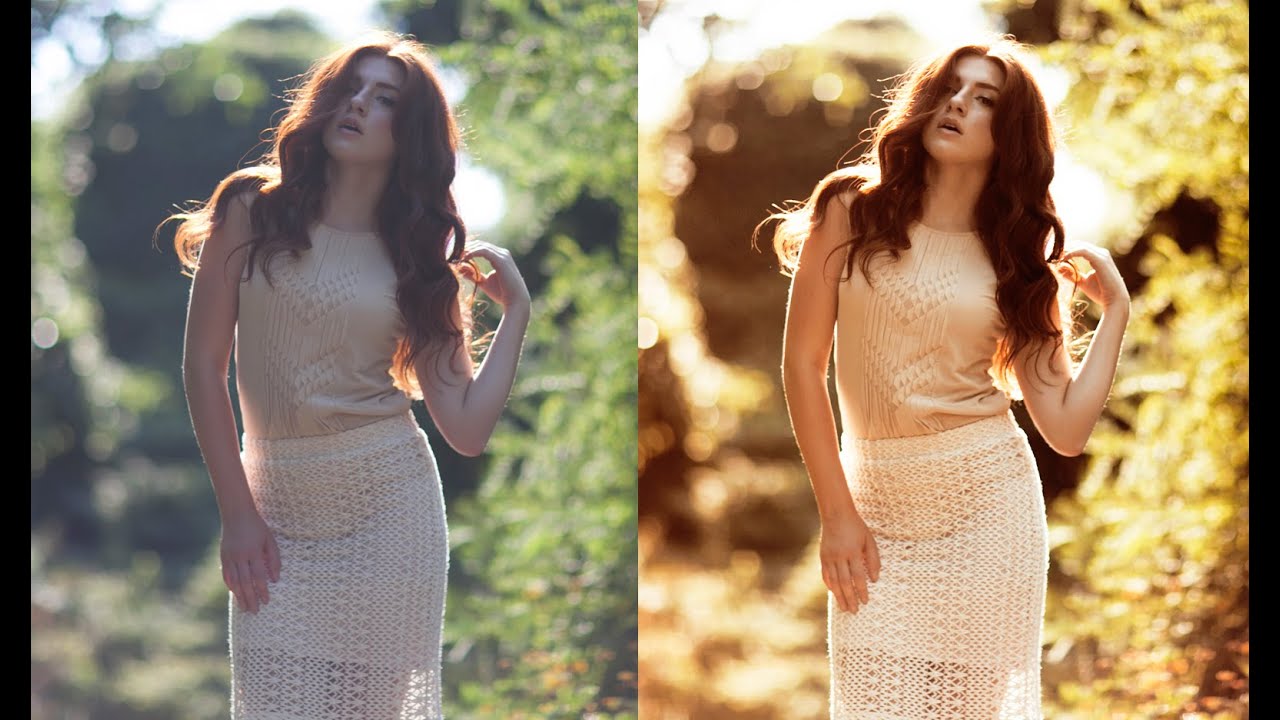
How to Add a Warm Backlit Glow to Photos Using Photoshop Adjustment Layers

How to Add a Warm Backlit Glow to Photos Using Photoshop Adjustment Layers

Backlit portraits are one of those shots that look gorgeous straight out of camera but almost always need a push in post to reach their potential. The light is already doing something interesting, and your job as an editor is to lean into that warmth rather than fight it. I’ve spent a lot of time chasing that golden-hour feel inside Lightroom, but sometimes a Photoshop-based approach gives you more control over where the warmth actually lands in the frame.