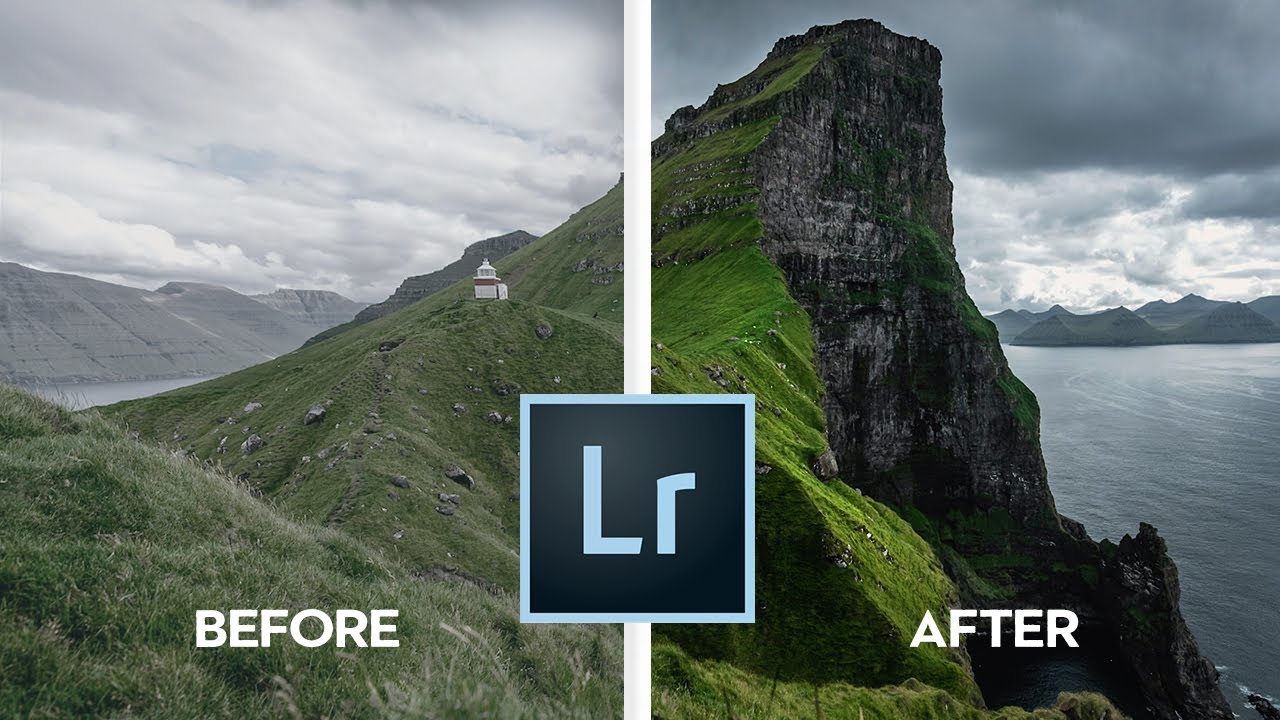
Every photographer eventually lands on a workflow they trust. Mine took longer than I’d like to admit. I learned Lightroom out of necessity - my band couldn’t afford a photographer, so someone had to figure out how to make our press shots look like we had our act together. That someone was me, armed with a cracked laptop and a lot of YouTube rabbit holes.
Which is exactly why this Nigel Danson tutorial caught my attention. Danson shoots landscape photography at a seriously high level, and when someone who works at that standard says “here are the seven things I do on every single photo,” it’s worth stopping and listening. Watch the full tutorial on YouTube - then come back here for the breakdown. What I want to do is unpack each step with enough detail that you can actually follow along in your own catalog, not just nod along at the screen.
The photo Danson works through is a Lake District landscape with a dramatic beam of evening light cutting down into a valley. It’s a gorgeous image, but more importantly it’s a complex one - blown highlights, deep shadows, strong directional light. If these techniques hold up on that, they’ll hold up on almost anything in your library.
Step 1: Fix the Lens First
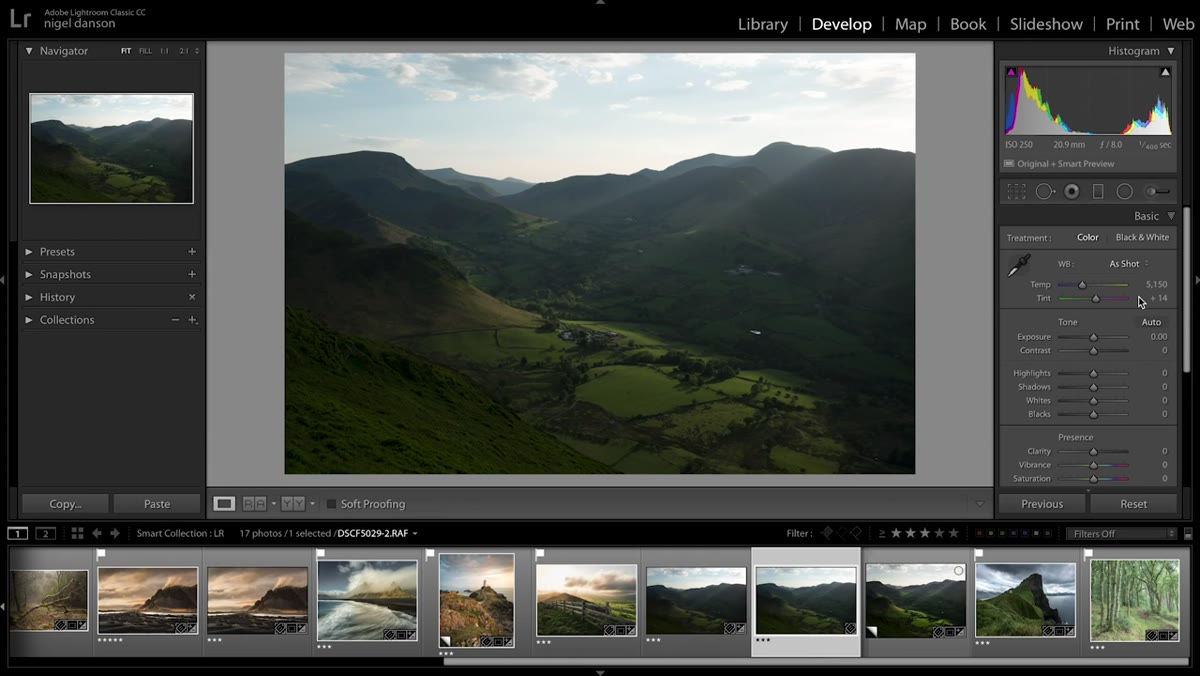 Lens Corrections panel with profile enabled in Lightroom
Before touching a single creative slider, Danson goes straight to the Lens Corrections panel. He has two things set as defaults: Remove Chromatic Aberration is always on, and Enable Profile Corrections is checked. This is housekeeping, but it matters more than most people give it credit for.
Lens Corrections panel with profile enabled in Lightroom
Before touching a single creative slider, Danson goes straight to the Lens Corrections panel. He has two things set as defaults: Remove Chromatic Aberration is always on, and Enable Profile Corrections is checked. This is housekeeping, but it matters more than most people give it credit for.
Chromatic aberration shows up as colored fringing around high-contrast edges, and it gets worse at wide apertures. Profile corrections compensate for the barrel distortion and vignetting that are physically built into your lens design. If your camera and lens are recognized by Lightroom, the correction happens automatically. Do this before anything else, or you’re building your edit on a warped foundation.
Step 2: Rough Crop Before You Adjust Anything Else
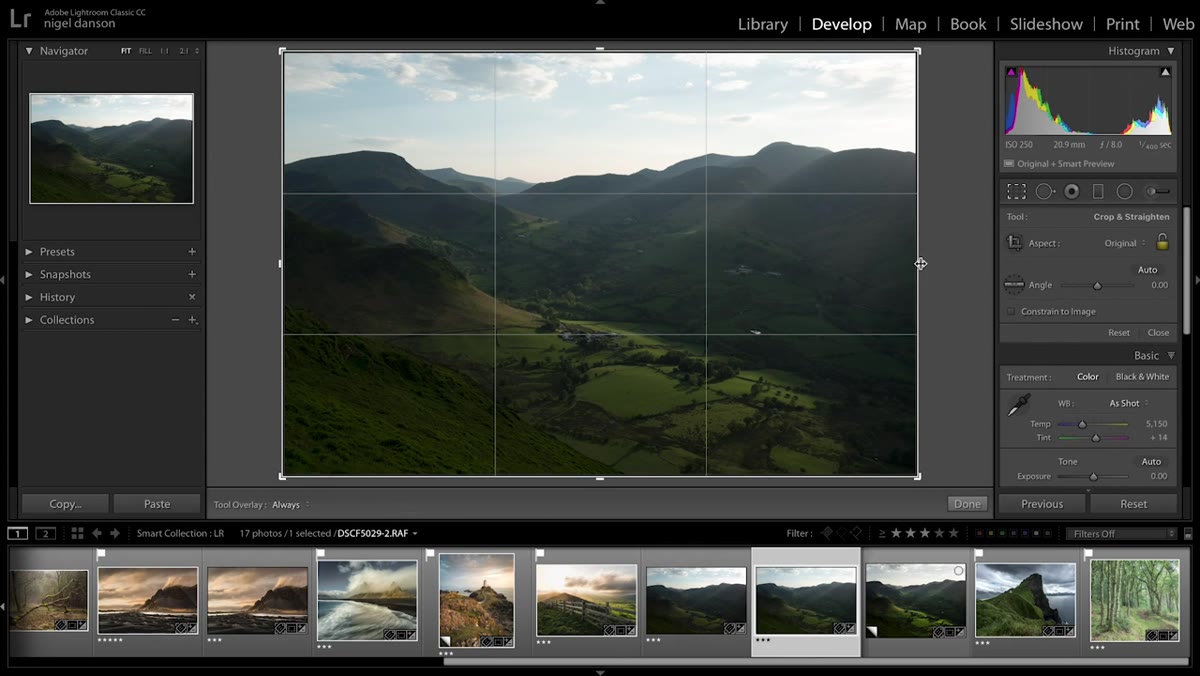 Crop overlay tool active on landscape image
Most people crop last. Danson crops first, or at least early - and it’s one of those small habit changes that makes a real difference to how you evaluate exposure and tone. The reason is simple: if you’re going to cut a chunk of sky out of the frame, there’s no point spending time trying to recover detail in it.
Crop overlay tool active on landscape image
Most people crop last. Danson crops first, or at least early - and it’s one of those small habit changes that makes a real difference to how you evaluate exposure and tone. The reason is simple: if you’re going to cut a chunk of sky out of the frame, there’s no point spending time trying to recover detail in it.
His crop here is subtle - just nudging the horizon placement and tightening the composition slightly. He treats it as a “first pass” crop and acknowledges he might revisit it later. That flexibility is the point. Get the frame close, then start editing. You’ll see the image more clearly without the distraction of dead space.
Step 3: Build the Exposure Foundation in the Basic Panel
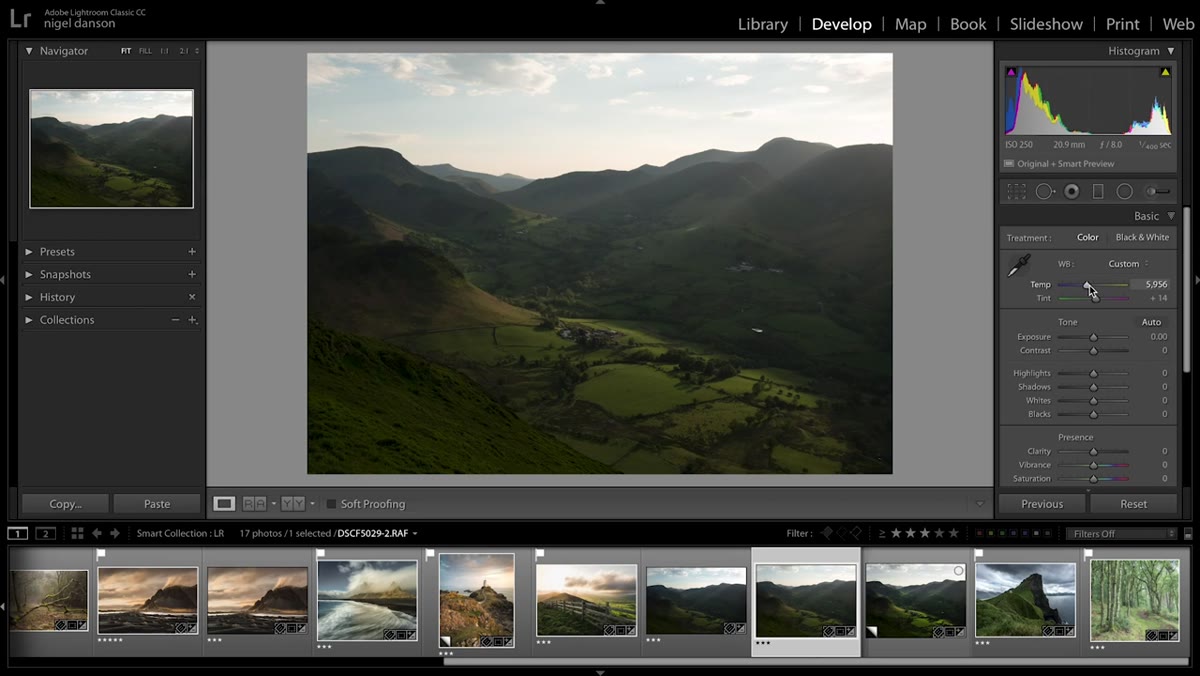 Basic panel sliders being adjusted, contrast increased
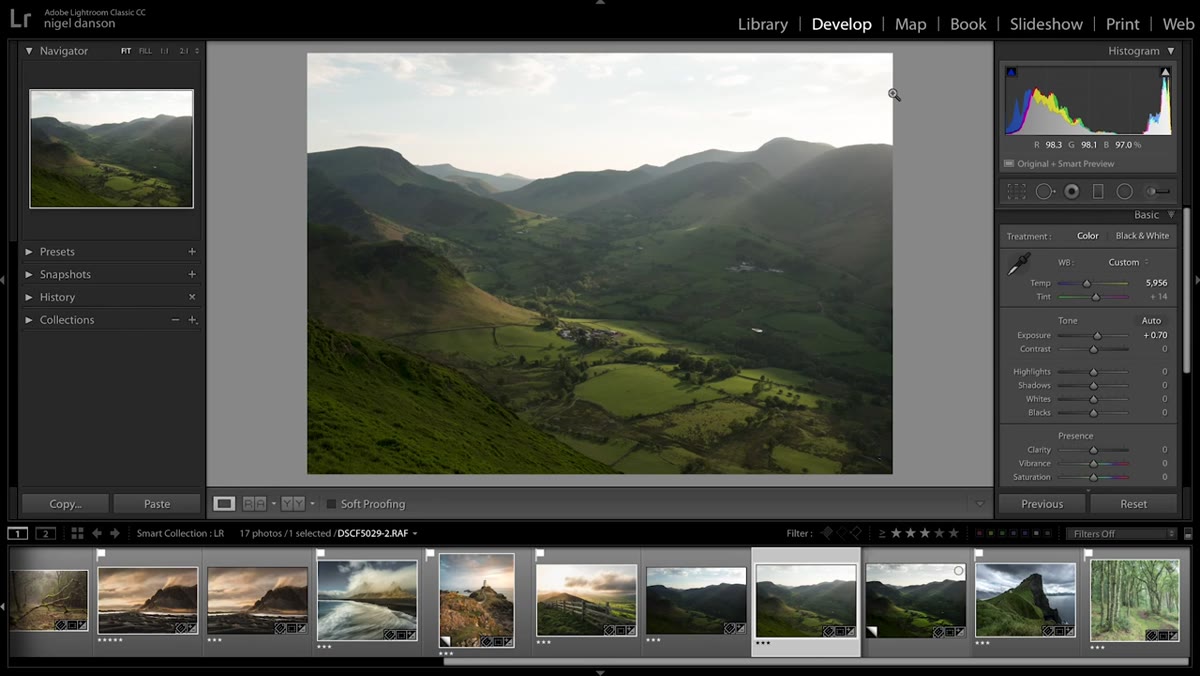
Now the creative work starts. Danson works through the Basic panel in a logical order: temperature, exposure, contrast, highlights, shadows, whites, blacks, and clarity. He warms the temperature slightly, then pushes exposure up enough to open the midtones - even if the sky starts to clip. He’s not worried about that yet because he knows he’ll handle it with local adjustments later.
Basic panel sliders being adjusted, contrast increased
Now the creative work starts. Danson works through the Basic panel in a logical order: temperature, exposure, contrast, highlights, shadows, whites, blacks, and clarity. He warms the temperature slightly, then pushes exposure up enough to open the midtones - even if the sky starts to clip. He’s not worried about that yet because he knows he’ll handle it with local adjustments later.
The contrast gets a significant boost here, which is the key decision for this particular image. He wants that beam of light to feel powerful and directional. After contrast, he pulls highlights back to claw some sky detail out of the clips, lifts shadows just enough to keep the darks readable, and adds a touch of clarity. Clarity is local contrast - it sharpens transitions between tones without affecting the overall brightness. Use it at 10 to 20 and it reads as “crisp.” Push it past 40 and your trees start looking like they were painted by someone who just discovered HDR.
Step 4: Use Color to Direct the Eye
 HSL panel open with individual color sliders visible
Color is where Danson’s workflow gets more specific, and it’s the part most tutorials gloss over. His color editing follows a sequence: white balance first, then the HSL sliders, then split toning, then the tone curve. Each layer builds on the one before it.
HSL panel open with individual color sliders visible
Color is where Danson’s workflow gets more specific, and it’s the part most tutorials gloss over. His color editing follows a sequence: white balance first, then the HSL sliders, then split toning, then the tone curve. Each layer builds on the one before it.
White balance is emotional, not just technical. A warmer temperature makes a golden-hour image feel inviting. A cooler one makes a foggy morning feel isolated. Danson adjusts temperature here with that emotional intent in mind, not just to match what the light “actually” looked like. The HSL panel then lets him push individual colors independently - he can make greens feel more vibrant without touching the yellows in that same beam of light. These aren’t corrections. They’re decisions.
Step 5: Use Split Toning to Unify the Palette
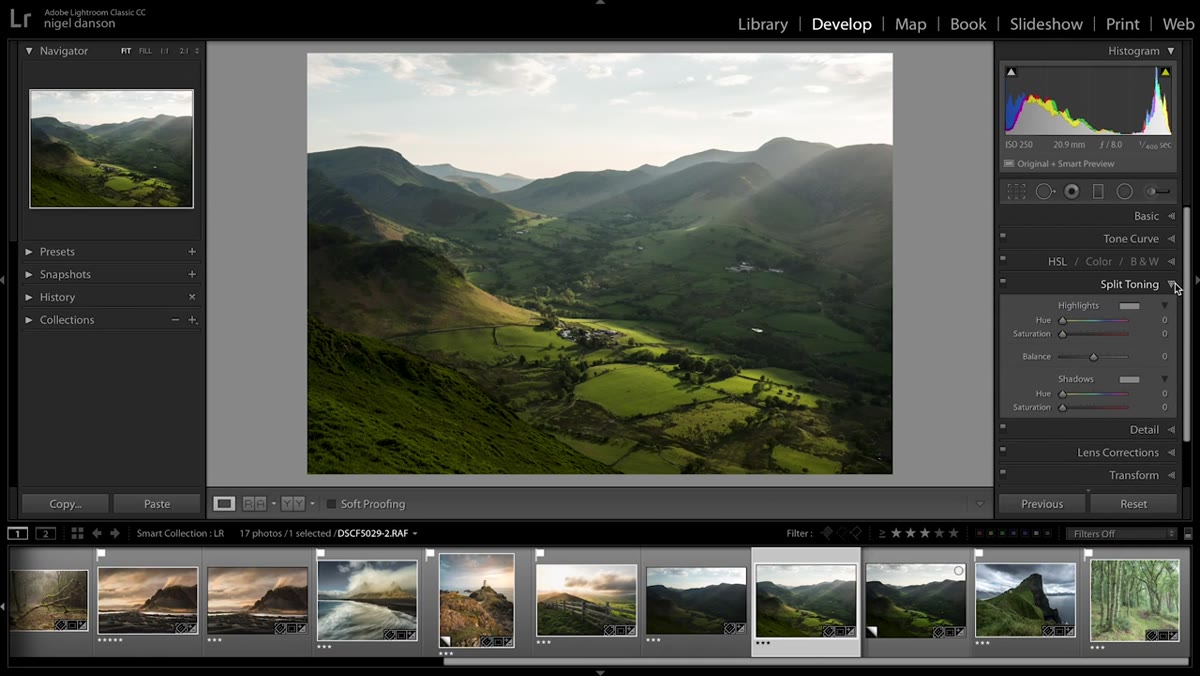 Split Toning panel with shadows and highlights hue adjusted
Split toning - now called Color Grading in newer versions of Lightroom - lets you push different color casts into your highlights and shadows independently. Danson uses this to reinforce the mood rather than fight the image’s natural palette.
Split Toning panel with shadows and highlights hue adjusted
Split toning - now called Color Grading in newer versions of Lightroom - lets you push different color casts into your highlights and shadows independently. Danson uses this to reinforce the mood rather than fight the image’s natural palette.
A common approach in warm landscape shots is to push the highlights slightly golden and the shadows toward blue or teal. It creates natural visual separation between the lit and unlit areas of the frame, and it gives the image that cohesive “film” quality that people try to chase with presets. Keep your saturation values in the split toning panel low - somewhere between 10 and 25. You want it to feel like atmosphere, not a filter.
Step 6: Refine Contrast With the Tone Curve
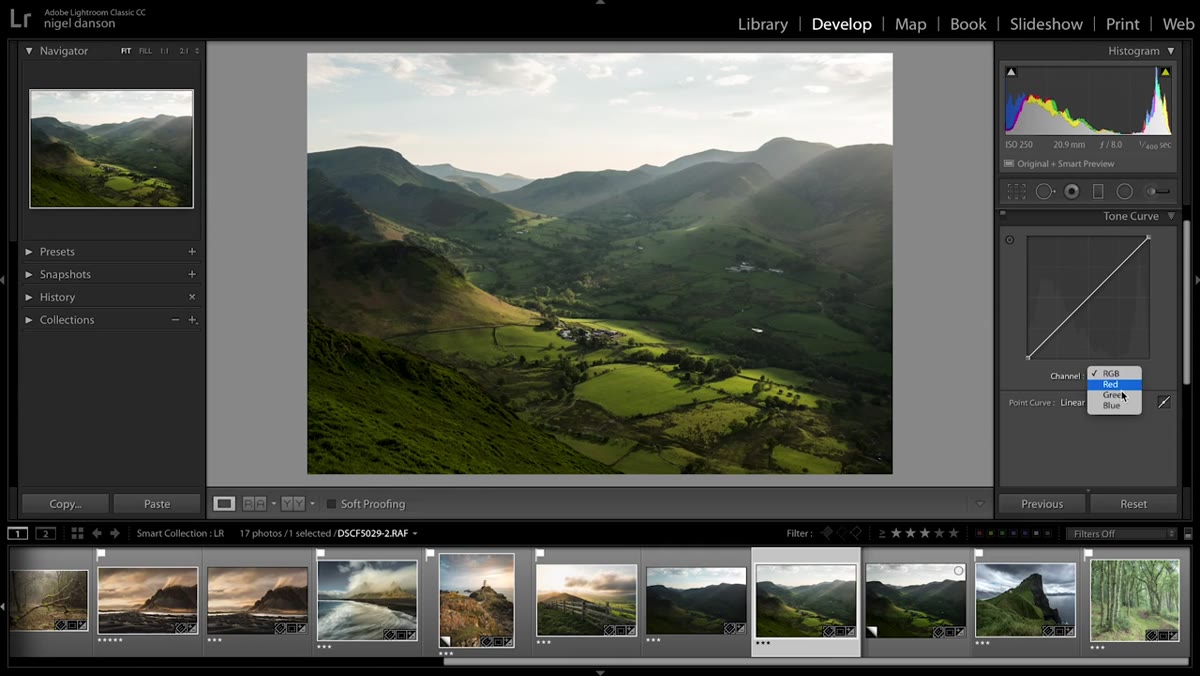 Tone Curve panel with an S-curve applied
The tone curve is where you fine-tune everything the Basic panel established. Danson uses a soft S-curve - pulling the highlights up slightly and the shadows down slightly. This deepens the contrast in a way that feels more natural than just cranking the contrast slider, because you have control over exactly which tones are being pushed.
Tone Curve panel with an S-curve applied
The tone curve is where you fine-tune everything the Basic panel established. Danson uses a soft S-curve - pulling the highlights up slightly and the shadows down slightly. This deepens the contrast in a way that feels more natural than just cranking the contrast slider, because you have control over exactly which tones are being pushed.
The real power here is in the targeted adjustment tool. Click it, hover over a specific area of your image, and drag up or down to affect only the tones present in that part of the frame. It turns the tone curve from an abstract graph into something you can actually see working in real time.
Step 7: Apply Local Adjustments to Lock It In
 Graduated filter being applied to the sky area
Global edits set the overall feel. Local adjustments make the image work at the compositional level. Danson uses graduated filters and radial filters to control the sky separately from the land - recovering highlights in the sky that he intentionally blew out during the global exposure adjustment, and adding targeted light to guide the viewer toward that beam cutting through the valley.
Graduated filter being applied to the sky area
Global edits set the overall feel. Local adjustments make the image work at the compositional level. Danson uses graduated filters and radial filters to control the sky separately from the land - recovering highlights in the sky that he intentionally blew out during the global exposure adjustment, and adding targeted light to guide the viewer toward that beam cutting through the valley.
This is the step where the image stops looking “edited” and starts looking intentional. Think of it less as fixing problems and more as controlling where the viewer’s eye goes next.
What I’d Add From My Own Experience
One thing Danson doesn’t linger on, but that I think is worth emphasizing: the order of these steps matters as much as the steps themselves. I used to jump straight to HSL and wonder why my color grades never felt stable. It’s because I was grading on top of unstable tone. Get the lens corrections done, establish your crop, then build exposure from the ground up before you touch a single color slider. Everything downstream gets easier.
I’d also add that clarity and the tone curve have a relationship that’s worth understanding. If you push clarity hard, your midtone contrast is already elevated, and your S-curve needs to be gentler to compensate. I’ve named the preset version of this approach after a Wilco song for reasons that only make sense to me at midnight with a record playing - but the underlying logic is solid.
The single most important thing Danson demonstrates in this tutorial is that good editing is iterative, not linear. He revisits temperature after working on color. He mentions he might adjust the crop again later. That willingness to treat the edit as a conversation with the image, rather than a checklist to get through, is what separates results that feel alive from results that just feel processed.
Watch the full tutorial on YouTube to see Danson work through each step live - the moment where the before and after clicks into place around the 3-minute mark is genuinely satisfying.
Comments (4)
Tried this technique this morning. Game changer for real.
This saved me so much time on my last edit. Wish I'd found this sooner.
Printing this out and pinning it next to my monitor. That good.
This is going in my reference folder. Incredibly useful.
Leave a Comment