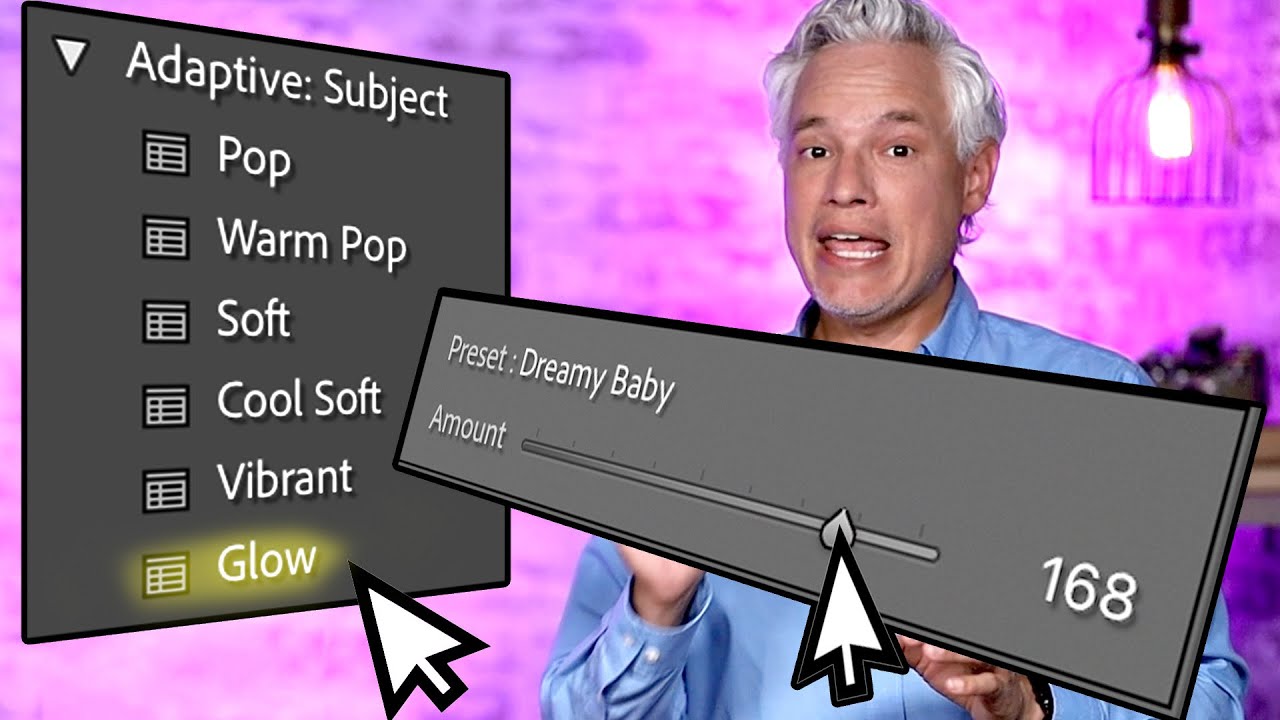
Every few months, Adobe drops an update and I spend an embarrassing amount of time testing it before I actually sit down to edit anything. This latest round of changes to both Lightroom and Lightroom Classic is different, though. These are not UI tweaks or subscription upsells dressed up as features. These are tools that solve problems I run into on real editing sessions, the kind where I’m trying to separate a subject from a background without spending twenty minutes painting masks by hand.
Watch the full tutorial on YouTube
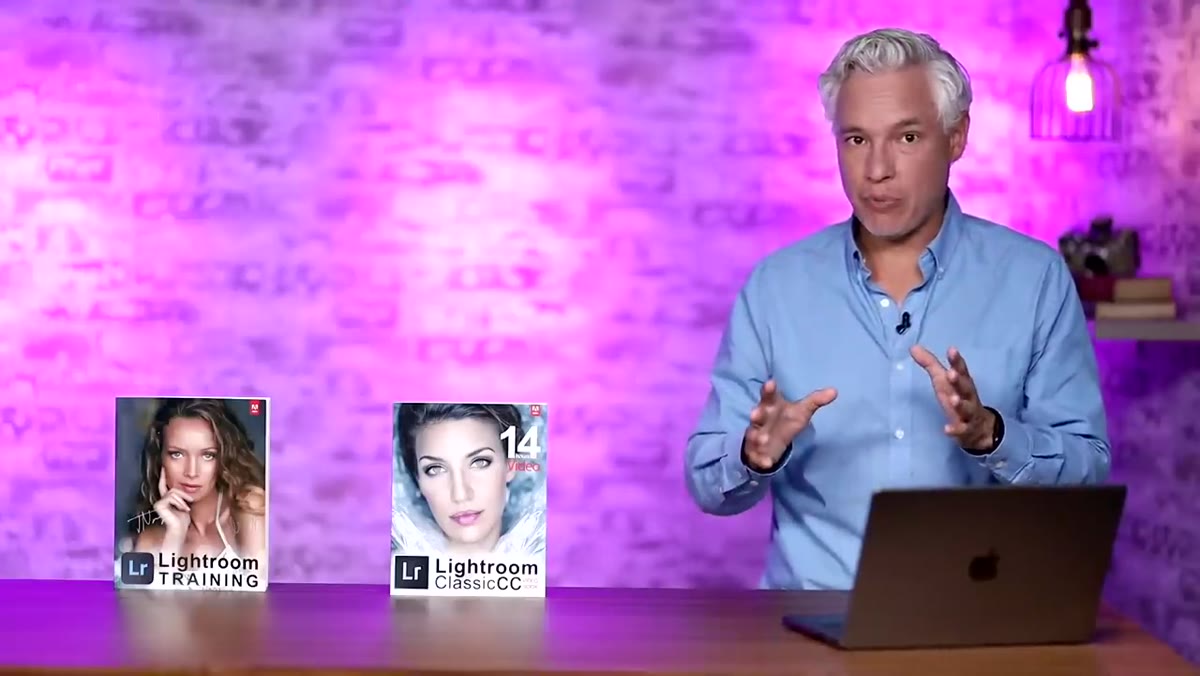
In this Tony and Chelsea Northrup tutorial, Tony walks through the most meaningful additions to the latest Lightroom update, using actual shots from the Canon R7 as test material. What makes this walkthrough worth your time is that Tony does not just narrate menus. He shows before-and-after results that make it obvious why each feature matters. I took notes, ran every feature on my own library, and here is what you actually need to know.
Step 1: Check Camera Support Before You Do Anything Else
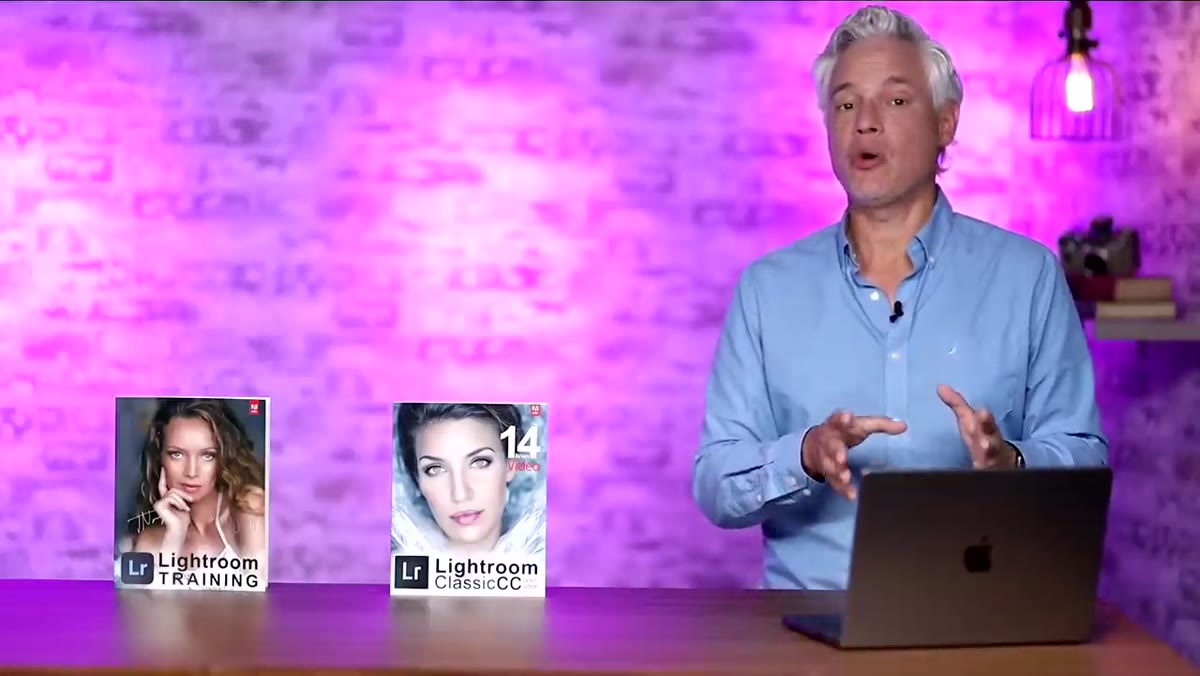 Lightroom import screen showing Canon R7 raw files
If you just bought a newer mirrorless body and your raw files are showing up as unsupported in Lightroom, this update is the first thing to check. Adobe added native support for the Canon R7, the Canon R10, and the Fujifilm X-H2S in this release. Worth noting: that support only extends to active Lightroom and Lightroom Classic subscribers. If you are still running a purchased copy like Lightroom 5 or 6, new camera support is not coming. That ship sailed a while ago, and the subscription is the only path forward for raw processing on current hardware.
Lightroom import screen showing Canon R7 raw files
If you just bought a newer mirrorless body and your raw files are showing up as unsupported in Lightroom, this update is the first thing to check. Adobe added native support for the Canon R7, the Canon R10, and the Fujifilm X-H2S in this release. Worth noting: that support only extends to active Lightroom and Lightroom Classic subscribers. If you are still running a purchased copy like Lightroom 5 or 6, new camera support is not coming. That ship sailed a while ago, and the subscription is the only path forward for raw processing on current hardware.
Before diving into any of the creative features, confirm your camera profile is loading correctly on import. If you are seeing gray or incorrectly color-rendered raw files, a fresh update to the latest Lightroom version is usually the fix.
Step 2: Apply a Preset, Then Dial In the Intensity
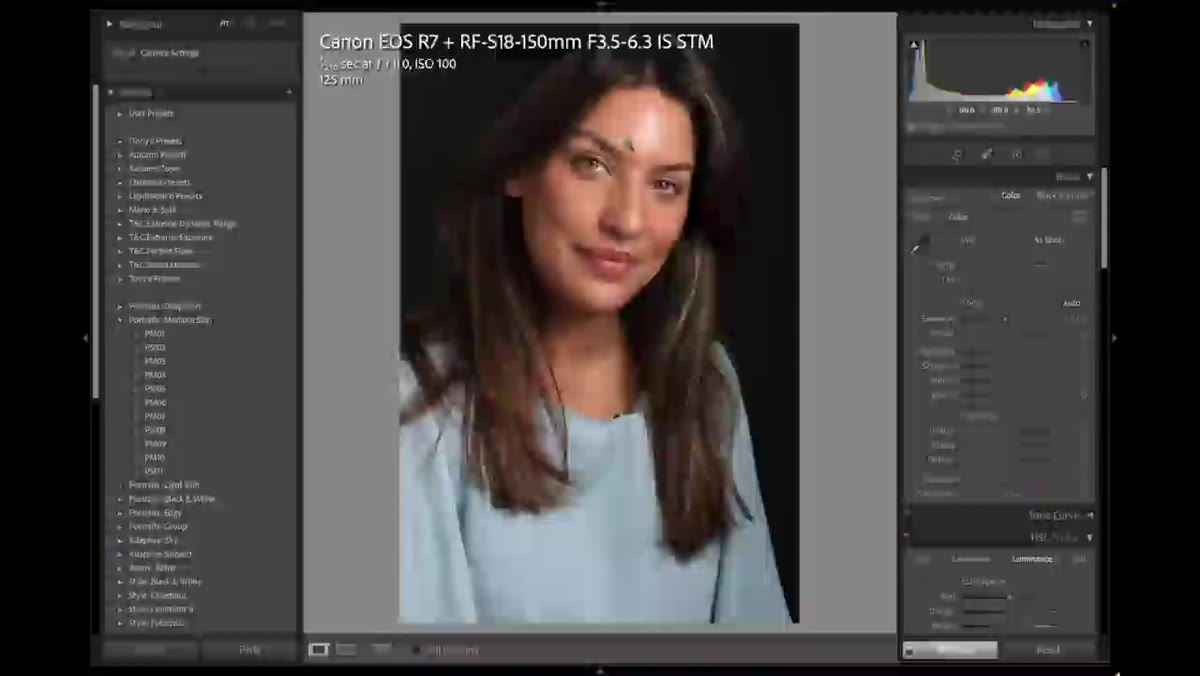 Preset amount slider appearing below preset name in Lightroom Classic
This one is going to change how I use presets permanently. Previously, applying a preset was a binary decision. You liked it or you didn’t, and if the look was 80% right but slightly too warm, you were manually reverse-engineering adjustments to pull it back. Now there is a dedicated amount slider that appears the moment you click a preset, ranging from zero all the way up to 200 percent.
Preset amount slider appearing below preset name in Lightroom Classic
This one is going to change how I use presets permanently. Previously, applying a preset was a binary decision. You liked it or you didn’t, and if the look was 80% right but slightly too warm, you were manually reverse-engineering adjustments to pull it back. Now there is a dedicated amount slider that appears the moment you click a preset, ranging from zero all the way up to 200 percent.
In practice, this means you can hover through your preset panel, find a look you like, click it, and then drag the intensity down until it feels right for the specific image. Tony demonstrates this on a portrait where the preset reads as too golden at full strength. Dragged back to roughly 30-35 percent, it adds warmth without the subject looking like they were lit by a lava lamp. The slider is available in both Lightroom Classic and the standard Lightroom app, and it lives right below the preset name once you have made a selection.
Step 3: Use Adaptive Subject Presets for Targeted Looks
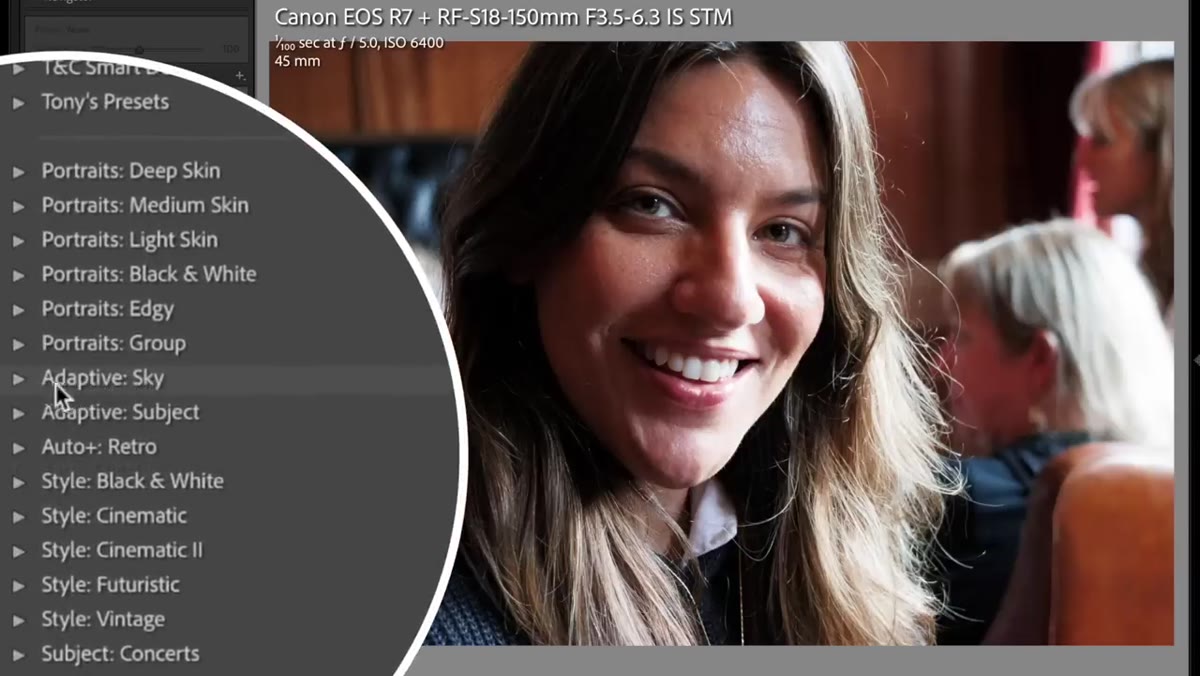 Adaptive presets panel open showing subject-only warm pop preset applied
This is the feature I did not know I needed until I saw it in action. Adaptive presets are a new preset category that uses Lightroom’s subject detection to apply adjustments only to the main subject in the frame, leaving the background completely untouched. You will find them in the presets panel under a new “Adaptive” section.
Adaptive presets panel open showing subject-only warm pop preset applied
This is the feature I did not know I needed until I saw it in action. Adaptive presets are a new preset category that uses Lightroom’s subject detection to apply adjustments only to the main subject in the frame, leaving the background completely untouched. You will find them in the presets panel under a new “Adaptive” section.
The included adaptive presets cover a handful of useful portrait effects. “Warm Pop” shifts the subject’s skin tones toward a golden hour feel without bleeding into the background colors at all. “Glow” adds a soft luminance lift to skin. “Soft” reduces texture on the subject to smooth out the look. Tony tests these on a candid portrait and the background holds completely neutral while the subject receives the full effect. For anyone who shoots portraits in mixed or unflattering light, the ability to warm a face without warming a distracting background in a single click is genuinely useful. Wildlife photographers working with busy backgrounds will find this equally valuable.
Step 4: Let Select Subject Do the Mask Setup for You
 Subject mask being automatically generated over portrait subject
The larger efficiency gain underneath the adaptive presets is that Lightroom is now doing subject selection automatically and using that mask as the foundation for targeted adjustments. Where you used to have to create a mask manually, paint over a subject, and then apply adjustments to that masked layer, Lightroom is now handling the selection step without any input from you.
Subject mask being automatically generated over portrait subject
The larger efficiency gain underneath the adaptive presets is that Lightroom is now doing subject selection automatically and using that mask as the foundation for targeted adjustments. Where you used to have to create a mask manually, paint over a subject, and then apply adjustments to that masked layer, Lightroom is now handling the selection step without any input from you.
When you apply an adaptive preset, Lightroom runs subject detection in the background and confines every adjustment inside that selection. If you want to inspect or modify the mask, you can drop into the Masking panel and see the selection it generated. In most portrait situations the detection is accurate enough that you can apply the preset and move on, which is exactly the kind of time savings that makes a difference when you are working through a batch of fifty event photos rather than a single hero image.
What I Would Add From My Own Workflow
Here is the thing about preset intensity sliders: they work best when you have presets worth using at full strength in the first place. I have been building my own preset library for years, and I always design presets to be intentionally strong. The idea is that you can always pull something back, but you cannot amplify a subtle effect the same way. With the new intensity slider, that approach pays off even more. Build or buy presets that have real character at 100 percent, and then the slider gives you a natural range to work within rather than a barely-visible nudge in either direction.
On the adaptive preset side, I would encourage you to open the mask after it applies and actually look at the selection edge quality before delivering any image. Subject detection is impressive but it is not perfect, especially around hair or in low-contrast scenes where the subject and background are similar in tone. Catching a rough edge before delivery takes about ten seconds. Missing it takes longer to explain to a client.
The single biggest shift in this update is not any one feature in isolation. It is that Lightroom is increasingly making the right decision about what to adjust and where to adjust it, before you have even opened the Masking panel. Adaptive presets are the clearest version of that direction, and the preset intensity control makes the whole system more forgiving and more useful at the same time. These are the kind of updates that actually earn the subscription fee.
Watch the full tutorial on YouTube to see Tony walk through each of these features on real images, including the Canon R7 sample shots he and Chelsea are using for their ongoing camera review.
Comments
Leave a Comment