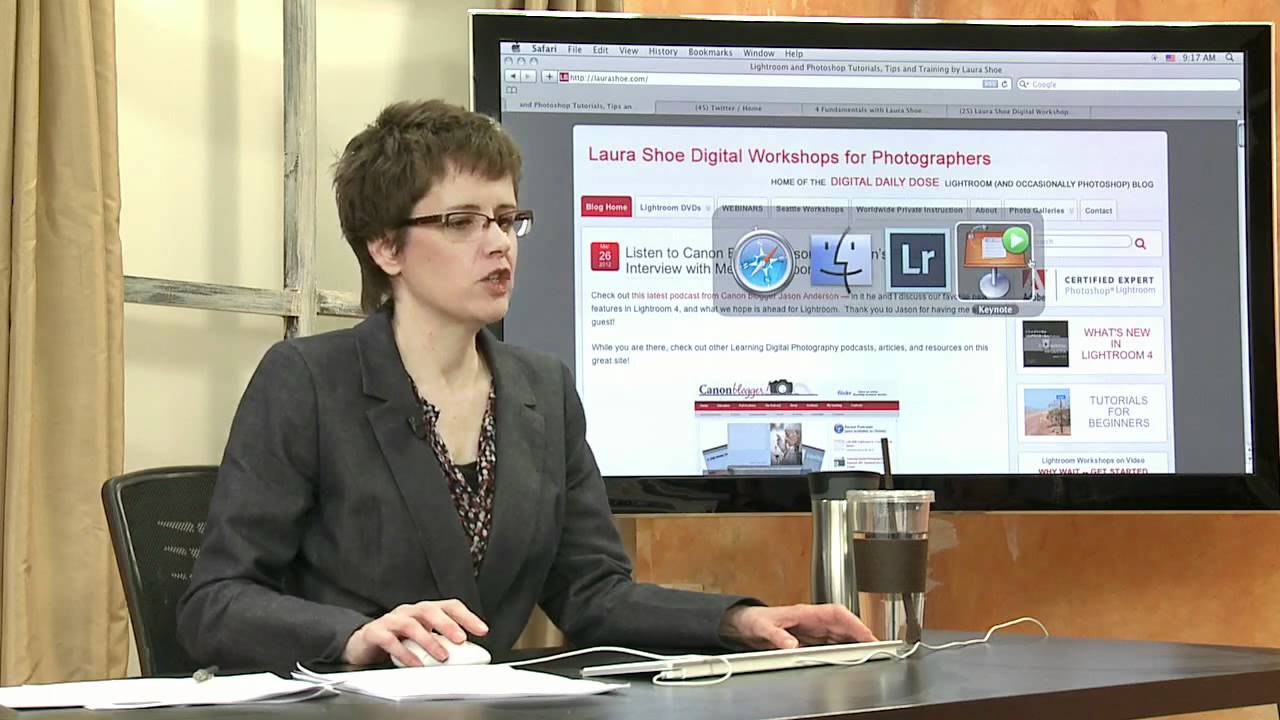
I spent the first six months of my Lightroom life jumping straight to the Develop module every single time. Open photo, drag sliders, call it done. The results were fine, I guess, but my catalog was a disaster. I couldn’t find anything, my photos had no metadata, and every editing session started from scratch because I had no system underneath it. I was building rooms without a foundation.
That changed when I sat down with CreativeLive’s Lightroom Fundamentals course, led by photographer and educator Laura Shoe. Watch the full tutorial on YouTube and you’ll see immediately that this isn’t a “drag the vibrance slider to 80” type of course. It’s a course about learning Lightroom the way the program was actually designed to be used, starting with structure, not style.
What struck me watching the introduction is how deliberately Shoe frames the scope. She isn’t trying to show you every button. She’s trying to give you a framework so that when you encounter a button you’ve never seen, you already know which room of the house it lives in. That’s the kind of teaching that sticks. Here’s how she breaks it down.
Step 1: Understand Why the Course Focuses on Library and Develop First
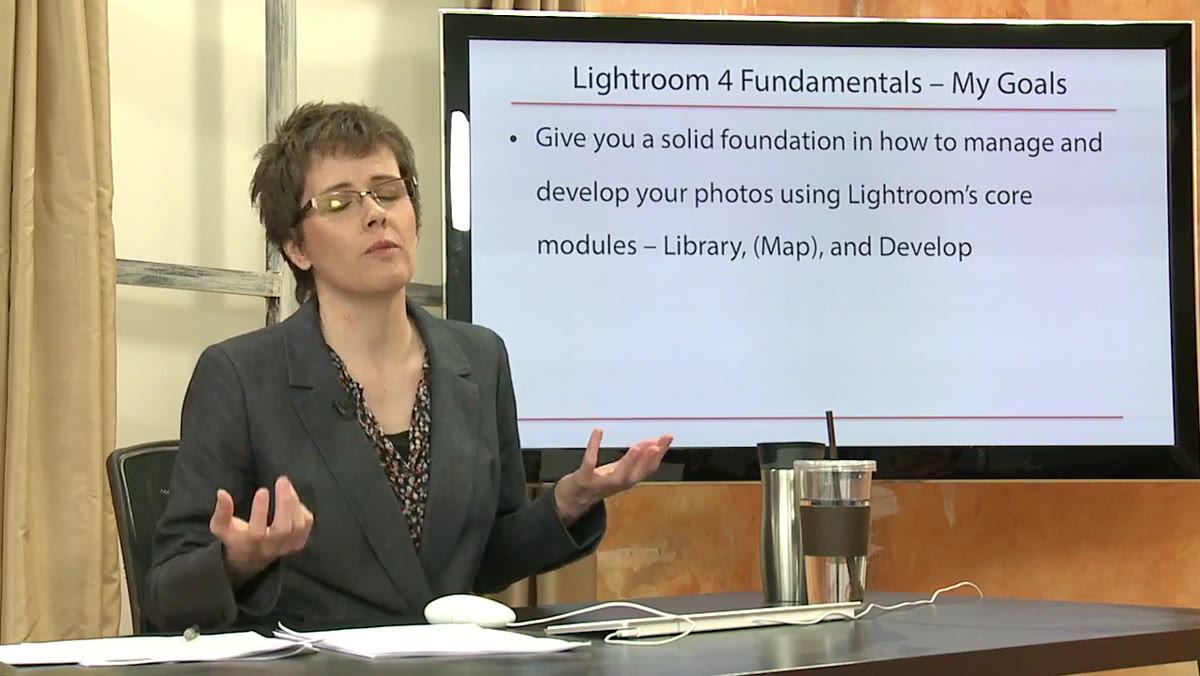
 Instructor explaining Library and Develop as the core modules
Shoe opens by naming the two modules that form the true core of Lightroom: Library and Develop. Library is where you manage, organize, and attach information to your photos. Develop is where you fix and enhance them. Everything else in Lightroom, the output modules, the book builder, the slideshow tools, sits on top of this foundation. If you skip learning Library properly, you will eventually pay for it with hours of lost time searching for photos that should take ten seconds to find.
The practical takeaway here is to resist the pull of the Develop module until you’ve built a real system in Library. Think of Library as your filing cabinet and Develop as your editing desk. You wouldn’t sit down to edit at a desk surrounded by unlabeled boxes.
Step 2: Add Map to Your Core Workflow
 Instructor referencing the Map module as location data layer
Shoe includes the Map module in her definition of the core, which surprised me the first time I heard it. Her reasoning is clean and practical: Map is simply where you attach one more critical piece of information to your photos, which is location. GPS data is increasingly embedded in files shot on phones and mirrorless cameras, and knowing how to use the Map module means that location becomes searchable, filterable data rather than just something that lives invisibly in a file.
If you shoot travel, portraits on location, or anything tied to a specific place, this module earns its spot in your core toolkit immediately. Even if you don’t, understanding that Map is an organizational layer and not an output tool helps you see Lightroom’s architecture more clearly.
Step 3: Accept That You Will Not Learn Everything, and That’s the Point
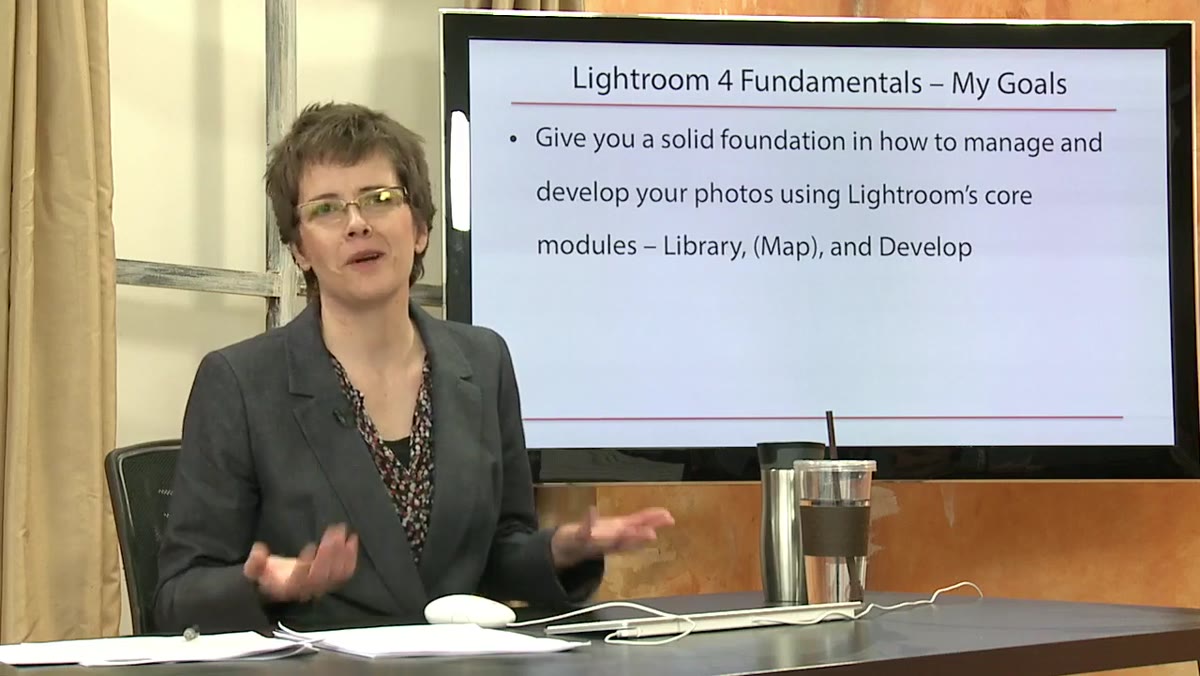 Instructor acknowledging Lightroom’s depth and narrowing the focus
This is a step that doesn’t have a keyboard shortcut, but it might be the most important one in the introduction. Shoe is direct about the fact that even a focused fundamentals course cannot cover every feature, every panel, every possible way of doing something in Lightroom. The program is dense. Accepting that frees you from the anxiety of trying to memorize everything and lets you focus on building instincts.
Her approach is to teach the logic of the program so deeply that you can figure out unfamiliar features on your own. When I finally internalized this, my learning speed actually increased. Instead of getting stuck every time I saw an unfamiliar panel, I started asking “which module is this in, and what is that module for?” That question alone gets you 80% of the way to the answer.
Step 4: Recognize That the Fundamentals Apply Across Multiple Lightroom Versions
 Instructor noting compatibility across Lightroom 3 and Lightroom 4
Shoe notes early that the fundamentals she’s teaching apply across Lightroom versions, not just the one she’s demonstrating. The underlying logic of how Lightroom thinks about photos, catalogs, metadata, and non-destructive editing doesn’t change with each version update. New features get added, panels get rearranged, but the mental model stays the same.
This is worth holding onto because it means you’re not learning software, you’re learning a system. Whether you’re on an older version or the latest subscription release, the principles of how Library, Develop, and Map work together are consistent. Invest in understanding the system, and version updates stop being confusing.
Step 5: Map Out the Three-Day Learning Structure as a Personal Roadmap
 Instructor outlining Day 1 Library, Day 2 Develop, Day 3 advanced topics
Shoe outlines her course across three sessions: heavy Library work first, then deep Develop work, then additional Develop features plus exporting and sharing. Even if you’re watching this course in a single sitting, her structure is worth borrowing as a personal study roadmap.
Spend a dedicated session just inside the Library module. Organize a real batch of your own photos. Add keywords, flags, and ratings. Don’t touch a Develop slider. Then spend a second session in Develop with that organized set of photos. You’ll immediately notice how much faster editing feels when your Library work is already done. The order isn’t arbitrary.
Step 6: Use Her Blog and External Resources as a Parallel Reference
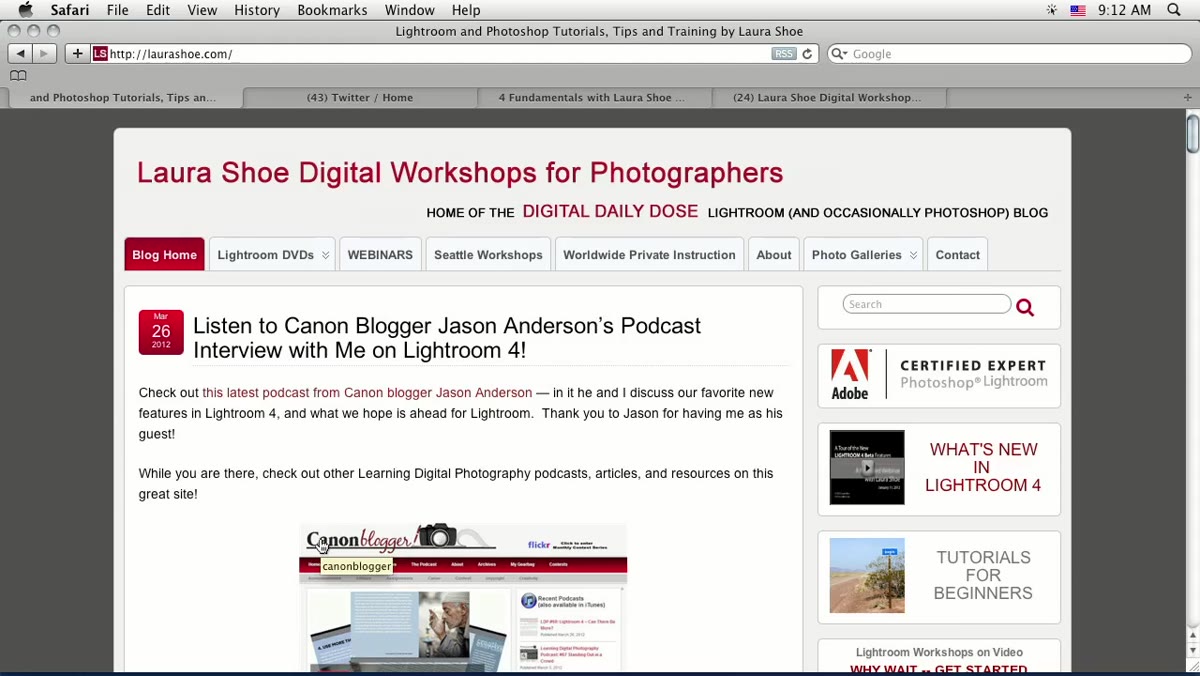 Instructor showing her blog with Lightroom tutorials organized by category
Shoe briefly walks through her blog, which is organized by module category so you can find posts on the Develop module or Library module directly without digging through chronological archives. She uses it as a place to go deeper on topics the course can’t cover fully in the time available.
The broader principle here is that any strong course, this one included, should point you toward a network of resources rather than trying to be the only resource. Build your own version of this: bookmark a handful of trusted Lightroom sources organized by topic, and when the course introduces something you want to explore further, you already know where to go.
What I’d Add From My Own Experience
The single habit that changed my Lightroom workflow more than anything Shoe or anyone else taught me was adding metadata immediately after import, before I even start culling. Keywords, location, shoot date context, all of it. It takes maybe four minutes on a fresh import and it saves hours later. The Library module only works as a foundation if you actually build on it at the beginning of the process, not after you’ve already edited everything.
Also, if you’re the kind of person who names things, name your collections and your develop presets with something meaningful. I name mine after songs. “Golden Hour in E Minor” is a better label than “Warm Preset 3” because six months from now, “Golden Hour in E Minor” tells me something about the mood and the use case. Small habit, real payoff.
The single most important thing this introduction communicates is that Lightroom rewards people who learn the system before they learn the shortcuts. Library first, always. Everything else gets easier once that foundation is solid.
Watch the full tutorial on YouTube and pay close attention to how Shoe frames the scope in the first few minutes. That framing alone is worth the time, even before she touches a single tool.
Comments
Leave a Comment