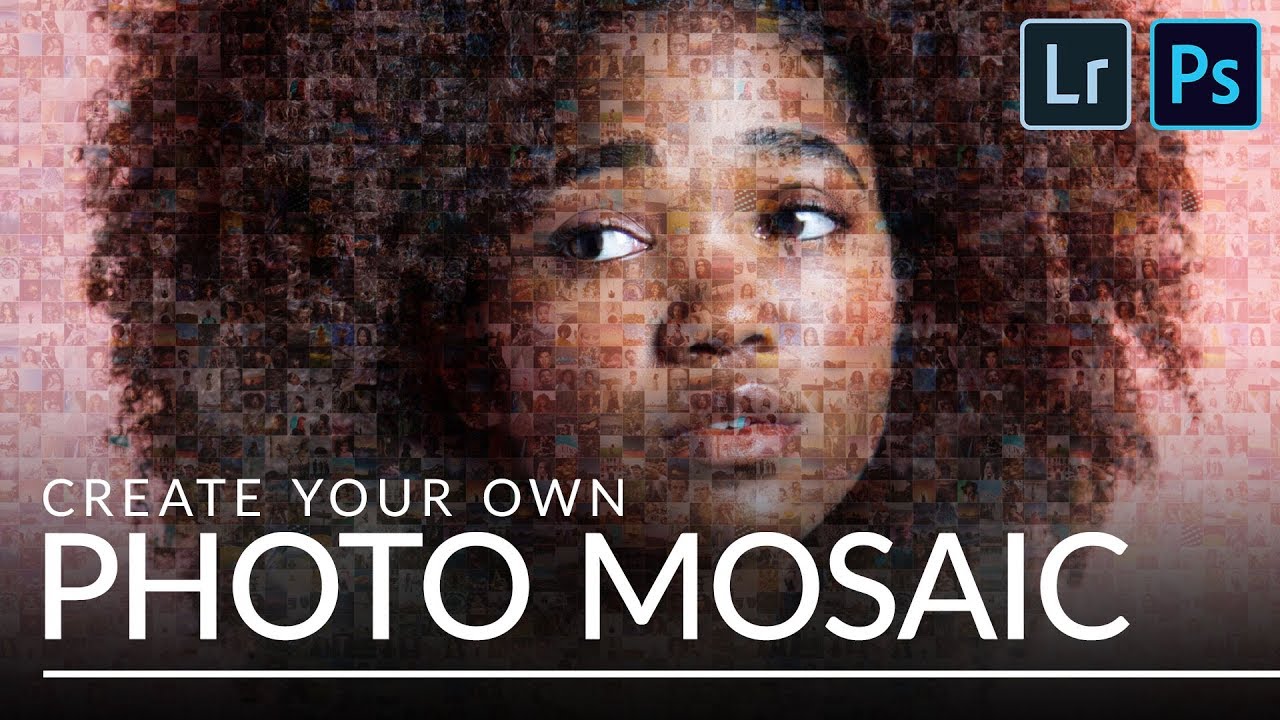
Every few months I get a message that starts with something like: “I have 200 employee headshots and I want to do something interesting with them.” I used to have no good answer for that. A slideshow felt lazy. A contact sheet felt clinical. But a photo mosaic - a single image built from dozens or hundreds of smaller photos - that actually makes people stop scrolling.
This technique landed on my radar through Aaron Nace’s tutorial over at PHLEARN, and I want to walk you through what he covers because the workflow is genuinely clever. It leans on Lightroom’s batch tools in a way that most people never think to use them, then hands the heavy lifting off to Photoshop for the final composite. If you’ve got a collection of portraits, family photos, or even a set of travel shots collecting digital dust, this is one of the more satisfying things you can do with them. Watch the full tutorial on YouTube to follow along with the original footage, or keep reading for the full breakdown.
The beauty of this approach is that almost nothing here is manual. Lightroom’s sync settings do the repetitive work, and Photoshop handles the grid logic. You’re making about ten decisions total for a result that looks like it took days.
Step 1: Import Your Mosaic Images Into Lightroom
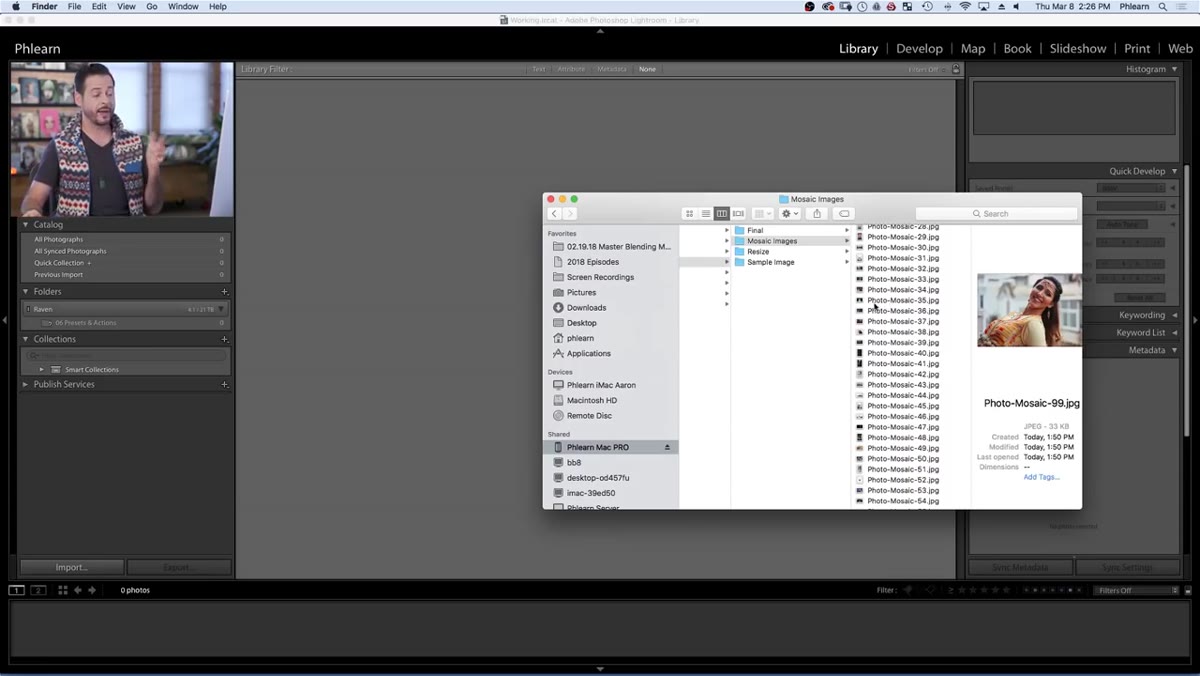 Folder of 300 mosaic images loading into Lightroom import dialog
Start by gathering all the photos that will become your individual mosaic tiles. In the tutorial, Aaron works with a set of 300 portrait images chosen to reflect a range of people - a smart choice because diversity in color and tone makes the mosaic read better at a distance. Drag the entire folder straight into the Lightroom Library module and hit “Add” in the import dialog. Lightroom will pull them in without moving or duplicating any files, which keeps your folder structure clean.
Folder of 300 mosaic images loading into Lightroom import dialog
Start by gathering all the photos that will become your individual mosaic tiles. In the tutorial, Aaron works with a set of 300 portrait images chosen to reflect a range of people - a smart choice because diversity in color and tone makes the mosaic read better at a distance. Drag the entire folder straight into the Lightroom Library module and hit “Add” in the import dialog. Lightroom will pull them in without moving or duplicating any files, which keeps your folder structure clean.
If you’re building your own set, aim for at least 100 images. More tiles give you more color variation to work with, which means the final composite will hold up better when someone zooms in.
Step 2: Crop Every Photo to a Square - Batch Style
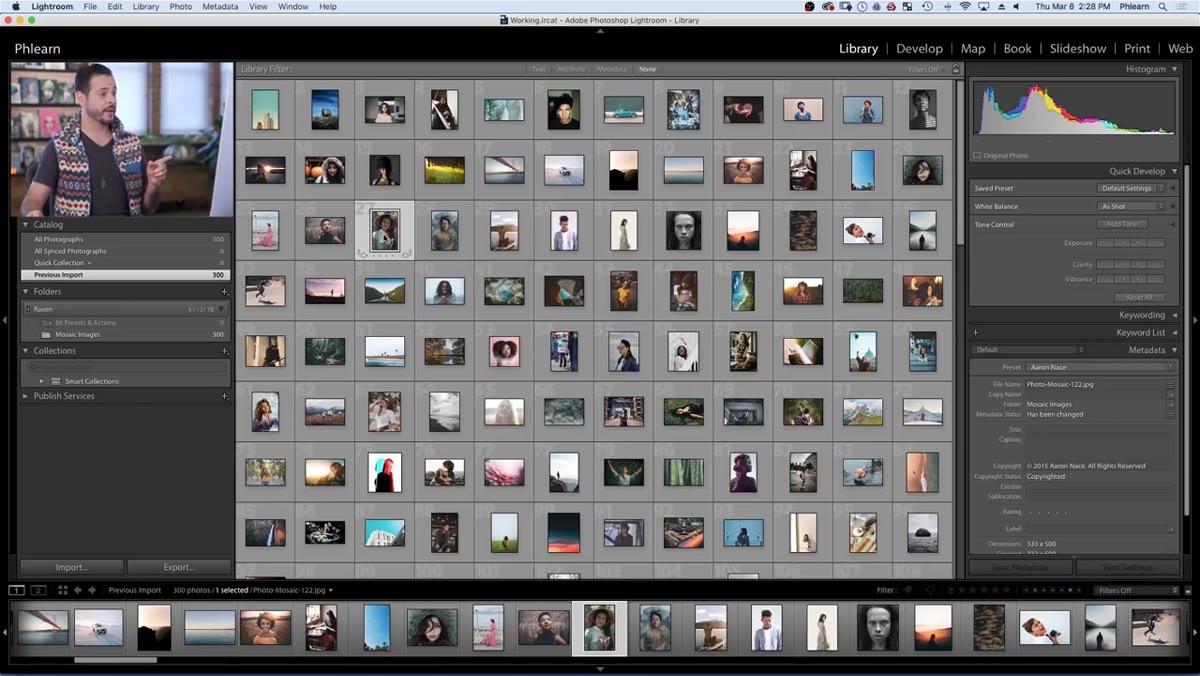 Crop tool open with 1:1 aspect ratio selected in Lightroom
Square tiles are the foundation of the whole effect. Click on one image and press R to open the Crop tool. Under the Aspect dropdown, select 1:1 to lock in a square ratio. Position the crop frame so the subject is centered or at least well-framed, then press Enter to confirm.
Crop tool open with 1:1 aspect ratio selected in Lightroom
Square tiles are the foundation of the whole effect. Click on one image and press R to open the Crop tool. Under the Aspect dropdown, select 1:1 to lock in a square ratio. Position the crop frame so the subject is centered or at least well-framed, then press Enter to confirm.
Now here’s the part that saves you hours: press Ctrl+A (or Cmd+A on Mac) to select all your images in the grid. Then click “Sync Settings” at the bottom right of the panel. Hit “Check None” first to clear everything, then tick only “Crop” and click Synchronize. Lightroom applies your square crop to every single image in the set instantly. Yes, some crops will land in the wrong spot on a few images - Aaron addresses that directly. Just scroll through the filmstrip, press R on any awkward ones, nudge the crop frame over the subject’s face, and press Enter. It takes a few minutes, not a few hours.
Step 3: Export All Images at a Small File Size
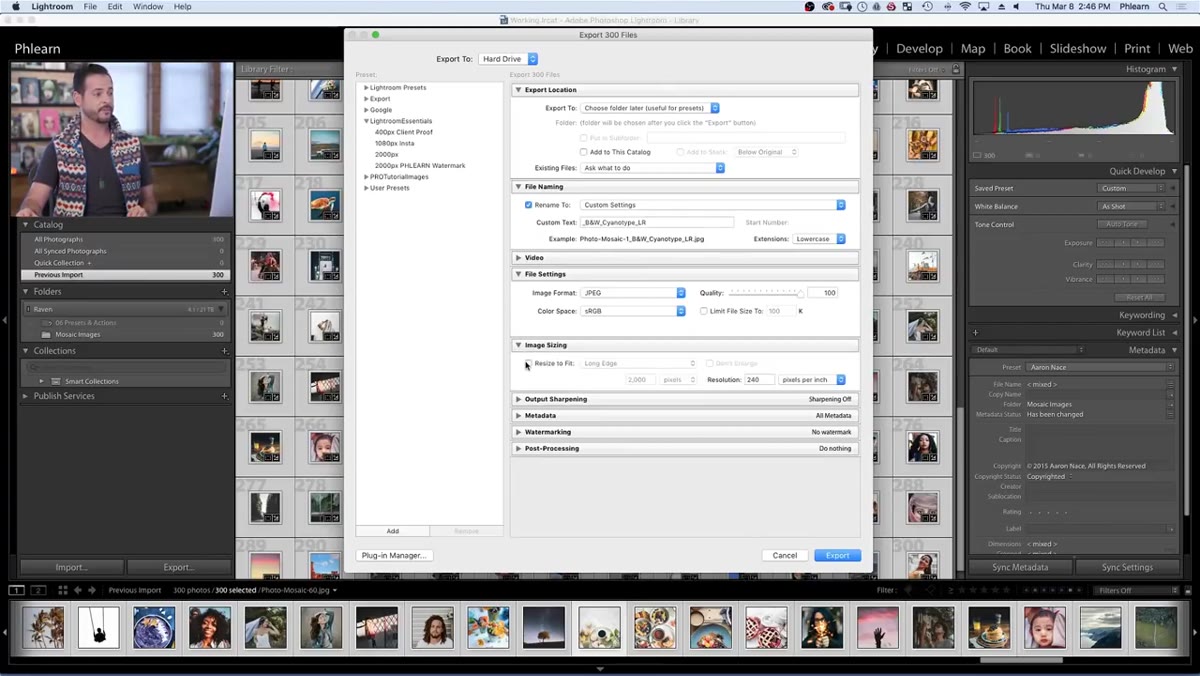 Export dialog open with long edge set to 150 pixels
With all your tiles cropped, select everything again with Ctrl+A and go to File, then Export. The key setting here is under Image Sizing - check “Resize to Fit,” choose “Long Edge,” and type in 150 pixels. These tiles are going to be small on screen, stacked together by the dozens, so you don’t need resolution here. You need speed and manageability.
Export dialog open with long edge set to 150 pixels
With all your tiles cropped, select everything again with Ctrl+A and go to File, then Export. The key setting here is under Image Sizing - check “Resize to Fit,” choose “Long Edge,” and type in 150 pixels. These tiles are going to be small on screen, stacked together by the dozens, so you don’t need resolution here. You need speed and manageability.
Set the format to JPEG, color space to sRGB, and quality to around 80. That combination keeps file sizes tiny without introducing visible compression artifacts. Choose a clean export folder you can find easily, because Photoshop will need to point at it in the next phase. Hit Export and let Lightroom do its thing.
Step 4: Set Up the Contact Sheet Automation in Photoshop
 Photoshop automation or contact sheet dialog with source folder selected
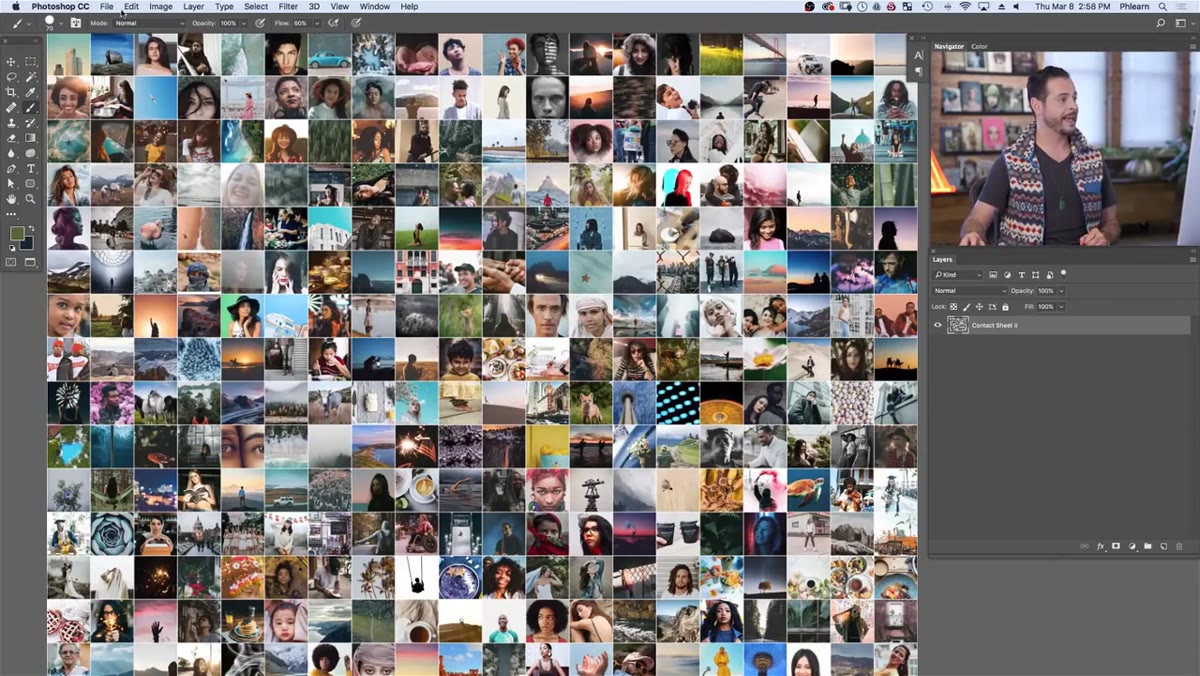
This is where Photoshop takes over. Open Photoshop and navigate to File, then Automate, then Contact Sheet II. This tool was originally designed for printing proof sheets, but it’s perfect for generating a mosaic grid because it automatically arranges your images into rows and columns.
Photoshop automation or contact sheet dialog with source folder selected
This is where Photoshop takes over. Open Photoshop and navigate to File, then Automate, then Contact Sheet II. This tool was originally designed for printing proof sheets, but it’s perfect for generating a mosaic grid because it automatically arranges your images into rows and columns.
Point the Source folder to the export folder from Lightroom. Then set your document dimensions - the overall size of the mosaic grid. Choose how many columns and rows you want. The more columns and rows, the smaller each tile appears, and the more the overall image reads as a single picture rather than a collection of photos. A good starting point is somewhere around 20 columns for a set of 300 images. Uncheck “Use Filename as Caption” so you’re not printing file names across your tiles. Hit OK and let Photoshop build the grid. Depending on the number of images and your machine’s specs, this can take a few minutes.
Step 5: Place the Mosaic Over Your Hero Image
 Mosaic layer blended over portrait photo in Photoshop layers panel
Once your mosaic grid is rendered, you’ll bring in the main photo - the image you want the mosaic to “form.” This is the portrait or scene that viewers will recognize from a distance. Place the mosaic grid as a layer on top of your hero image and set the blend mode to something like Hard Light or Overlay. These modes allow the luminosity of the underlying photo to push through the tile grid, giving the impression that the image is actually composed of those smaller photos.
Mosaic layer blended over portrait photo in Photoshop layers panel
Once your mosaic grid is rendered, you’ll bring in the main photo - the image you want the mosaic to “form.” This is the portrait or scene that viewers will recognize from a distance. Place the mosaic grid as a layer on top of your hero image and set the blend mode to something like Hard Light or Overlay. These modes allow the luminosity of the underlying photo to push through the tile grid, giving the impression that the image is actually composed of those smaller photos.
Adjust the opacity of the mosaic layer until the underlying image reads clearly from a normal viewing distance while the tile structure is still visible when zoomed in. That balance - recognizable from far, detailed up close - is the whole magic trick of a mosaic.
My Take: Where This Workflow Really Shines
I’ve run this workflow a few times now and the step most people skip is the pre-export crop review. It’s tempting to sync the crop and go straight to export, but five minutes of manual adjustments in Step 2 makes a real difference in the final result. When tiles are cropped on foreheads or background walls instead of faces, the color distribution across the grid gets weird and the composite looks muddy. Portrait-centered crops give you warmer, more varied tones, and that variation is what makes the mosaic readable.
I’d also suggest exporting at 200 pixels instead of 150 if you plan to print the final composite larger than a standard letter size. At 150 pixels per tile, anything above 12x18 inches starts to look soft on the individual photos - which might not bother you, but it bothers me.
The single biggest lesson from this workflow: Lightroom’s Sync Settings tool is wildly underused for mosaic and grid projects. Most people think of sync as a color grading shortcut, but applying a batch crop across 300 images in two clicks is the kind of time save that changes how you approach projects like this. Aaron Nace’s tutorial makes it look simple because it genuinely is, once you know which tools to reach for.
Watch the full tutorial on YouTube and download the sample images from PHLEARN to follow along with the exact setup Aaron uses.
Comments
Leave a Comment