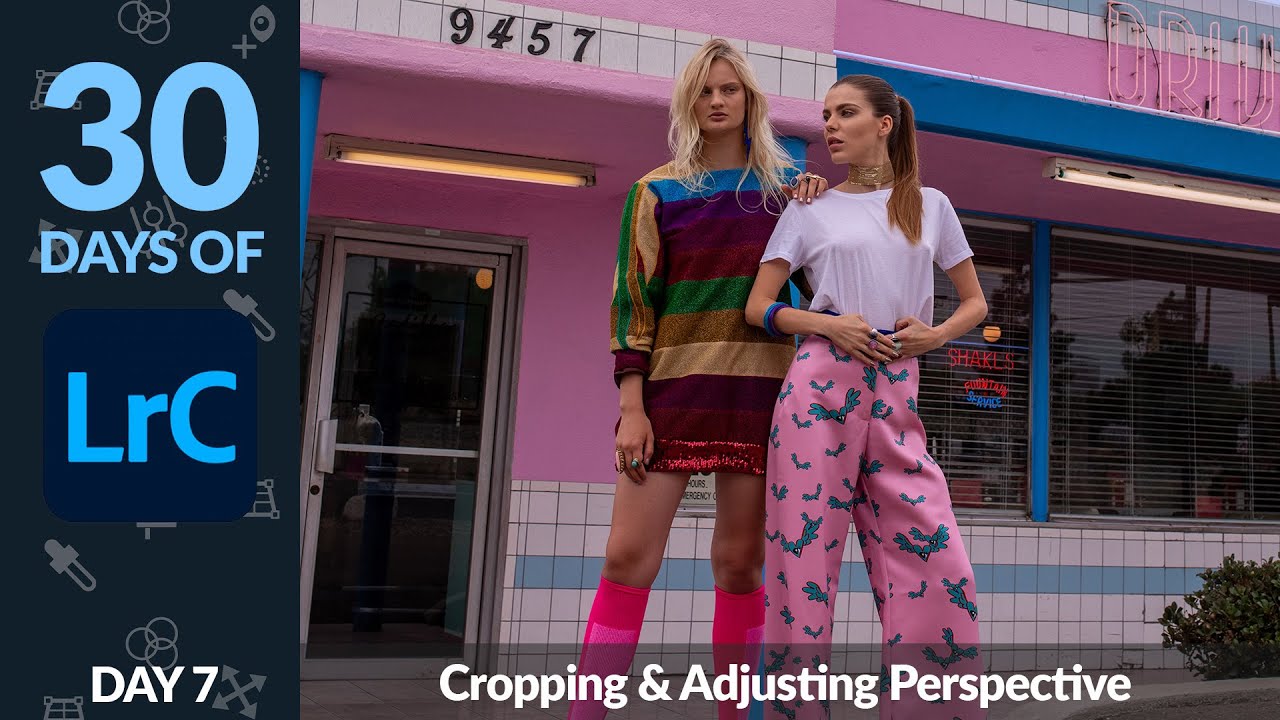
Every time I open a fresh batch of photos, at least a third of them need some kind of compositional fix before I even think about color. A slightly tilted horizon. A subject who’s technically centered but feels crowded. A shot I want to repurpose for print but the dimensions are all wrong. Cropping and straightening sounds like the boring part of editing, but get it wrong and no amount of color grading will save you.
In this Aaron Nace (PHLEARN) tutorial from his 30 Days of Lightroom series, he walks through the full crop and transform workflow in Lightroom Classic with the kind of clarity that makes you wonder why you ever found it confusing. Watch the full tutorial on YouTube if you want to follow along with his sample raw file. I’m going to break down each step here so you can apply it to your own images immediately.
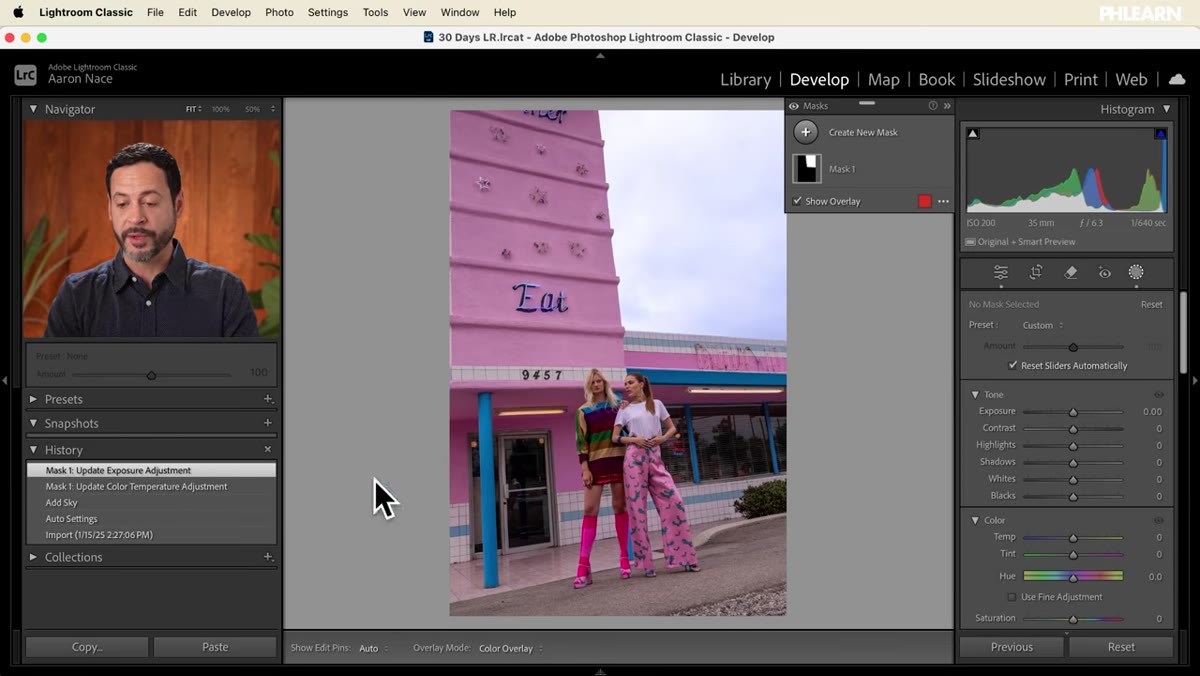
What I appreciate about how Aaron structures this is that he doesn’t treat cropping as an afterthought. He does a quick round of basic adjustments and sky masking first, which puts the image in a more finished state before he starts making compositional decisions. That order matters. Cropping on a flat, unedited image is a different visual experience than cropping something that already has dimension and color. It’s a small workflow habit, but it changes how you see the frame.
Step 1: Make a Quick Edit Before You Crop
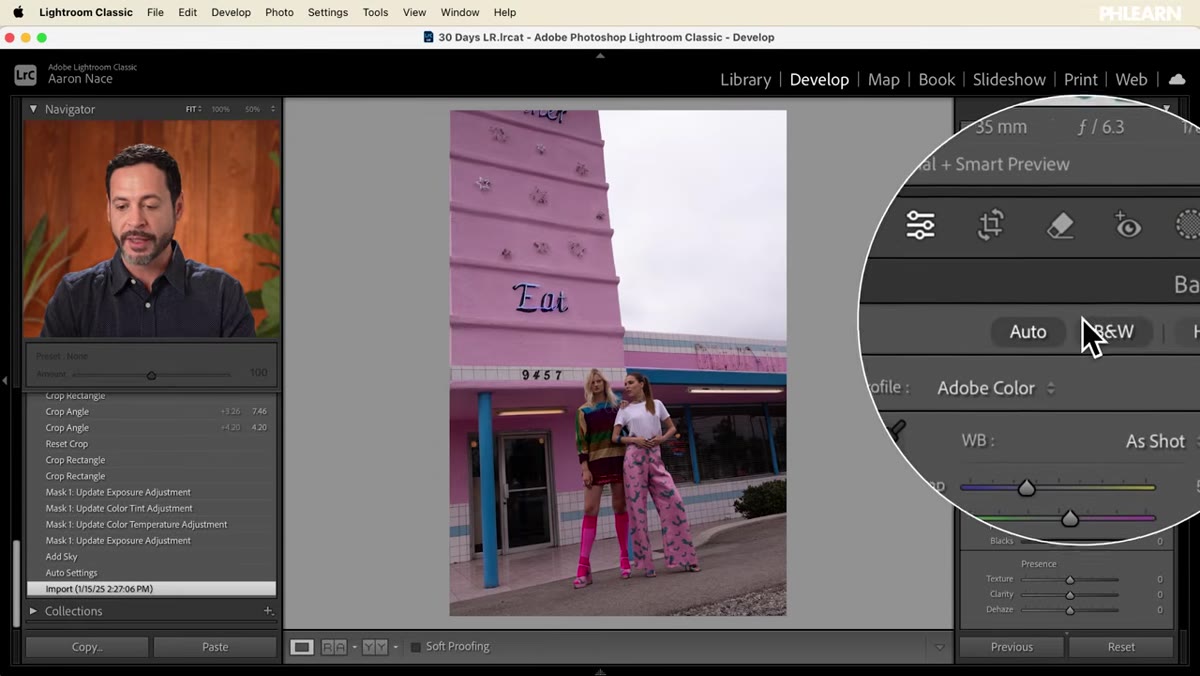 Clicking Auto in the Basic panel to apply initial adjustments
Before touching the crop tool, get your image looking closer to finished. Aaron hits Auto in the Basic panel to pop the exposure and color balance, then jumps into Masking to select the sky and shift it cooler and slightly brighter. This isn’t about perfection. It’s about giving yourself an accurate preview of the image so your crop decisions are based on what the photo will actually look like, not a flat raw file.
Clicking Auto in the Basic panel to apply initial adjustments
Before touching the crop tool, get your image looking closer to finished. Aaron hits Auto in the Basic panel to pop the exposure and color balance, then jumps into Masking to select the sky and shift it cooler and slightly brighter. This isn’t about perfection. It’s about giving yourself an accurate preview of the image so your crop decisions are based on what the photo will actually look like, not a flat raw file.
Step 2: Open the Crop Tool and Understand the Default Settings
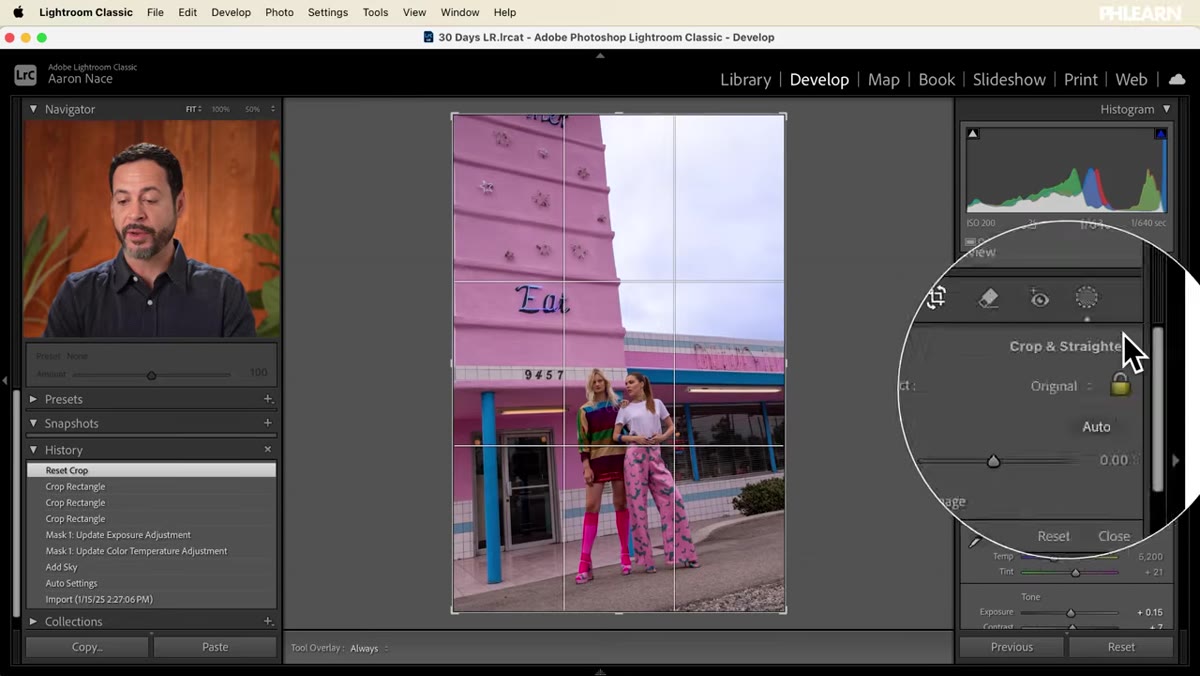
 Crop tool selected with aspect ratio locked to Original
Press R to activate the Crop Overlay tool, or click the crop icon in the toolbar just below the histogram. When you first open it, the aspect ratio is set to Original and locked by default, meaning any crop you make will maintain the same proportions as your original image. You’ll see a grid overlay appear on your photo, and handles will appear at each corner and along each edge. You can drag any of these to adjust the crop boundaries, and click inside the frame to reposition it within the image.
Crop tool selected with aspect ratio locked to Original
Press R to activate the Crop Overlay tool, or click the crop icon in the toolbar just below the histogram. When you first open it, the aspect ratio is set to Original and locked by default, meaning any crop you make will maintain the same proportions as your original image. You’ll see a grid overlay appear on your photo, and handles will appear at each corner and along each edge. You can drag any of these to adjust the crop boundaries, and click inside the frame to reposition it within the image.
Hit Enter to apply the crop. Nothing is permanently changed. Lightroom’s cropping is fully non-destructive, which means you can return to the crop tool at any time, click Reset, and your full original image comes right back.
Step 3: Use Preset Crop Ratios for Specific Outputs
 Dropdown menu showing preset crop ratios including 1:1 and 5x7
Click the dropdown where it says Original to see a list of predefined aspect ratios. The 1:1 option gives you a square crop, which is useful for Instagram or any square format delivery. If you’re printing, you’ll find standard sizes like 5x7 listed there too. Select 5x7, drag your crop handles to frame your subject, and you know exactly what you’re going to get at the print lab.
Dropdown menu showing preset crop ratios including 1:1 and 5x7
Click the dropdown where it says Original to see a list of predefined aspect ratios. The 1:1 option gives you a square crop, which is useful for Instagram or any square format delivery. If you’re printing, you’ll find standard sizes like 5x7 listed there too. Select 5x7, drag your crop handles to frame your subject, and you know exactly what you’re going to get at the print lab.
One useful detail Aaron points out: dragging the crop handle to the right side of the frame switches you from a vertical to a horizontal orientation while keeping the ratio locked. So you don’t need to change any settings to flip your print orientation. Just drag the handle past the midpoint.
If you want to break free from all preset ratios entirely, click the small lock icon next to the ratio dropdown to unlock it. Then you can drag the crop handles completely independently and create any custom dimensions you want.
Step 4: Rotate the Crop Angle to Straighten the Image
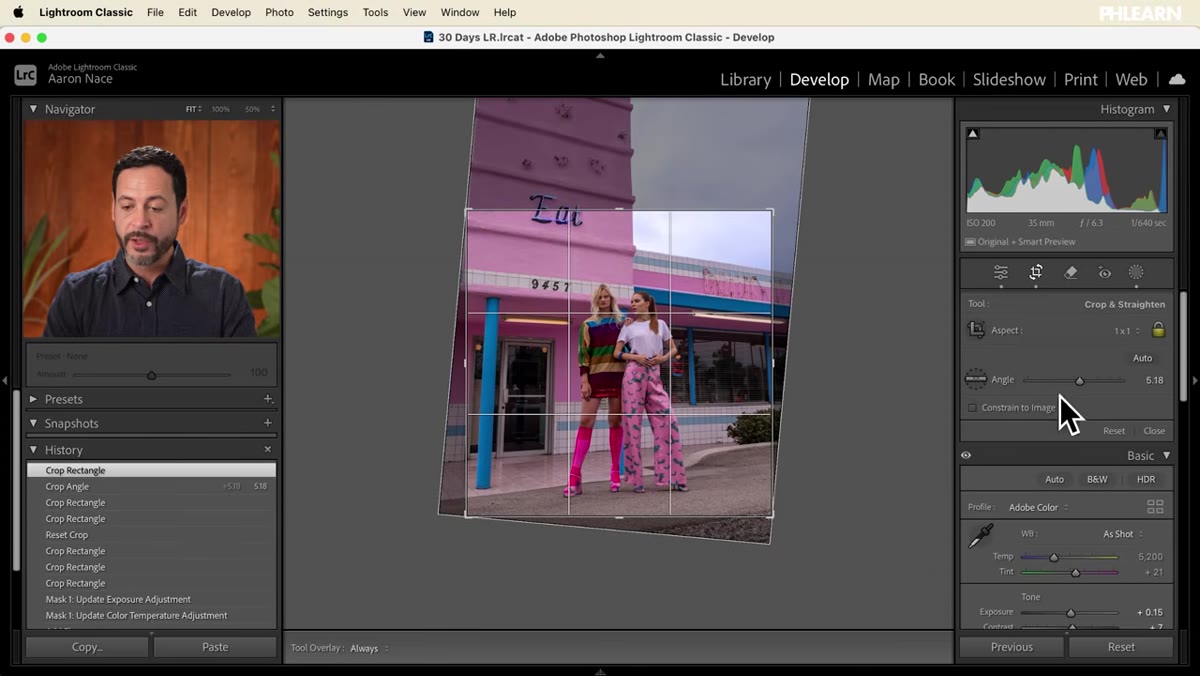 Angle slider being adjusted to rotate the crop frame
Still inside the Crop Overlay tool, look for the Angle slider on the right side of the panel. Dragging this left or right rotates the crop frame relative to your image, which is how you fix a tilted horizon or a slightly off-kilter architectural shot. You can also hover your cursor just outside one of the crop corners until it turns into a curved arrow, then click and drag to rotate manually. Both methods do the same thing.
Angle slider being adjusted to rotate the crop frame
Still inside the Crop Overlay tool, look for the Angle slider on the right side of the panel. Dragging this left or right rotates the crop frame relative to your image, which is how you fix a tilted horizon or a slightly off-kilter architectural shot. You can also hover your cursor just outside one of the crop corners until it turns into a curved arrow, then click and drag to rotate manually. Both methods do the same thing.
This is the approach that works well when you need a subtle fix and you’re eyeballing it. But if you have a clear straight line in your image to work from, there’s a more precise method in the next step.
Step 5: Use the Straighten Tool to Lock Onto a Horizon Line
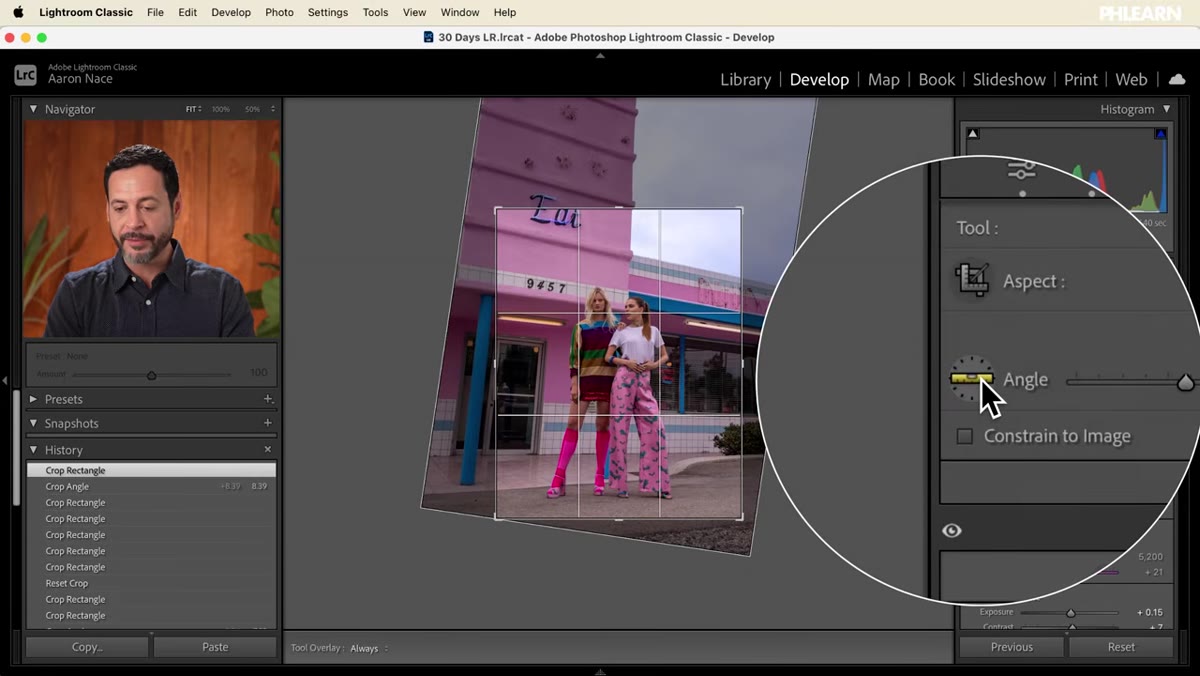 Straighten tool being dragged across a visible horizon line
The Straighten tool lives inside the Crop panel as a small level icon to the left of the Angle slider. Click it and your cursor turns into a crosshair. Click and drag along any line in your image that should be perfectly horizontal or vertical, like an ocean horizon, a roofline, or a countertop edge. The moment you release, Lightroom automatically calculates the angle correction and rotates the crop to match. It’s faster and more accurate than dragging the angle slider by feel, especially on landscape and architecture images where precision matters.
Straighten tool being dragged across a visible horizon line
The Straighten tool lives inside the Crop panel as a small level icon to the left of the Angle slider. Click it and your cursor turns into a crosshair. Click and drag along any line in your image that should be perfectly horizontal or vertical, like an ocean horizon, a roofline, or a countertop edge. The moment you release, Lightroom automatically calculates the angle correction and rotates the crop to match. It’s faster and more accurate than dragging the angle slider by feel, especially on landscape and architecture images where precision matters.
Step 6: Commit or Reset and Move On
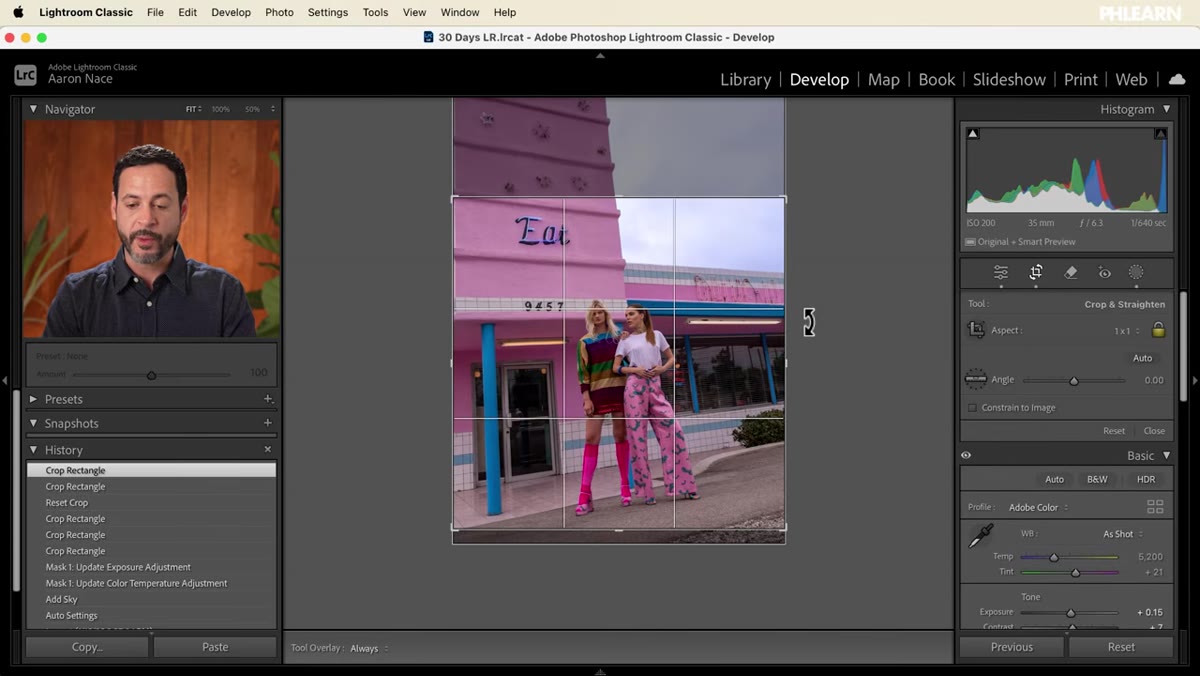 Hitting Reset button to restore original uncropped image
Once you’re happy with your crop and angle, press Enter to apply it. The image updates in your Library and will export with that crop applied. If you change your mind later, go back into the Crop tool and click Reset to restore the original frame instantly. No export, no duplicate file, no damage done. That reset option is what makes it safe to experiment aggressively with composition.
Hitting Reset button to restore original uncropped image
Once you’re happy with your crop and angle, press Enter to apply it. The image updates in your Library and will export with that crop applied. If you change your mind later, go back into the Crop tool and click Reset to restore the original frame instantly. No export, no duplicate file, no damage done. That reset option is what makes it safe to experiment aggressively with composition.
A Note From My Own Workflow
I’d add one thing Aaron doesn’t get to in this particular segment: the Crop tool pairs beautifully with the Transform panel (also called Upright in some versions of Lightroom Classic) for architecture and interior shots. Cropping fixes your framing; the Transform panel corrects converging vertical lines from shooting with a wide angle lens pointed slightly upward. If you’re doing any real estate or interior work, run a Guided Upright correction first, then crop. Do it in the other order and you’ll be re-cropping after every transform adjustment.
Also, if you name your custom crop presets, name them something useful. “Web Square” and “Print 8x10 Landscape” will save you time. I have a bad habit of naming presets after songs, which made sense in the moment and means absolutely nothing six months later.
The single most important idea in this whole tutorial is that Lightroom’s crop is non-destructive. That changes how you should think about it. Crop aggressively. Try the square. Try the 5x7. Try a 16x9 cinematic slice just to see if it works. You can always reset. The willingness to experiment with your frame is what separates a thoughtful edit from a technically adequate one.
Watch the full tutorial on YouTube to follow along with Aaron’s sample raw file and see every tool demonstrated in real time.
Comments
Leave a Comment