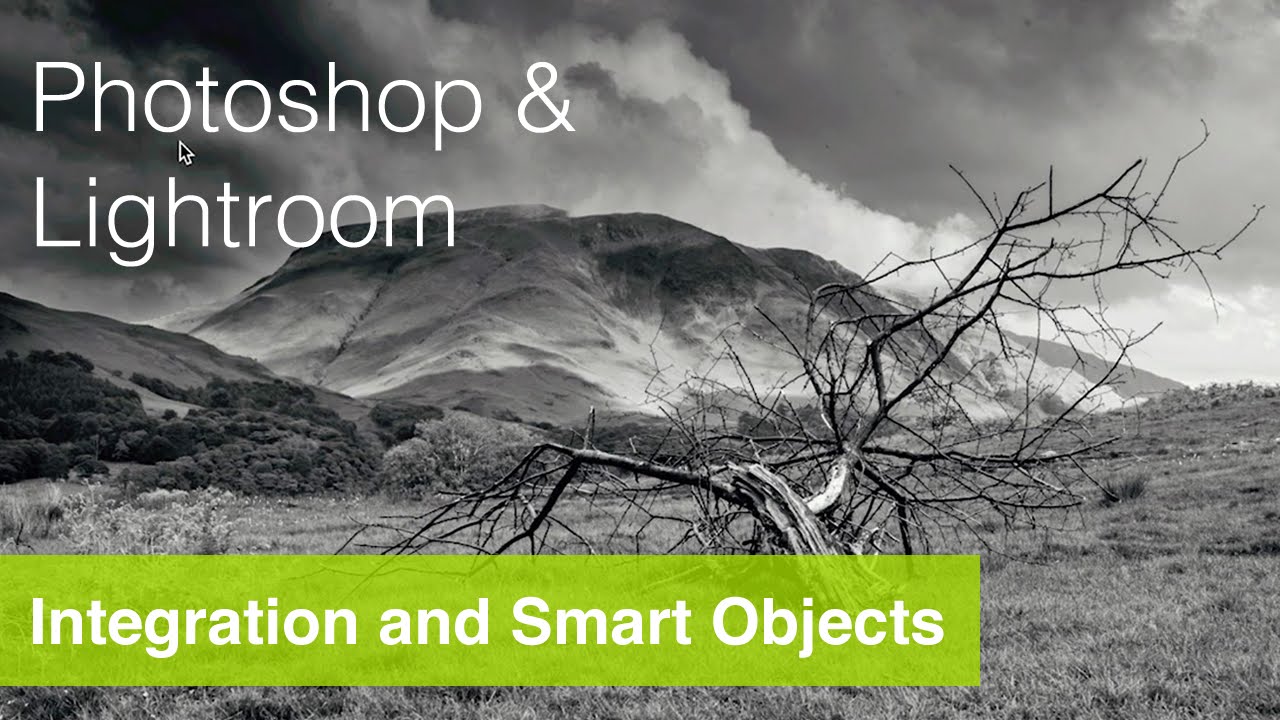
Every time I open a fresh RAW file, I’m reminded of the same uncomfortable truth: the camera lies. Not in a dramatic way, but in a flat, uninspiring, “did I even take this correctly?” kind of way. RAW files are intentionally unprocessed, and that blank-slate quality is either your best friend or your worst enemy depending on whether you have a clear workflow to get from capture to finished image. For years, I treated Lightroom and Photoshop as two separate tools I’d open at different times for different jobs. That was a mistake.
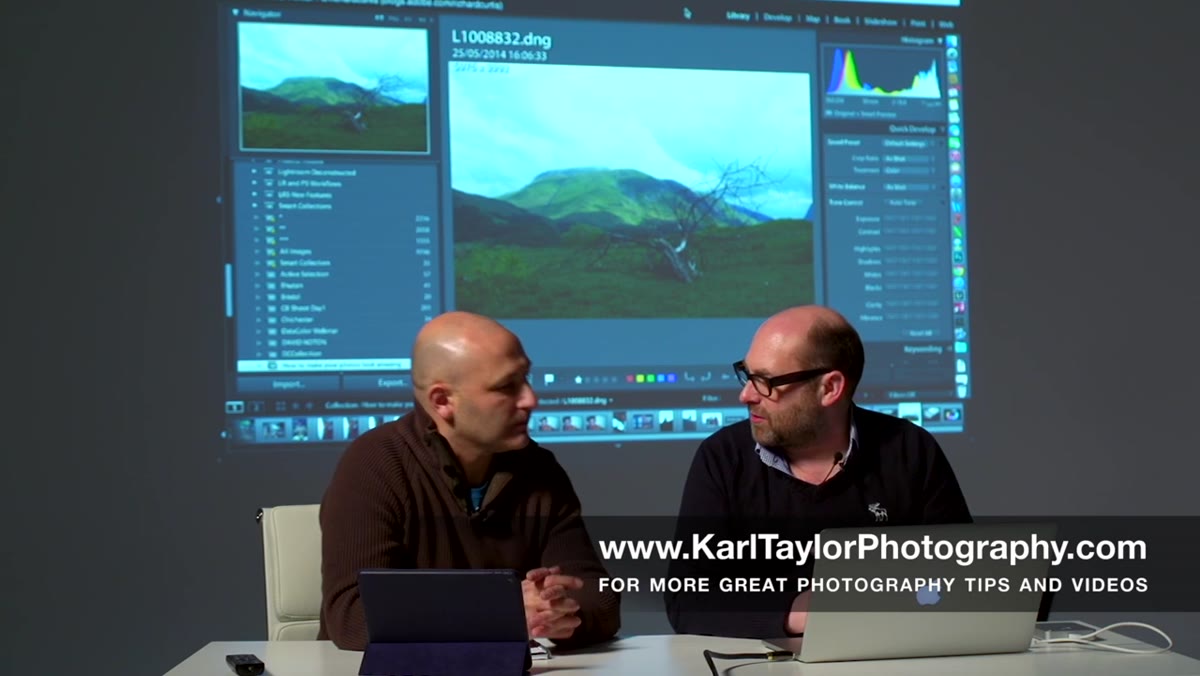
In this Visual Education tutorial, photographer Carl Taylor sits down with Richard Curtis from Adobe to walk through exactly how these two applications are supposed to work together. Watch the full tutorial on YouTube before or after reading this breakdown. What Richard demonstrates is not just a tips-and-tricks session. It’s a philosophy of non-destructive editing that keeps every decision reversible, all the way from your initial RAW adjustments in Lightroom down to your Photoshop layer stack. Once this clicked for me, I stopped dreading complex retouches and started actually enjoying them.
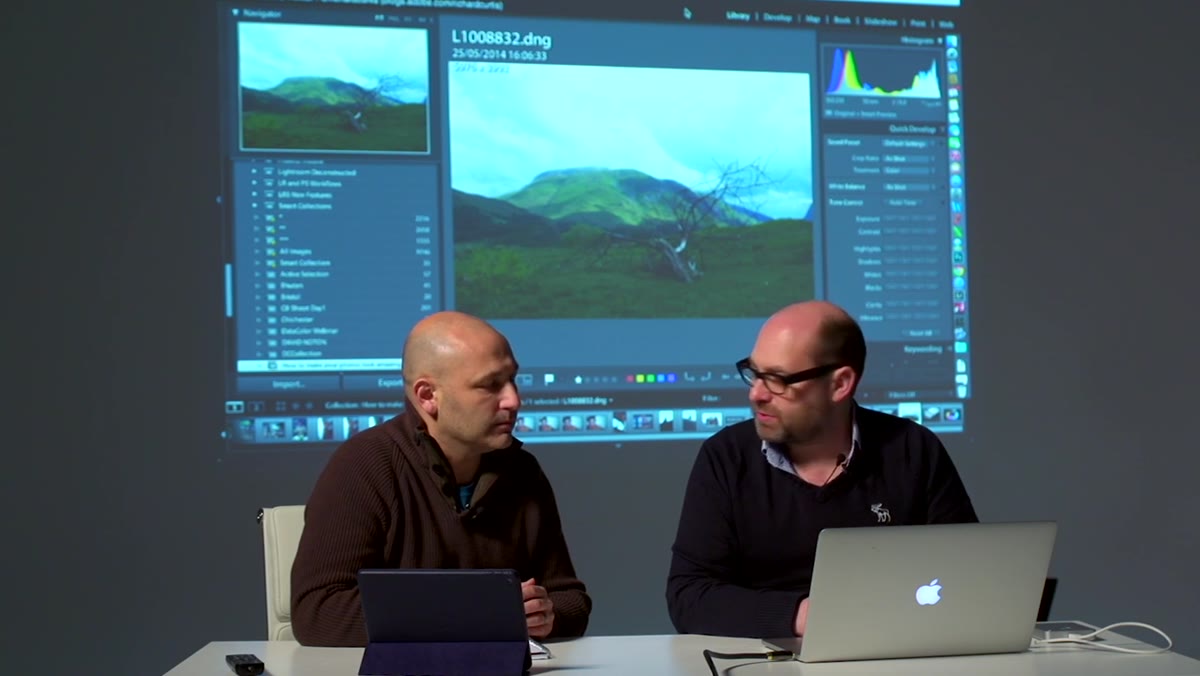
The image they work with is a landscape shot from the Lake District in the UK. A dramatic, moody scene with a gnarled tree in the foreground, mountains behind it, and thunderstorm clouds overhead. The camera rendered it flat. The goal is to make it feel the way it actually looked standing there in the field. That gap between the file and the feeling is where good editing lives.
Step 1: Evaluate the RAW File Before Touching Anything
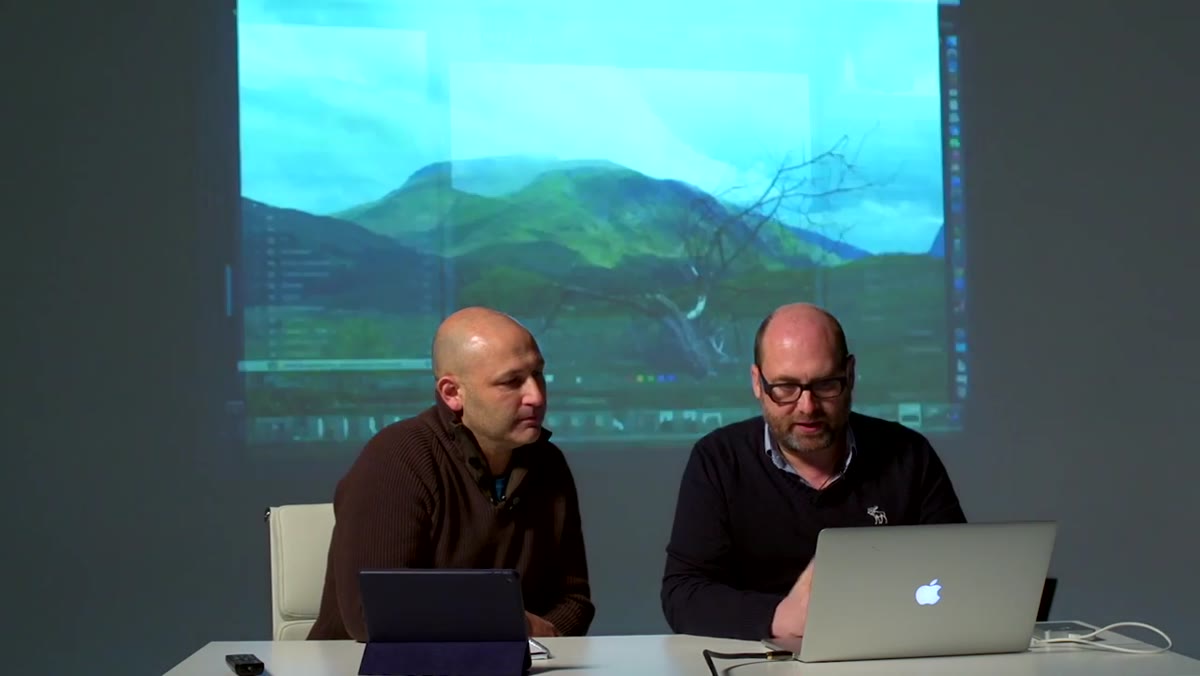 Flat RAW landscape file displayed in Lightroom full screen
Before you reach for the sliders, use Lightroom’s full-screen preview (press F) to sit with the image for a moment. Carl does this deliberately. He reads the composition first: where is the visual weight, what’s the mood, what’s the light actually doing? In this case, the tree anchors the bottom right, the mountains create depth, and the overcast sky holds dramatic potential that the RAW file hasn’t released yet.
Flat RAW landscape file displayed in Lightroom full screen
Before you reach for the sliders, use Lightroom’s full-screen preview (press F) to sit with the image for a moment. Carl does this deliberately. He reads the composition first: where is the visual weight, what’s the mood, what’s the light actually doing? In this case, the tree anchors the bottom right, the mountains create depth, and the overcast sky holds dramatic potential that the RAW file hasn’t released yet.
This step sounds passive but it isn’t. You’re making a creative brief before you start editing. If you skip this, you’ll push sliders around without a destination and wonder why the image never feels finished. Know what you’re trying to say before you say it.
Step 2: Do Your Core Adjustments in Lightroom First
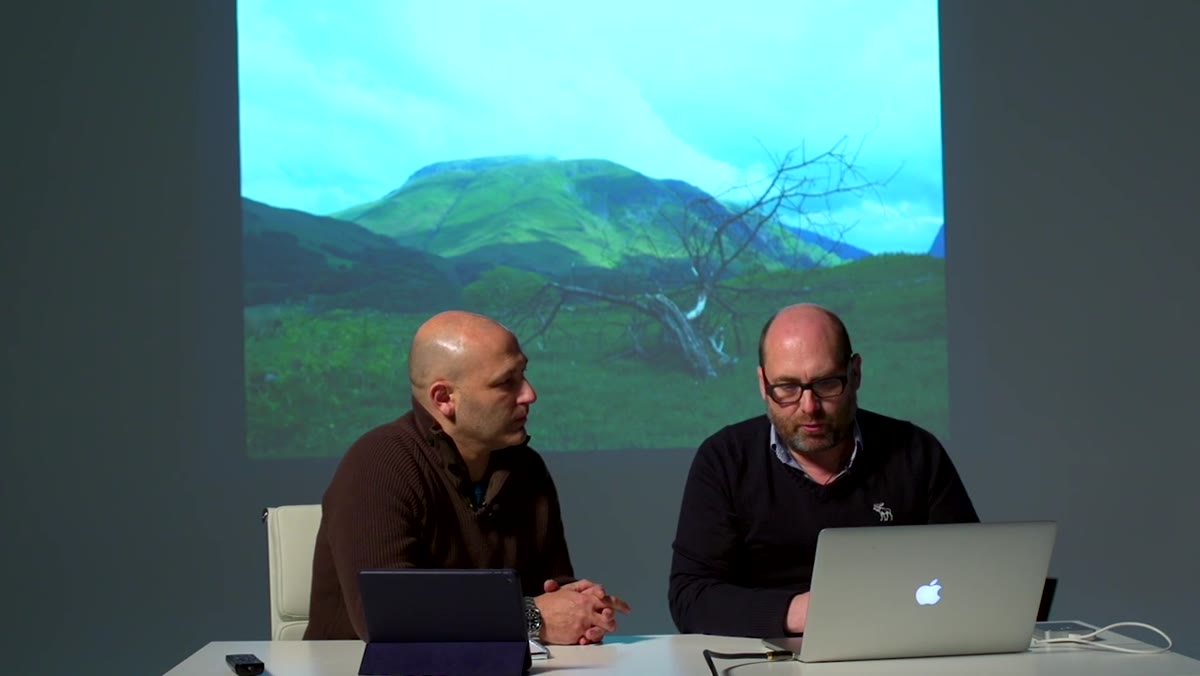 Lightroom Develop module open with basic panel adjustments visible
Lightroom is where you handle the foundational work: exposure, contrast, highlights, shadows, white balance. The key principle Richard emphasizes here is that Lightroom is the right home for RAW processing. It’s faster, more intuitive for global adjustments, and it keeps your original file completely intact. Nothing you do in Lightroom writes to the RAW file itself.
Lightroom Develop module open with basic panel adjustments visible
Lightroom is where you handle the foundational work: exposure, contrast, highlights, shadows, white balance. The key principle Richard emphasizes here is that Lightroom is the right home for RAW processing. It’s faster, more intuitive for global adjustments, and it keeps your original file completely intact. Nothing you do in Lightroom writes to the RAW file itself.
For a moody landscape like this one, you’re likely pulling highlights down to recover cloud detail, pushing shadows up slightly to open the foreground without flattening the drama, and adding a touch of contrast to give the scene weight. Don’t over-cook it here. Your job in Lightroom is to get the image to a strong, neutral starting point - not to finish it. The finishing happens next.
Step 3: Send to Photoshop as a Smart Object
 Lightroom to Photoshop handoff workflow being discussed
This is the step most people skip, and it’s the one that changes everything. Instead of exporting a flattened TIFF and opening it in Photoshop the old way, you send the file directly from Lightroom using Edit In > Open as Smart Object in Photoshop. On a Mac that’s found under the Photo menu. On Windows it’s the same path.
Lightroom to Photoshop handoff workflow being discussed
This is the step most people skip, and it’s the one that changes everything. Instead of exporting a flattened TIFF and opening it in Photoshop the old way, you send the file directly from Lightroom using Edit In > Open as Smart Object in Photoshop. On a Mac that’s found under the Photo menu. On Windows it’s the same path.
What this does is preserve a live link back to your Lightroom RAW edits. The layer in Photoshop is not a flat pixel layer. It’s a container that remembers it came from a RAW file. If you double-click that smart object layer later, it opens directly back into Lightroom’s develop module so you can revise your RAW processing. Then you save, it updates in Photoshop, and all your Photoshop adjustment layers recalculate on top of the new version. This is the non-destructive loop Richard is so enthusiastic about, and honestly, he’s right to be.
Step 4: Build Your Photoshop Effects with Adjustment Layers
 Photoshop adjustment layers being applied over smart object
Once your smart object is sitting as your base layer in Photoshop, you build everything above it using adjustment layers, never by painting directly on the smart object. Curves, Hue/Saturation, Color Lookup tables, Channel Mixer for black-and-white conversions - all of these go on top as non-destructive layers with blend modes and opacity controls.
Photoshop adjustment layers being applied over smart object
Once your smart object is sitting as your base layer in Photoshop, you build everything above it using adjustment layers, never by painting directly on the smart object. Curves, Hue/Saturation, Color Lookup tables, Channel Mixer for black-and-white conversions - all of these go on top as non-destructive layers with blend modes and opacity controls.
Carl’s specific goal here is recreating a platinum print look, which is a darkroom printing process from the 19th century that produces incredibly rich, cool-toned black and white images with a very wide tonal range and almost no pure black. He’s been building this effect inside Photoshop using tools that Lightroom simply doesn’t have access to. That’s the honest answer to the “why use both?” question: some effects require Photoshop’s deeper compositing and blending tools. Lightroom can’t do everything.
Step 5: Apply a Custom Black and White Infrared Grade
 Custom black and white infrared effect applied to landscape image
The signature move in this tutorial is Carl’s custom black and white effect that combines the tonal qualities of platinum printing with a hint of infrared photography. Infrared film renders foliage as bright white and skies as dramatically dark, which gives landscapes an almost surreal, painterly quality. Achieving this digitally in Photoshop involves a combination of Channel Mixer adjustments (boosting the Red channel for that infrared foliage glow), careful Curves work to shape the tonal range, and possibly a soft-light blending layer to add luminosity without blowing out detail.
Custom black and white infrared effect applied to landscape image
The signature move in this tutorial is Carl’s custom black and white effect that combines the tonal qualities of platinum printing with a hint of infrared photography. Infrared film renders foliage as bright white and skies as dramatically dark, which gives landscapes an almost surreal, painterly quality. Achieving this digitally in Photoshop involves a combination of Channel Mixer adjustments (boosting the Red channel for that infrared foliage glow), careful Curves work to shape the tonal range, and possibly a soft-light blending layer to add luminosity without blowing out detail.
The result on a scene like this Lake District landscape is striking. The tree goes luminous, the mountains deepen, and the storm clouds take on a silver-print weight that no Instagram filter will ever replicate. This is the kind of finish that makes a print worth hanging on a wall.
What I Do Differently After Watching This
I’ve been using the Lightroom-to-Photoshop smart object workflow for about two years now, but this tutorial made me rethink one habit. I used to do too much in Lightroom before the handoff - sharpening, noise reduction, local adjustments - essentially half-finishing the image before it ever reached Photoshop. Richard’s approach is leaner: Lightroom does the RAW foundation, Photoshop does the creative heavy lifting. Keeping those roles cleanly separated makes it much easier to go back and revise either stage independently.
If you’re building preset-style effects that you want to reuse across multiple images, the Photoshop side of this workflow is also where you should be saving them. Lightroom presets handle RAW settings well, but layered Photoshop actions and smart filter stacks give you far more control over complex tonal and color effects. I’ve started naming mine after songs, which makes finding them much easier than calling them “BW Effect v3 FINAL.”
The single biggest idea in this tutorial is this: Lightroom and Photoshop are not competitors. They are two stages of the same pipeline. Let Lightroom do what it’s built for, then hand off to Photoshop without losing any of that work, and keep every layer of every decision editable all the way to the end.
Watch the full tutorial on YouTube to see Richard Curtis walk through the smart object workflow in real time. Watching Carl’s Photoshop layer stack build out is worth the runtime on its own.
Comments
Leave a Comment