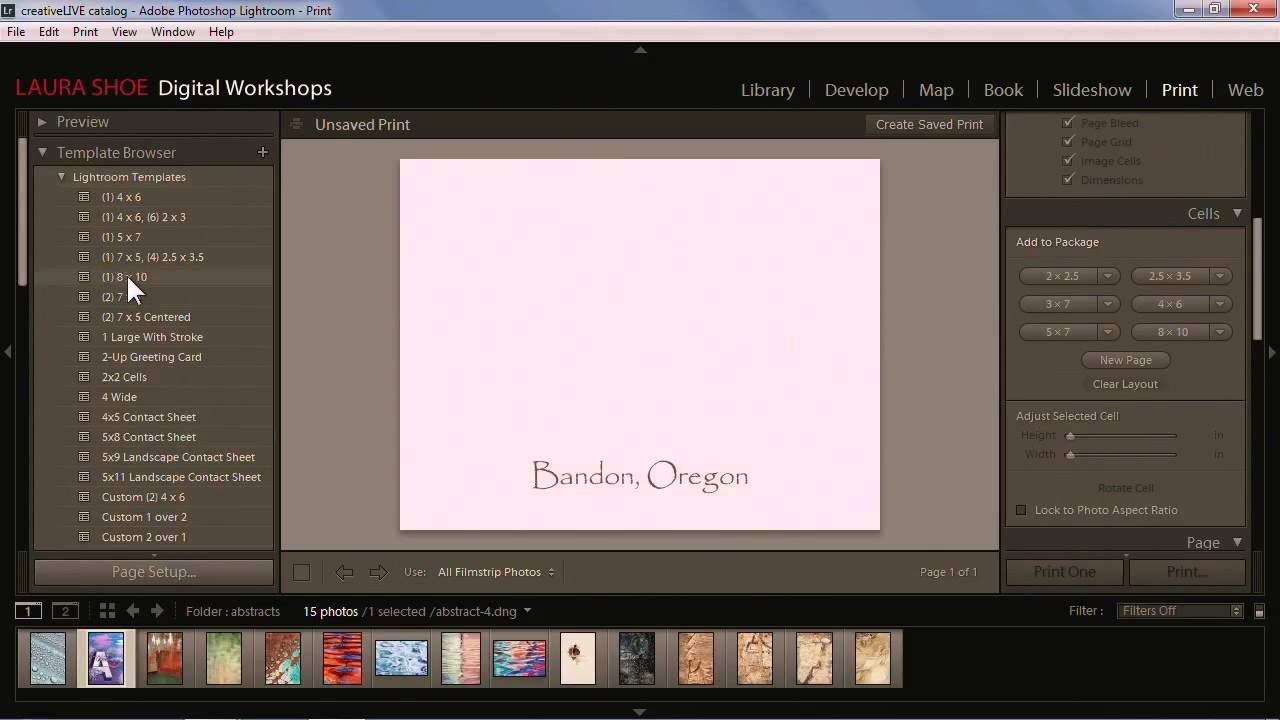
There’s a moment most Lightroom users hit where editing feels great but actually delivering anything feels like navigating a foreign country without a map. You’ve got a gorgeous, color-graded image sitting in Develop. Now what? Print it? Export it? Build a gallery? The output side of Lightroom is where a lot of people quietly give up and just drag files into a folder. I was doing the same thing for longer than I’d like to admit.
What snapped it into focus for me was working through this CreativeLive tutorial on output concepts. Watch the full tutorial on YouTube - the instructor breaks down the Print, Slideshow, Web, and Book modules in a way that finally made them feel like tools I’d actually reach for. The session is designed around a core idea: before you touch any of those modules, you need to understand the concepts underneath them. Resolution, sizing, color profiles. Nail those, and everything else clicks.
I’m going to walk you through the structure and key ideas from the tutorial so you can follow along or use this as a reference while you watch. Whether you’re printing a portrait session, building a client-facing PDF book, or just trying to figure out what the web module is even for, this one covers all of it.
Step 1: Understand Why Output Concepts Come First
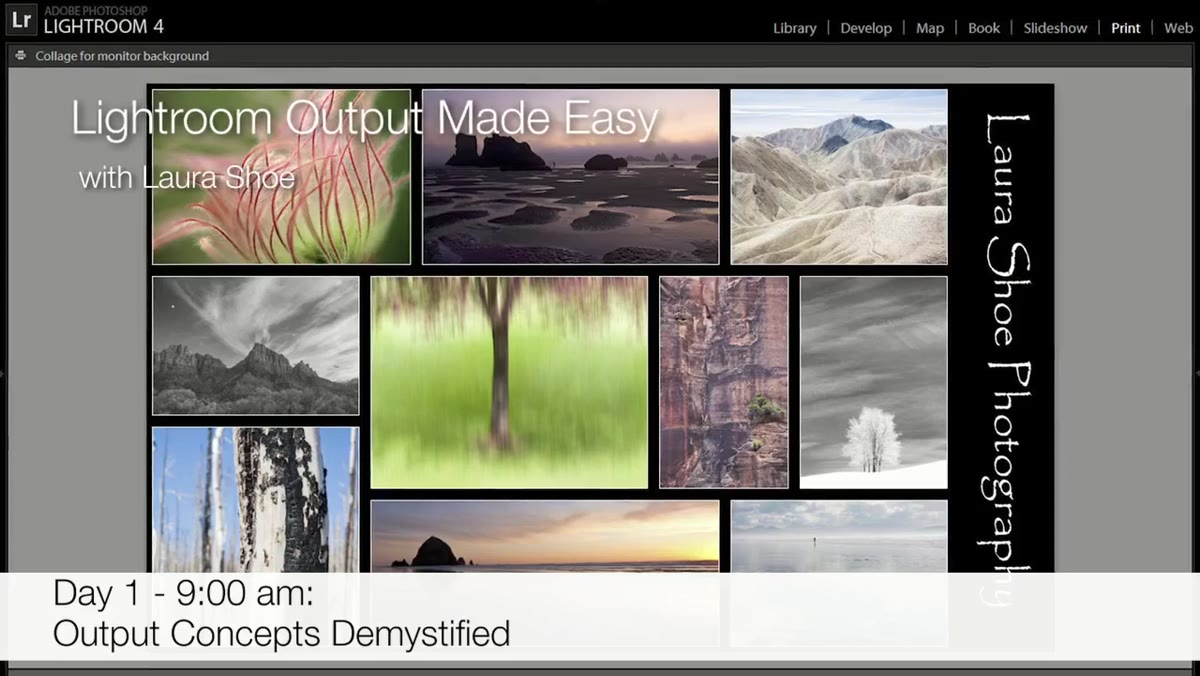 Instructor introducing output concepts at the start of session
Before you open a single module, the tutorial spends real time on the foundational stuff: size, resolution, and how those two things behave differently depending on whether your output is going to paper or a screen. This isn’t throat-clearing. If you skip it, you’ll spend hours troubleshooting blurry prints or weirdly sized exports.
Instructor introducing output concepts at the start of session
Before you open a single module, the tutorial spends real time on the foundational stuff: size, resolution, and how those two things behave differently depending on whether your output is going to paper or a screen. This isn’t throat-clearing. If you skip it, you’ll spend hours troubleshooting blurry prints or weirdly sized exports.
The key distinction is that resolution means something different in print versus screen contexts. For print, you’re thinking in pixels per inch and you need enough of them to hold detail at your target size. For screen, pixel dimensions are what matter, and resolution as a number becomes almost irrelevant. Getting this separation clear in your head before you touch the Print module saves a lot of frustration.
Step 2: Start With Single and Multi-Photo Print Layouts
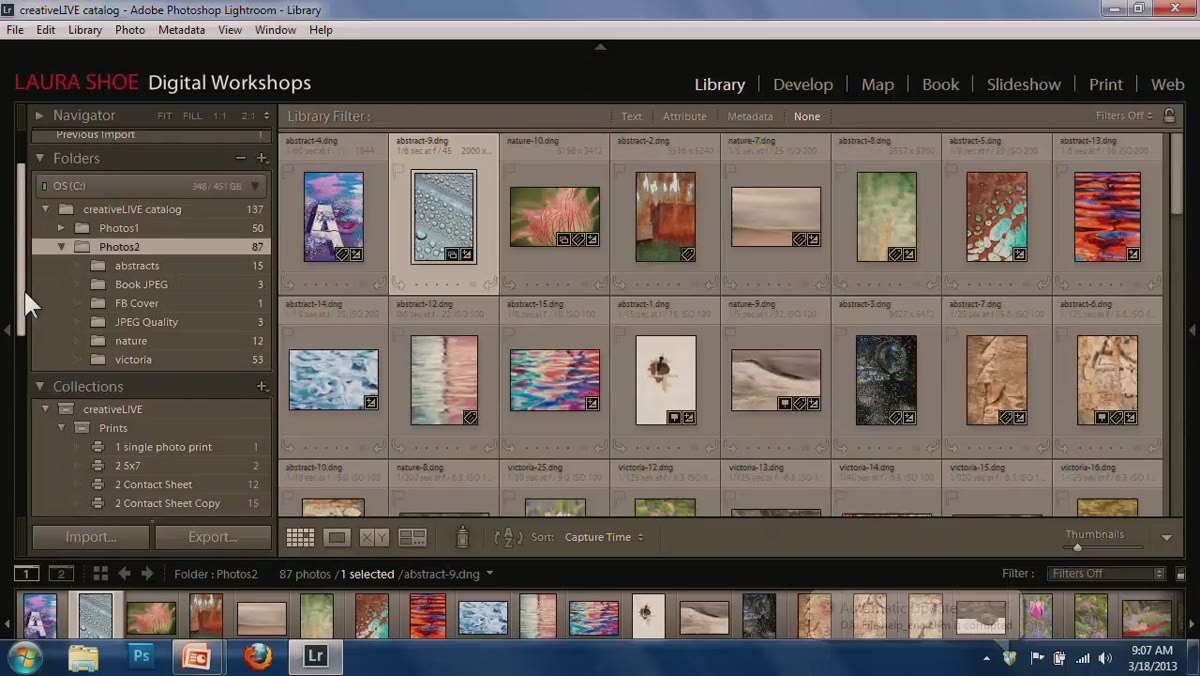 Print module open with single photo layout selected
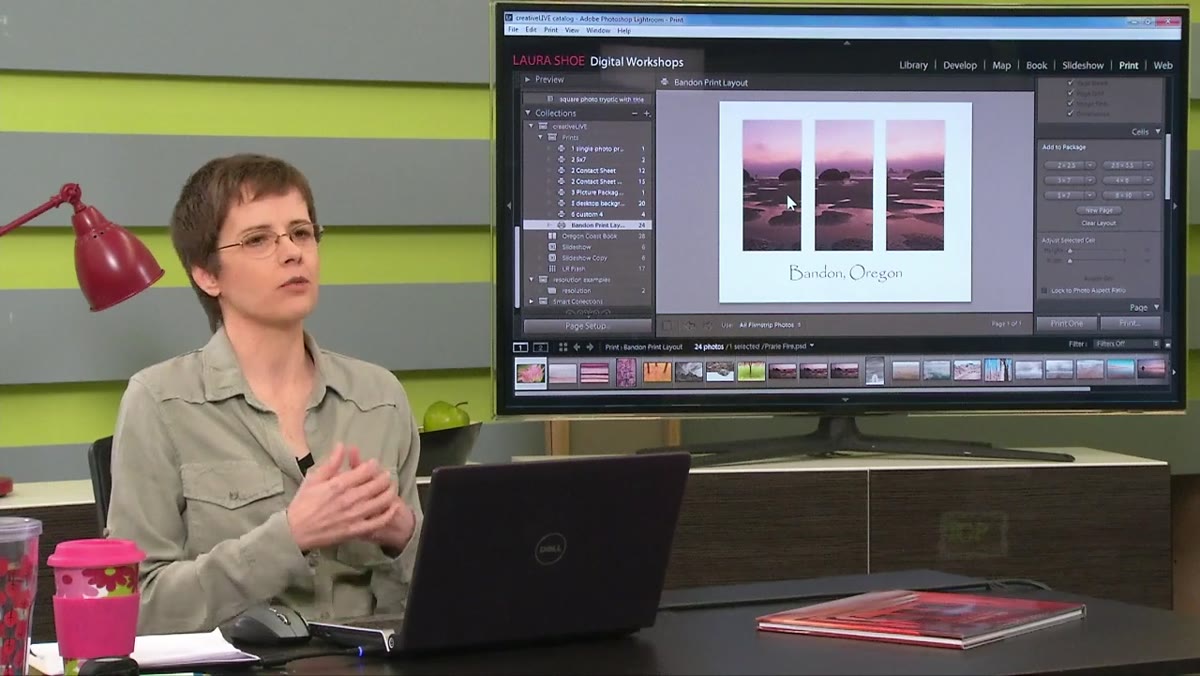
The Print module walkthrough opens with the basics: single photo layouts, then multiple photos on one page. The multi-photo option is genuinely useful for saving paper when you’re doing test prints, and the tutorial shows how to set up rows and columns to control how images are arranged on the sheet.
Print module open with single photo layout selected
The Print module walkthrough opens with the basics: single photo layouts, then multiple photos on one page. The multi-photo option is genuinely useful for saving paper when you’re doing test prints, and the tutorial shows how to set up rows and columns to control how images are arranged on the sheet.
From here the tutorial moves into contact sheets, which most people think of as a proofing tool, but the instructor makes a point that reframed how I think about them. The row and column controls in the contact sheet layout can be used for creative arrangements, not just proof grids. If you’ve been ignoring contact sheets because you thought they were just for client approval workflows, it’s worth revisiting.
Step 3: Use Picture Packages for Multi-Size Deliverables
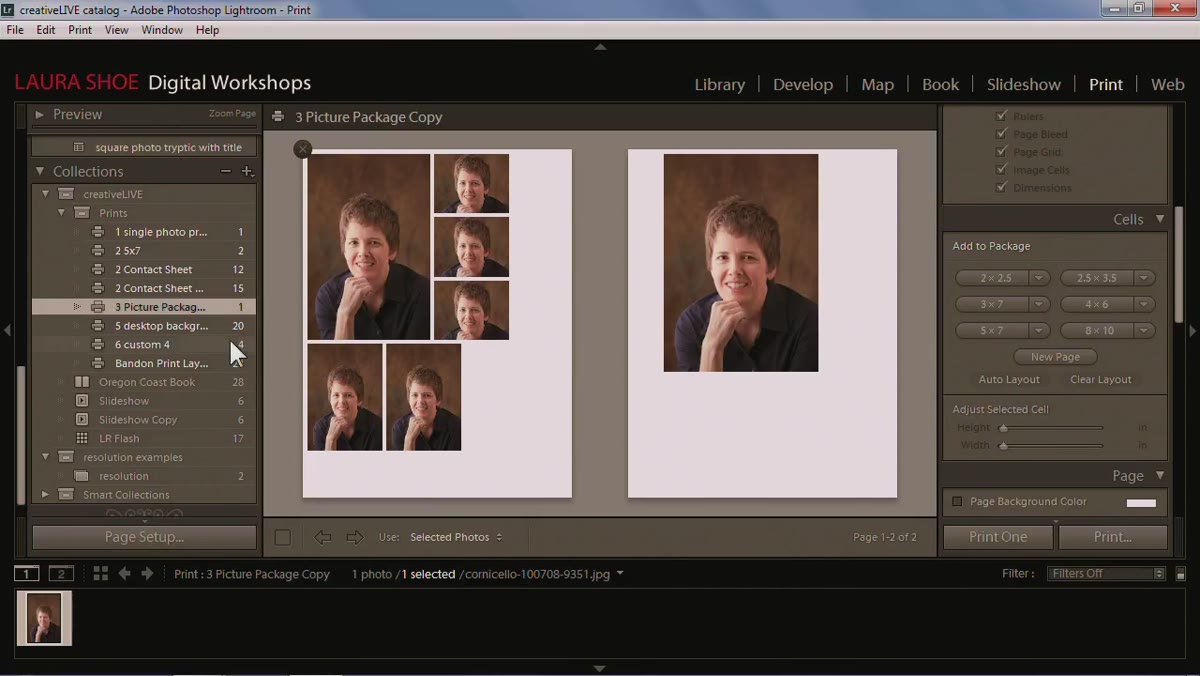 Picture package layout showing multiple sizes of the same image
Picture packages solve a specific but common problem: you need multiple sizes of the same photo on one page. Think wallet prints, 4x6, and 8x10 all from a single session. The tutorial walks through how to set this up so you’re printing efficiently without manually duplicating and repositioning anything.
Picture package layout showing multiple sizes of the same image
Picture packages solve a specific but common problem: you need multiple sizes of the same photo on one page. Think wallet prints, 4x6, and 8x10 all from a single session. The tutorial walks through how to set this up so you’re printing efficiently without manually duplicating and repositioning anything.
The workflow here is more useful than it looks at first. If you’re delivering prints to clients directly, building a picture package template you can reuse saves a meaningful amount of time. Set it up once, save the template, and it’s ready every session.
Step 4: Explore Custom Layouts for Creative Print Work
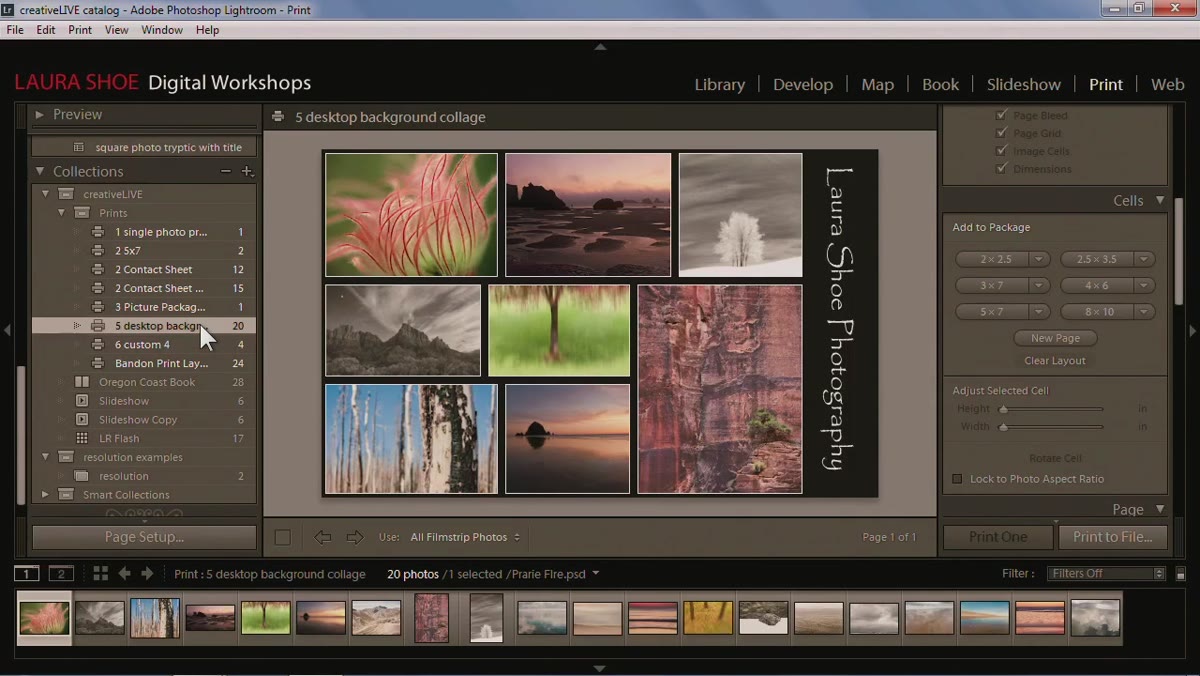 Custom layout with freeform photo placement on a page
This is the part of the Print module that actually got me excited when I first found it. Custom layouts let you position photos anywhere on a page without being locked into a grid. The tutorial shows examples including a desktop wallpaper layout, photos overlapping other photos, and a single image spanning multiple cells.
Custom layout with freeform photo placement on a page
This is the part of the Print module that actually got me excited when I first found it. Custom layouts let you position photos anywhere on a page without being locked into a grid. The tutorial shows examples including a desktop wallpaper layout, photos overlapping other photos, and a single image spanning multiple cells.
The practical use case I’ve gotten the most mileage from is building portfolio print layouts. Instead of using a template that looks like everyone else’s, you can arrange images with intentional breathing room, play with scale, and create something that actually reflects how you shoot. Save your layout as a template and it becomes a repeatable part of your workflow.
Step 5: Print to a Printer With Profiles, or Export as JPEG
 Print settings panel showing color profile options
The tutorial covers two output paths from the Print module: printing directly to your printer using color profiles, and printing to a JPEG file. The JPEG route is what you’d use to send images to a lab or share print-ready files electronically without losing quality to a generic export.
Print settings panel showing color profile options
The tutorial covers two output paths from the Print module: printing directly to your printer using color profiles, and printing to a JPEG file. The JPEG route is what you’d use to send images to a lab or share print-ready files electronically without losing quality to a generic export.
Color profiles are where this step gets technical but the tutorial keeps it practical. The short version: use the profile that matches your paper and printer combination, let Lightroom handle the color management, and tell your printer driver to do nothing (turn off its own color management). Two systems trying to manage color at once is how you get muddy, shifted prints.
Step 6: Build and Export Slideshows
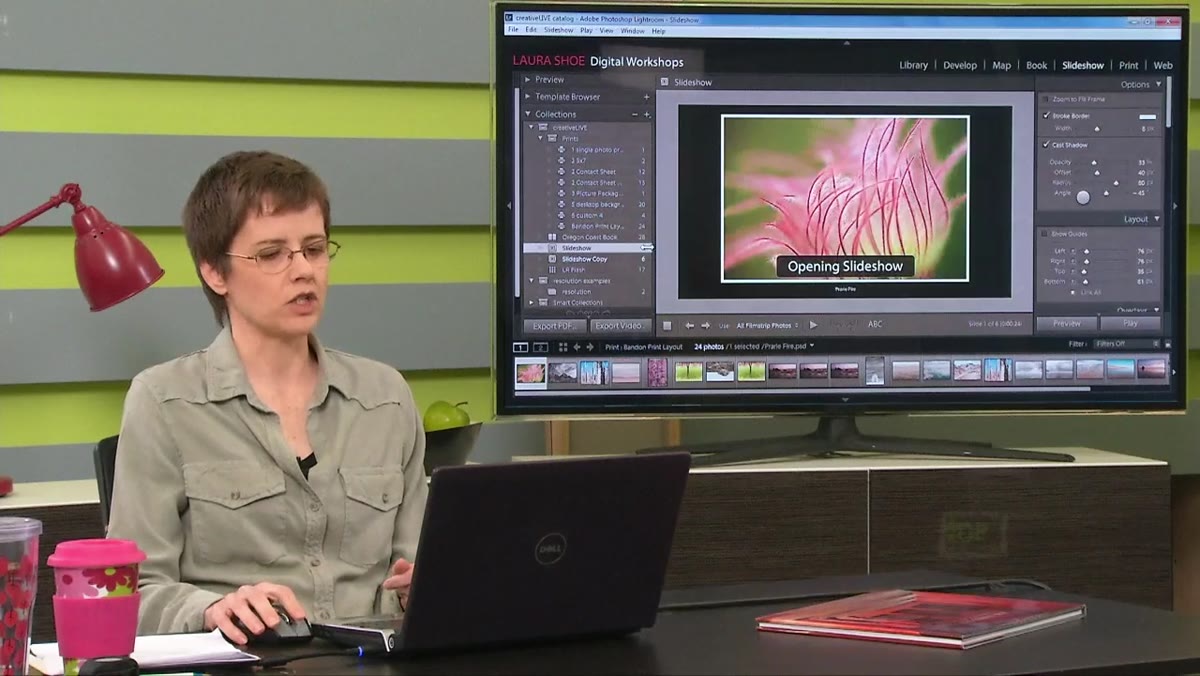 Slideshow module with layout design and export options visible
The Slideshow module is more capable than its reputation suggests. The tutorial shows how to design a slideshow, then export it either as a PDF or as a video file. The video export path lets you add music directly in Lightroom, which means you can go from edited images to a shareable, music-backed video without leaving the application.
Slideshow module with layout design and export options visible
The Slideshow module is more capable than its reputation suggests. The tutorial shows how to design a slideshow, then export it either as a PDF or as a video file. The video export path lets you add music directly in Lightroom, which means you can go from edited images to a shareable, music-backed video without leaving the application.
For client deliverables, especially for events or portrait sessions, this is a legitimately polished option. A PDF slideshow can be opened on any device and shared electronically. A video file can go straight to YouTube or be sent as a download link. Both are worth having in your toolkit.
Step 7: Use the Book Module for Physical Books and Digital PDFs
 Book module showing multi-page layout with cover and spreads
The Book module, introduced in Lightroom 4, is where the output system gets genuinely impressive. The tutorial shows layouts with full-bleed photos, two-page spreads, text over images, and pictures nested inside text. You can send a book directly to a print-on-demand service, or export it as a PDF.
Book module showing multi-page layout with cover and spreads
The Book module, introduced in Lightroom 4, is where the output system gets genuinely impressive. The tutorial shows layouts with full-bleed photos, two-page spreads, text over images, and pictures nested inside text. You can send a book directly to a print-on-demand service, or export it as a PDF.
The PDF export use case is one I rely on regularly. I have a portfolio book built in the Book module that lives on my iPad. It looks clean, loads fast, and is a much better client-facing presentation than scrolling through a camera roll. Building it in Lightroom means all the images are already there, already edited, and the layout stays consistent.
What the Tutorial Doesn’t Cover (and What I’d Add)
The tutorial is structured as part of a longer multi-day course, so it’s intentionally setting up concepts it returns to later. What I’d flag for anyone working through this independently is that the color management section, specifically the print-to-JPEG workflow, pairs really well with understanding your lab’s specific requirements. Different labs want different color spaces. Some want sRGB, some want Adobe RGB. Know which your lab specifies before you build your export settings, because changing it after you’ve already sent a batch is a painful lesson.
The single most important idea from this tutorial is the one introduced in the first few minutes: output quality is determined before you touch the output modules. Understand resolution, understand sizing, understand color profiles. Everything else in the Print, Slideshow, Web, and Book modules is applying those concepts, not learning new ones.
Watch the full tutorial on YouTube to see the module walkthroughs in action. The live demonstrations of the custom print layouts and book spreads especially are worth seeing in motion.
Comments (3)
Never thought of approaching it this way. Really creative.
Well explained. I think my audience would really benefit from this — mind if I link to it?
I've watched a dozen tutorials on this and yours is the clearest by far.
Leave a Comment