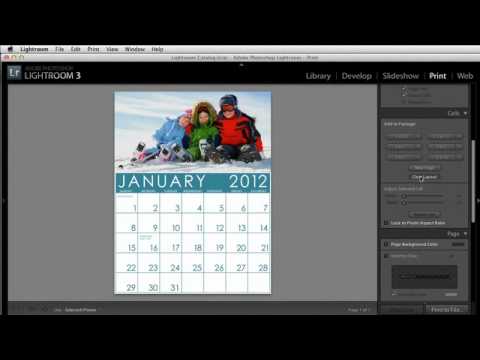
Every December I get at least three messages from photographers asking how to make a photo calendar as a client gift without paying for a web service that slaps its own logo on the back. I used to shrug and say “InDesign, probably.” Then I watched this KelbyOne tutorial and felt a little embarrassed that I hadn’t thought of the solution myself. Watch the full tutorial on YouTube before or after reading this, because the presenter moves fast and having this breakdown alongside it will save you some rewinds.
The whole thing lives inside Lightroom’s Print Module, which most people treat like a dusty room they walk past on the way to Export. The technique pairs a stock calendar graphic with your own photos and assembles everything into a print-ready layout. No subscriptions, no watermarks, no switching apps mid-workflow. Here is exactly how it works.
Step 1: Source Your Calendar Graphic
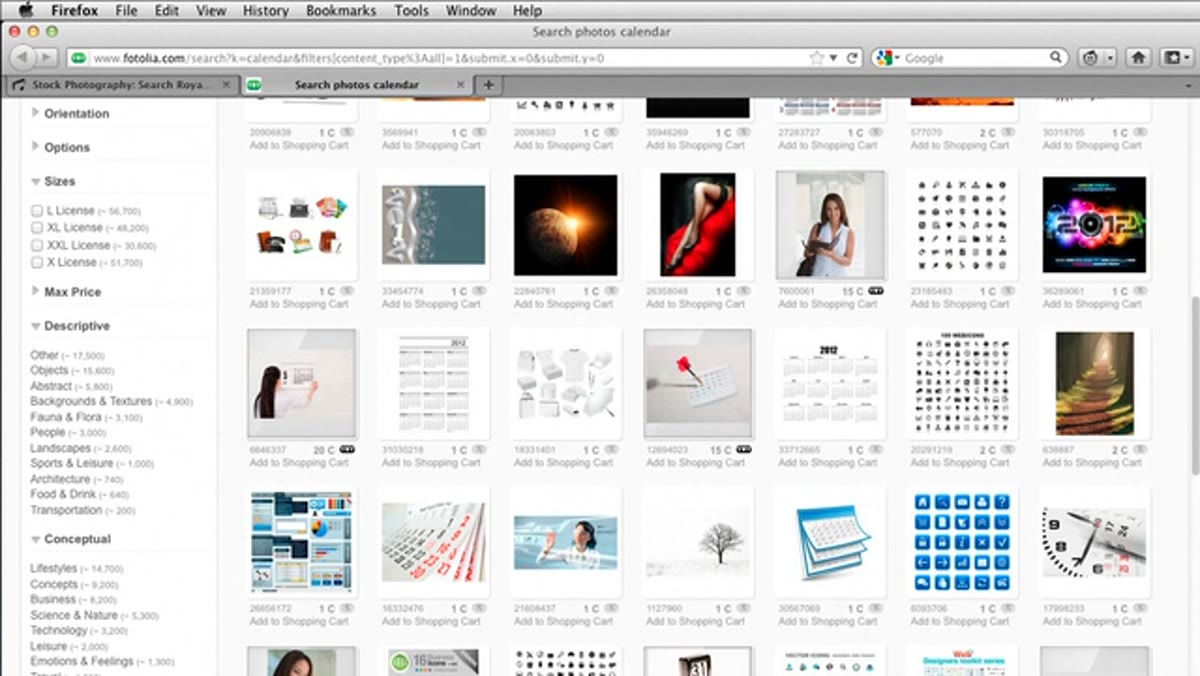 Stock website search results showing calendar template options
Start at a stock image site, whether that is Adobe Stock, iStock, or whatever you already subscribe to. Search “calendar template” and you will get two useful categories of results. The first is a full-year calendar on one page, which is a completely valid approach if you want a single-sheet design. The second is individual month layouts, which give you more room for a dominant photo and let you customize month by month.
Stock website search results showing calendar template options
Start at a stock image site, whether that is Adobe Stock, iStock, or whatever you already subscribe to. Search “calendar template” and you will get two useful categories of results. The first is a full-year calendar on one page, which is a completely valid approach if you want a single-sheet design. The second is individual month layouts, which give you more room for a dominant photo and let you customize month by month.
The presenter downloaded a January template from iStock to demonstrate a harder case scenario. The lesson here is that even a slightly awkward template becomes workable once you clean it up in Photoshop. Budget a dollar or two per image, or crop individual months out of a full-year sheet and stretch that single purchase across twelve designs.
Step 2: Clean Up the Template in Photoshop
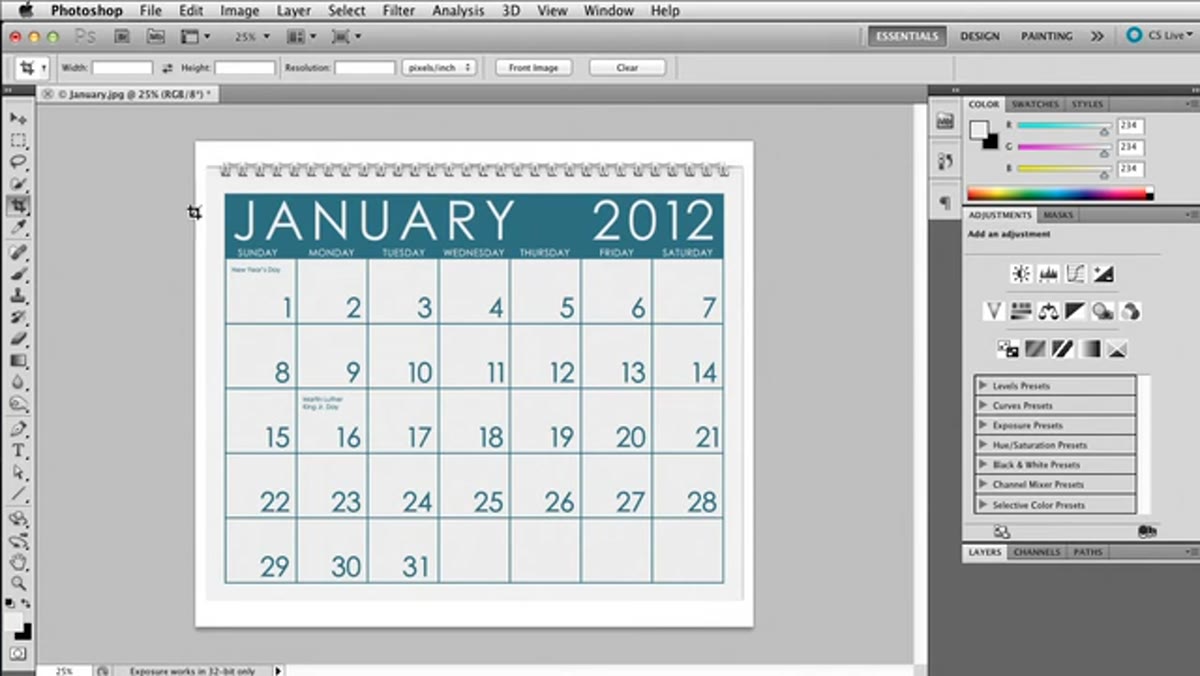 Photoshop Levels dialog with white point eyedropper selected
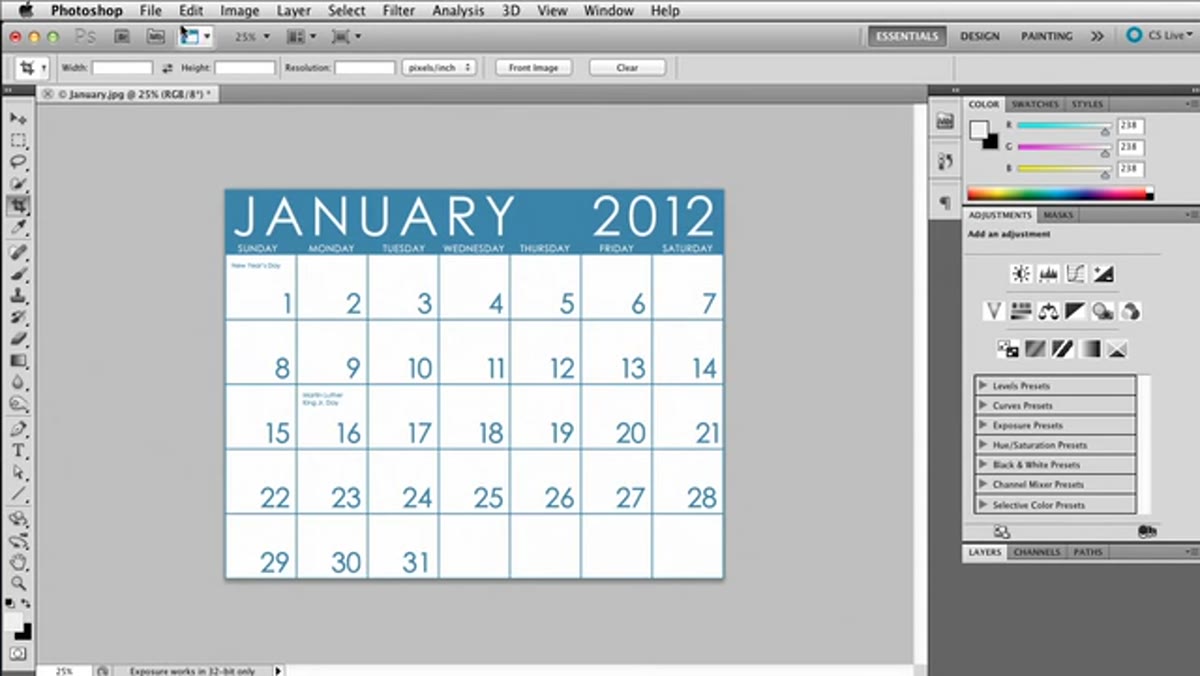
Open the downloaded graphic in Photoshop. Stock calendar templates often come with an off-white background that will look muddy next to a crisp photo print. Fix it fast with Levels: press Command+L (Mac) or Ctrl+L (Windows), grab the white point eyedropper from the Levels dialog, and click anywhere on the background that should be pure white. One click and it snaps to white. Hit OK.
Photoshop Levels dialog with white point eyedropper selected
Open the downloaded graphic in Photoshop. Stock calendar templates often come with an off-white background that will look muddy next to a crisp photo print. Fix it fast with Levels: press Command+L (Mac) or Ctrl+L (Windows), grab the white point eyedropper from the Levels dialog, and click anywhere on the background that should be pure white. One click and it snaps to white. Hit OK.
From there, Hue/Saturation (Command+U or Ctrl+U) is your optional color tweak. If the template has a decorative color, you can shift the hue to better match the photo you plan to pair with it. This is where I like to think about the month’s mood. A cool blue calendar paired with a snowy landscape print feels intentional. A warm red one next to a summer portrait just works.
Step 3: Crop the Graphic to a Clean Border
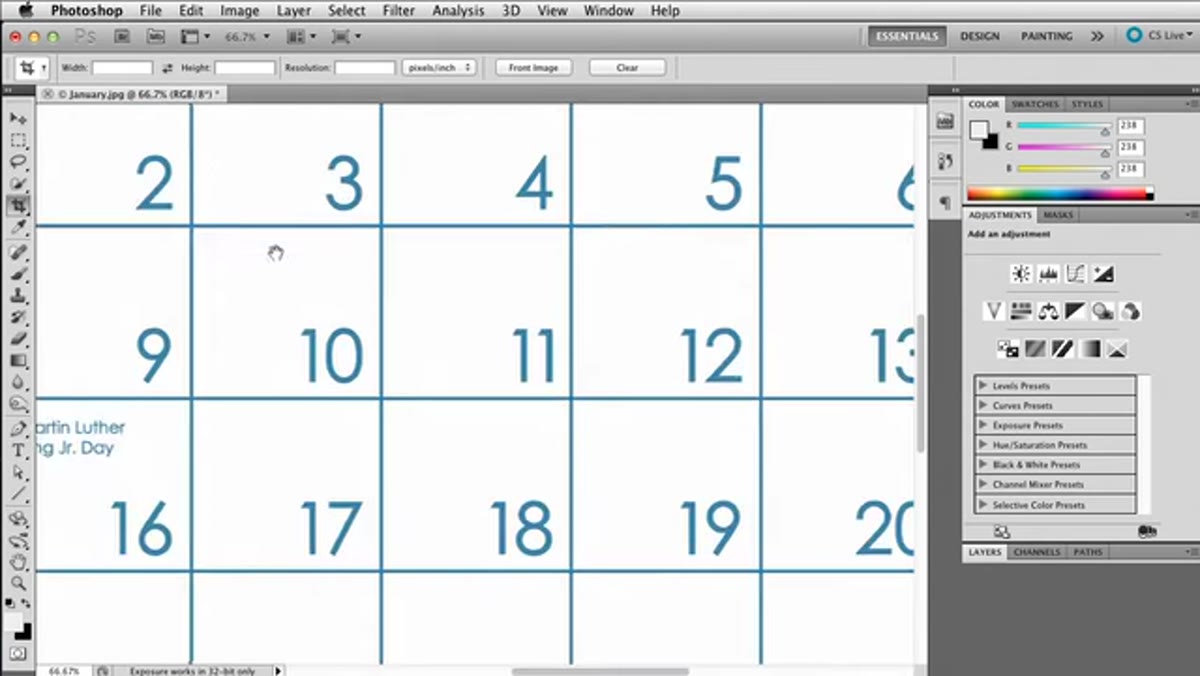 Photoshop crop tool being dragged along the template border
Before saving, crop the graphic so it sits right at the edge of its own decorative border, with no extra canvas around it. Zoom into a corner to get precise placement. Drag out your crop, then hold the spacebar to reposition it without losing your selection. Line up all four edges so the calendar art fills the entire frame, then press Enter to commit.
Photoshop crop tool being dragged along the template border
Before saving, crop the graphic so it sits right at the edge of its own decorative border, with no extra canvas around it. Zoom into a corner to get precise placement. Drag out your crop, then hold the spacebar to reposition it without losing your selection. Line up all four edges so the calendar art fills the entire frame, then press Enter to commit.
This matters because Lightroom will scale whatever you bring in, and extra white canvas around the graphic will show up as unintended padding inside your layout. A clean crop means clean control later.
Step 4: Save as JPEG and Import into Lightroom
 File save dialog with JPEG format selected
Save the cleaned-up graphic as a standard JPEG. Quality 90 or higher is fine since this is going to print. Drop it into a dedicated folder alongside the photos you plan to use in the calendar. The presenter mentions keeping a folder specifically for graphic assets and templates, and this is genuinely good practice. When you are building twelve calendar pages, being able to find your January graphic without scrolling through 3,000 photos saves real time.
File save dialog with JPEG format selected
Save the cleaned-up graphic as a standard JPEG. Quality 90 or higher is fine since this is going to print. Drop it into a dedicated folder alongside the photos you plan to use in the calendar. The presenter mentions keeping a folder specifically for graphic assets and templates, and this is genuinely good practice. When you are building twelve calendar pages, being able to find your January graphic without scrolling through 3,000 photos saves real time.
Import the JPEG into Lightroom the same way you would import a photo. Lightroom treats it as an image file, which is exactly what you want.
Step 5: Set Up Your Page in the Print Module
 Lightroom Print Module with Custom Package layout selected
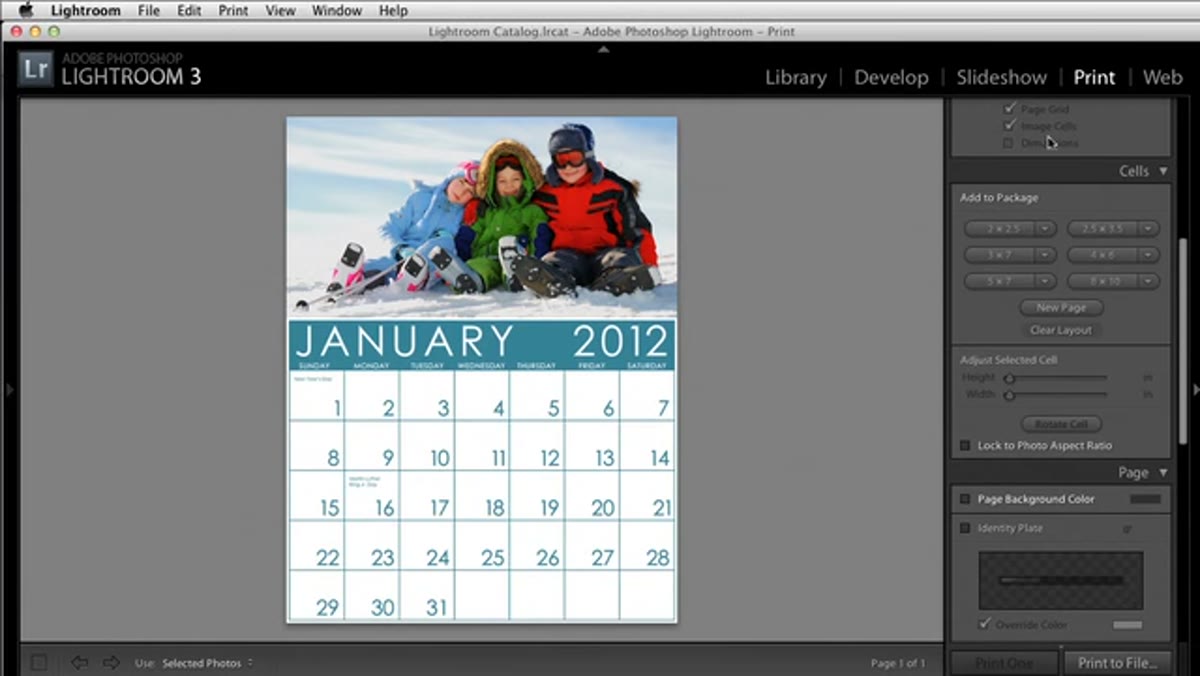
Switch to the Print Module and set your layout type to Custom Package. Before you drag anything onto the canvas, go to Page Setup and select your printer and paper size. The presenter uses a 17x22 sheet, which is a common large-format option. Getting this right first means your layout dimensions are accurate and you are not rescaling everything after the fact.
Lightroom Print Module with Custom Package layout selected
Switch to the Print Module and set your layout type to Custom Package. Before you drag anything onto the canvas, go to Page Setup and select your printer and paper size. The presenter uses a 17x22 sheet, which is a common large-format option. Getting this right first means your layout dimensions are accurate and you are not rescaling everything after the fact.
Custom Package is the key choice here. It lets you position cells freely on the page rather than locking you into a grid, which is what you need when you are layering a calendar graphic and a photo together.
Step 6: Place the Calendar Graphic and Lock the Aspect Ratio
 Calendar graphic being dragged onto the Print Module canvas
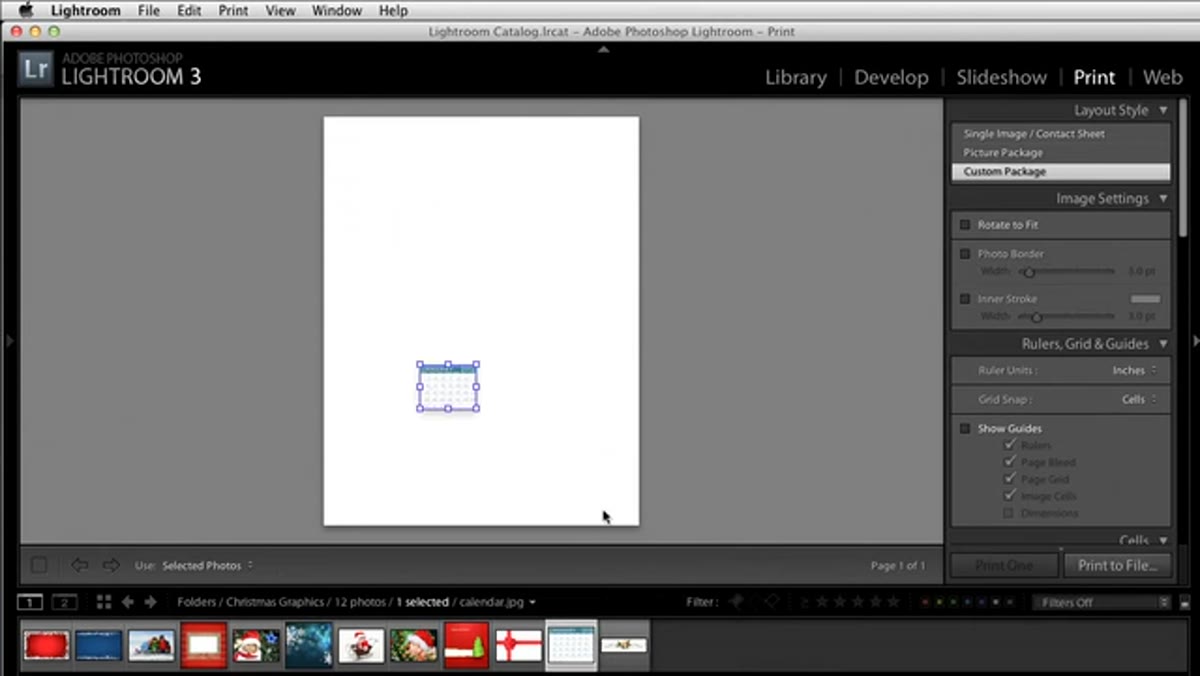
Drag your calendar graphic from the filmstrip onto the canvas. As soon as it appears, lock the aspect ratio before you resize it. The presenter is explicit about this because distorting a calendar grid makes the numbers unreadable and the whole thing looks amateur.
Calendar graphic being dragged onto the Print Module canvas
Drag your calendar graphic from the filmstrip onto the canvas. As soon as it appears, lock the aspect ratio before you resize it. The presenter is explicit about this because distorting a calendar grid makes the numbers unreadable and the whole thing looks amateur.
Once the ratio is locked, scale it to fill the lower portion of your page. Leave the upper area open for your photo. The idea is a classic layout: photo on top, calendar grid below. You are essentially using Lightroom’s Print Module as a basic compositor, and it handles this surprisingly well.
My Take: Batch the Prep Work, Not the Printing
The part of this workflow that took me time to optimize was front-loading all the Photoshop cleanup across all twelve month templates in one session. If you open Photoshop twelve separate times across twelve different days, you lose all your mental context each time and the color adjustments end up inconsistent. I now do all twelve templates in a single afternoon, save them all into one folder, and import the batch at once. Every calendar page then feels like it came from a single design system rather than twelve separate decisions.
The other thing worth mentioning: if you are making these for clients and printing locally, confirm your shop’s printable area specs before you set up that Page Setup dialog. Bleed requirements vary and finding out after you have built twelve layouts is a painful afternoon.
Building calendars inside Lightroom is one of those techniques that feels harder than it is until someone shows you the path through. The Print Module is underused by most photographers, and this workflow is a clean example of what it can actually do. The single most important move in the whole process is locking that aspect ratio before you resize anything. Everything else is recoverable. A stretched calendar grid is not.
Watch the full tutorial on YouTube to see the presenter’s exact mouse movements through the Print Module layout, especially the part where the calendar graphic and photo get positioned relative to each other.
Comments (4)
Never thought of approaching it this way. Really creative.
Love this. I referenced a similar technique in one of my recent posts. Always good to see other perspectives.
I tried this on a client project yesterday and the results were way better than expected.
This is going in my reference folder. Incredibly useful.
Leave a Comment