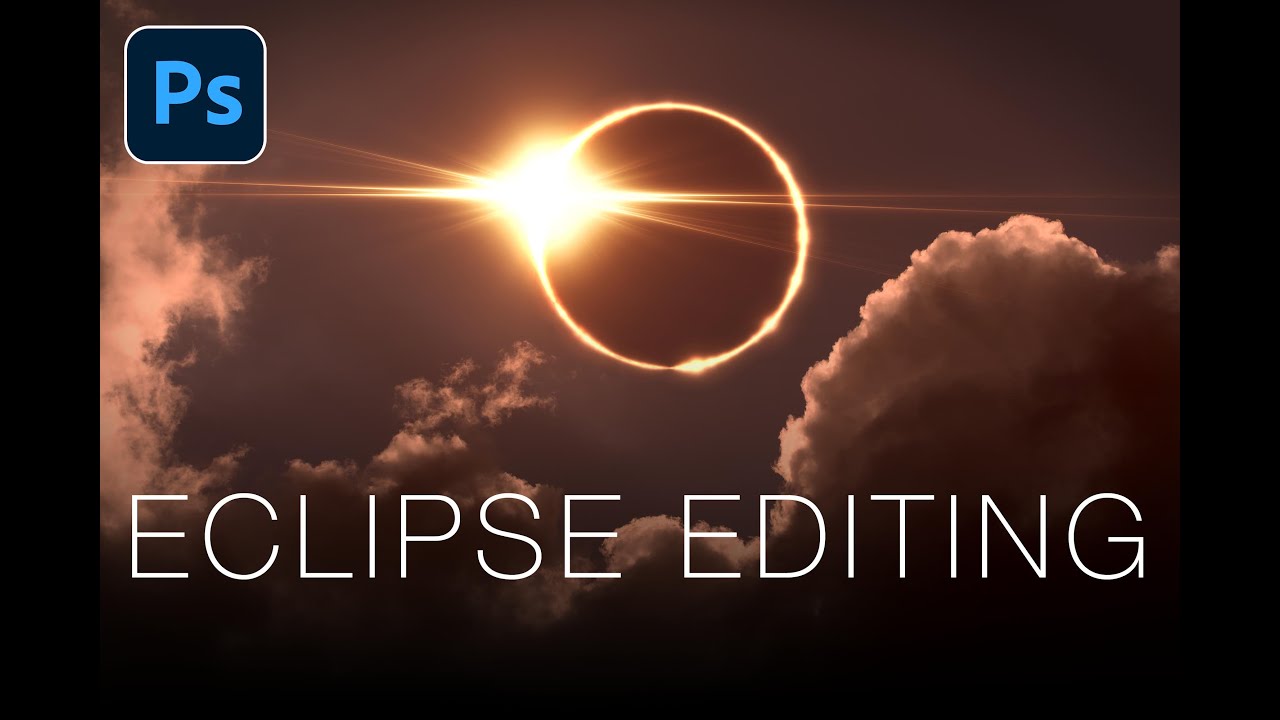
Most editing tutorials are reactive. You shoot something, it comes out weird, and then you go looking for a fix. What I genuinely appreciate about this Matt Kloskowski tutorial on editing solar eclipse photos is that it flips that order entirely. The argument he makes at the top of the video is one I wish someone had made to me earlier in my shooting life: your post-processing vision should inform your shooting decisions, not the other way around. If you know you want a multi-phase composite, that changes which frames you keep, how you handle your camera position, and whether you dare swap lenses mid-shoot.
Watch the full tutorial on YouTube
Kloskowski breaks eclipse photography into three broad categories: the pure totality shot, the telephoto multi-phase composite with no environmental context, and the environmental shot that places the eclipse in a landscape. This tutorial focuses on that middle category, the composite where you stack every phase of the eclipse into one frame. It’s the kind of image you see on magazine covers, and it’s more achievable than it looks, provided you plan before you press the shutter.
Step 1: Select Your Phase Images in Lightroom
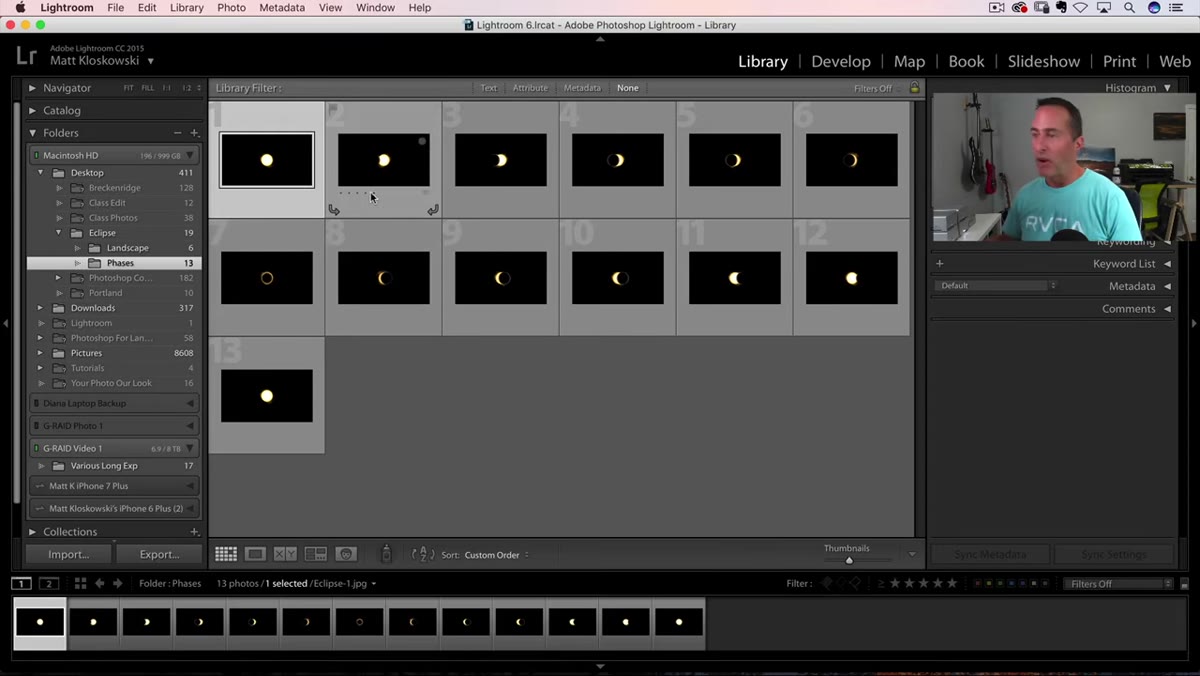 Lightroom grid showing multiple eclipse phase images selected
Once you have your bracketed or sequenced eclipse shots loaded into Lightroom, the first move is narrowing the selects down to the frames that represent each distinct phase. You are not trying to use every image you shot. You want a clean set that shows the progression, from partial coverage through totality and back out again. In the grid view, click the first image you want, then Shift-click the last one to grab the full range of selections at once.
Lightroom grid showing multiple eclipse phase images selected
Once you have your bracketed or sequenced eclipse shots loaded into Lightroom, the first move is narrowing the selects down to the frames that represent each distinct phase. You are not trying to use every image you shot. You want a clean set that shows the progression, from partial coverage through totality and back out again. In the grid view, click the first image you want, then Shift-click the last one to grab the full range of selections at once.
From there, go to Photo, then Edit In, and choose Open as Layers in Photoshop. This single command sends every selected image into one Photoshop document, with each photo sitting on its own layer. That stacked structure is the entire foundation of the composite.
Step 2: Load Files into Photoshop (Non-Lightroom Option)
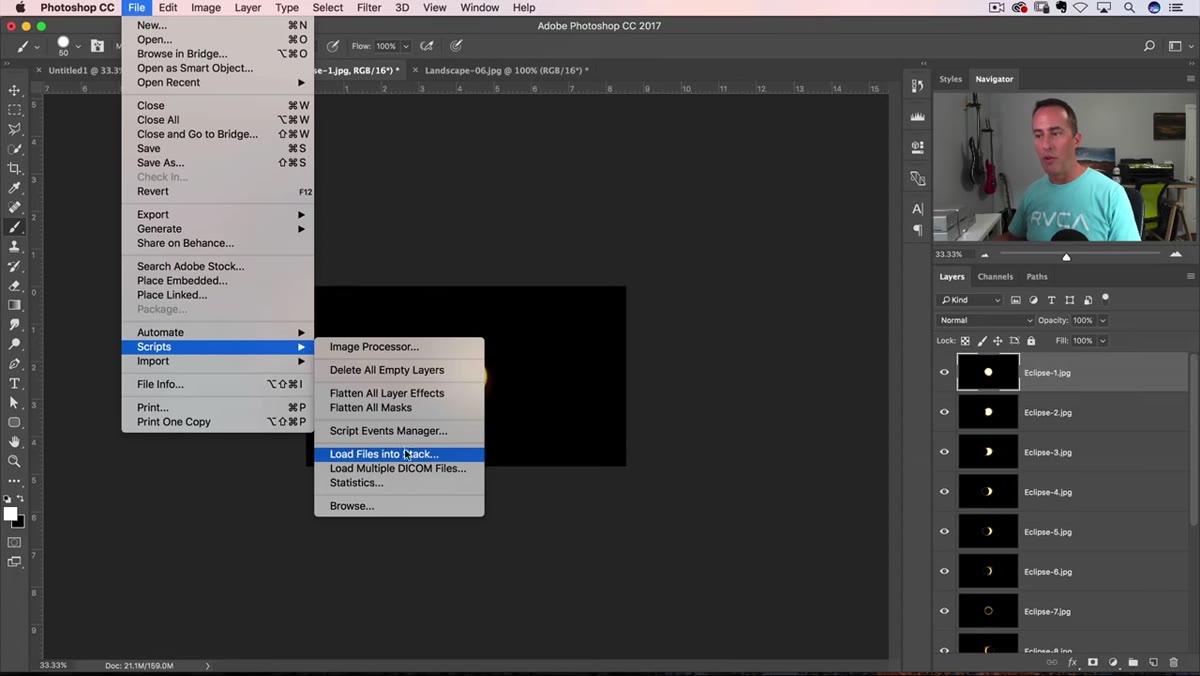 Photoshop File menu open showing Scripts submenu
If you are working without Lightroom, you are not locked out of this workflow. Inside Photoshop, go to File, then Scripts, then Load Files into Stack. A dialog box opens where you can manually navigate to your eclipse frames and select them. Photoshop does the same thing Lightroom does automatically: it pulls every file into a single layered document.
Photoshop File menu open showing Scripts submenu
If you are working without Lightroom, you are not locked out of this workflow. Inside Photoshop, go to File, then Scripts, then Load Files into Stack. A dialog box opens where you can manually navigate to your eclipse frames and select them. Photoshop does the same thing Lightroom does automatically: it pulls every file into a single layered document.
This is worth knowing even if you do use Lightroom, because sometimes you are working from a folder of JPEGs someone else exported, or files that live outside your catalog. The Scripts route handles it cleanly either way.
Step 3: Expand the Canvas to Fit the Composite
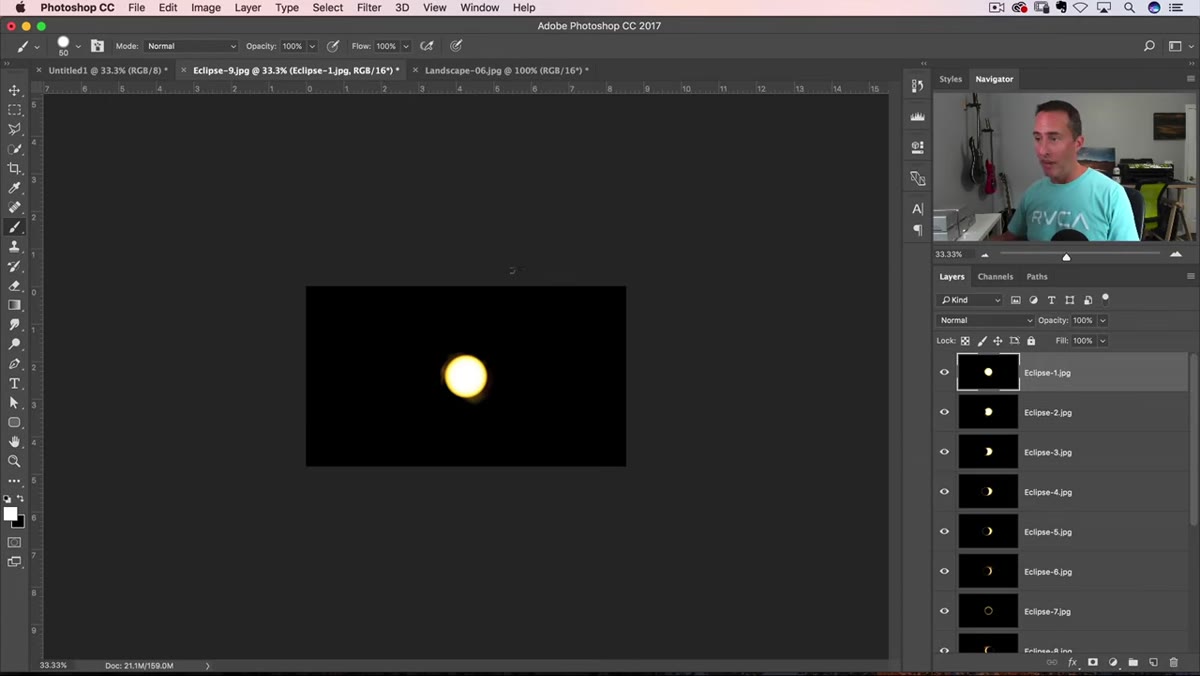 Photoshop canvas with eclipse layers stacked, canvas too small for layout
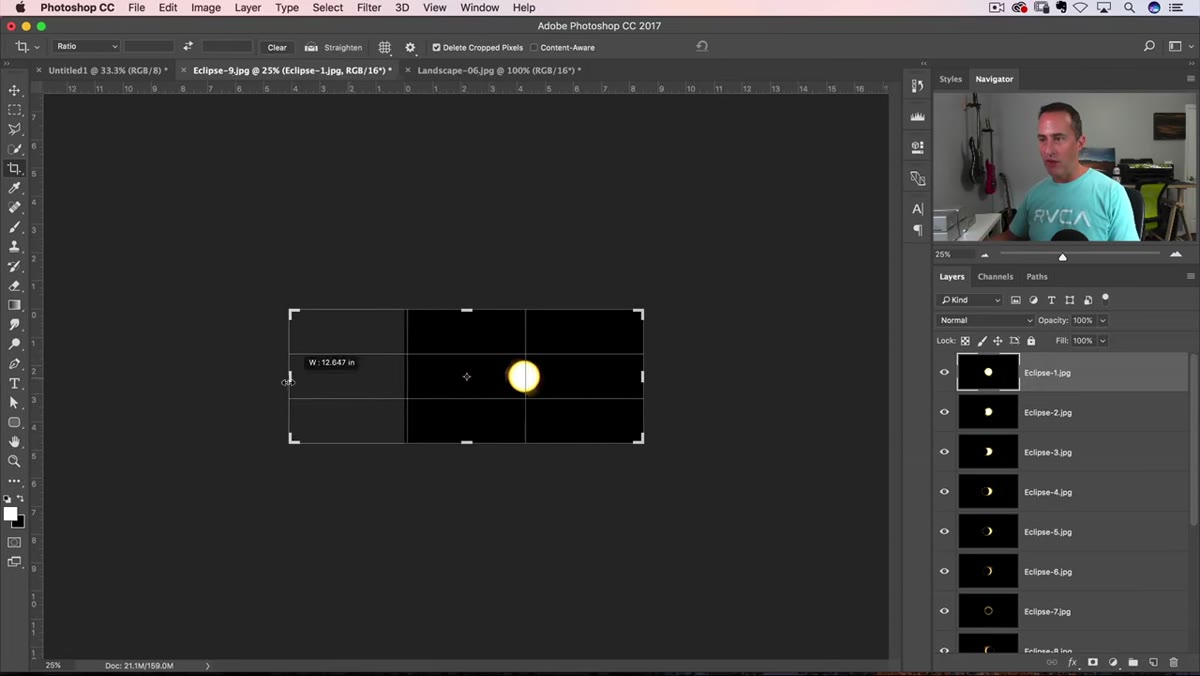
Here is where the creative planning Kloskowski talked about earlier starts to matter in a practical way. When all your layers land in Photoshop, they are all sitting on top of each other at the original image dimensions. If you want to arrange the phases side by side across a wide frame, the canvas is almost certainly too small. You will need to extend it.
Photoshop canvas with eclipse layers stacked, canvas too small for layout
Here is where the creative planning Kloskowski talked about earlier starts to matter in a practical way. When all your layers land in Photoshop, they are all sitting on top of each other at the original image dimensions. If you want to arrange the phases side by side across a wide frame, the canvas is almost certainly too small. You will need to extend it.
Go to Image and then Canvas Size. Decide whether you want a horizontal or vertical arrangement of your phases, and expand the canvas width or height accordingly. It helps to sketch this out roughly before you start dragging layers around. Think about how many phase images you have and how much breathing room you want between each one.
Step 4: Position Each Phase Layer Across the Canvas
 Individual eclipse phase layers being repositioned on expanded canvas
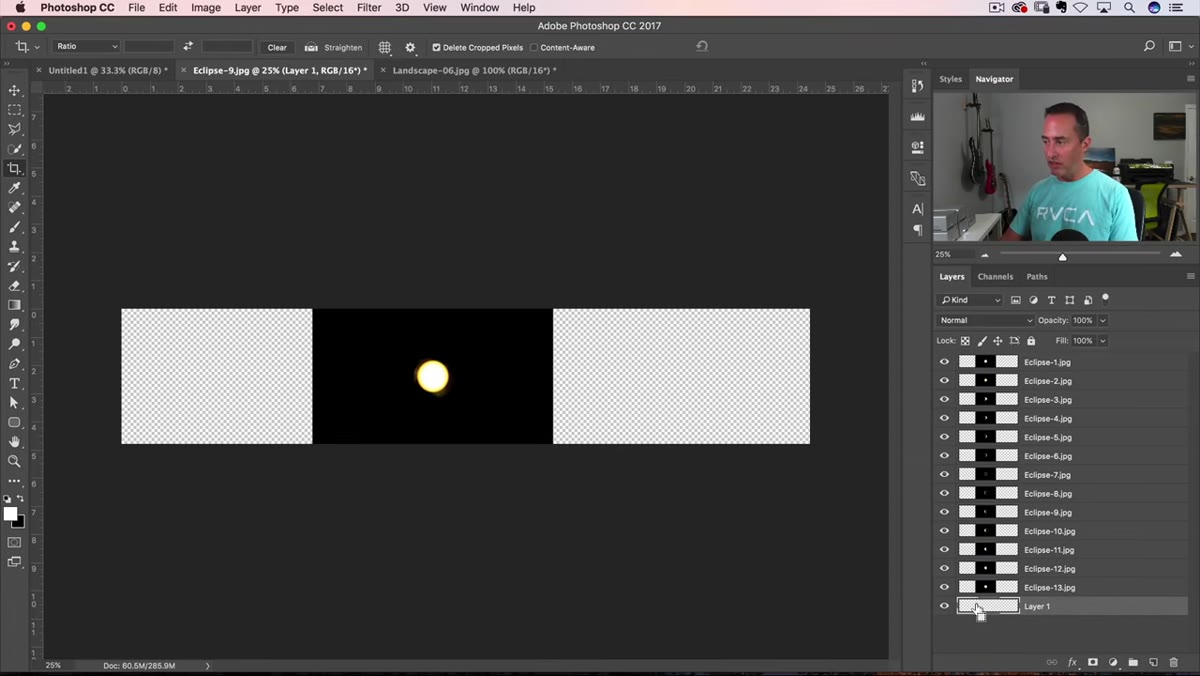
With the canvas extended, you can start moving each layer into position. Select a layer, grab the Move tool, and drag that phase to its spot on the canvas. Work through them in chronological order so the progression reads naturally from one side of the frame to the other. This is slower than it sounds because you are making judgment calls about spacing and alignment with every move.
Individual eclipse phase layers being repositioned on expanded canvas
With the canvas extended, you can start moving each layer into position. Select a layer, grab the Move tool, and drag that phase to its spot on the canvas. Work through them in chronological order so the progression reads naturally from one side of the frame to the other. This is slower than it sounds because you are making judgment calls about spacing and alignment with every move.
One practical tip: keep your layers panel visible and labeled if you can. It is easy to lose track of which phase is which once they are spread across a wide canvas, especially if your eclipse images look similar at the early partial stages.
Step 5: Blend Layers Using Blending Modes
 Layers panel showing blending mode dropdown applied to eclipse layer
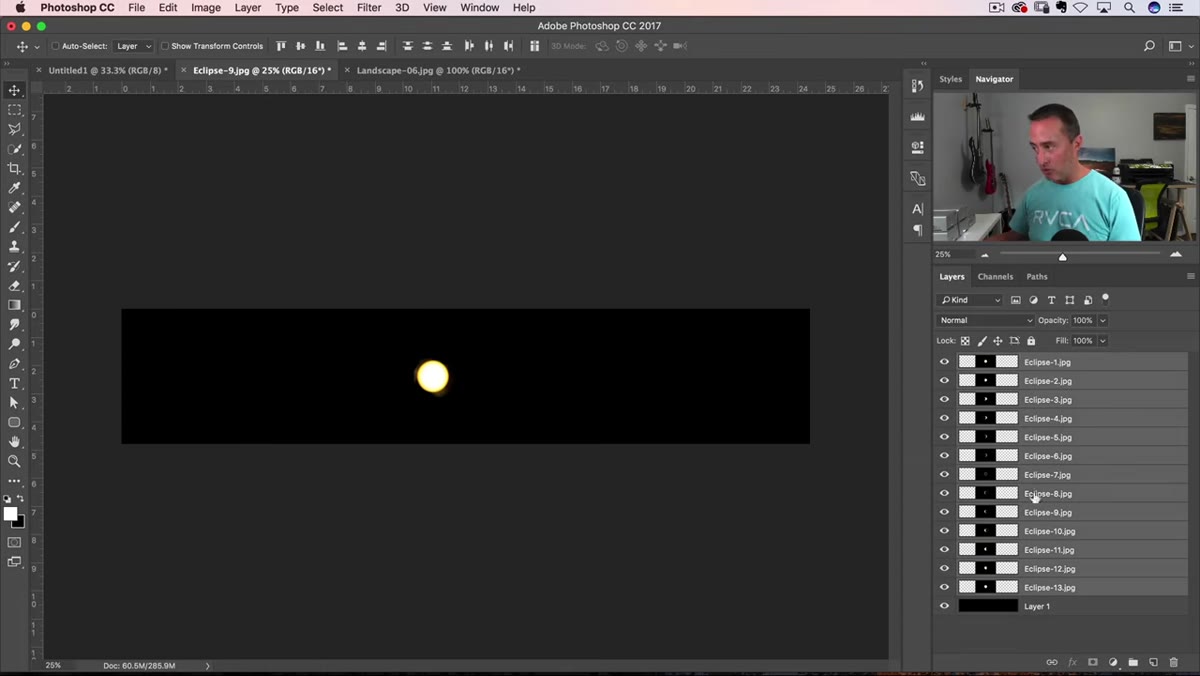
The part that makes or breaks a composite like this is how the edges of each eclipse image blend into the background. A hard edge around each phase looks amateurish immediately. Kloskowski’s approach here involves using blending modes on each layer to let the dark sky areas become transparent so only the eclipse itself reads against the final background.
Layers panel showing blending mode dropdown applied to eclipse layer
The part that makes or breaks a composite like this is how the edges of each eclipse image blend into the background. A hard edge around each phase looks amateurish immediately. Kloskowski’s approach here involves using blending modes on each layer to let the dark sky areas become transparent so only the eclipse itself reads against the final background.
Lighten is typically the go-to blending mode for this kind of work. Because the eclipse phases are set against a black or near-black sky, switching to Lighten tells Photoshop to only show pixels that are brighter than whatever is behind them. The dark sky drops out, and the bright corona and partial phases remain. Try Lighten first, and if the blend looks off, Screen is a reasonable alternative that handles slightly lighter sky tones better.
Step 6: Return to Lightroom for Final Color and Tone
 Lightroom Develop module open with merged eclipse composite file
Once the composite is assembled in Photoshop and saved, bring it back into Lightroom for the final color grade. This is where the image goes from technically correct to visually intentional. The corona of a total eclipse has a naturally cool, silver-white tone, but the sky around it during totality often carries subtle warm or teal gradients depending on atmospheric conditions and your white balance choices.
Lightroom Develop module open with merged eclipse composite file
Once the composite is assembled in Photoshop and saved, bring it back into Lightroom for the final color grade. This is where the image goes from technically correct to visually intentional. The corona of a total eclipse has a naturally cool, silver-white tone, but the sky around it during totality often carries subtle warm or teal gradients depending on atmospheric conditions and your white balance choices.
In the Develop module, work the Tone Curve and HSL panel rather than leaning entirely on the basic sliders. The basic sliders affect the whole image uniformly, which can wash out the delicate detail in the corona while you are trying to recover the darker transition zones. The Tone Curve gives you more surgical control over the highlights and shadow relationship that makes eclipse images feel dimensional rather than flat.
What I’d Add From My Own Workflow
Kloskowski keeps the composite approach fairly clean and accessible, which is the right call for a tutorial aimed at people preparing to shoot their first eclipse. But one thing I would layer on top of this, especially if you are shooting in RAW, is to do a basic develop pass on each individual phase file before you ever send them to Photoshop as layers.
A quick noise reduction and sharpening pass in Lightroom before the export means you are stacking cleaner files. When you are blending with Lighten mode, noise in the shadow regions of each layer can compound across the composite and show up as texture in areas that should look smooth. Cleaning each frame individually first saves you from chasing that problem after everything is already merged.
The most important thing this tutorial reinforced for me is that a composite like this is planned, not discovered in post. If you go into eclipse day knowing you want this kind of image, you protect your camera position, you bracket intelligently, and you resist the urge to reframe mid-shoot. The editing is actually the easier half once the shooting decisions are right.
Watch the full tutorial on YouTube to see Matt Kloskowski walk through every step with live footage, including the Affinity Photo version he covers in the second half.
Comments
Leave a Comment