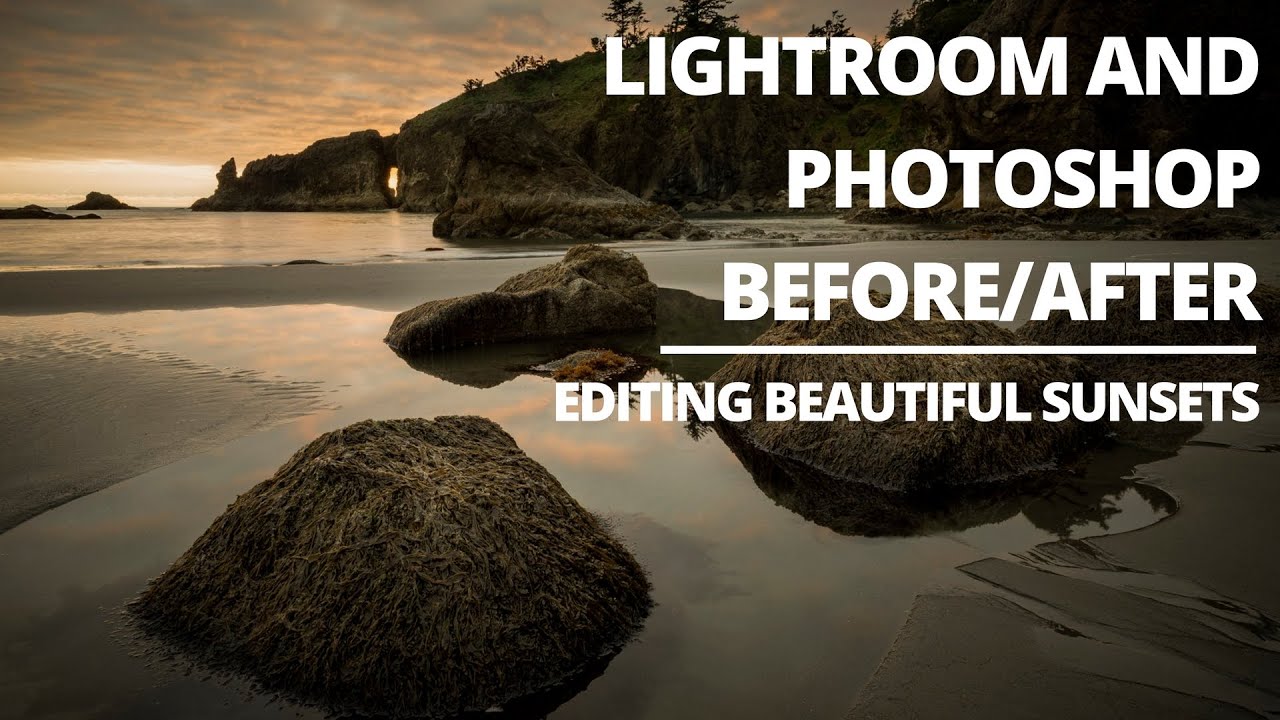
Sunset beach shots are the ones that make you look like a genius or expose you as someone who just dragged the Vibrance slider to 100 and called it a day. The challenging part isn’t the golden light, it’s the dynamic range. You’ve got a blown-out sky threatening to clip on one end and a shadowy foreground swallowing all your rock detail on the other. Every time I pull one of these into Lightroom, I feel the same pull in two directions, and the edit can go sideways fast if you don’t have a clear workflow.
That’s exactly why I keep coming back to Watch the full tutorial on YouTube – this Matt Kloskowski tutorial on editing a rocky beach sunset photo from Second Beach on the Olympic Coast near Seattle. Matt’s approach to these high-contrast scenes is methodical without being mechanical, and watching him work through the exposure problem before touching anything else reminded me why having a game plan before reaching for sliders matters more than any individual tweak.
What follows is my own breakdown of his process – pulled from the tutorial and reconstructed as a step-by-step guide you can follow with your own raw file. Matt also makes the raw file from the video available for free download on his website, which is a genuinely nice thing to do and means you can follow along with the exact same image.
Step 1: Wiggle the Exposure Slider to Assess Your Dynamic Range
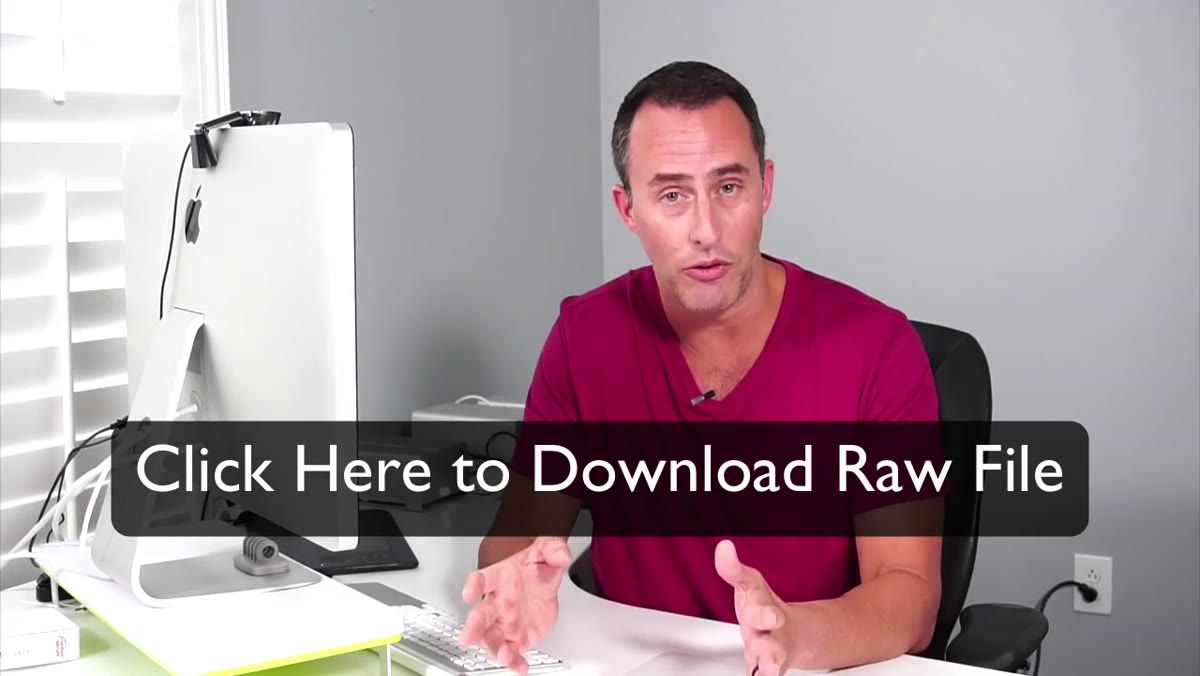 Matt dragging exposure slider left and right on beach sunset raw
Before committing to anything, Matt does something I’ve started doing on every high-contrast import: he drags the Exposure slider back and forth deliberately, not to set it, but to read what’s hiding in the file. Pushing it up shows you how much shadow detail is recoverable. Pulling it down shows you where the sky starts to look real again. Think of it as a quick diagnostic before surgery. After that assessment, he sets Exposure slightly above zero to compensate for what the shadow recovery will flatten out later, knowing the sky will get separate treatment.
Matt dragging exposure slider left and right on beach sunset raw
Before committing to anything, Matt does something I’ve started doing on every high-contrast import: he drags the Exposure slider back and forth deliberately, not to set it, but to read what’s hiding in the file. Pushing it up shows you how much shadow detail is recoverable. Pulling it down shows you where the sky starts to look real again. Think of it as a quick diagnostic before surgery. After that assessment, he sets Exposure slightly above zero to compensate for what the shadow recovery will flatten out later, knowing the sky will get separate treatment.
Step 2: Open Shadows and Partially Pull Highlights
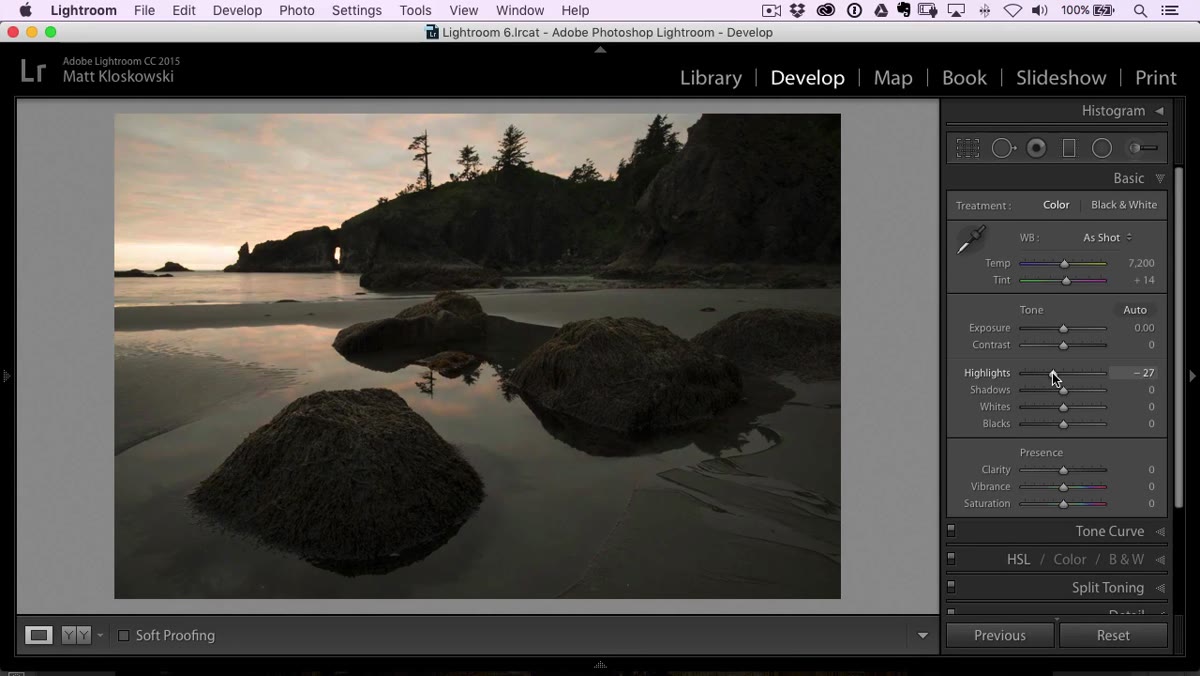 Shadows and Highlights sliders adjusted in Basic panel
With the exposure baseline set, Matt pushes Shadows up aggressively to lift the foreground rocks and tide pools out of the mud. The trade-off is that heavy shadow recovery creates flatness, which is why he doesn’t just stop there and call the exposure done. He holds back on the Highlights slider intentionally, keeping the adjustment conservative in the Basic panel. His reasoning is smart: pulling Highlights globally can make brighter areas of the frame look artificial, particularly in a sky with warm gradient tones. He saves the real sky correction for a graduated filter later in the edit.
Shadows and Highlights sliders adjusted in Basic panel
With the exposure baseline set, Matt pushes Shadows up aggressively to lift the foreground rocks and tide pools out of the mud. The trade-off is that heavy shadow recovery creates flatness, which is why he doesn’t just stop there and call the exposure done. He holds back on the Highlights slider intentionally, keeping the adjustment conservative in the Basic panel. His reasoning is smart: pulling Highlights globally can make brighter areas of the frame look artificial, particularly in a sky with warm gradient tones. He saves the real sky correction for a graduated filter later in the edit.
Step 3: Set Whites and Blacks with the Alt/Option Key Trick
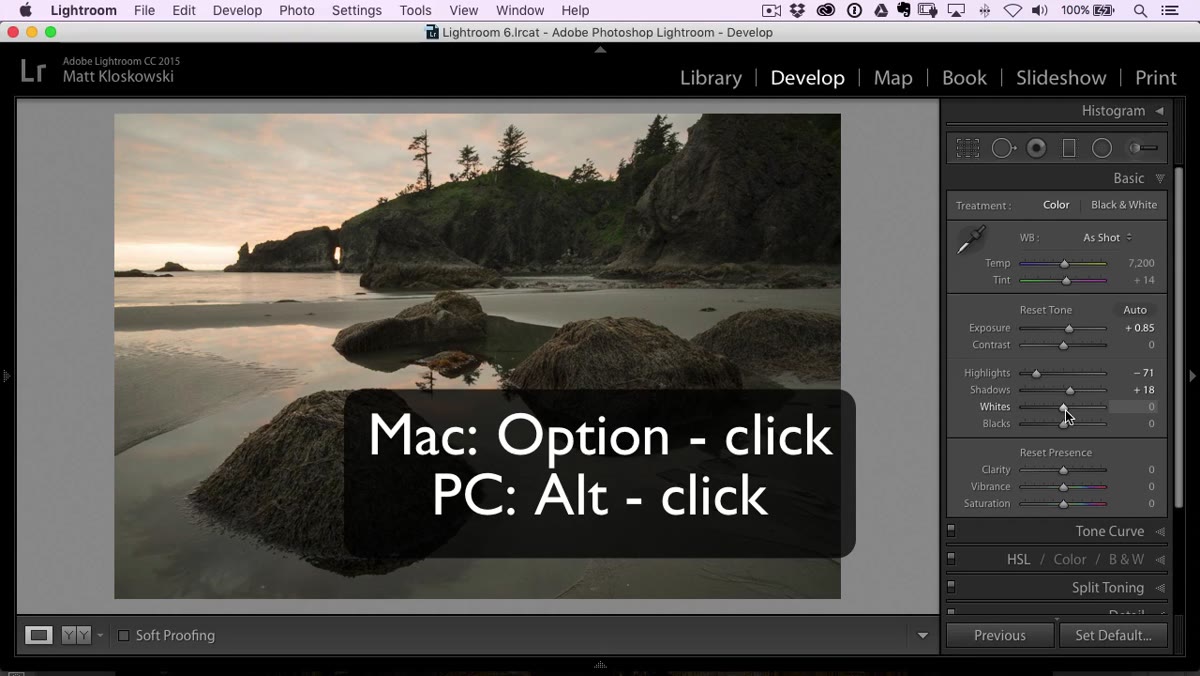 Alt-click on Whites showing blown highlight clipping overlay
This is one of those Lightroom moves that feels like a cheat code the first time you see it. Hold Alt on Windows or Option on Mac while dragging the Whites slider, and the preview goes completely black. As you drag right, any areas that start clipping to pure white appear as colored or white patches against the black background. Matt lets a small amount of sky just barely clip, knowing he’ll bring it back with the graduated filter. Then he does the same thing with Blacks: hold Alt/Option, drag left, and the canvas goes white. Small dark specks appearing tell you you’ve found a solid black point without crushing the shadows into nothingness.
Alt-click on Whites showing blown highlight clipping overlay
This is one of those Lightroom moves that feels like a cheat code the first time you see it. Hold Alt on Windows or Option on Mac while dragging the Whites slider, and the preview goes completely black. As you drag right, any areas that start clipping to pure white appear as colored or white patches against the black background. Matt lets a small amount of sky just barely clip, knowing he’ll bring it back with the graduated filter. Then he does the same thing with Blacks: hold Alt/Option, drag left, and the canvas goes white. Small dark specks appearing tell you you’ve found a solid black point without crushing the shadows into nothingness.
Step 4: Add Clarity for Texture and Midtone Contrast
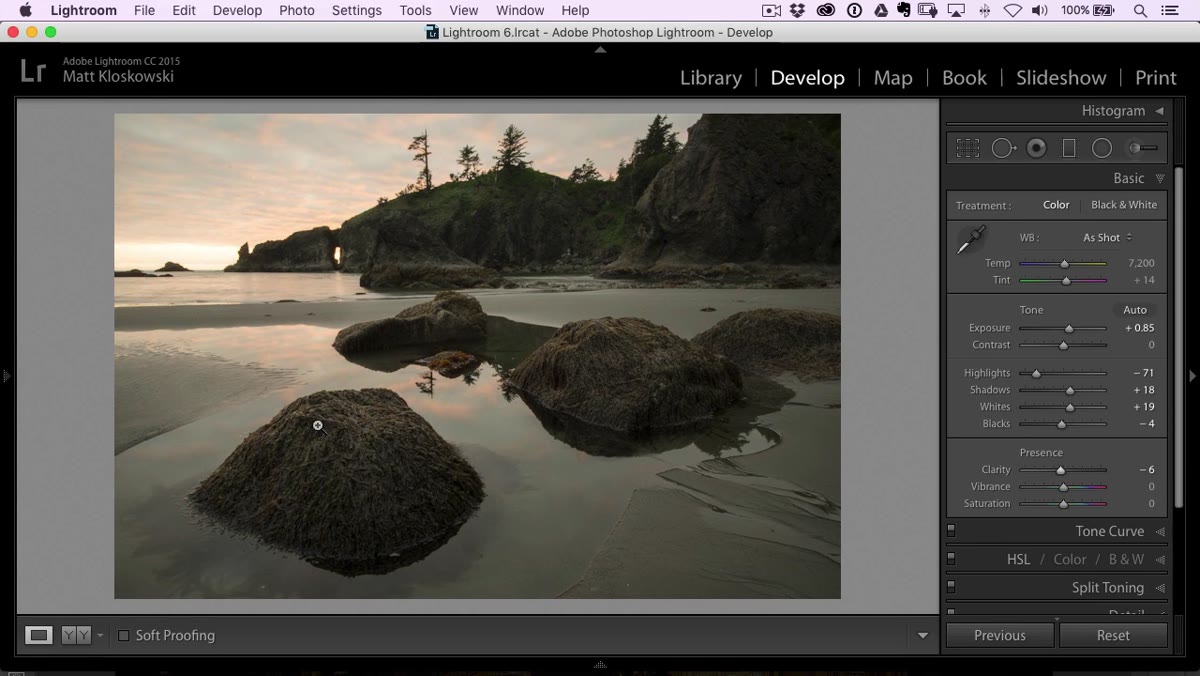 Clarity slider being raised in Basic panel
Rocky beach photos are texture-forward compositions. The wet rocks, the tide pools, the cloud formations overhead – all of that wants contrast in the midtones, and Clarity is the right tool for it. Unlike the Contrast slider, which affects the whole tonal range broadly, Clarity targets the mid-range specifically, which is where most of the detail in a scene like this lives. Matt pushes it up with confidence because it works simultaneously on both the foreground rocks and the clouds, tightening up the whole image without blowing out the highlights or crushing the shadows that were just carefully set.
Clarity slider being raised in Basic panel
Rocky beach photos are texture-forward compositions. The wet rocks, the tide pools, the cloud formations overhead – all of that wants contrast in the midtones, and Clarity is the right tool for it. Unlike the Contrast slider, which affects the whole tonal range broadly, Clarity targets the mid-range specifically, which is where most of the detail in a scene like this lives. Matt pushes it up with confidence because it works simultaneously on both the foreground rocks and the clouds, tightening up the whole image without blowing out the highlights or crushing the shadows that were just carefully set.
Step 5: Warm Up the Temperature to Match the Sunset Mood
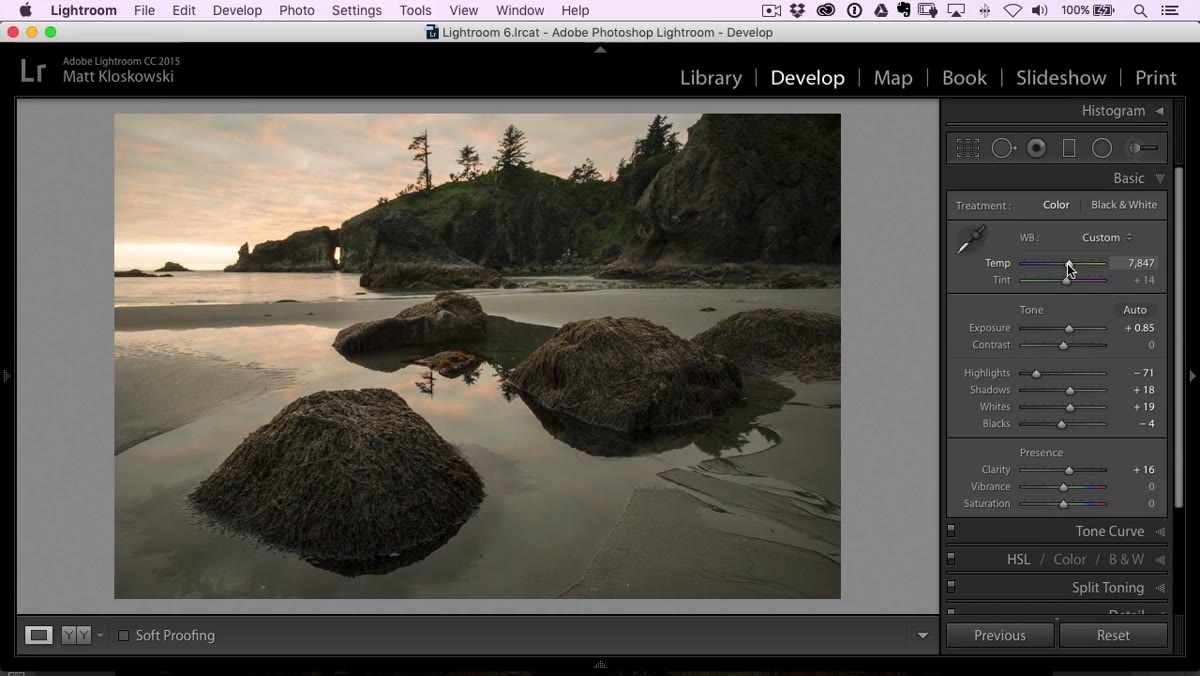 Temperature slider moved right toward warm tones
After the tonal adjustments, Matt shifts attention to color temperature. The raw file reads a little cool relative to what the scene actually felt like, which is a common reality with sunset raw captures – the camera’s white balance often undersells the warmth. He moves the Temperature slider right toward the yellow-orange range, not dramatically, but enough that the sky glow and the warm tones reflecting in the tide pools start to feel true to the moment. This is a judgment call more than a formula, and Matt makes it quickly because he’s reading the specific tones in that sky, not chasing a preset look.
Temperature slider moved right toward warm tones
After the tonal adjustments, Matt shifts attention to color temperature. The raw file reads a little cool relative to what the scene actually felt like, which is a common reality with sunset raw captures – the camera’s white balance often undersells the warmth. He moves the Temperature slider right toward the yellow-orange range, not dramatically, but enough that the sky glow and the warm tones reflecting in the tide pools start to feel true to the moment. This is a judgment call more than a formula, and Matt makes it quickly because he’s reading the specific tones in that sky, not chasing a preset look.
Step 6: Fine-Tune Color with HSL Luminance on Reds and Oranges
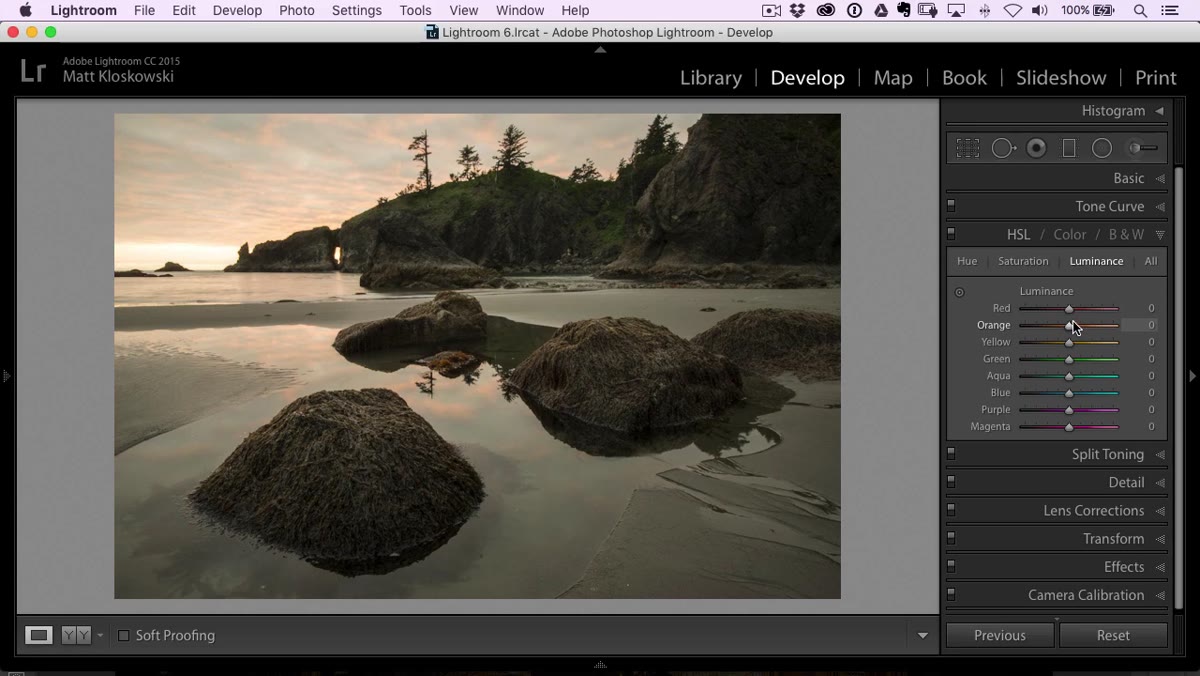 HSL panel open with Luminance tab selected
The last step shown in this section of the tutorial takes Matt into the HSL panel, specifically the Luminance tab, where he targets the Reds and Oranges channels to see how they interact with the sunset sky. Adjusting luminance on these channels brightens or darkens specific color ranges without changing their saturation or hue, which gives you surgical control over how the warm sky tones read against the rest of the frame. It’s a subtler move than it sounds, and the result of getting it right is a sky that feels luminous rather than overcooked.
HSL panel open with Luminance tab selected
The last step shown in this section of the tutorial takes Matt into the HSL panel, specifically the Luminance tab, where he targets the Reds and Oranges channels to see how they interact with the sunset sky. Adjusting luminance on these channels brightens or darkens specific color ranges without changing their saturation or hue, which gives you surgical control over how the warm sky tones read against the rest of the frame. It’s a subtler move than it sounds, and the result of getting it right is a sky that feels luminous rather than overcooked.
A Note on the “Save It for the Graduated Filter” Instinct
One thing I’ve trained myself to do after years of editing landscape shots is resist the urge to solve everything in the Basic panel. Matt models this clearly in the tutorial by deliberately leaving the sky correction incomplete – he knows a graduated filter will let him target that region with precision that global sliders can’t offer. I used to fight this instinct, wanting the histogram to look clean before moving on. The better habit is thinking in layers: global adjustments first, local corrections second. The Basic panel is not the finish line.
The single most useful thing I took from this tutorial is the exposure-assessment wiggle at the start. It sounds almost too simple, but dragging the Exposure slider before setting it reframes your whole approach. You’re not guessing at a value; you’re auditing your raw file and building a plan around what’s actually there. It changes how you sequence every adjustment that follows.
Watch the full tutorial on YouTube to see Matt complete the edit through Photoshop, including how he handles that sky with local adjustments.
Comments
Leave a Comment