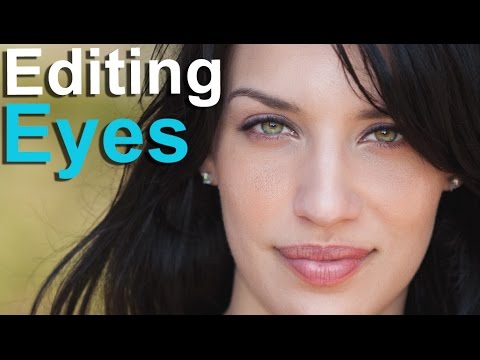
Portrait retouching has a reputation problem. Half the tutorials out there push you toward results that look less “professional headshot” and more “uncanny valley catalog model.” Eyes are where this goes wrong fastest. Over-sharpen the iris, blow out the whites, crank the saturation, and suddenly your subject looks like they belong in a supernatural thriller rather than a family album or a client deliverable.
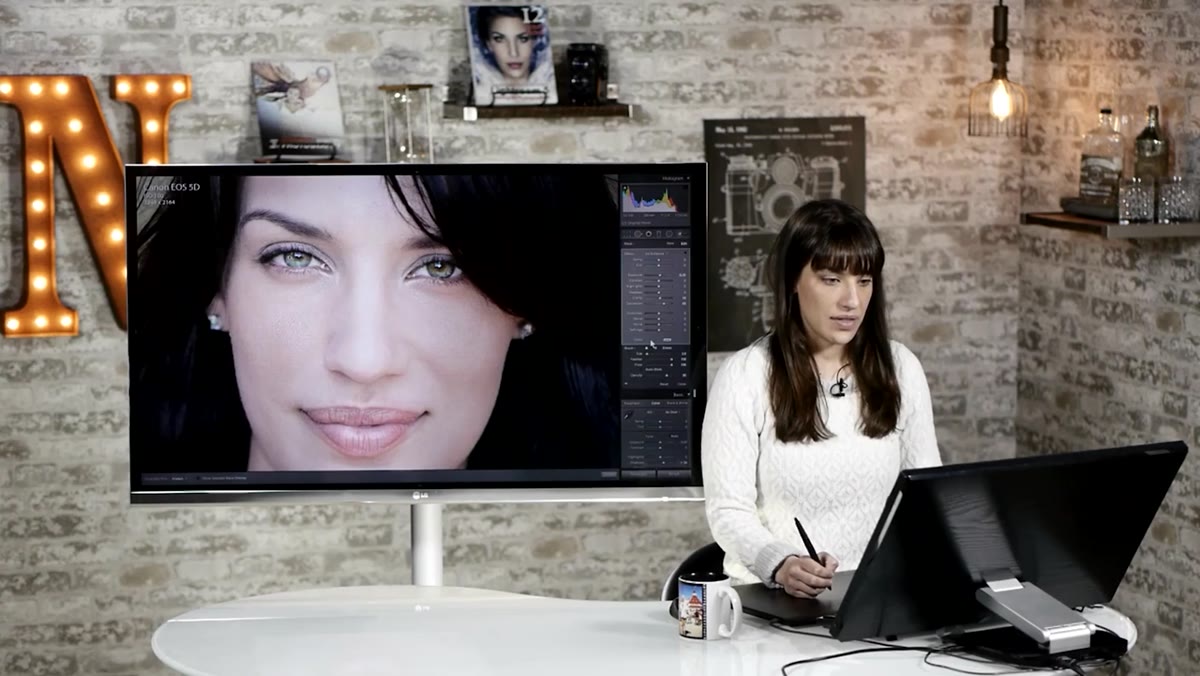
I’ve been editing portraits in Lightroom long enough to know that restraint is the actual skill. So when I came across Watch the full tutorial on YouTube from Tony and Chelsea Northrup, I appreciated that Chelsea’s whole approach is built around not overdoing it. She even calls out the overcorrection trap by name, which, honestly, should be the first lesson in every retouching course. The technique she walks through uses Lightroom’s Adjustment Brush exclusively, which means no round-tripping to Photoshop, no layer stacks, no excuses.
What follows is a step-by-step breakdown you can follow on any portrait you already have open. Chelsea recommends working on an adult woman for this particular workflow since a few steps include cosmetic-style enhancements, but the core techniques work across portrait subjects. Grab a photo, open your Adjustment Brush panel, and let’s get into it.
Step 1: Apply Iris Enhance to the Colored Part of the Eye
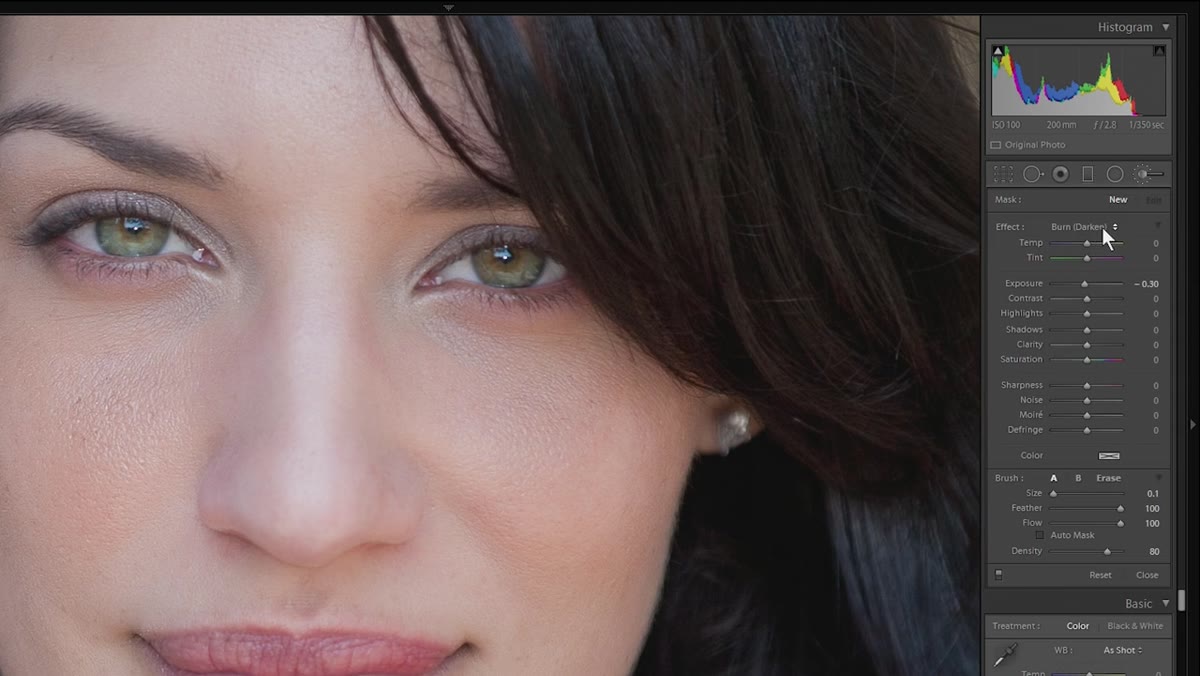 Iris Enhance preset selected in the Adjustment Brush panel
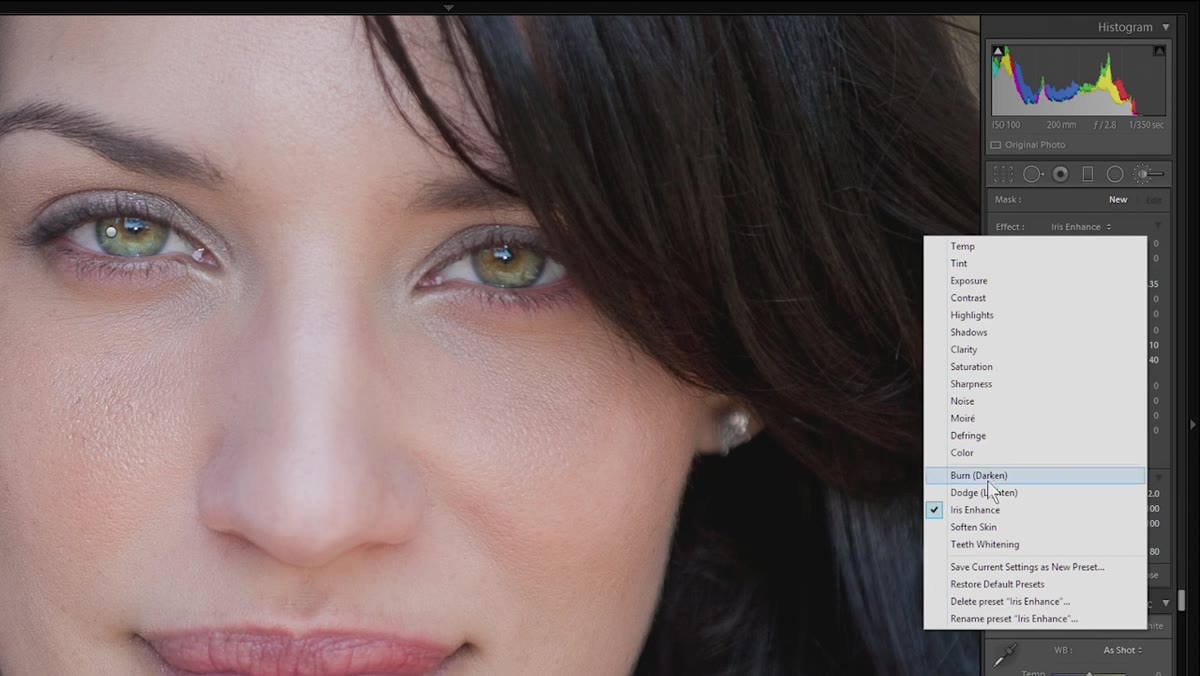
Start by selecting the Adjustment Brush from the toolbar, then open the Effect dropdown at the top of the panel and choose “Iris Enhance.” This is a Lightroom preset effect that bumps up clarity, saturation, and exposure on the iris. It does exactly what it sounds like, just enough to make the colored part of the eye pop without requiring you to manually dial in every slider.
Iris Enhance preset selected in the Adjustment Brush panel
Start by selecting the Adjustment Brush from the toolbar, then open the Effect dropdown at the top of the panel and choose “Iris Enhance.” This is a Lightroom preset effect that bumps up clarity, saturation, and exposure on the iris. It does exactly what it sounds like, just enough to make the colored part of the eye pop without requiring you to manually dial in every slider.
Before you paint, press O to toggle on your mask overlay so you can see exactly where you’re painting. If the default red overlay clashes with your subject’s eye color and makes it hard to see, press Shift+O to cycle through alternate mask colors. Then paint only over the iris itself, avoiding the pupil and the whites. The edges don’t need to be surgical, but staying inside the iris boundary keeps the effect clean. Press O again to hide the mask and check your work.
Step 2: Keep the Effect Subtle and Resist the Urge to Push It
 Iris Enhance applied at low intensity, sliders visible in panel
Chelsea flags something here that I’ve learned the hard way myself: eye edits almost always need to be dialed back at the end. The cumulative effect of multiple adjustments can sneak up on you, and what looks balanced step-by-step can read as unsettling in the final image. Her approach is to keep each individual edit conservative from the start rather than trying to fix the whole thing at the end.
Iris Enhance applied at low intensity, sliders visible in panel
Chelsea flags something here that I’ve learned the hard way myself: eye edits almost always need to be dialed back at the end. The cumulative effect of multiple adjustments can sneak up on you, and what looks balanced step-by-step can read as unsettling in the final image. Her approach is to keep each individual edit conservative from the start rather than trying to fix the whole thing at the end.
With Iris Enhance applied, check the slider values in the panel. The preset probably moved clarity, saturation, and exposure. You can use the up and down arrow keys while hovering over any slider to nudge values incrementally. If something already looks too heavy, bring it down now before adding more layers of adjustment.
Step 3: Brighten the Whites of the Eyes with a Dodge Brush
 Dodge effect selected, mask showing whites of eye painted
Create a new Adjustment Brush pin (click “New” at the top of the panel) and this time select “Dodge” from the Effect dropdown. Dodge is a lightening effect borrowed from darkroom photography. The goal here is a subtle brightness lift to the whites of the eyes, not a bleaching.
Dodge effect selected, mask showing whites of eye painted
Create a new Adjustment Brush pin (click “New” at the top of the panel) and this time select “Dodge” from the Effect dropdown. Dodge is a lightening effect borrowed from darkroom photography. The goal here is a subtle brightness lift to the whites of the eyes, not a bleaching.
Paint across the whites, then switch to the Erase brush within the same mask to clean up any overspill onto the iris, eyelid, or skin. Bring your flow up fairly high for painting, then lower it for erasing so you can blend edges naturally. If redness is an issue in the whites, you can also slightly lower the saturation slider under this same mask. A small drop removes the red cast without turning the eyes grey.
Step 4: Lighten Under the Eyes with a Triangle Shape
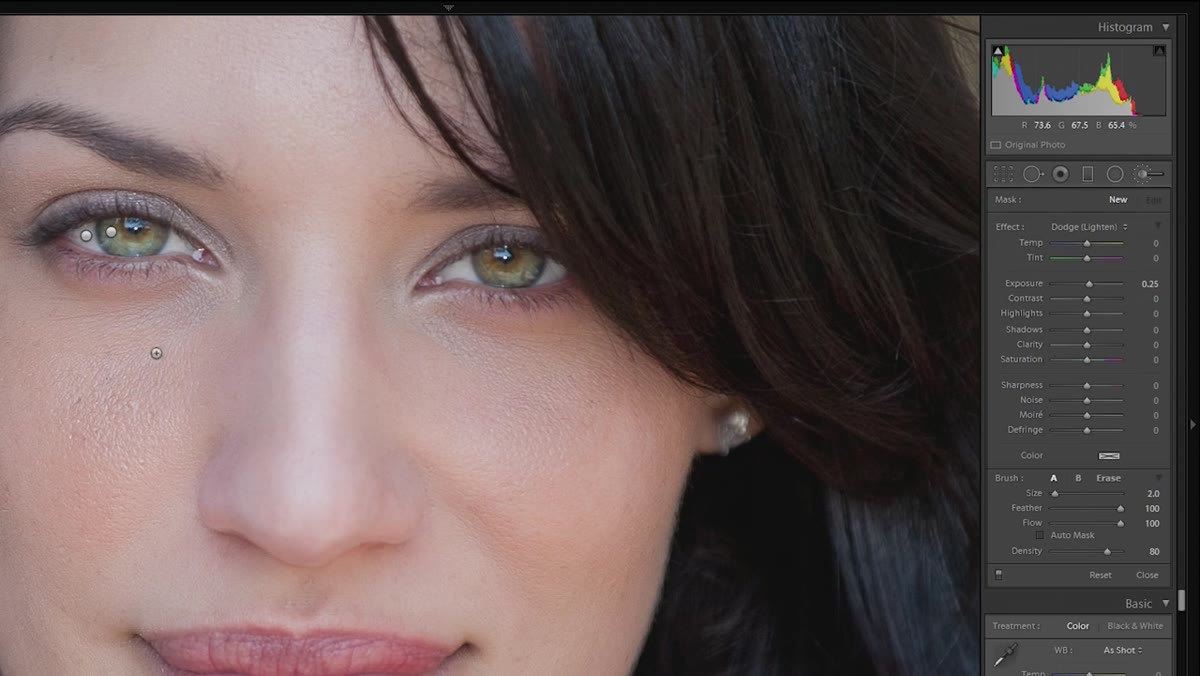 Triangle-shaped mask painted beneath the eye
Open a new Adjustment Brush mask and increase the exposure or highlights just slightly. Paint in a rough triangle shape under each eye, with the point aimed down toward the cheekbone and the wide edge following the lower lash line. This mimics what makeup artists call “brightening” the under-eye area, and it’s the same principle behind Rembrandt lighting in studio photography: lighten the high planes beneath the eye and the eye itself draws more attention.
Triangle-shaped mask painted beneath the eye
Open a new Adjustment Brush mask and increase the exposure or highlights just slightly. Paint in a rough triangle shape under each eye, with the point aimed down toward the cheekbone and the wide edge following the lower lash line. This mimics what makeup artists call “brightening” the under-eye area, and it’s the same principle behind Rembrandt lighting in studio photography: lighten the high planes beneath the eye and the eye itself draws more attention.
After painting the triangle, switch to the Erase brush with a soft, low-flow setting and feather the edges so there’s no hard transition onto the surrounding skin. The lighter area should feel like it belongs there, not like a patch.
Step 5: Open Up the Eye Shape with Targeted Highlights
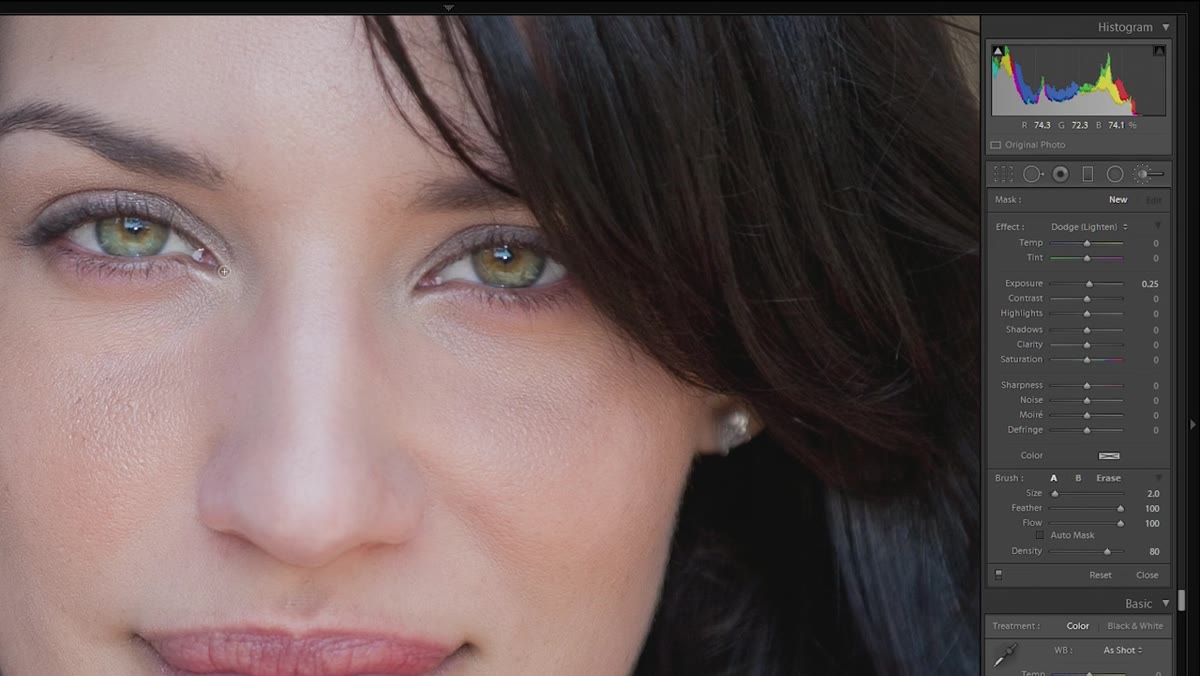 Highlight painted at inner corner and above pupil
Add another new Adjustment Brush mask for this step. Paint a small highlight at the inner corner of the eye and a thin sliver just above the pupil along the upper iris. These two placements serve specific functions: the inner corner makes the eye look wider, and the highlight above the pupil creates the impression of a larger, more open eye. It’s a subtle illusion, but it reads clearly in a finished portrait.
Highlight painted at inner corner and above pupil
Add another new Adjustment Brush mask for this step. Paint a small highlight at the inner corner of the eye and a thin sliver just above the pupil along the upper iris. These two placements serve specific functions: the inner corner makes the eye look wider, and the highlight above the pupil creates the impression of a larger, more open eye. It’s a subtle illusion, but it reads clearly in a finished portrait.
Again, keep the exposure lift modest. You’re aiming for the effect of good lighting, not the effect of a photo edit. If you want, you can also lightly paint just under the eyebrow arch to lift the appearance of the brow bone, though this is optional depending on the subject.
Step 6: Add Depth with Selective Burning
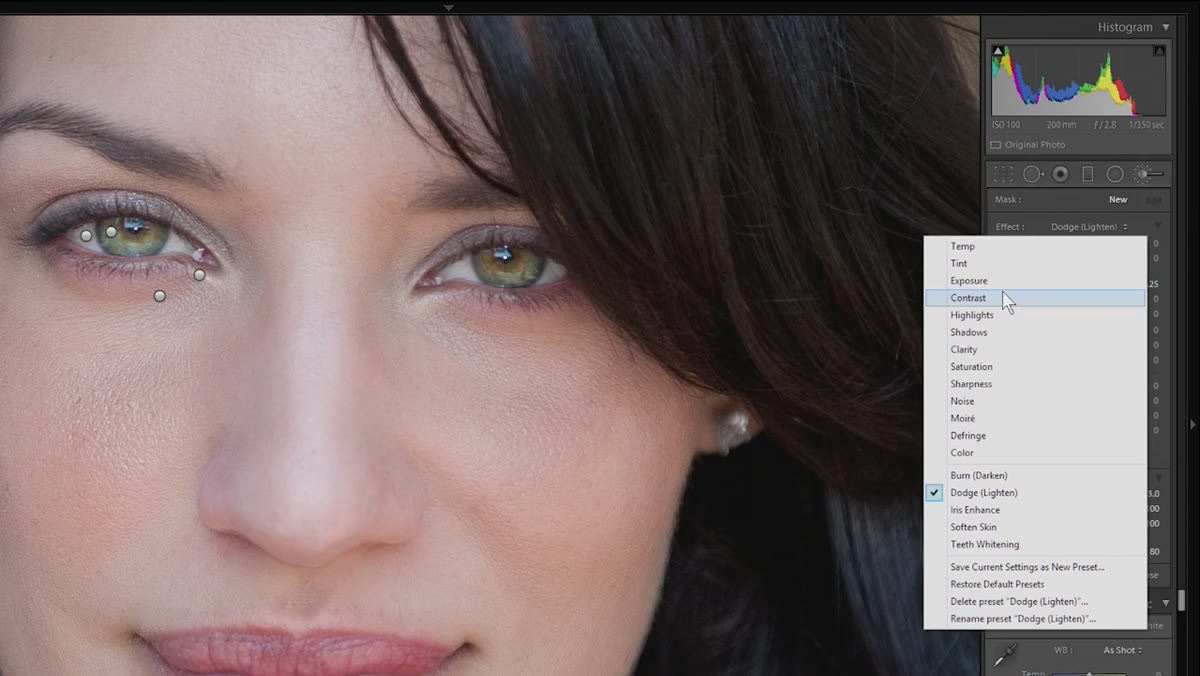 Burn brush applied around the eye edges
The final adjustment brush in this workflow uses a Burn or darkening effect. Select a new mask, choose “Burn” from the Effect preset dropdown, and paint lightly around the outer edges of the eye, including parts of the eyelid crease and the outer corners. Burning adds shadow depth that makes the previous lightening adjustments read as more dimensional rather than flat.
Burn brush applied around the eye edges
The final adjustment brush in this workflow uses a Burn or darkening effect. Select a new mask, choose “Burn” from the Effect preset dropdown, and paint lightly around the outer edges of the eye, including parts of the eyelid crease and the outer corners. Burning adds shadow depth that makes the previous lightening adjustments read as more dimensional rather than flat.
This is also a good time to step back and look at both eyes together. Symmetry matters less than you think in portraiture, but if one eye looks significantly heavier than the other, use the Erase brush to even things out.
One Thing I’d Add: Do a Final Opacity Check
Chelsea mentions pulling everything back by 20 to 30 percent at the end, and I’d frame this as a non-negotiable final step rather than a maybe. In Lightroom, you can’t reduce the opacity of individual Adjustment Brush masks the way you can reduce layer opacity in Photoshop. But you can select each pin and manually drag the active sliders toward zero to soften the effect. I usually duplicate my before state as a virtual copy first, then toggle between the two versions after a short break. Fresh eyes catch the overcorrection every time.
The lesson from Chelsea’s tutorial isn’t really about which sliders to move. It’s about building your eye edits in layers, keeping each layer modest, and trusting that the cumulative effect is always stronger than it looks mid-process. That instinct, more than any specific setting, is what separates portraits that feel polished from ones that feel processed.
Watch the full tutorial on YouTube to see Chelsea walk through the full sequence in real time, including how she handles the mask overlays and brush sizing on an actual portrait.
Comments
Leave a Comment