Stop Noise From Ruining Your Wildlife and Nature Shots (A Lightroom Brush Technique Worth Knowing)

Stop Noise From Ruining Your Wildlife and Nature Shots (A Lightroom Brush Technique Worth Knowing)

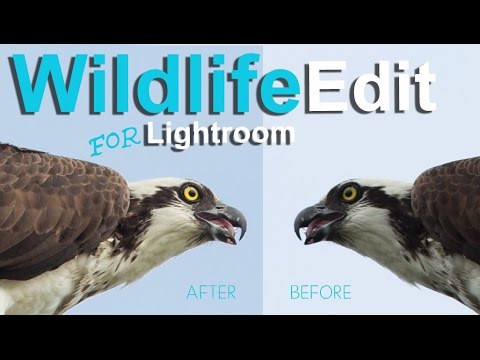
There’s a specific kind of frustration that comes from nailing a wildlife shot, getting the exposure right, holding your breath long enough for the bird to turn its head just so, and then zooming in at your desk to find the background looks like a bowl of colored gravel. I’ve been there more times than I’d like to admit. Noisy backgrounds don’t just look bad on their own. They actively pull the viewer’s eye away from your subject, which is the one thing you actually cared about when you pressed the shutter.
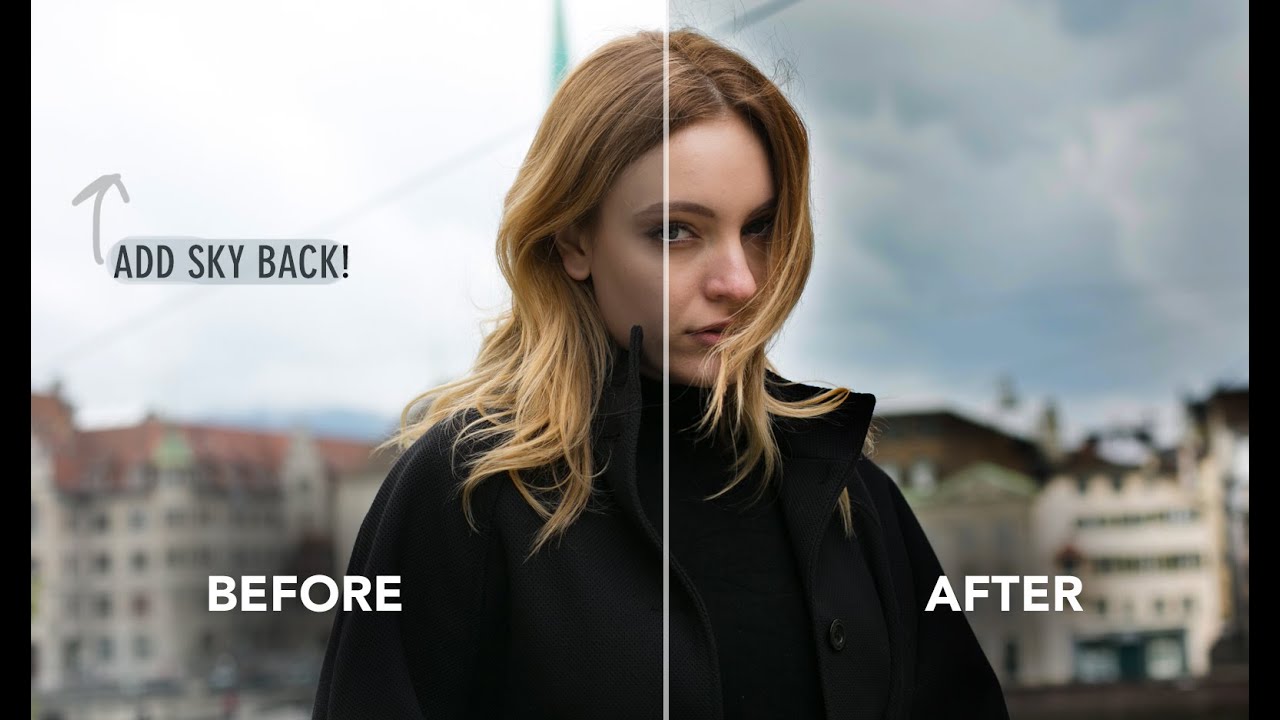
How to Recover Blown-Out Skies in Lightroom (Without Making It Look Fake)

How to Recover Blown-Out Skies in Lightroom (Without Making It Look Fake)

There’s a particular kind of frustration that comes with reviewing a shoot and realizing the sky is completely blown out. The subject looks great, the light on their face is perfect, and the sky is just… white. Nothing. A void. I’ve been there more times than I’d like to admit, and for a while my solution was to either swap the sky entirely or just crop it out and pretend it never existed.

The Lightroom Edit That Changed How I Think About Adjustment Brushes

The Lightroom Edit That Changed How I Think About Adjustment Brushes

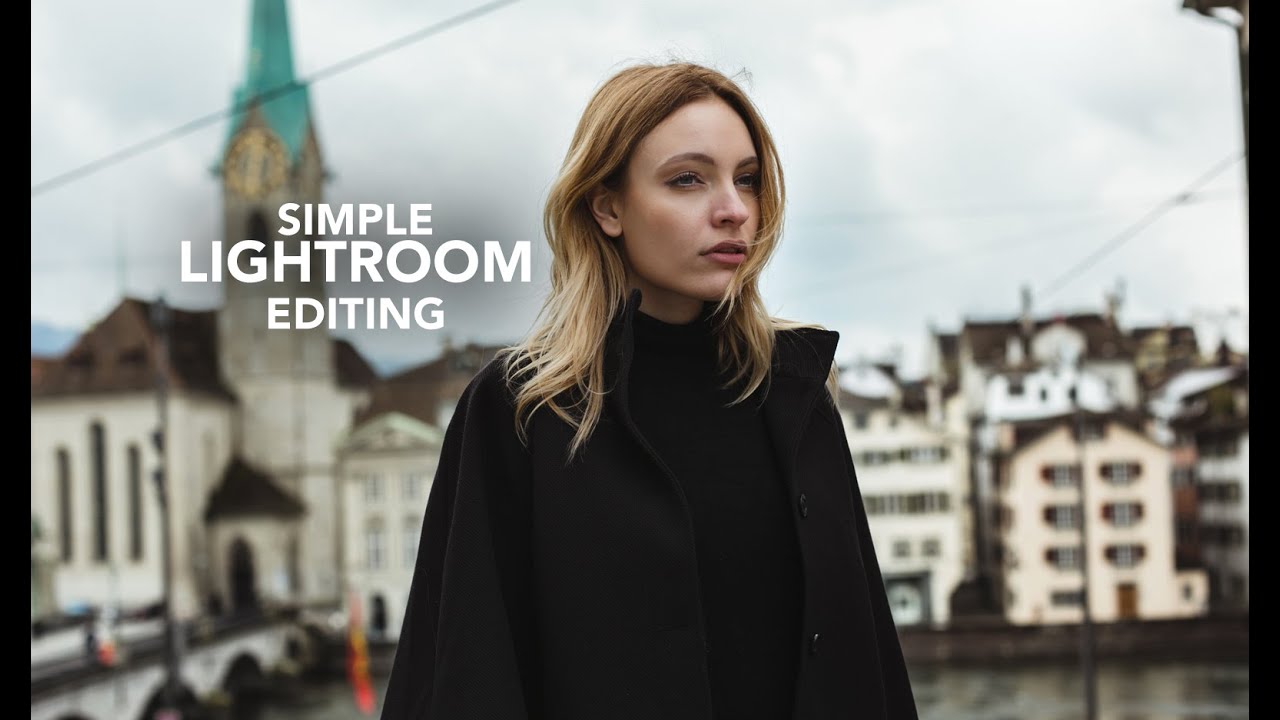
There’s a specific kind of edit I used to dread: a portrait with a blown-out background, slightly flat skin, and hair that reads as a muddy brownish-yellow on screen. It’s not a ruined photo. It’s a fixable photo. But the path from “fixable” to “finished” always felt like it had too many decision points, and I’d end up over-editing my way into something worse than what I started with. That changed when I started paying close attention to how photographers with a clear visual instinct move through Lightroom — not what buttons they press, but why and in what order.

How to Rescue a Blown-Out, Underexposed Wildlife Shot in Lightroom

How to Rescue a Blown-Out, Underexposed Wildlife Shot in Lightroom

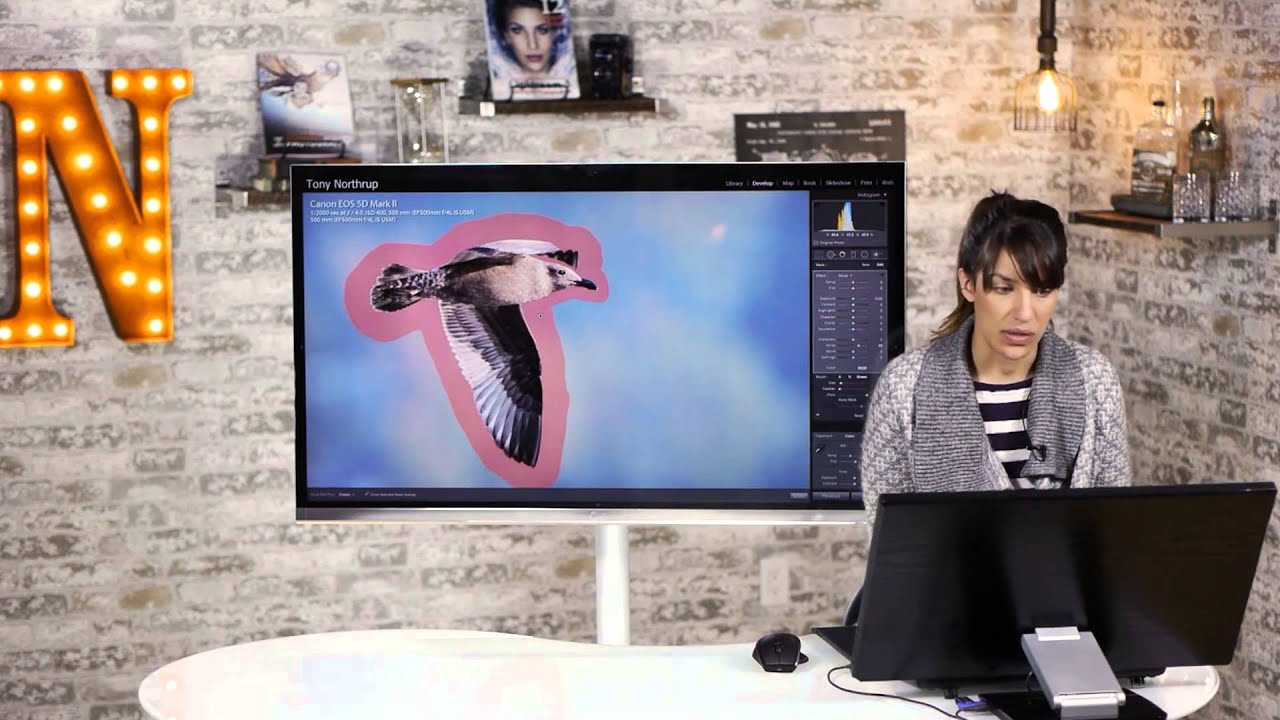
Wildlife photography is unforgiving. You get one shot at the heron, the fox, the hawk — and that shot is usually backlit, rushed, and technically a disaster. I’ve been there more times than I want to admit. The subject is dark, the sky is nuclear white, and somewhere in the chaos you managed to clip the bird’s wing at the frame edge. The question isn’t whether your wildlife shots have problems.

Bring Portraits to Life in Lightroom: Enhancing Eyes and Hair with the Adjustment Brush

Bring Portraits to Life in Lightroom: Enhancing Eyes and Hair with the Adjustment Brush

There’s a specific kind of portrait that haunts you. The light was perfect, the subject was stunning, and then you open the file and realize the hair has collapsed into a muddy shadow and the eyes look flat. I’ve been there more times than I’d like to admit. For a long time my reflex was to jump straight into Photoshop and start reaching for luminosity masks. It worked, but it was slow, and half the time I was overcomplicating something that didn’t need to be complicated.

Two Lightroom Tricks I Wish I'd Known During My First 1,000 Bracket Shots

Two Lightroom Tricks I Wish I'd Known During My First 1,000 Bracket Shots

There’s a specific kind of frustration that comes from shooting a bracketed sequence at golden hour, getting home, and realizing you have to manually drag exposure sliders on eight nearly identical files just to compare them fairly. I’ve been there more times than I’d like to admit. Back when I was editing press shots for my band on a borrowed laptop, I developed some genuinely bad habits around bracketed editing, and some of those habits followed me into my professional workflow longer than they should have.

How to Edit Eyes in Lightroom Without Making Your Subject Look Like a Horror Movie Villain

How to Edit Eyes in Lightroom Without Making Your Subject Look Like a Horror Movie Villain

Portrait retouching has a reputation problem. Half the tutorials out there push you toward results that look less “professional headshot” and more “uncanny valley catalog model.” Eyes are where this goes wrong fastest. Over-sharpen the iris, blow out the whites, crank the saturation, and suddenly your subject looks like they belong in a supernatural thriller rather than a family album or a client deliverable. I’ve been editing portraits in Lightroom long enough to know that restraint is the actual skill.

The Adjustment Brush Shortcut That Saves Me From Toggling Auto Mask Every 30 Seconds

The Adjustment Brush Shortcut That Saves Me From Toggling Auto Mask Every 30 Seconds

There’s a specific kind of editing frustration that I’ve felt probably a thousand times. You’re painting a local adjustment across a large area of a photo, moving fast, and then you hit an edge. Maybe it’s the rim of a coffee cup, the shoulder of a jacket, a hard line between sky and building. Suddenly you have two bad options: slow everything down by turning on Auto Mask and deal with the lag, or keep painting fast and accept that you’ll bleed color or exposure onto something you didn’t want to touch.