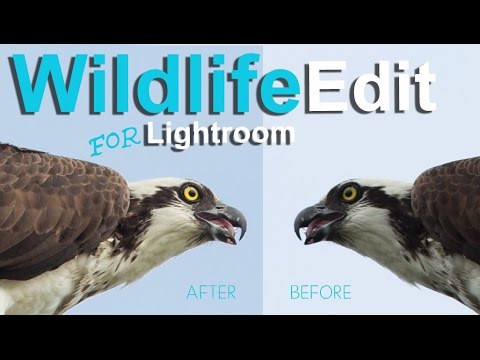
Wildlife photography is unforgiving. You get one shot at the heron, the fox, the hawk — and that shot is usually backlit, rushed, and technically a disaster. I’ve been there more times than I want to admit. The subject is dark, the sky is nuclear white, and somewhere in the chaos you managed to clip the bird’s wing at the frame edge. The question isn’t whether your wildlife shots have problems. It’s whether you know how to fix them.
That’s exactly the mindset Chelsea Northrup brings to this tutorial. Rather than demonstrating on a pristine, magazine-ready image, she works through a genuinely messy wildlife photo — underexposed subject, blown-out sky, chromatic aberration, weak composition. Real problems, real fixes. Watch the full tutorial on YouTube and follow along here with the breakdown below.
What I appreciate most about this workflow is the order of operations. Most beginners reach for the Exposure slider first and blow everything up. Chelsea works smarter, treating the subject and background as separate problems from the start. Here’s how she does it.
Step 1: Crop Tight and Establish Composition
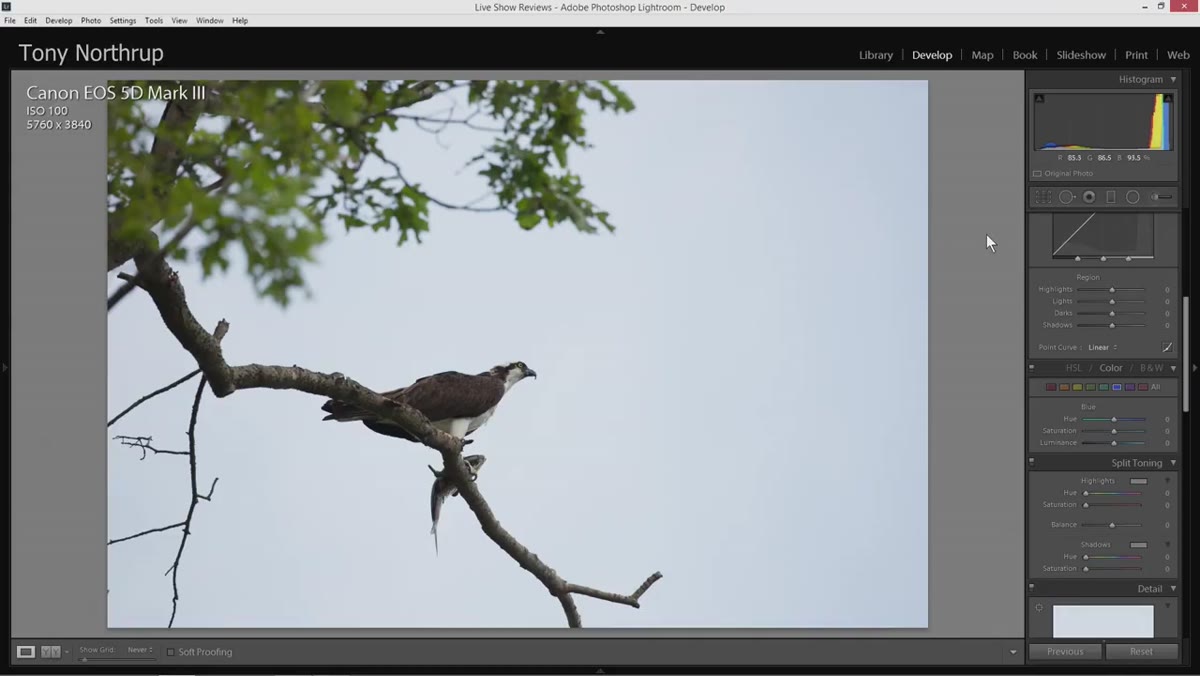 Crop tool applied around bird subject in Lightroom
Before touching a single tone slider, Chelsea goes straight to the crop tool. Her guiding principle for wildlife is simple: if the surroundings aren’t doing something for the image, get rid of them. Viewers came to see the animal. Crop tight, place the eye near the upper third of the frame, and let the subject breathe without competing with dead sky or murky water.
Crop tool applied around bird subject in Lightroom
Before touching a single tone slider, Chelsea goes straight to the crop tool. Her guiding principle for wildlife is simple: if the surroundings aren’t doing something for the image, get rid of them. Viewers came to see the animal. Crop tight, place the eye near the upper third of the frame, and let the subject breathe without competing with dead sky or murky water.
This step does more editing work than most people give it credit for. A tighter crop concentrates the light and detail on what matters, which means every subsequent tonal adjustment has more impact. Don’t treat cropping as a final polish step. Treat it as the foundation everything else builds on.
Step 2: Lift the Shadows to Expose the Subject
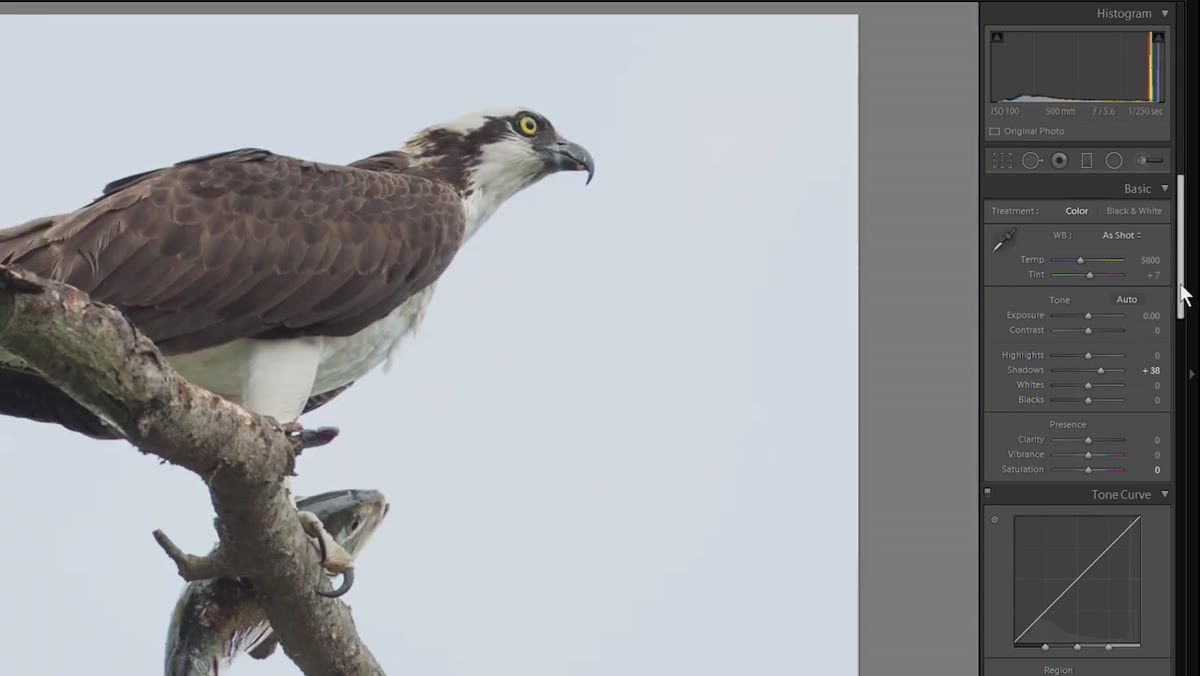
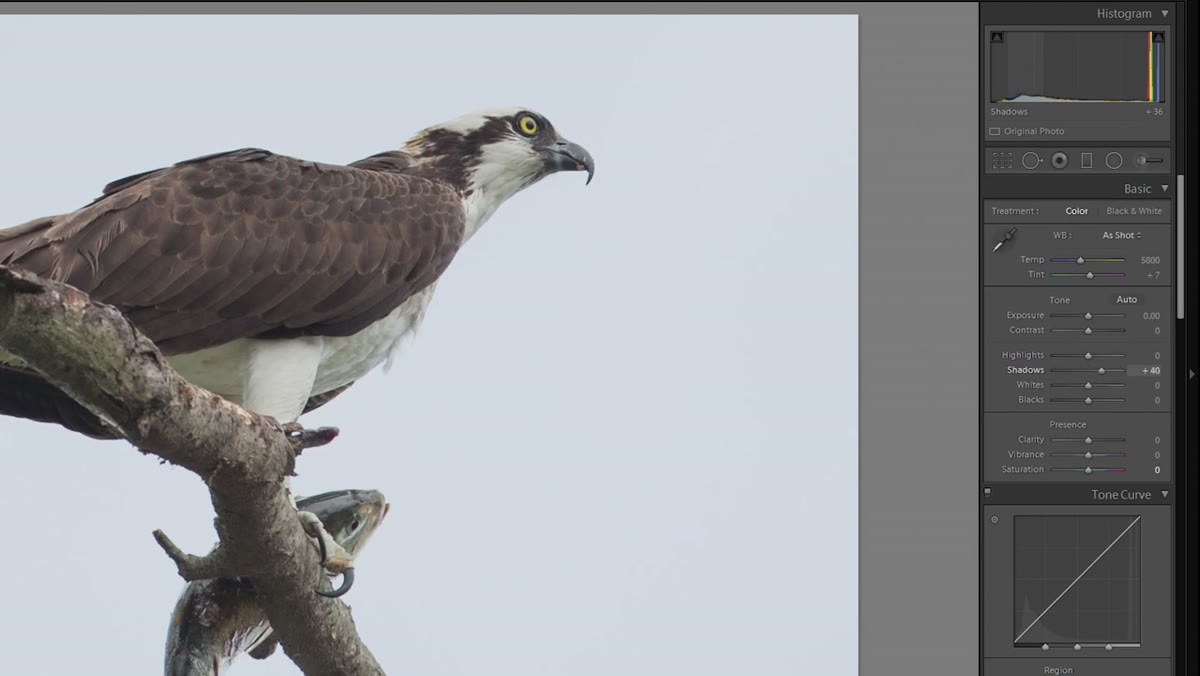 Shadows slider raised significantly in Basic panel
Here’s where most people go wrong: they drag up the Exposure slider and wonder why the blown-out sky gets worse. Chelsea avoids this by targeting the Shadows slider specifically. Raising Shadows brightens the darker midtones where an underexposed bird lives without torching the highlights where an already-overexposed sky lives.
Shadows slider raised significantly in Basic panel
Here’s where most people go wrong: they drag up the Exposure slider and wonder why the blown-out sky gets worse. Chelsea avoids this by targeting the Shadows slider specifically. Raising Shadows brightens the darker midtones where an underexposed bird lives without torching the highlights where an already-overexposed sky lives.
Push Shadows up significantly until the feather detail reads clearly. You’re looking for texture, not just brightness. If you can see the individual feathers and the subject no longer looks muddy, you’ve found your stopping point. The goal isn’t maximum brightness, it’s the first point where detail is readable and nothing is clipping.
Step 3: Recover the Sky with HSL Luminance
 HSL panel open with Blue luminance being lowered
With the subject properly exposed, the background sky still needs work. Chelsea opens the HSL panel and selects the Blue channel, then pulls the Luminance value down. This darkens the blue tones in the sky without affecting the warmer tones in the bird, which is a much more surgical move than dropping overall Exposure.
HSL panel open with Blue luminance being lowered
With the subject properly exposed, the background sky still needs work. Chelsea opens the HSL panel and selects the Blue channel, then pulls the Luminance value down. This darkens the blue tones in the sky without affecting the warmer tones in the bird, which is a much more surgical move than dropping overall Exposure.
The warning here is real: go too far and you’ll see a halo or glow creeping around your subject at the edges where sky meets feathers. Pull the luminance down until the sky feels rich and present, then back off a few points. Slightly restrained almost always looks more believable than fully committed.
Step 4: Shift the Sky Hue Toward Turquoise for a Warmer Feel
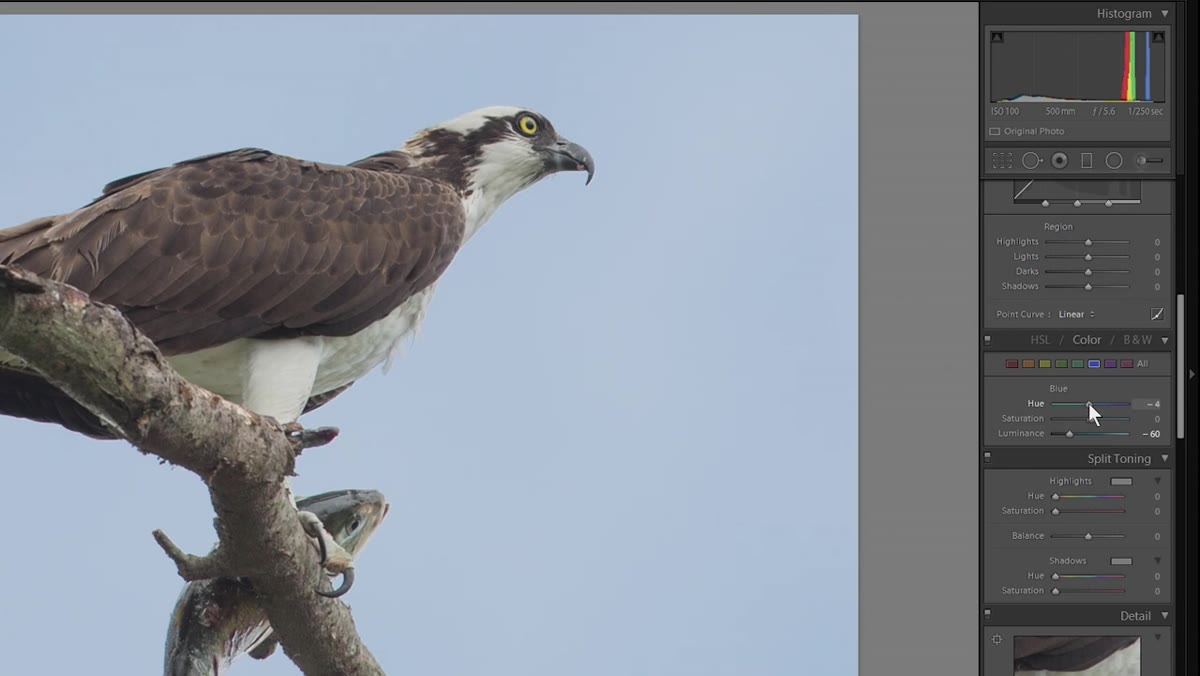 Blue hue slider adjusted toward turquoise in HSL panel
A cooler blue sky will fight a warm subject. To make the overall image feel like it was shot closer to golden hour, Chelsea nudges the Blue hue slider toward the turquoise side. This is a subtle move, maybe 10 to 15 points, but it keeps the sky from reading as cold midday light and instead suggests late afternoon warmth.
Blue hue slider adjusted toward turquoise in HSL panel
A cooler blue sky will fight a warm subject. To make the overall image feel like it was shot closer to golden hour, Chelsea nudges the Blue hue slider toward the turquoise side. This is a subtle move, maybe 10 to 15 points, but it keeps the sky from reading as cold midday light and instead suggests late afternoon warmth.
This is the kind of adjustment that editors call “invisible” when done right. Nobody looks at the finished photo and thinks “hue shift.” They just think it feels good. That’s the goal.
Step 5: Use the Adjustment Brush to Warm the Subject Selectively
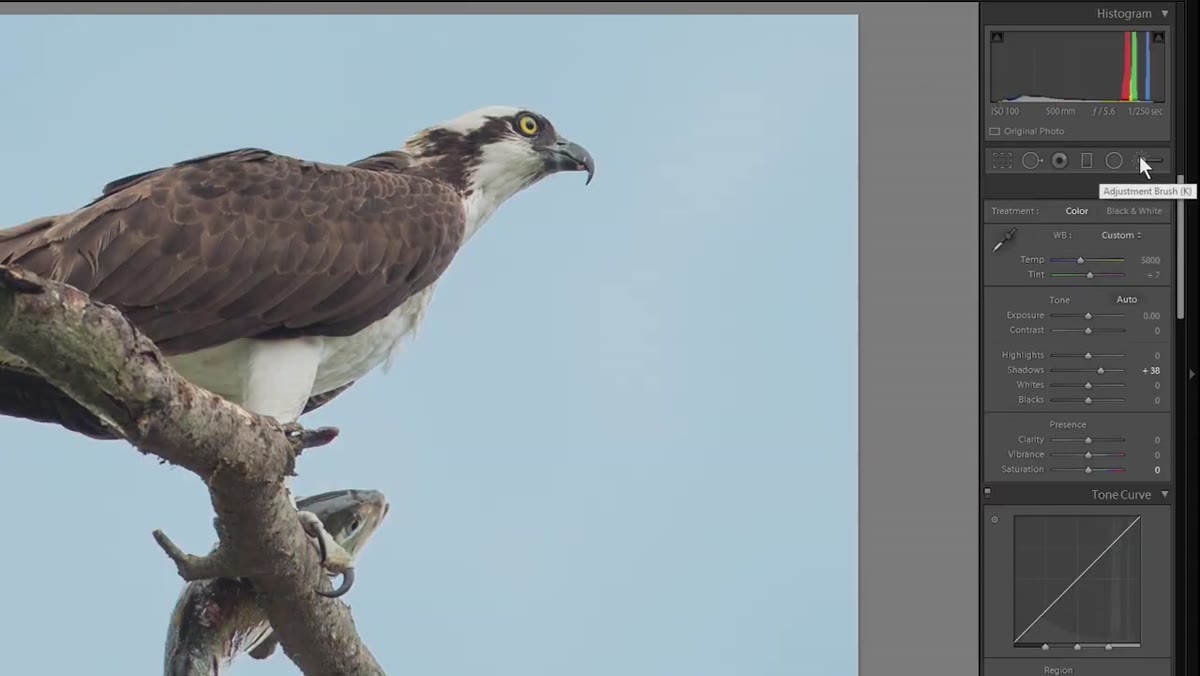 Adjustment brush mask painted over bird subject
This step is the real technique unlock in this tutorial. If you raise the global White Balance temperature to warm up the bird, you wash out the sky you just carefully corrected. The fix is to isolate the subject with an Adjustment Brush and apply the warmth only there.
Adjustment brush mask painted over bird subject
This step is the real technique unlock in this tutorial. If you raise the global White Balance temperature to warm up the bird, you wash out the sky you just carefully corrected. The fix is to isolate the subject with an Adjustment Brush and apply the warmth only there.
Activate the Adjustment Brush, dial in a positive Temperature value, then press O to toggle the mask overlay so you can see exactly where you’re painting. Work slowly around the edges, and zoom in to 2:1 to catch any gaps. The fish in the bird’s beak, the stick the bird is perched on – include those too. Anything that’s part of the subject’s “zone” should share the warmth. When you press O again to turn off the mask and compare, the bird should read as sunlit without the background shifting at all.
Step 6: Sharpen the Eyes with a Second Adjustment Brush
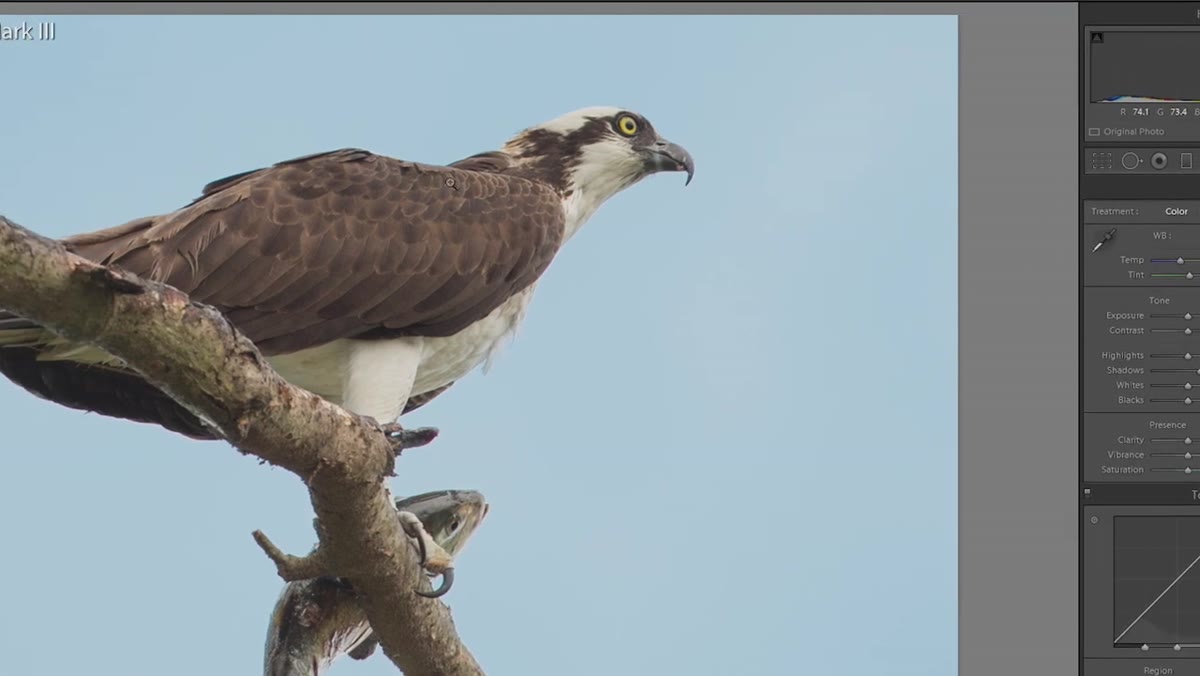 Adjustment brush zoomed in on bird’s eye
A sharp eye makes or breaks a wildlife portrait. Chelsea creates a new Adjustment Brush layer, zooms in to 2:1, and carefully paints over just the eye and a portion of the beak. She raises both Highlights and Sharpness on this layer to give the eye dimension and snap.
Adjustment brush zoomed in on bird’s eye
A sharp eye makes or breaks a wildlife portrait. Chelsea creates a new Adjustment Brush layer, zooms in to 2:1, and carefully paints over just the eye and a portion of the beak. She raises both Highlights and Sharpness on this layer to give the eye dimension and snap.
The key restraint here is not overdoing the Sharpness value. Too much and the eye starts to look crunchy and artificial, especially if there’s any ISO noise in the image. A small, targeted boost reads as natural detail. A large boost reads as an edit.
One Thing I’d Add: Check Your Chromatic Aberration Before Masking
Chelsea mentions chromatic aberration early in the video, and it’s worth making this its own priority before you start painting adjustment brushes. Purple and green fringing on high-contrast edges, like a white bird against a dark background, can bleed into your mask selections and make clean edges almost impossible to paint.
Head to Lens Corrections and enable Remove Chromatic Aberration first. In difficult cases, I’ll also manually tweak the Defringe sliders under the Manual tab. Cleaning up fringing before masking means your brush work along the subject’s edges will actually hold up at 100% zoom. It’s a small step that saves a lot of cleanup later.
The single most important idea in this whole workflow is that the subject and the background are separate editing problems. Treat them that way from the first adjustment you make, and you’ll stop chasing your tail trying to fix one by breaking the other. Localized adjustments aren’t an advanced technique reserved for complex composites. They’re the baseline for any wildlife image where the light didn’t cooperate, which is almost every wildlife image.
Watch the full tutorial on YouTube to see Chelsea walk through each of these adjustments in real time. Watching the mask overlay get painted and seeing the before/after toggle in motion makes the logic click in a way that screenshots alone can’t replicate.
Comments (2)
I tried this on a client project yesterday and the results were way better than expected.
I tried this on a client project yesterday and the results were way better than expected.
Leave a Comment