Building a Dramatic Portrait Edit in Lightroom: A Step-by-Step Breakdown

Building a Dramatic Portrait Edit in Lightroom: A Step-by-Step Breakdown

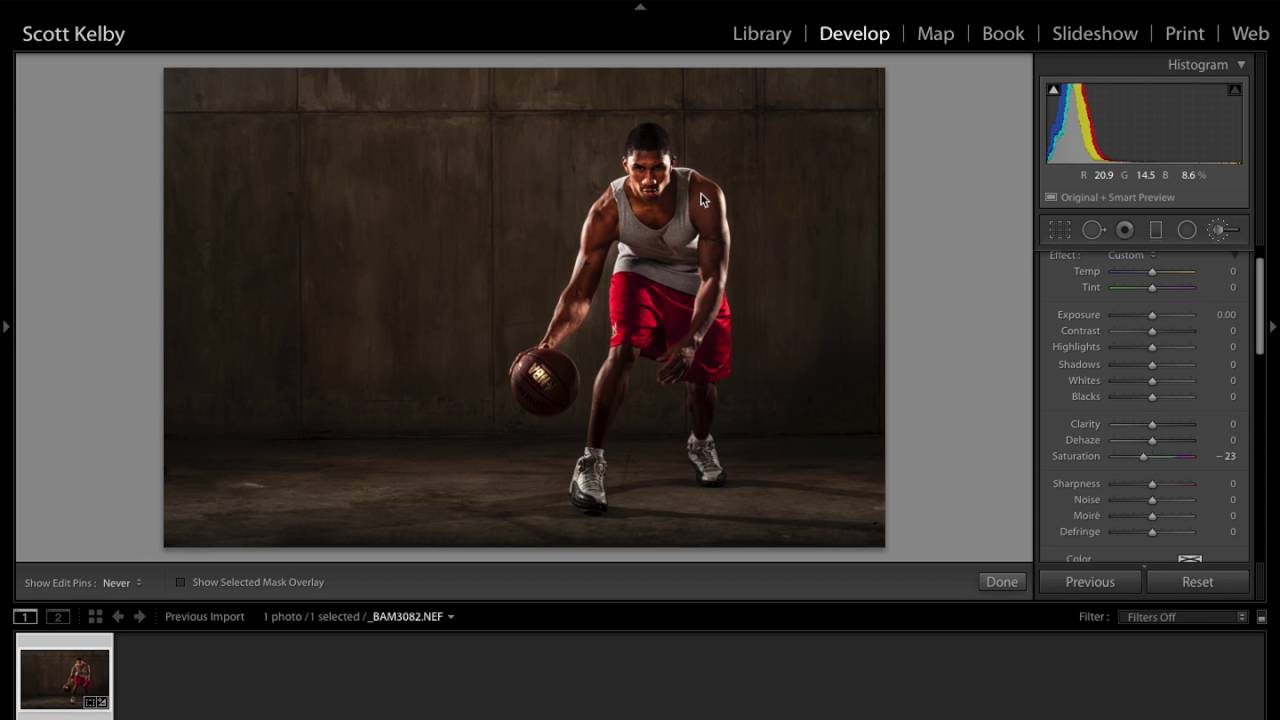
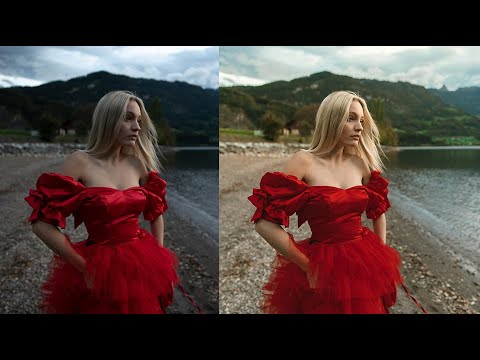
There’s a specific kind of portrait edit I used to avoid because I couldn’t figure out how to make it feel intentional rather than accidental. That gritty, high-contrast, slightly desaturated look you see on album covers and editorial shoots. I knew the ingredients existed somewhere in Lightroom’s panels, I just didn’t know how to combine them without wrecking the skin tones. Scott Kelby’s tutorial changed that for me. Watch the full tutorial on YouTube and follow along here while I break down every move.
Crop, Color, and Dodge: A Portrait Editing Walkthrough That Actually Holds Up

Crop, Color, and Dodge: A Portrait Editing Walkthrough That Actually Holds Up

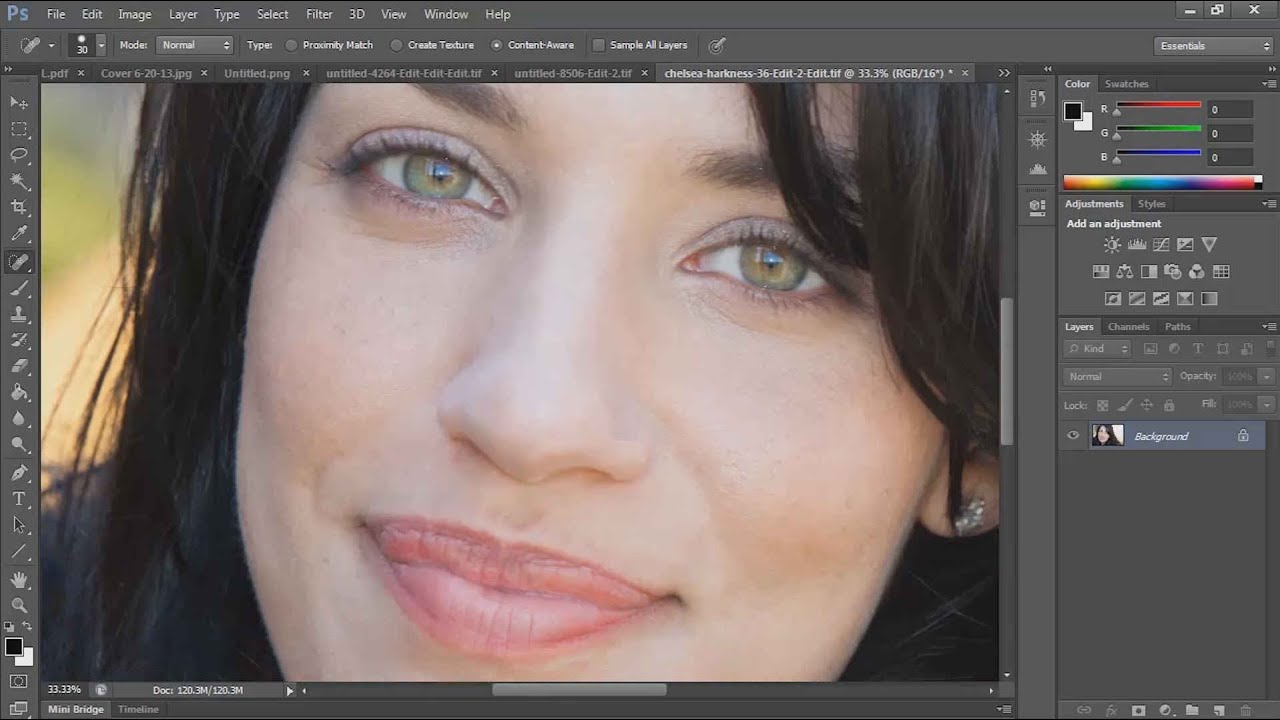
Portrait editing is one of those things where the gap between “technically correct” and “actually good” is enormous. I spent years closing that gap by watching tutorials, breaking them down, and rebuilding the techniques in my own workflow. One tutorial that keeps earning its place in my rotation is Chelsea Northrup’s portrait editing walkthrough from the Tony & Chelsea Northrup channel. It’s a practical, no-fluff demonstration that covers Lightroom color work and a couple of targeted Photoshop moves that make a real difference on skin and hair.

How Jessica Kobeissi Edits Outdoor Portraits in Lightroom (And What I Stole From Her Workflow)

How Jessica Kobeissi Edits Outdoor Portraits in Lightroom (And What I Stole From Her Workflow)

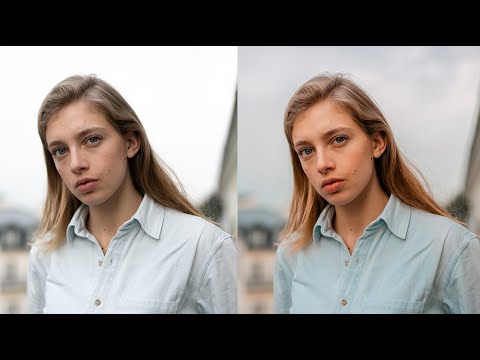
Most of my go-to editing habits were built by watching other photographers work out loud. Not reading about theory, not studying color wheels. Watching someone actually move sliders and second-guess themselves and change their mind three times before landing somewhere great. That’s the kind of tutorial that actually sticks. In this Jessica Kobeissi tutorial on editing outdoor portraits in Lightroom, that’s exactly what you get. She walks through a set of photos shot at different times of day, each with its own lighting challenge, and works through exposure, tone, and color grading in a way that feels more like watching a real editing session than a polished classroom demo.

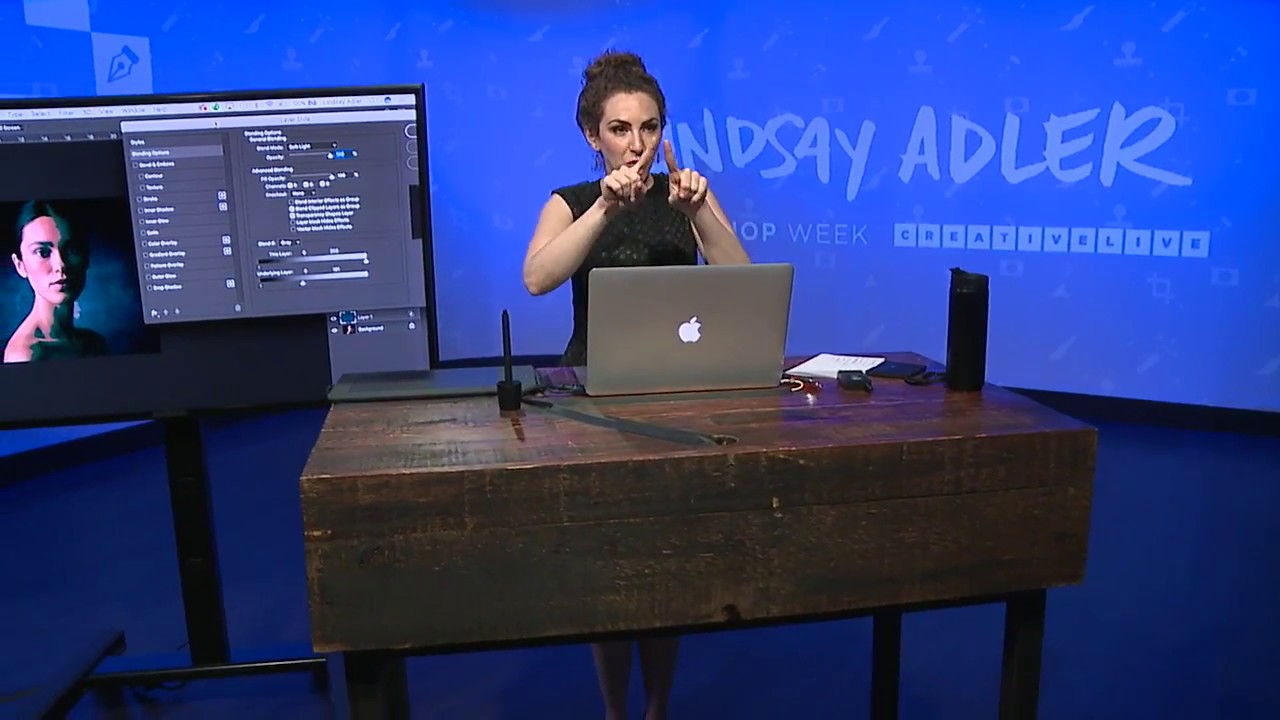
Blend If in Photoshop: The Color Toning Trick That Leaves Lightroom's Split Toning in the Dust

Blend If in Photoshop: The Color Toning Trick That Leaves Lightroom's Split Toning in the Dust

I have a complicated relationship with split toning in Lightroom. I use it constantly, I’ve named half my presets after it, and I also quietly resent how little control it gives me. You set a hue for the highlights, a hue for the shadows, and then Lightroom just… does it. Everywhere. On skin, on backgrounds, on the whites of someone’s eyes. There’s no telling it where to apply and where to back off.

Chasing Soft Peach Tones: What Jessica Kobeissi's Portrait Workflow Taught Me About Restraint

Chasing Soft Peach Tones: What Jessica Kobeissi's Portrait Workflow Taught Me About Restraint

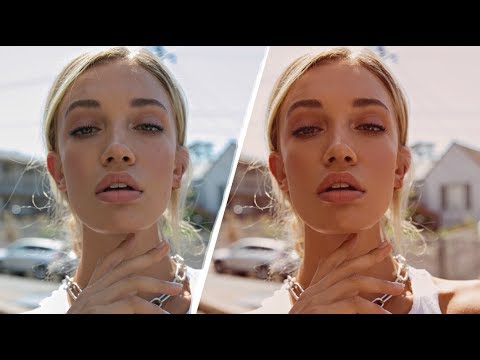
There’s a specific failure mode I see constantly in portrait edits: too much happening at once. Aggressive tone curves, oversaturated skin, highlights that blow out the sky, shadows so crushed you lose all the hair detail. The photo technically has “a look,” but it reads as effortful rather than intentional. What draws me to Jessica Kobeissi’s editing style is the opposite instinct. Her work is controlled, deliberate, and built on subtractions as much as additions.

Bring Portraits to Life in Lightroom: Enhancing Eyes and Hair with the Adjustment Brush

Bring Portraits to Life in Lightroom: Enhancing Eyes and Hair with the Adjustment Brush

There’s a specific kind of portrait that haunts you. The light was perfect, the subject was stunning, and then you open the file and realize the hair has collapsed into a muddy shadow and the eyes look flat. I’ve been there more times than I’d like to admit. For a long time my reflex was to jump straight into Photoshop and start reaching for luminosity masks. It worked, but it was slow, and half the time I was overcomplicating something that didn’t need to be complicated.

How to Build Golden Portrait Tones in Photoshop — A Layer-by-Layer Breakdown

How to Build Golden Portrait Tones in Photoshop — A Layer-by-Layer Breakdown

There’s a specific problem I run into with warm-light portraits that took me an embarrassingly long time to solve. The shot looks beautiful straight out of camera — that magic-hour glow, everything slightly amber — and then you try to push it further in post and it falls apart. Crank the temperature and the skin goes orange. Boost the highlights and the whole thing looks blown out. You end up with something that reads “filtered” instead of “cinematic,” and those are very different things.

How to Edit Eyes in Lightroom Without Making Your Subject Look Like a Horror Movie Villain

How to Edit Eyes in Lightroom Without Making Your Subject Look Like a Horror Movie Villain

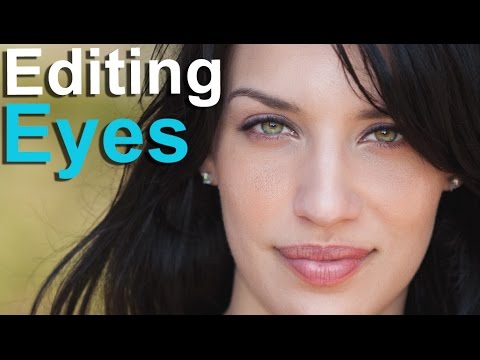
Portrait retouching has a reputation problem. Half the tutorials out there push you toward results that look less “professional headshot” and more “uncanny valley catalog model.” Eyes are where this goes wrong fastest. Over-sharpen the iris, blow out the whites, crank the saturation, and suddenly your subject looks like they belong in a supernatural thriller rather than a family album or a client deliverable. I’ve been editing portraits in Lightroom long enough to know that restraint is the actual skill.

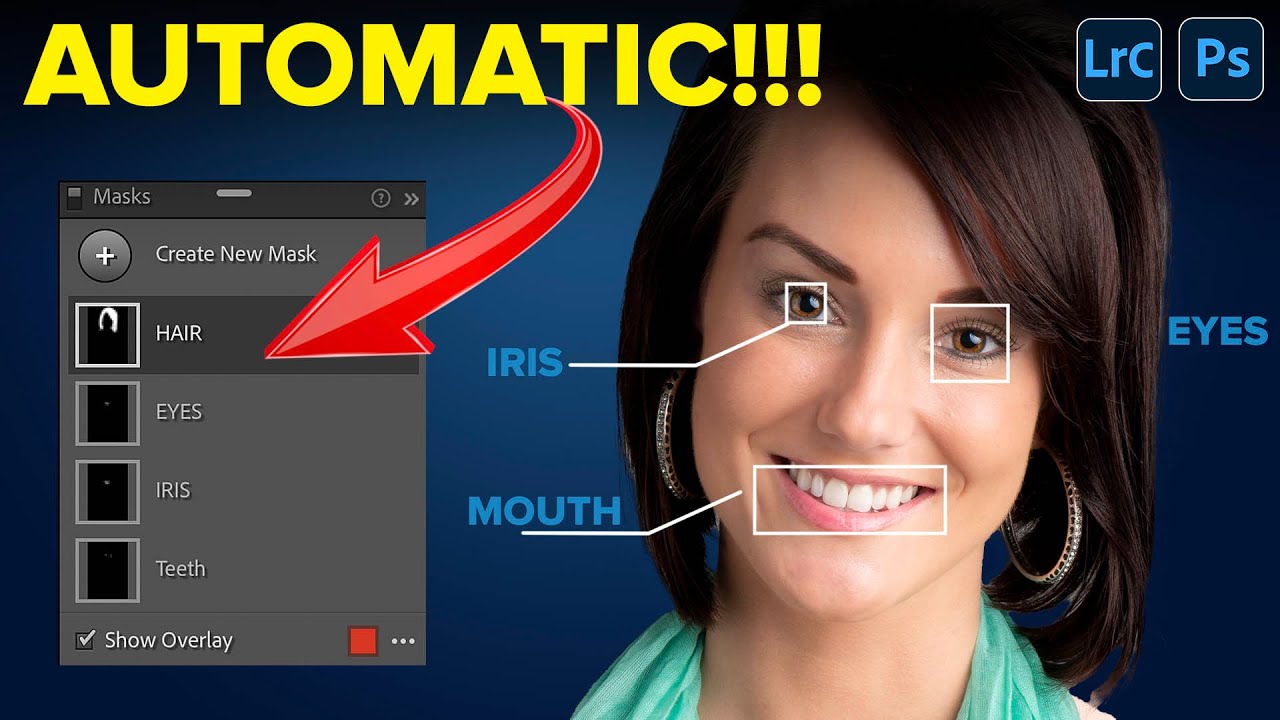
Lightroom's AI Portrait Masking Just Changed How I Edit Every Single Face

Lightroom's AI Portrait Masking Just Changed How I Edit Every Single Face

Portrait retouching used to be the part of my workflow where I’d flip the record, make a cup of coffee, and mentally prepare for fifteen minutes of tedious mask-building before I could do anything creative. Painting in skin masks, dodging around hair, trying to isolate the whites of someone’s eyes without accidentally selecting their eyelid - it was the editing equivalent of untangling headphone cables. Necessary, fine, but nobody’s favorite part of the job.

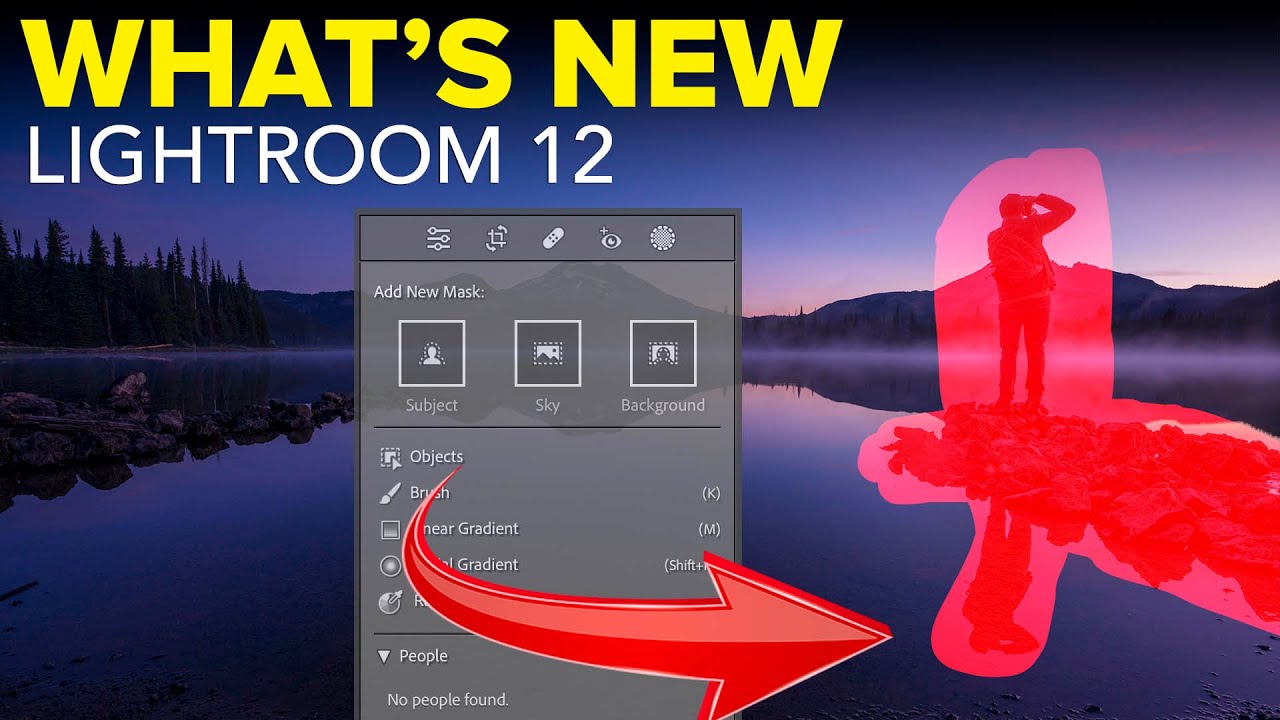
Lightroom's New Portrait Masking Tools Are the Biggest Skin-Editing Leap in Years

Lightroom's New Portrait Masking Tools Are the Biggest Skin-Editing Leap in Years

Portrait editing used to be the part of my workflow I’d put on in the background while I went to make coffee. Click a few sliders, dodge some shadows under the eyes, call it done. But client expectations have shifted, and lately I’ve been getting asked to deliver retouching that would have taken me into Photoshop two years ago. So when Adobe dropped the October 2022 update to Lightroom Classic, I needed to know exactly what was new and whether any of it would actually save me time on a real session.

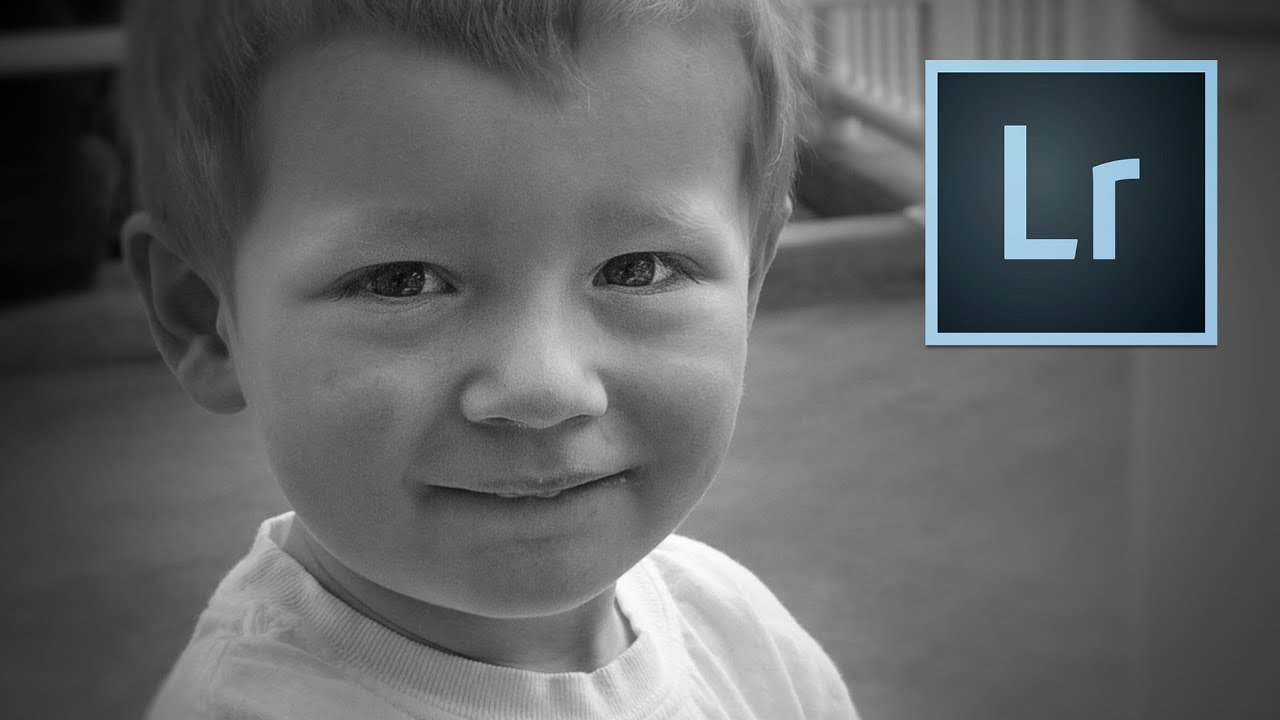
Three Radial Filters and a Black-and-White Conversion: The Depth Portrait Trick I Use Every Week

Three Radial Filters and a Black-and-White Conversion: The Depth Portrait Trick I Use Every Week

Portrait work has a specific problem that nobody warns you about when you’re starting out. You shoot in decent light, you nail the focus, and then you open the file in Lightroom and the subject just sits there, flat against the background like they were cut out of a magazine and glued onto a different photo. No separation, no depth, no sense that the camera actually cared more about them than anything else in the frame.